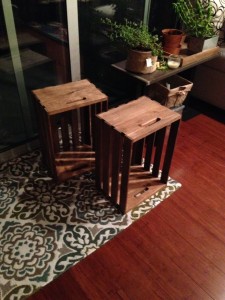
Coasters and Casters
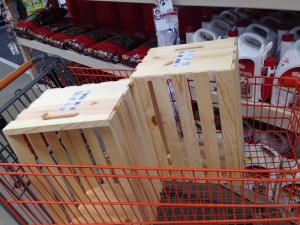
So I’m in Home Depot shopping for a jig saw (and a few other things, of course) and I run across these crates. I immediately thought about the decorated box that I have shoved under my leaf table, crammed full with my craft supplies.
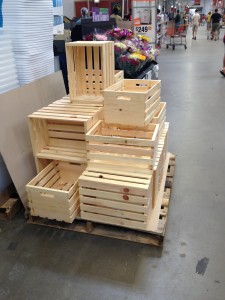
Box + Wood (stained with my current favorite color – Early American) + Wheels = A fun bonus Sunday project.
I picked up two unfinished wood crates and I asked my Aspen Hills Home Depot buddy, Tom where I can get the wheels.
Me: “Where are the coasters?”
Tom: “Coasters?”
Me: “Yeah, you know, the wheels?”
Tom: “Oh you mean casters!”
Me: “Uh…that too.”
Why does my brain do that?
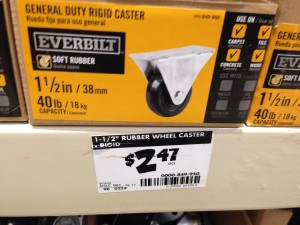
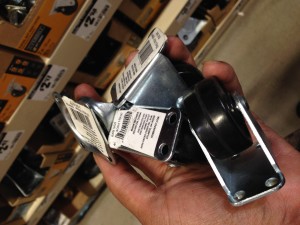
Well, call me crazy, but I want my crate to “coast”, not “cast” on four wheels. Am I right?
Ugh…why does the English language do that?! Well anyway…
I headed over to Tim’s garage and while I waited for the tung oil to dry on the floating shelf, I tackled the wood crates.
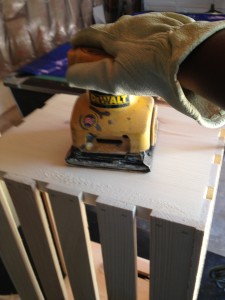
First sanding (60 grit, followed by 150 grit with a sheet sander).
Then pre-stain conditioning.
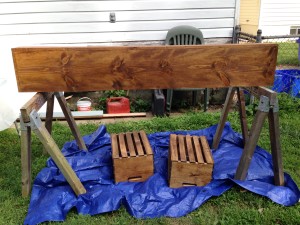
And then (my favorite step) staining.
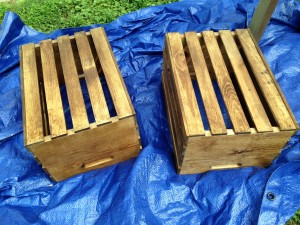
So I’ve added to my Early American stained wood collection.
Apparently my efforts at sanding hardly made a dent on the roughness of this pallet wood (especially inside the crate). But at least I took care of the splintered wood on each strip. And for this project, I wanted a rustic look for my crates. So, once stained, they came out beautifully.
Back at the condo a few hours later, I set up shop on the balcony and went to work with the casters. I quickly discovered that the size 10 3/4 screws I planned to use will not quite work. Because this is pallet wood which is only a 1/2 inch thick, the 3/4″ length screws poked through the bottom once I attached the casters. Pretty dangerous. And quite unsightly.
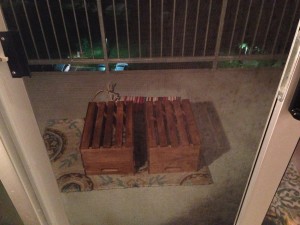
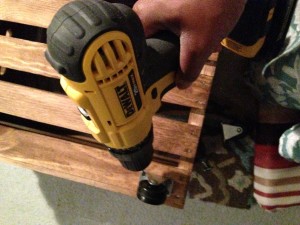
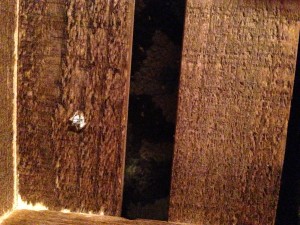
So that meant another trip to the hardware store. This time, I visited my favorite DC place, 5th Avenue Hardware Store in Mount Vernon. Got size 6 1/2 screws in silver and size 8 1/2 screws in gold. So after my do-over with the shorter screws, I was very pleased with the result. There are still tiny tips poking through the wood, but barely noticeable.
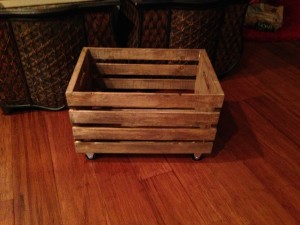
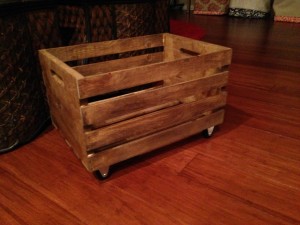
So my final step to project completion is lining the crate. As beautiful as they are bare with the open slots between the wood panels, it’s not very practical. So I brainstormed ideas for making a simple liner that enhances the beauty of the stained wood (and not detract from it).
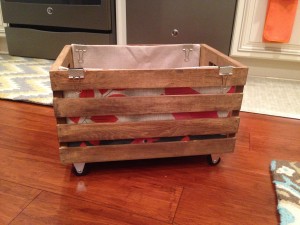
I was amazed at how quickly the perfect solution came to me. The two orphaned 16×16 linen pillow cases that I had tucked away in a bin were perfect. The perfect size and the perfect look. Plus, this was the perfect way for me to utilize my all time favorite crafting tool – my trademark binder clips.
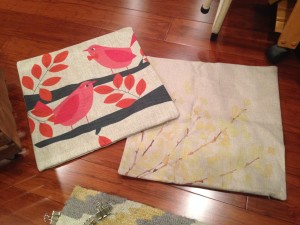
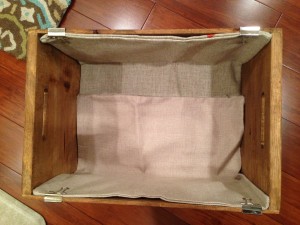
Four decorated medium binder clips and Voila! One wheeled crate down (and beautiful done). I’m pulling two more pillowcases off pillows for the second crate (and will replace them with my painted brown velour cases. Talk about killing several birds with one stone!
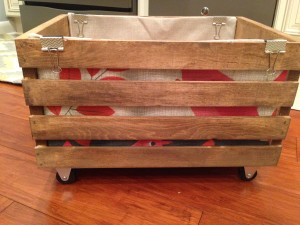
The one thing I’d change are the casters. I’m realizing I got the “rigid” type. Not as much coasting, but it does roll…with lots of nudging. So next time I’d trade up on the choice of wheels.
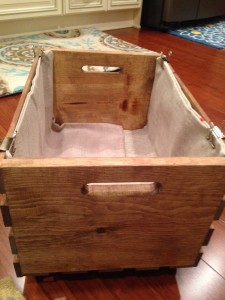
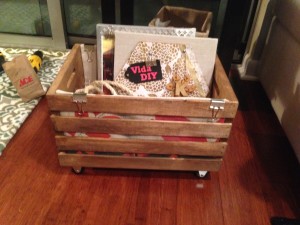
This project took me no time to finish. Two days from concept to completion (with two hardware store trips and a full day of work and commuting thrown in). For me that’s a project personal record. V-

