Entryway wood and pipe hanging bar (Part 3)
You may also like:
August 15, 2015: As promised, here’s my post on how I finally mounted my Ana White inspired wood and pipe hanging bar onto my condo plaster walls.
After having the pieces to my wood and pipe hanging bar propped up on the wall for several days, I’m finally ready to tackle the mount. My confidence is boosted after my successful mount of the massive floating wood shelf in the den.
To quickly recap:
- In Part 1, I made my first pipe hanging bar and hanging organizer set. Total length – 48″. (And then I gave it to my mother because she liked it so much).
- In Part 2, I made another pipe hanging bar (this time 64″ long). I marked the spot where I plan to mount it with tape and pre-drilled the holes on the wood for the wall mount.
So I’m ready to tackle the hardest step…getting this bar mounted on the wall.
A plaster wall with no studs. I met with the building engineer and he confirmed this. Toggle bolts or hollow wall anchors are required for the job.
Here’s how I have the wall marked for the wood block mount.
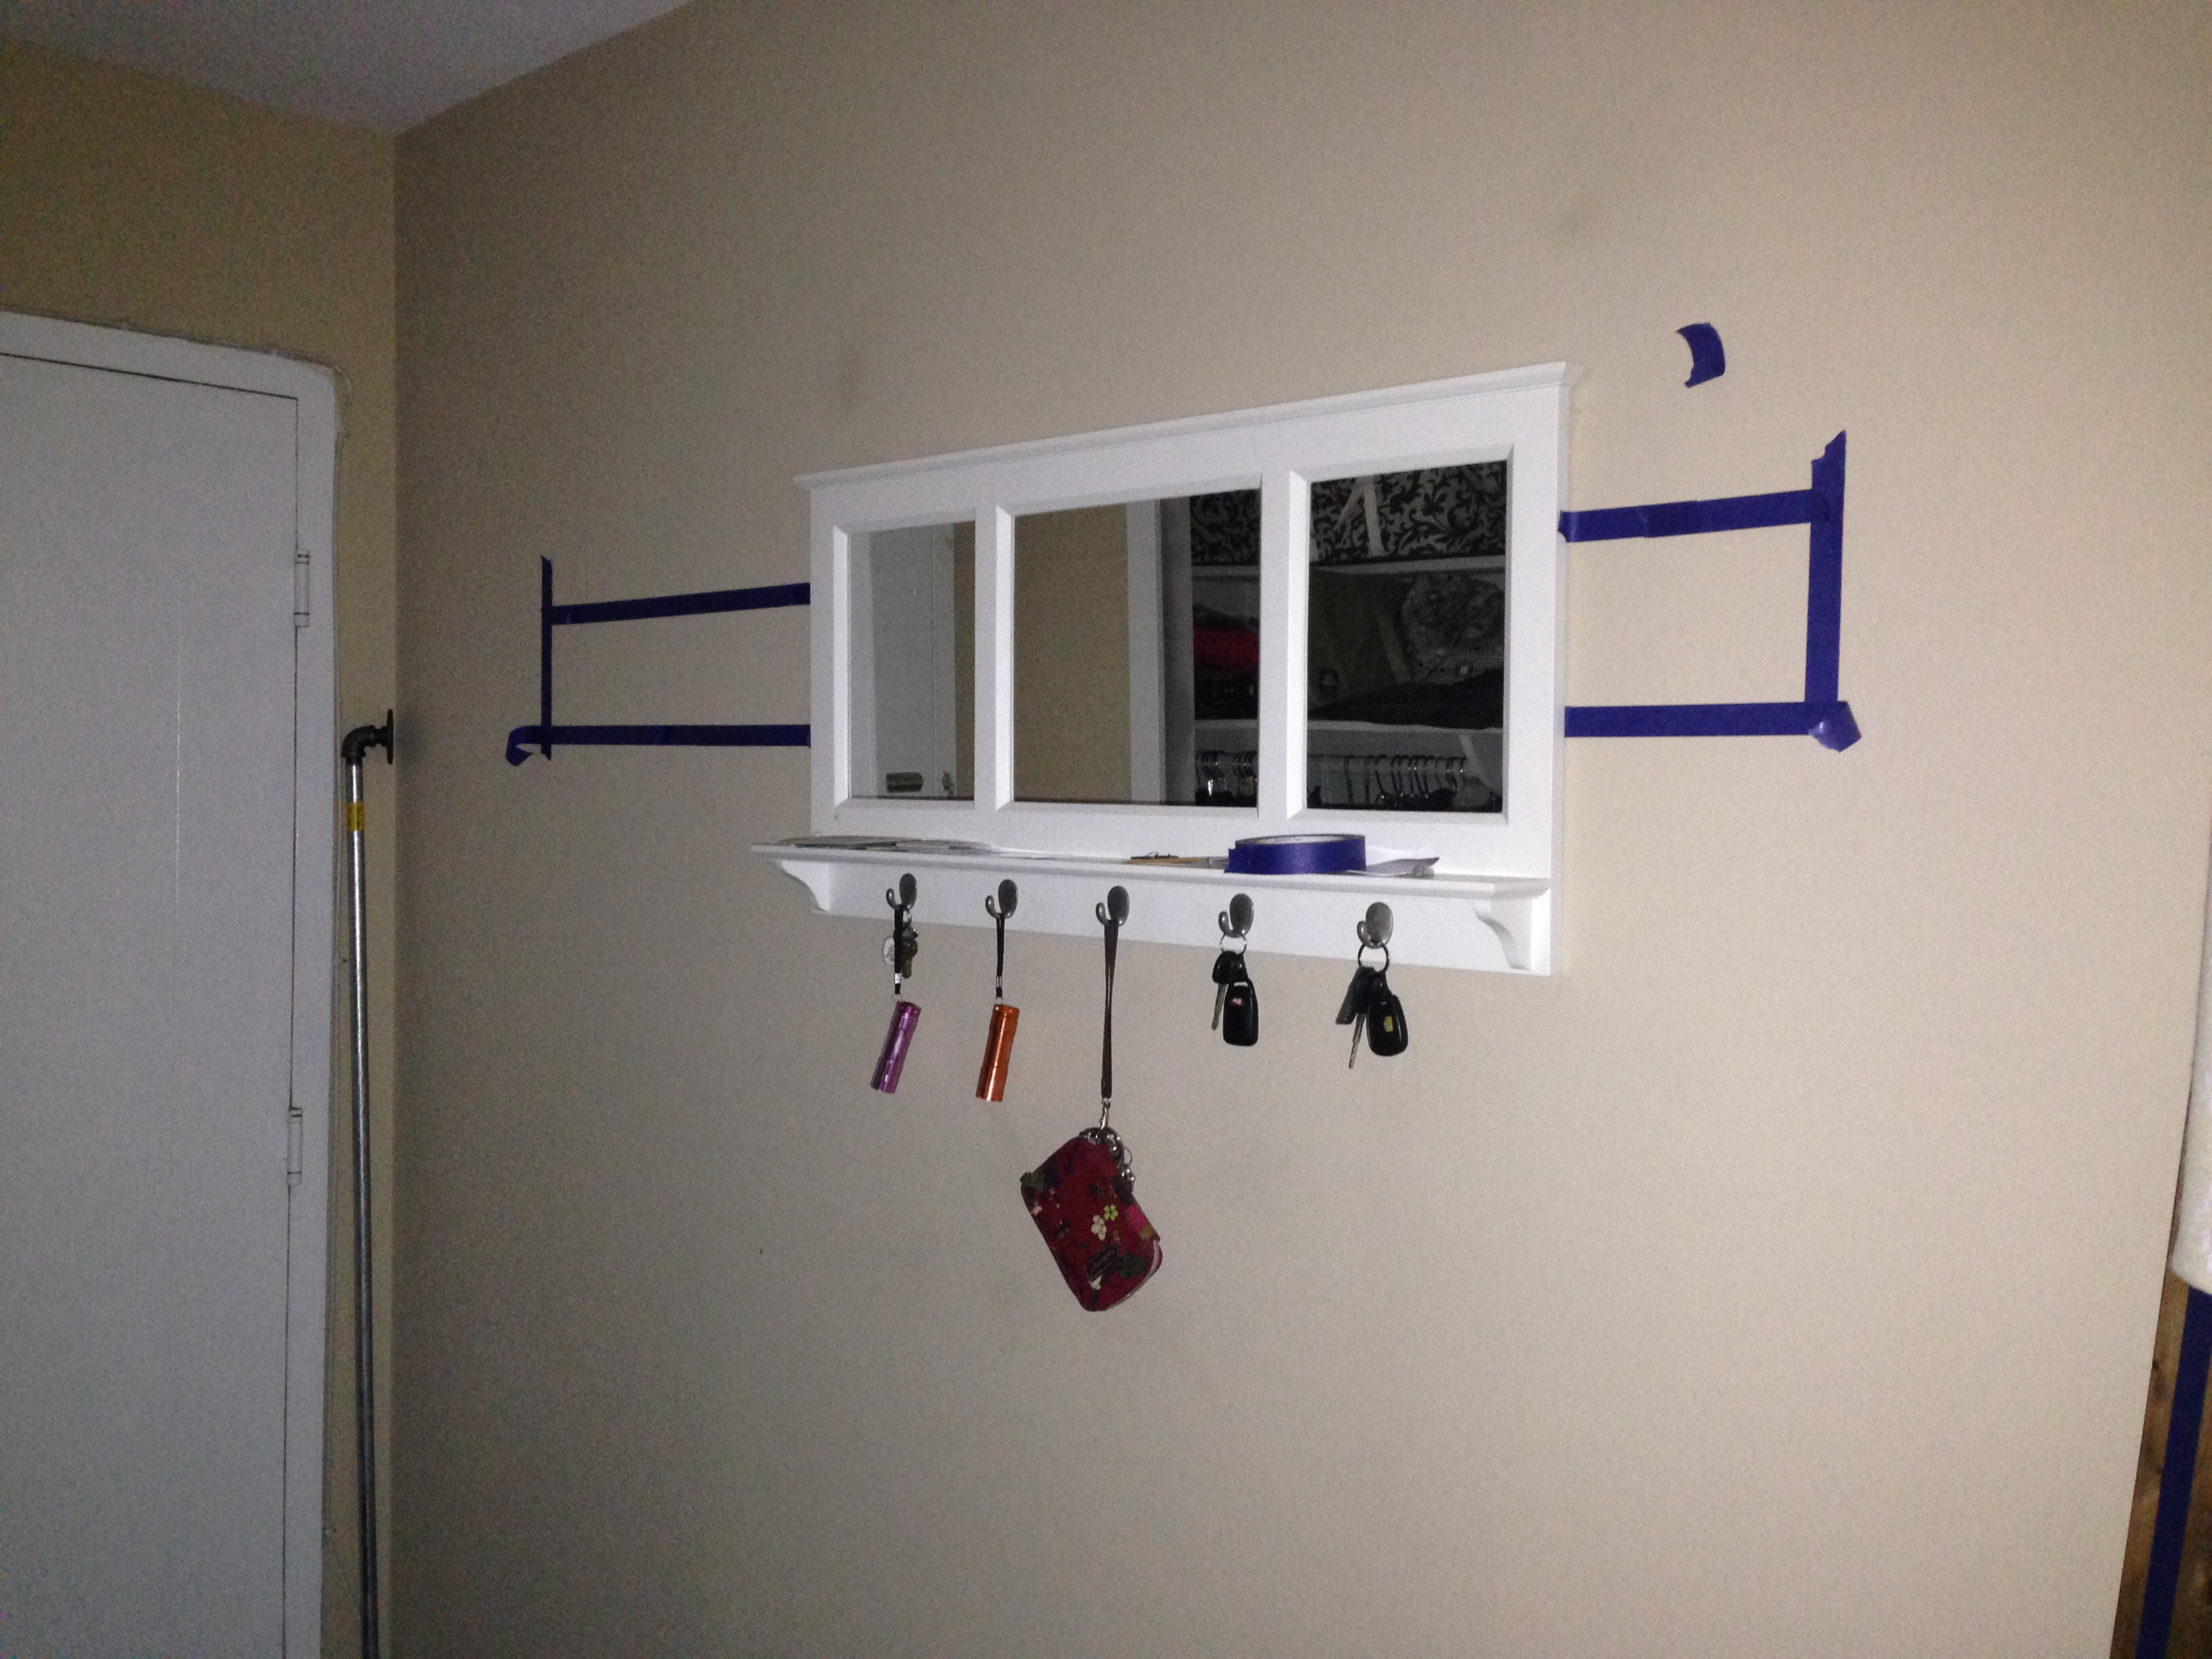
After taking the Pottery Barn wall organizer off the wall (for the last time), I held the wood block in place and used a pencil to mark where the drilled holes are needed on the wall.
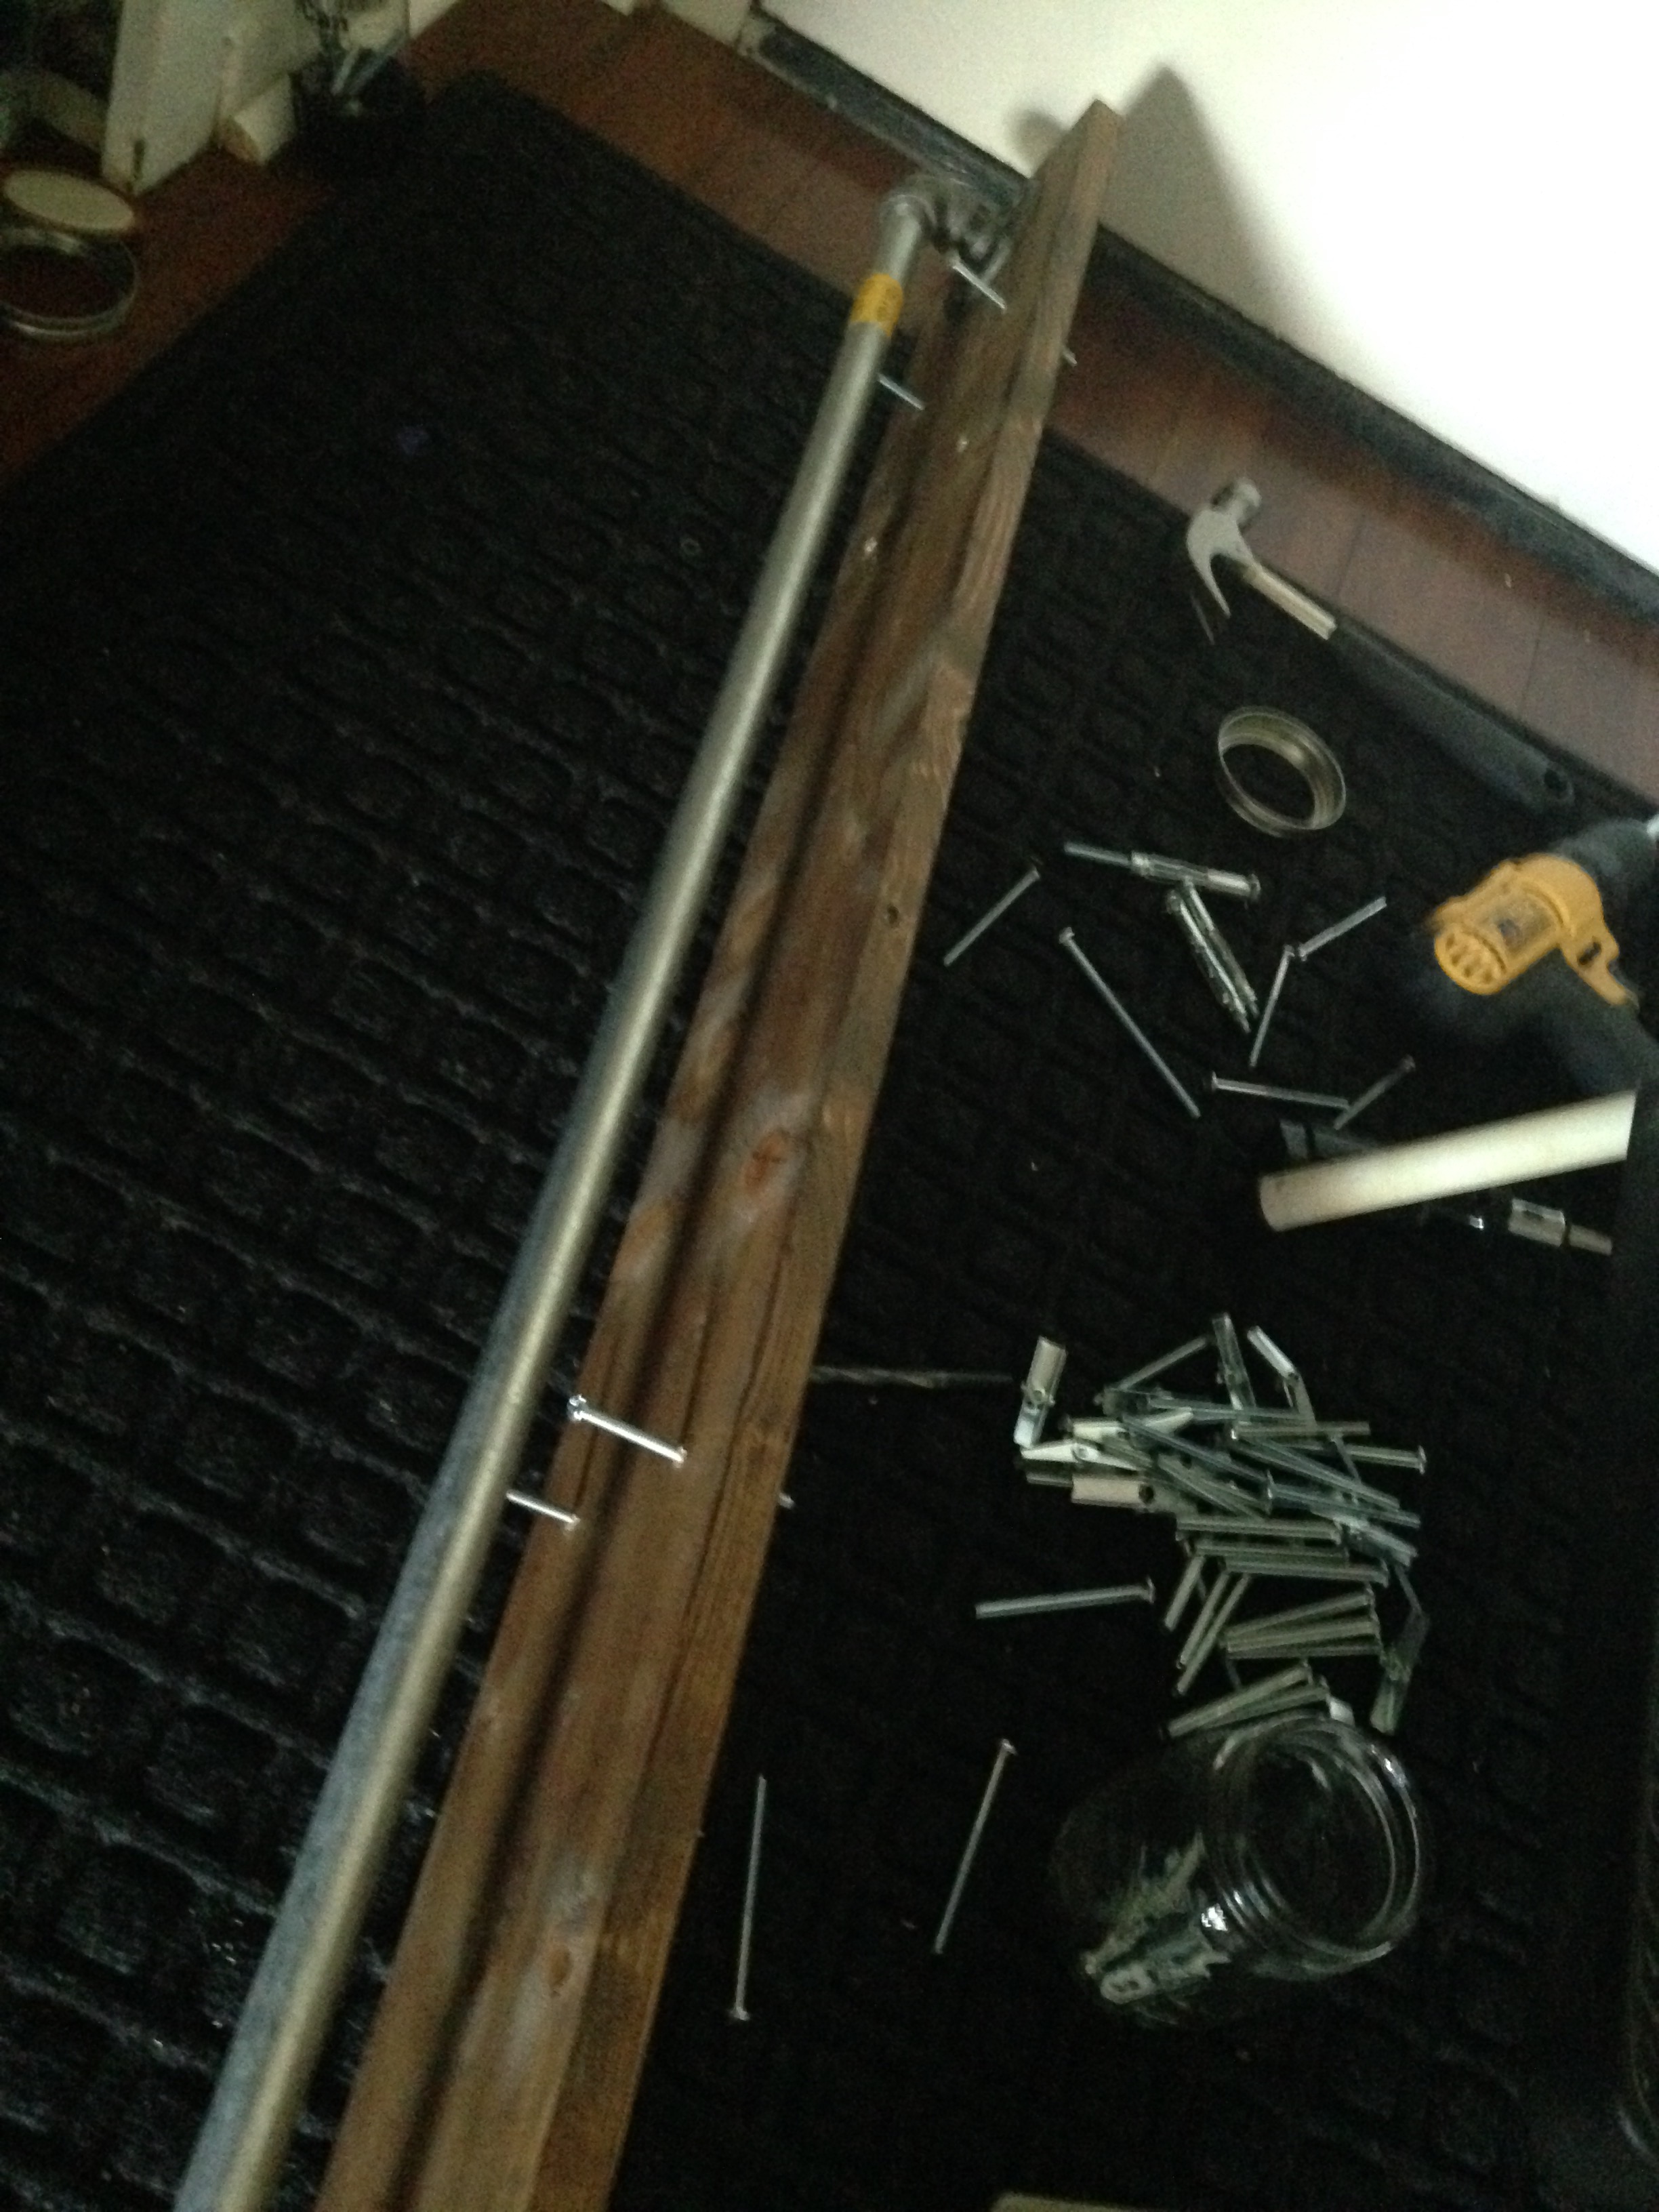
I then drilled 1/4″ holes at each spot, and hammered in 3/16″ hollow wall anchors.
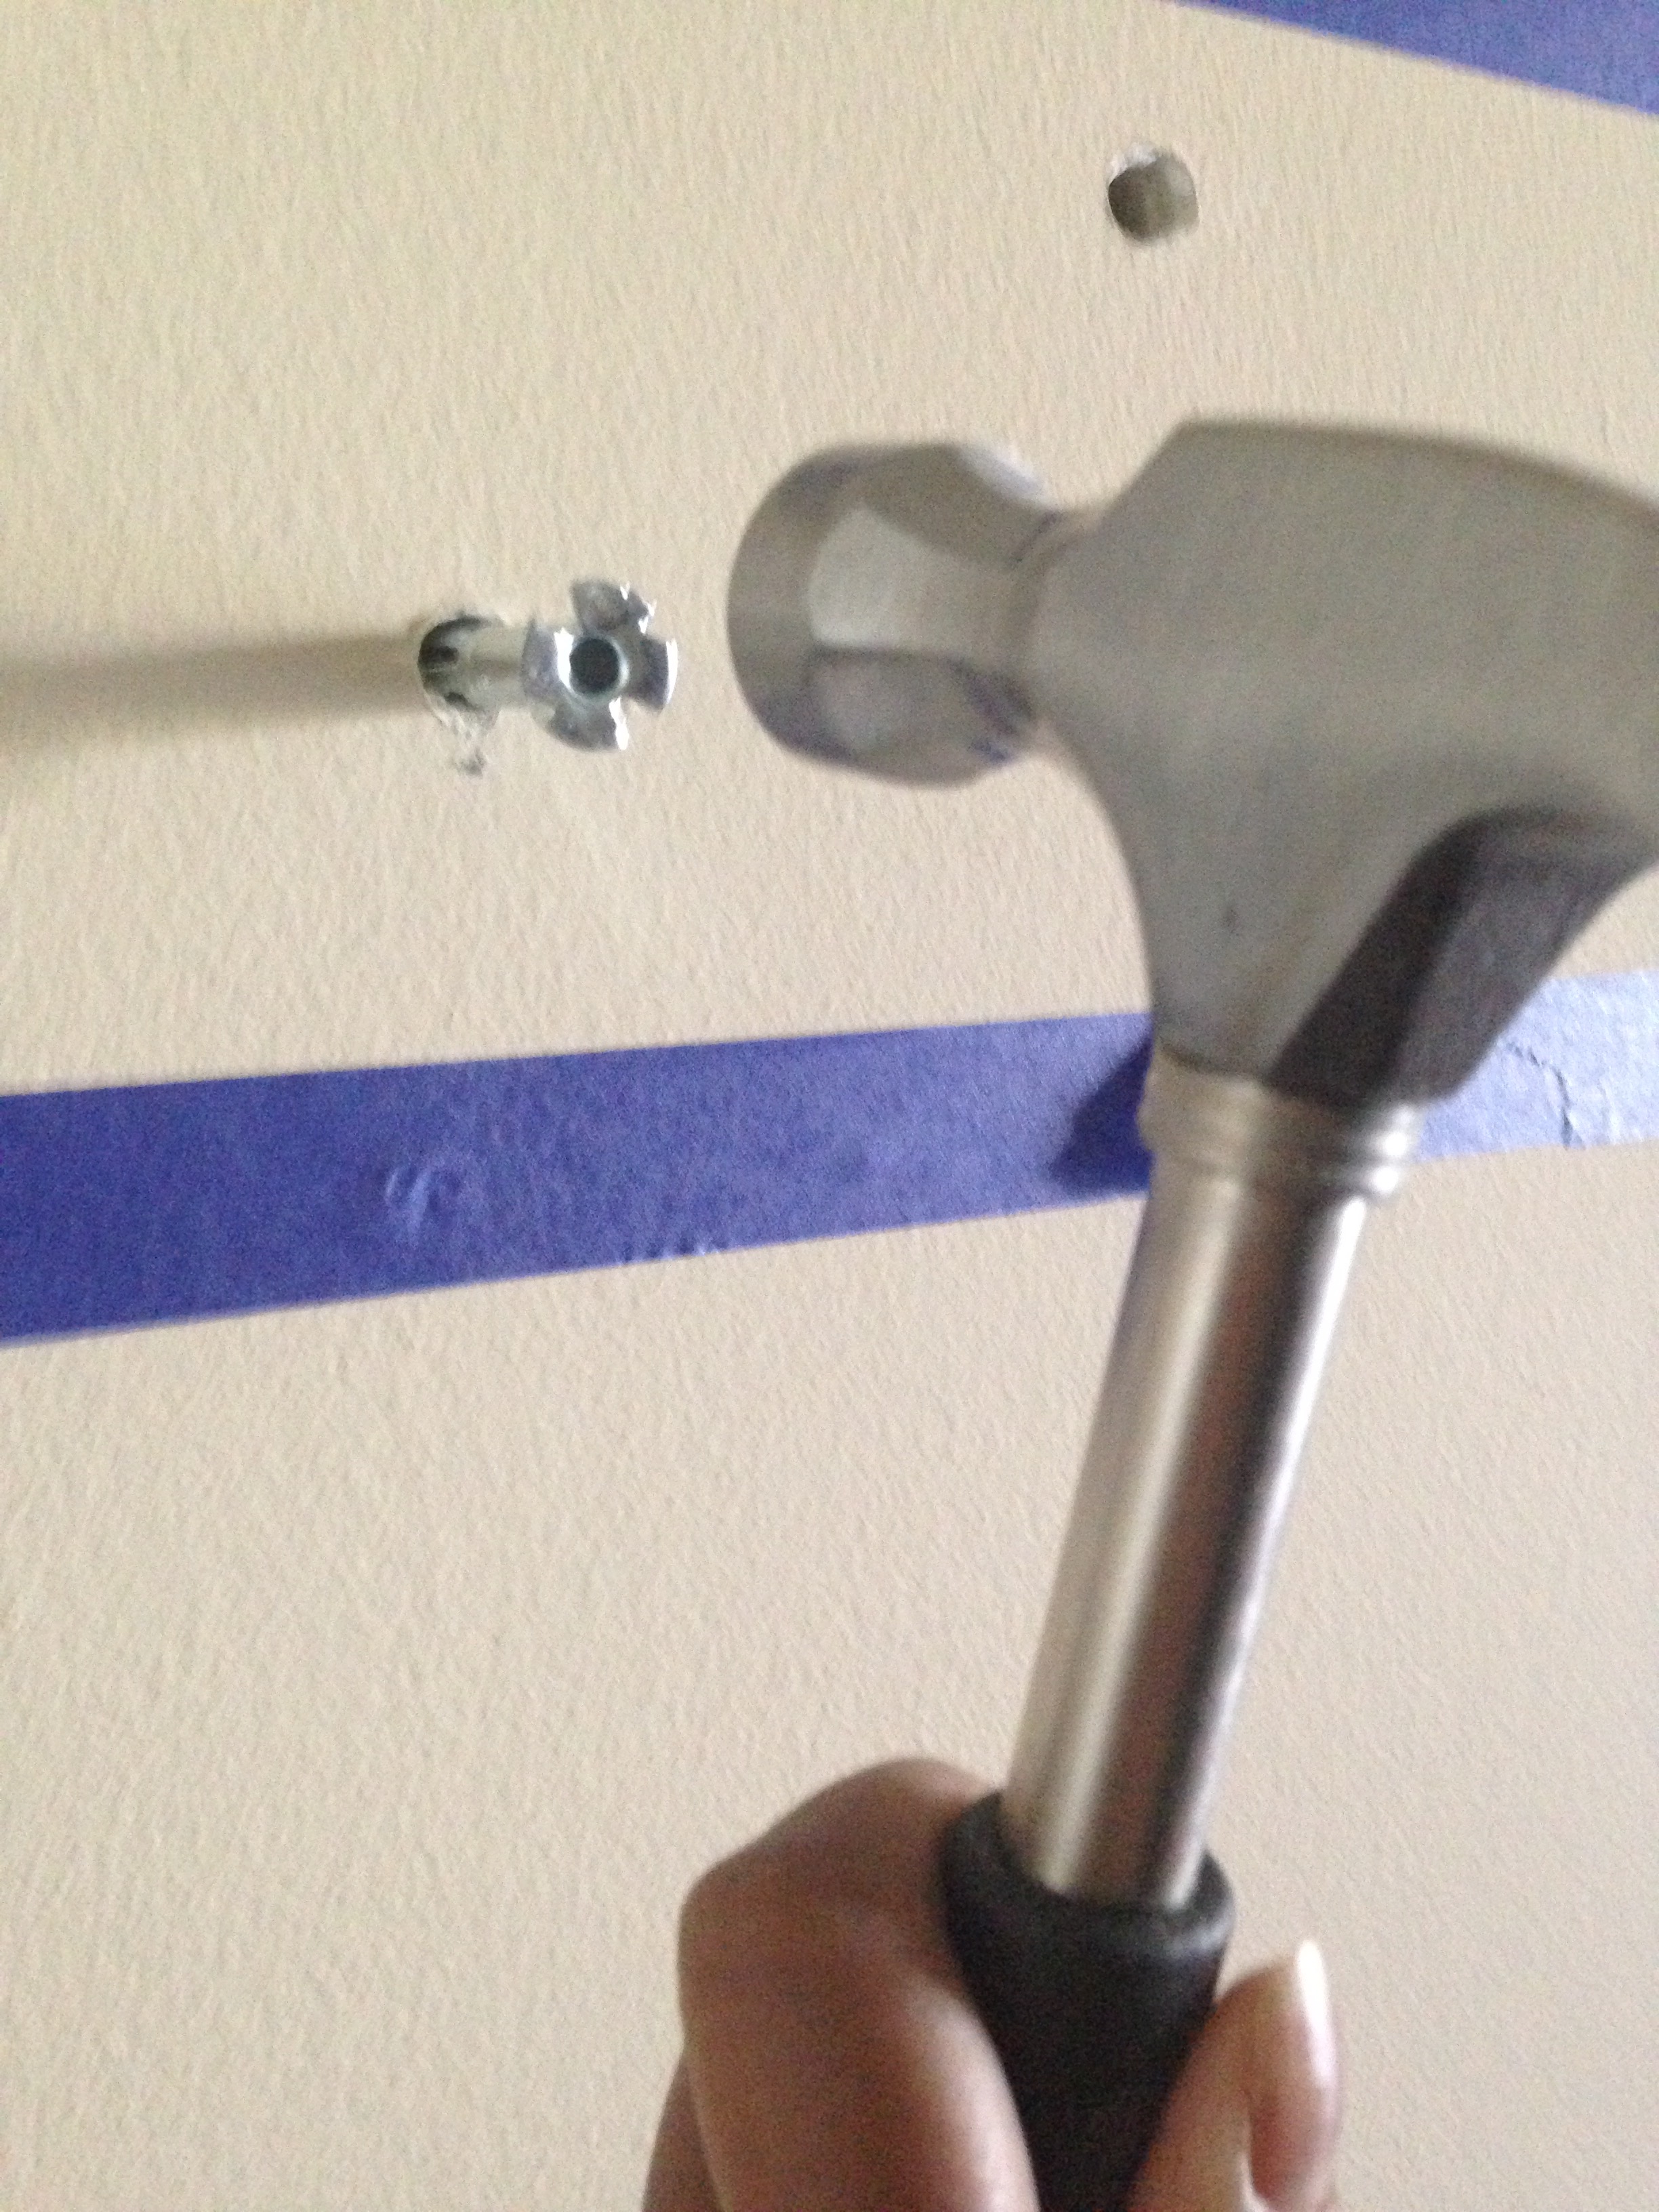
I’m using 10 3/16″ hollow wall anchors for the mount – 5 across the top and 5 across the bottom.
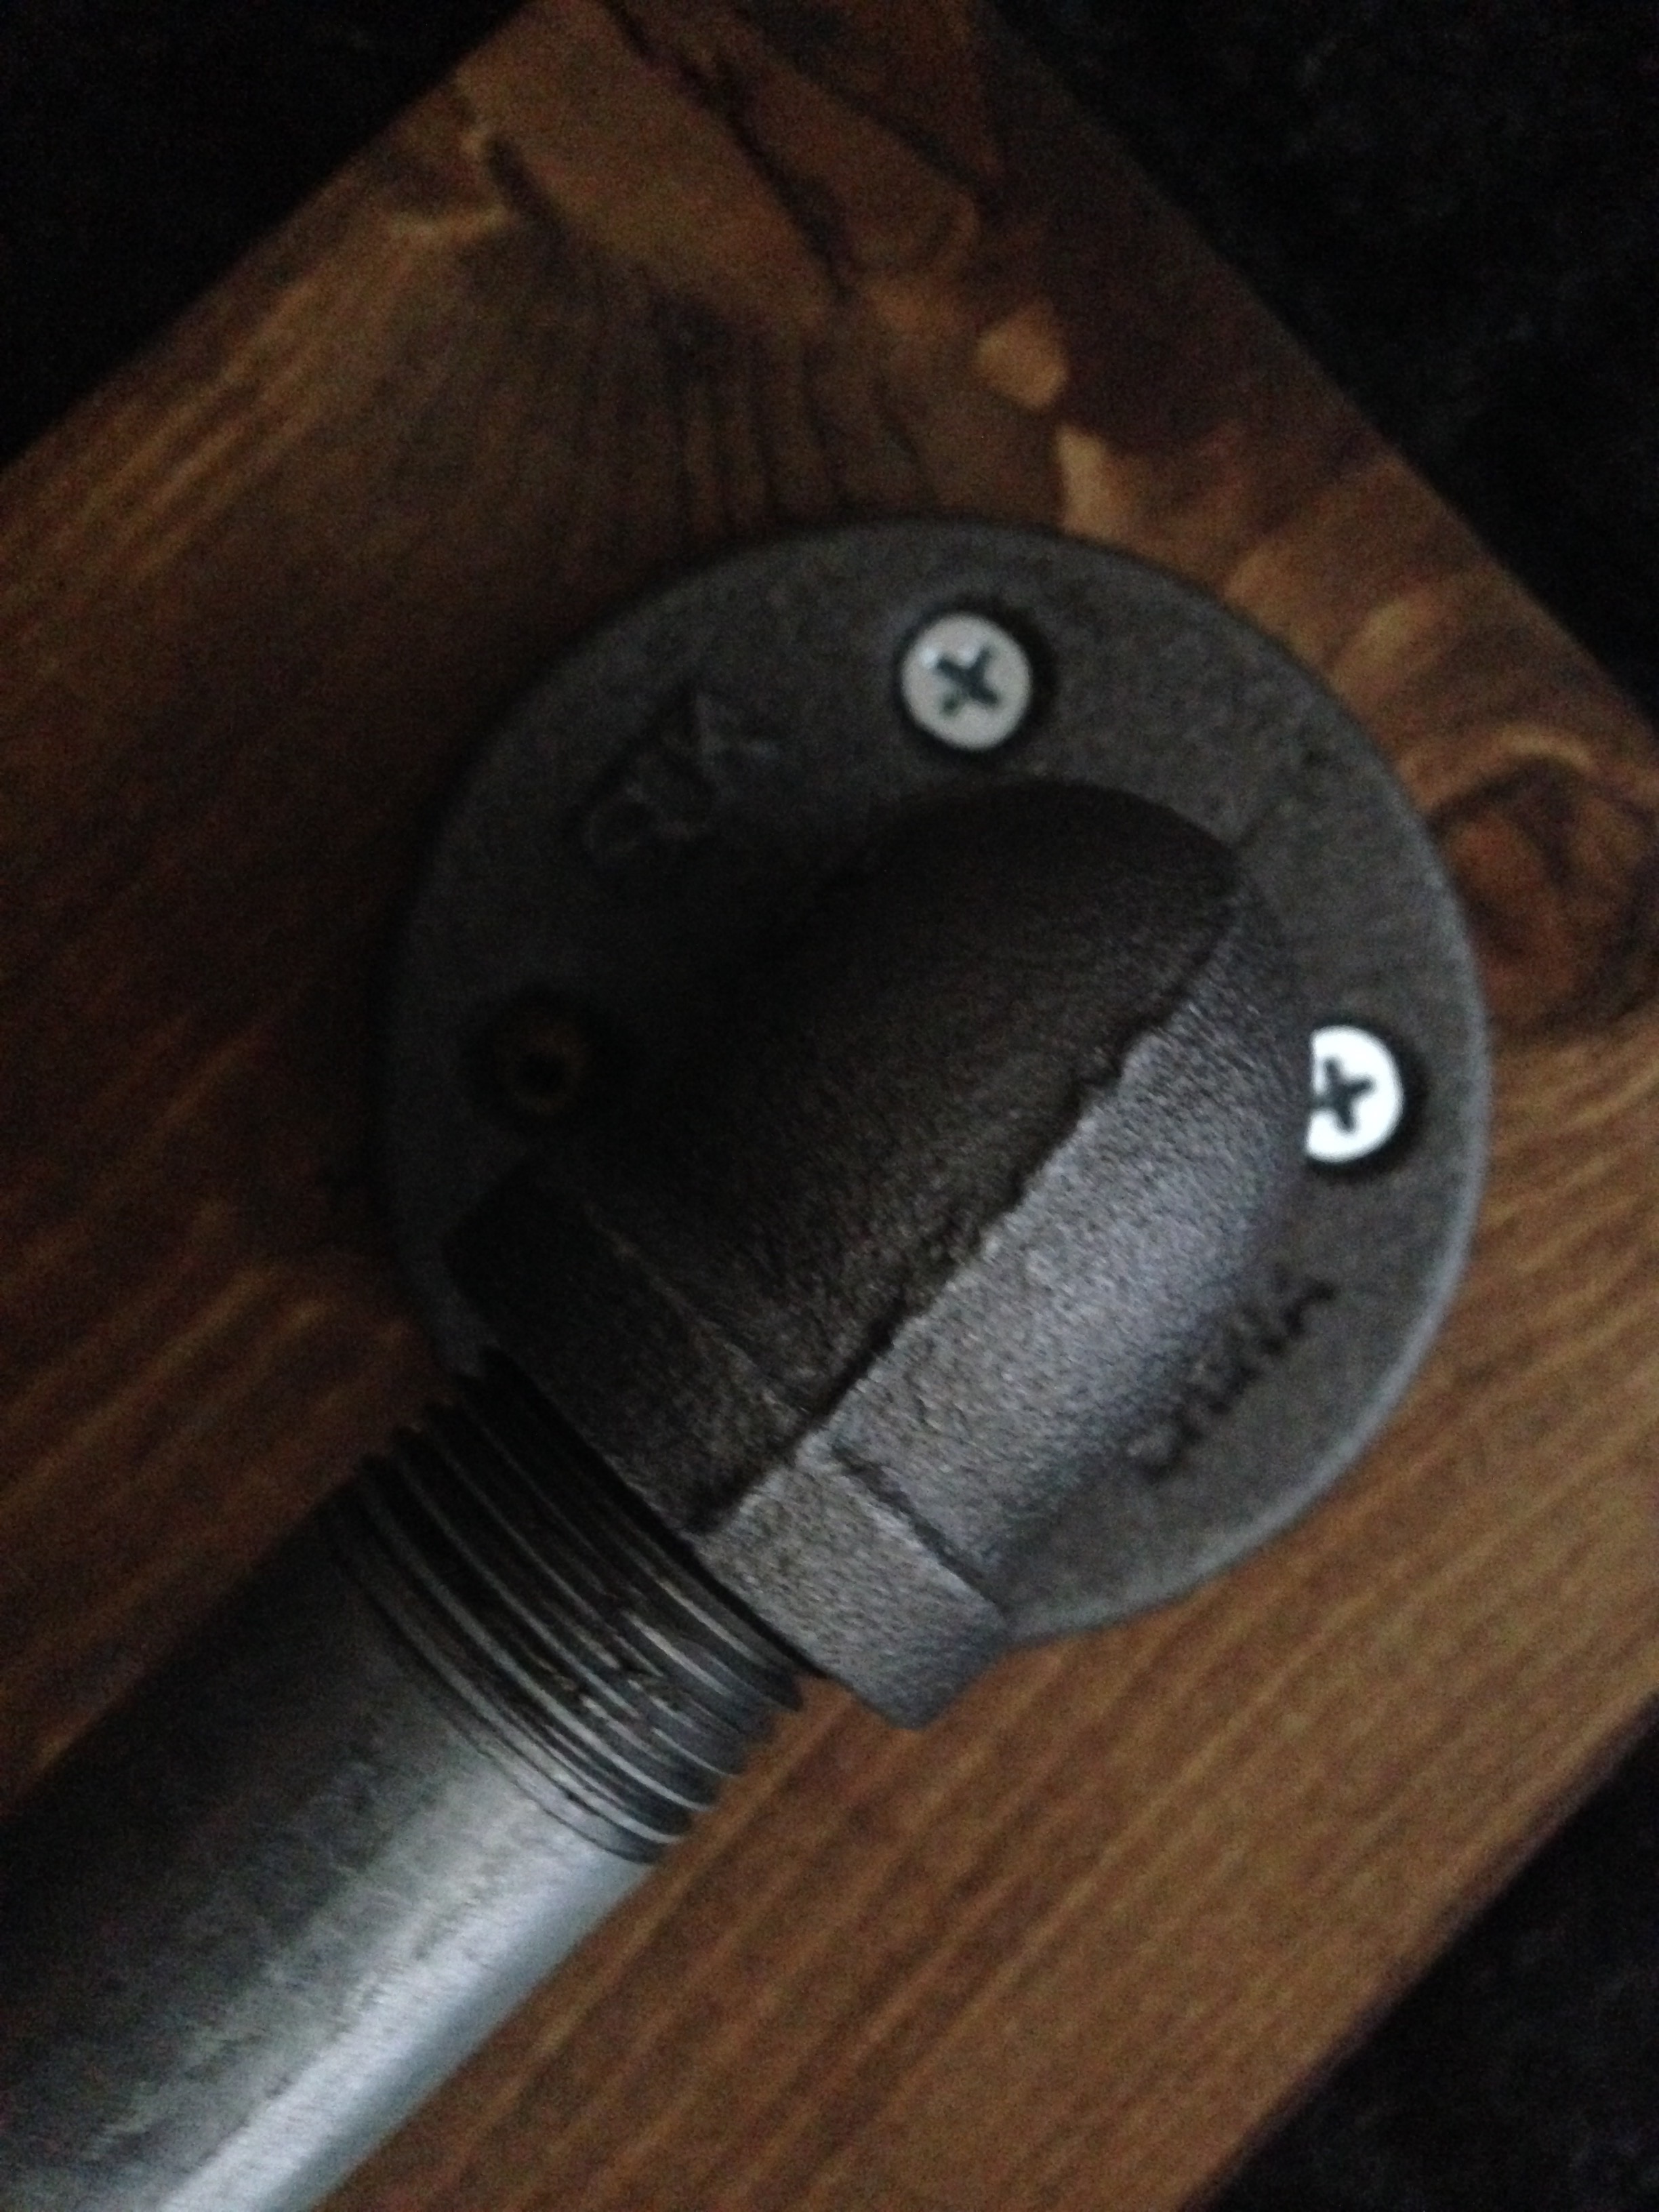
Before hanging the wood block back on the wall, I re-added the pipe hanging bar (by securing the pipe flange at each end of the bar to the wood with four wood screws).
The picture below shows how I have the pre-drilled 3/16″ holes on the wood ready to go.
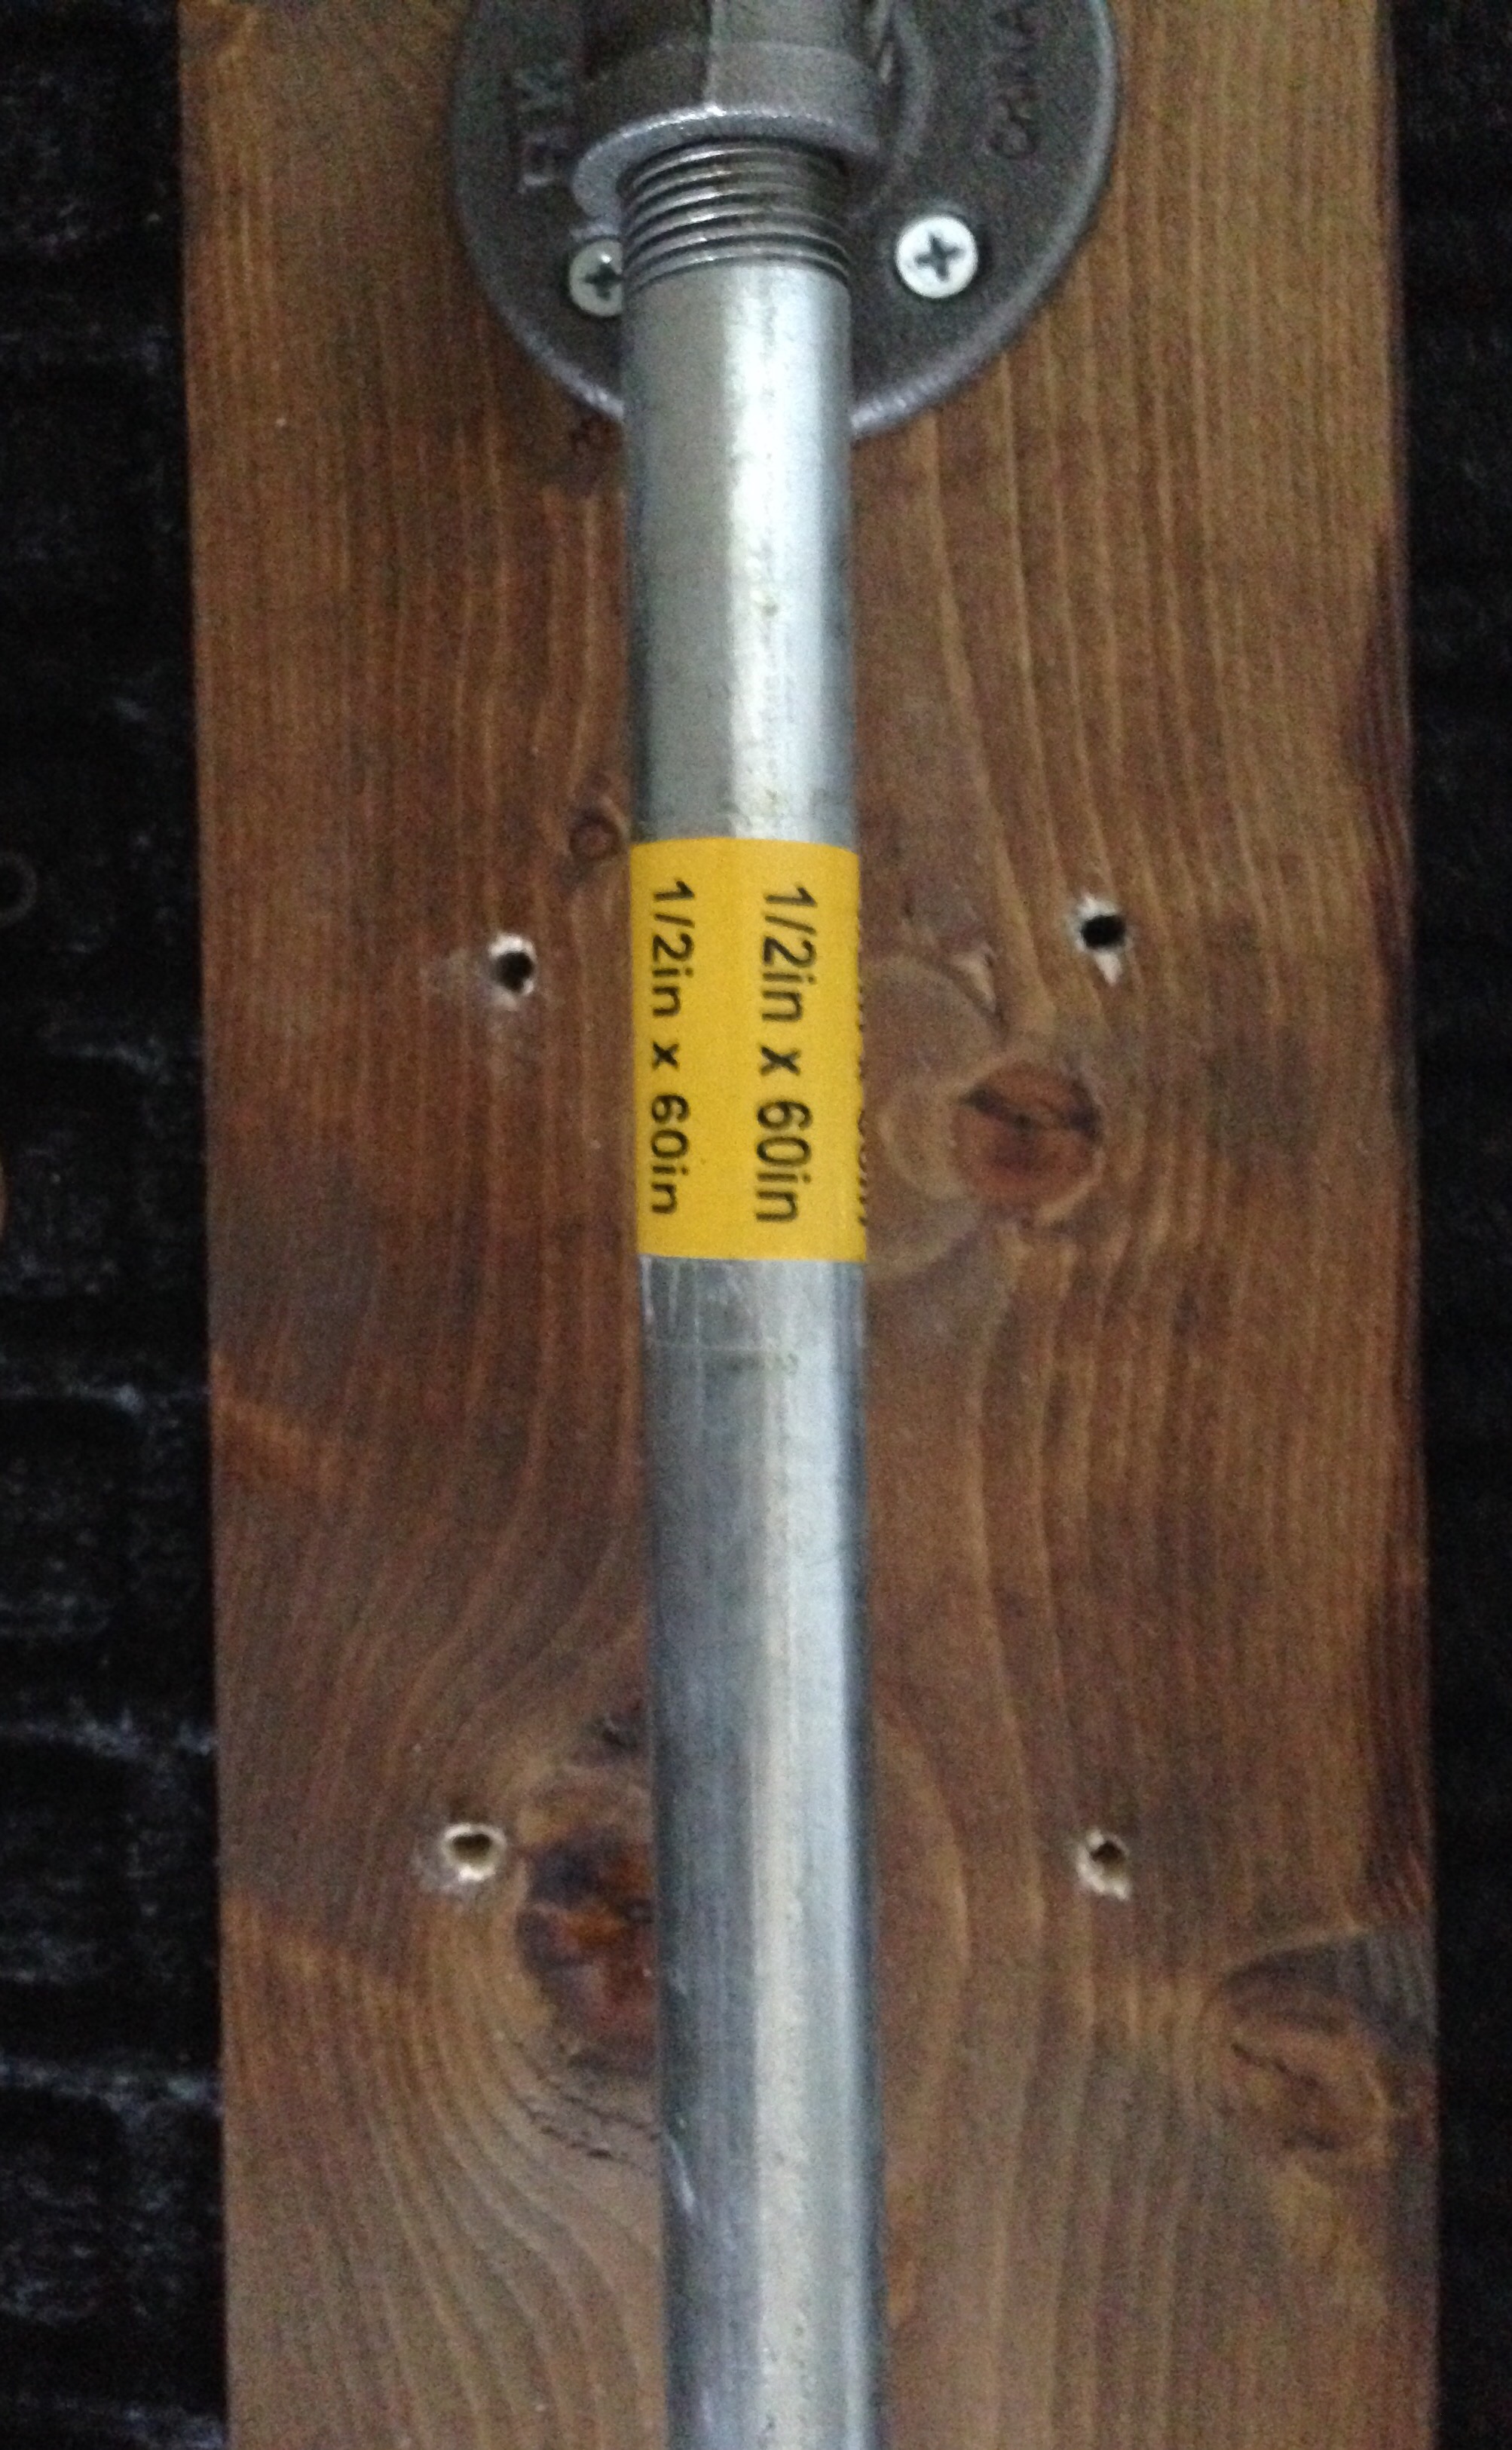
I inserted 4″ 3/16 machine screws in the holes on the wood block…
…and, after lining up each screw with the drilled holes on the wall, pushed the wood block in place.
I then used the power drill with screwdriver bit to tighten each screw to secure the wood to the wall. Holding the wood block up with the hanging bar was very helpful for keeping the mount in place while I used the power drill.
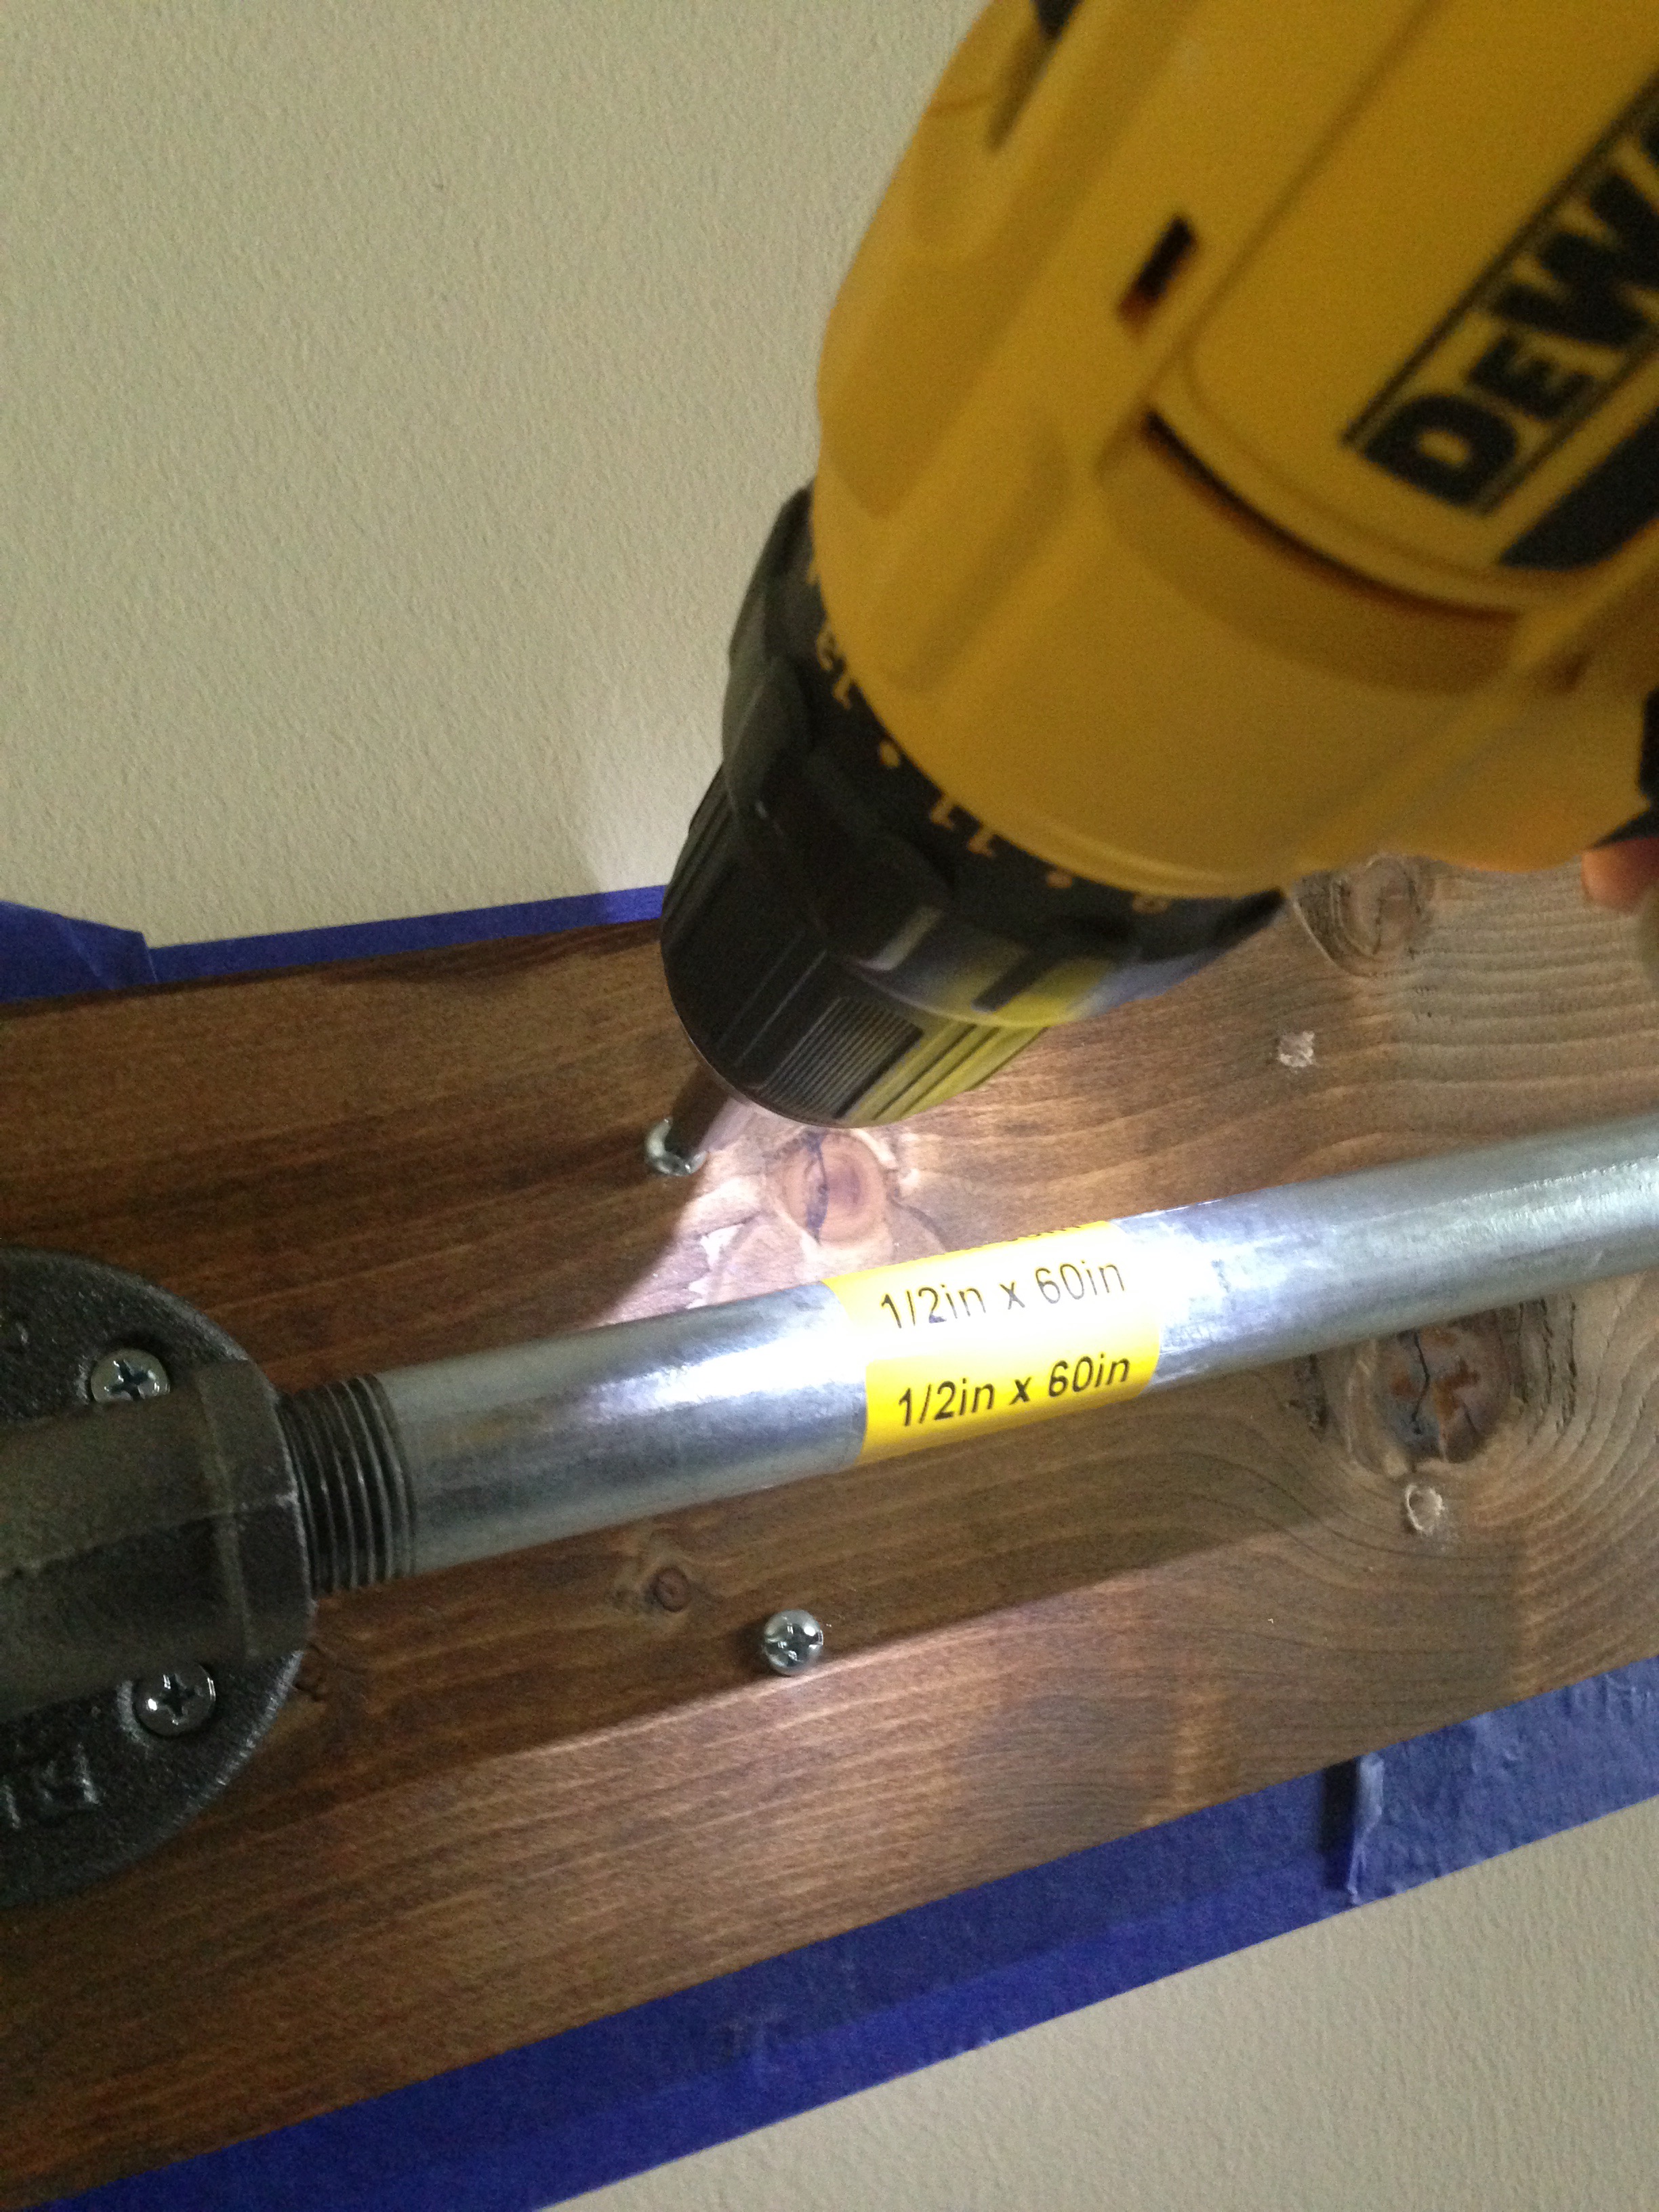
As you tighten each machine screw into the hollow wall anchor, it anchor grips the item being mounted from the other side of the wall surface (in this case plaster). So this makes for a very strong hold.
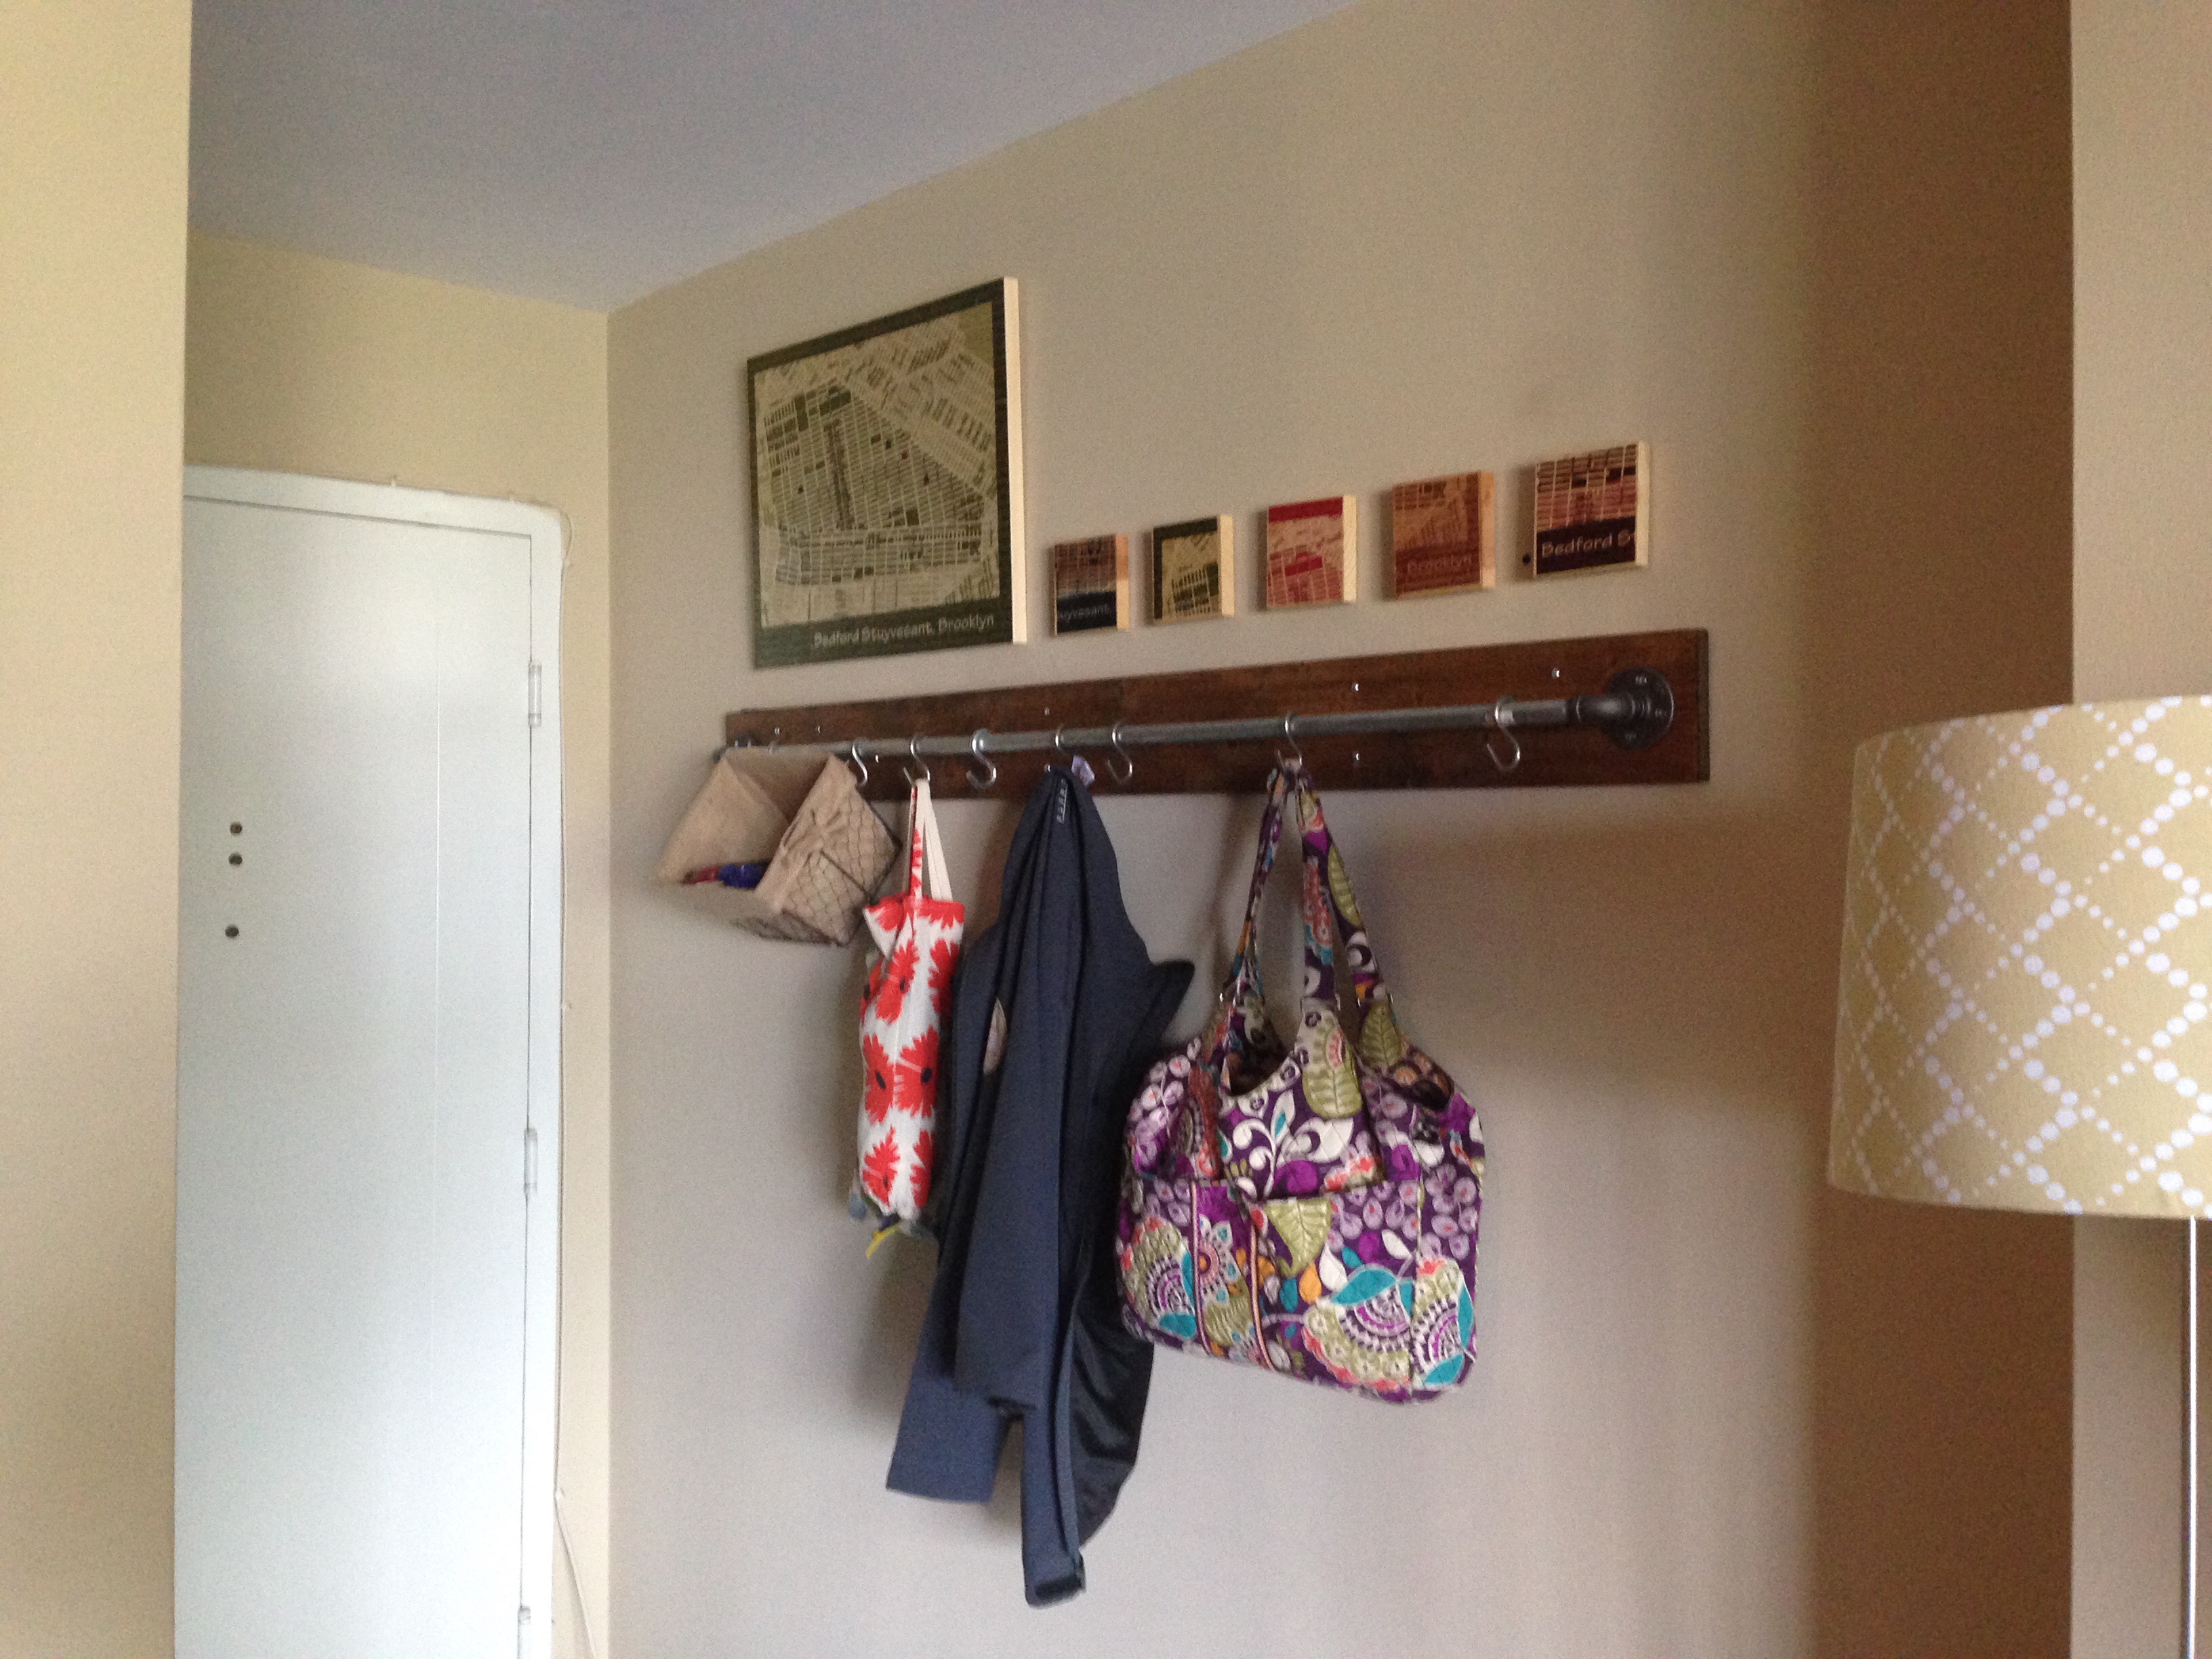
What better way to test the strength of the mount than my Vera Bradley work bag?
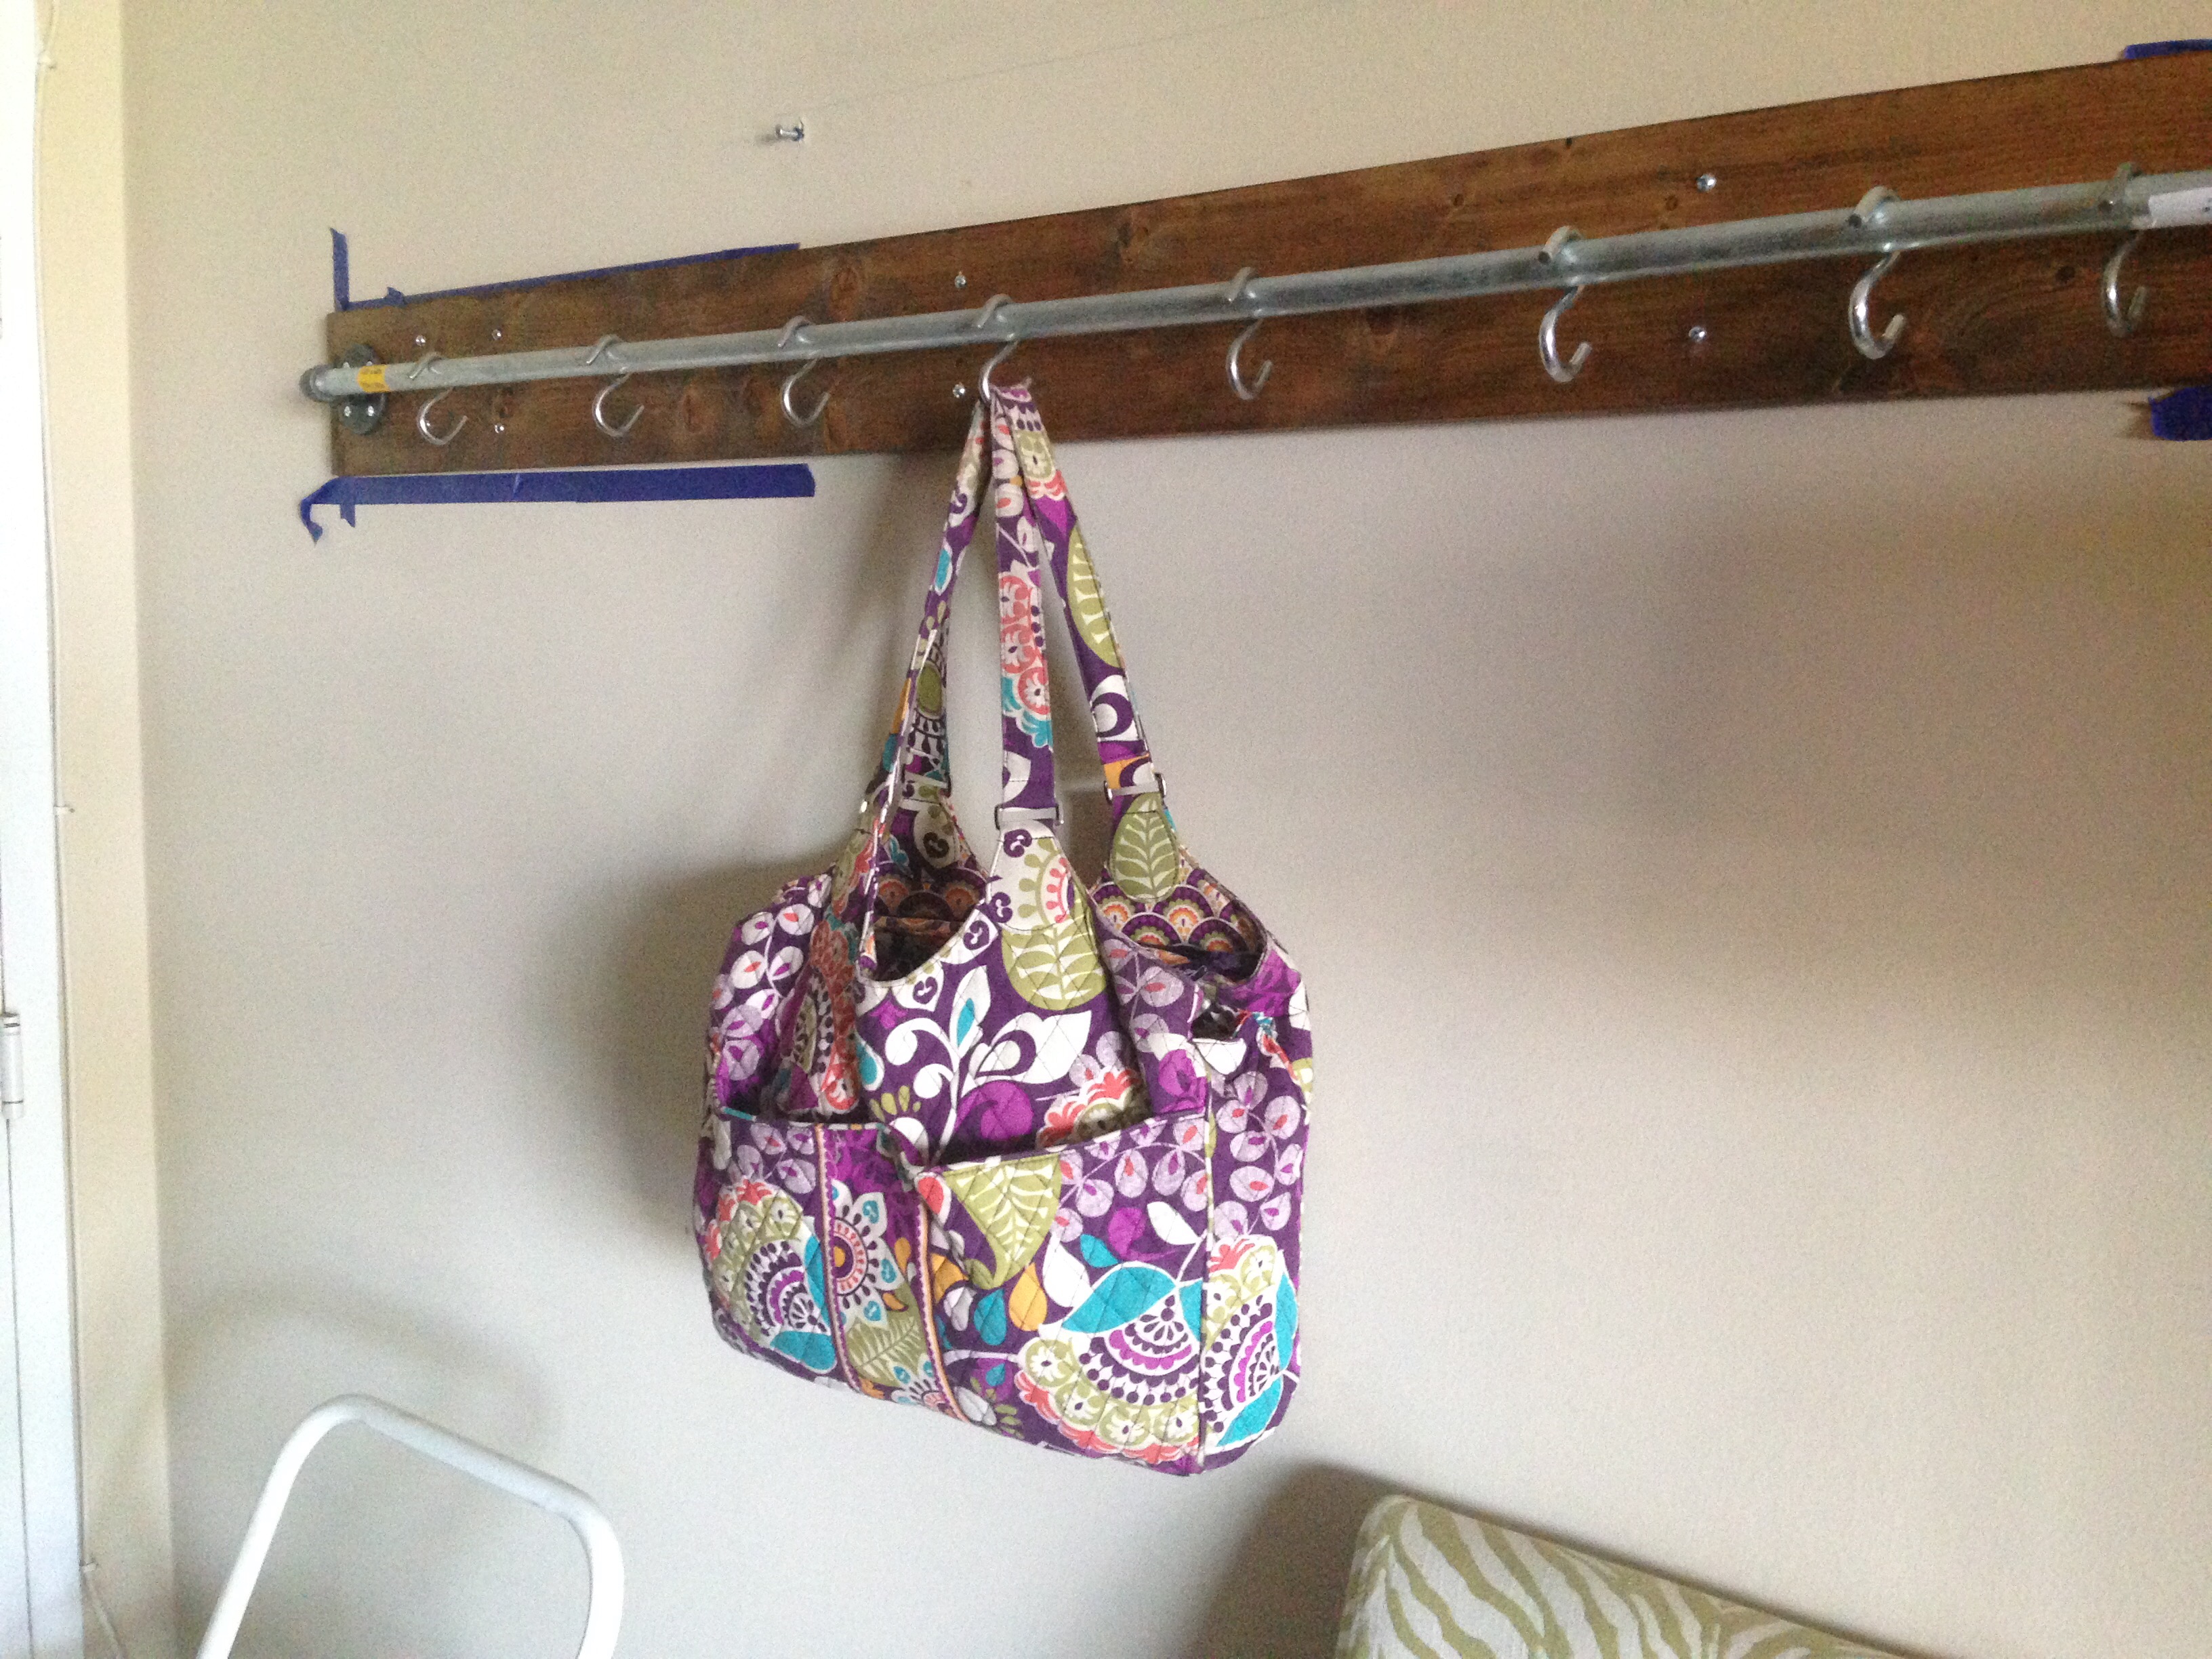
The entire mounting process took me about 40 minutes to do (with minimal grunting and cussing on my part). And a split-second assist from Bruce who helped hold the wood in place while I tightened the initial screw at each end.
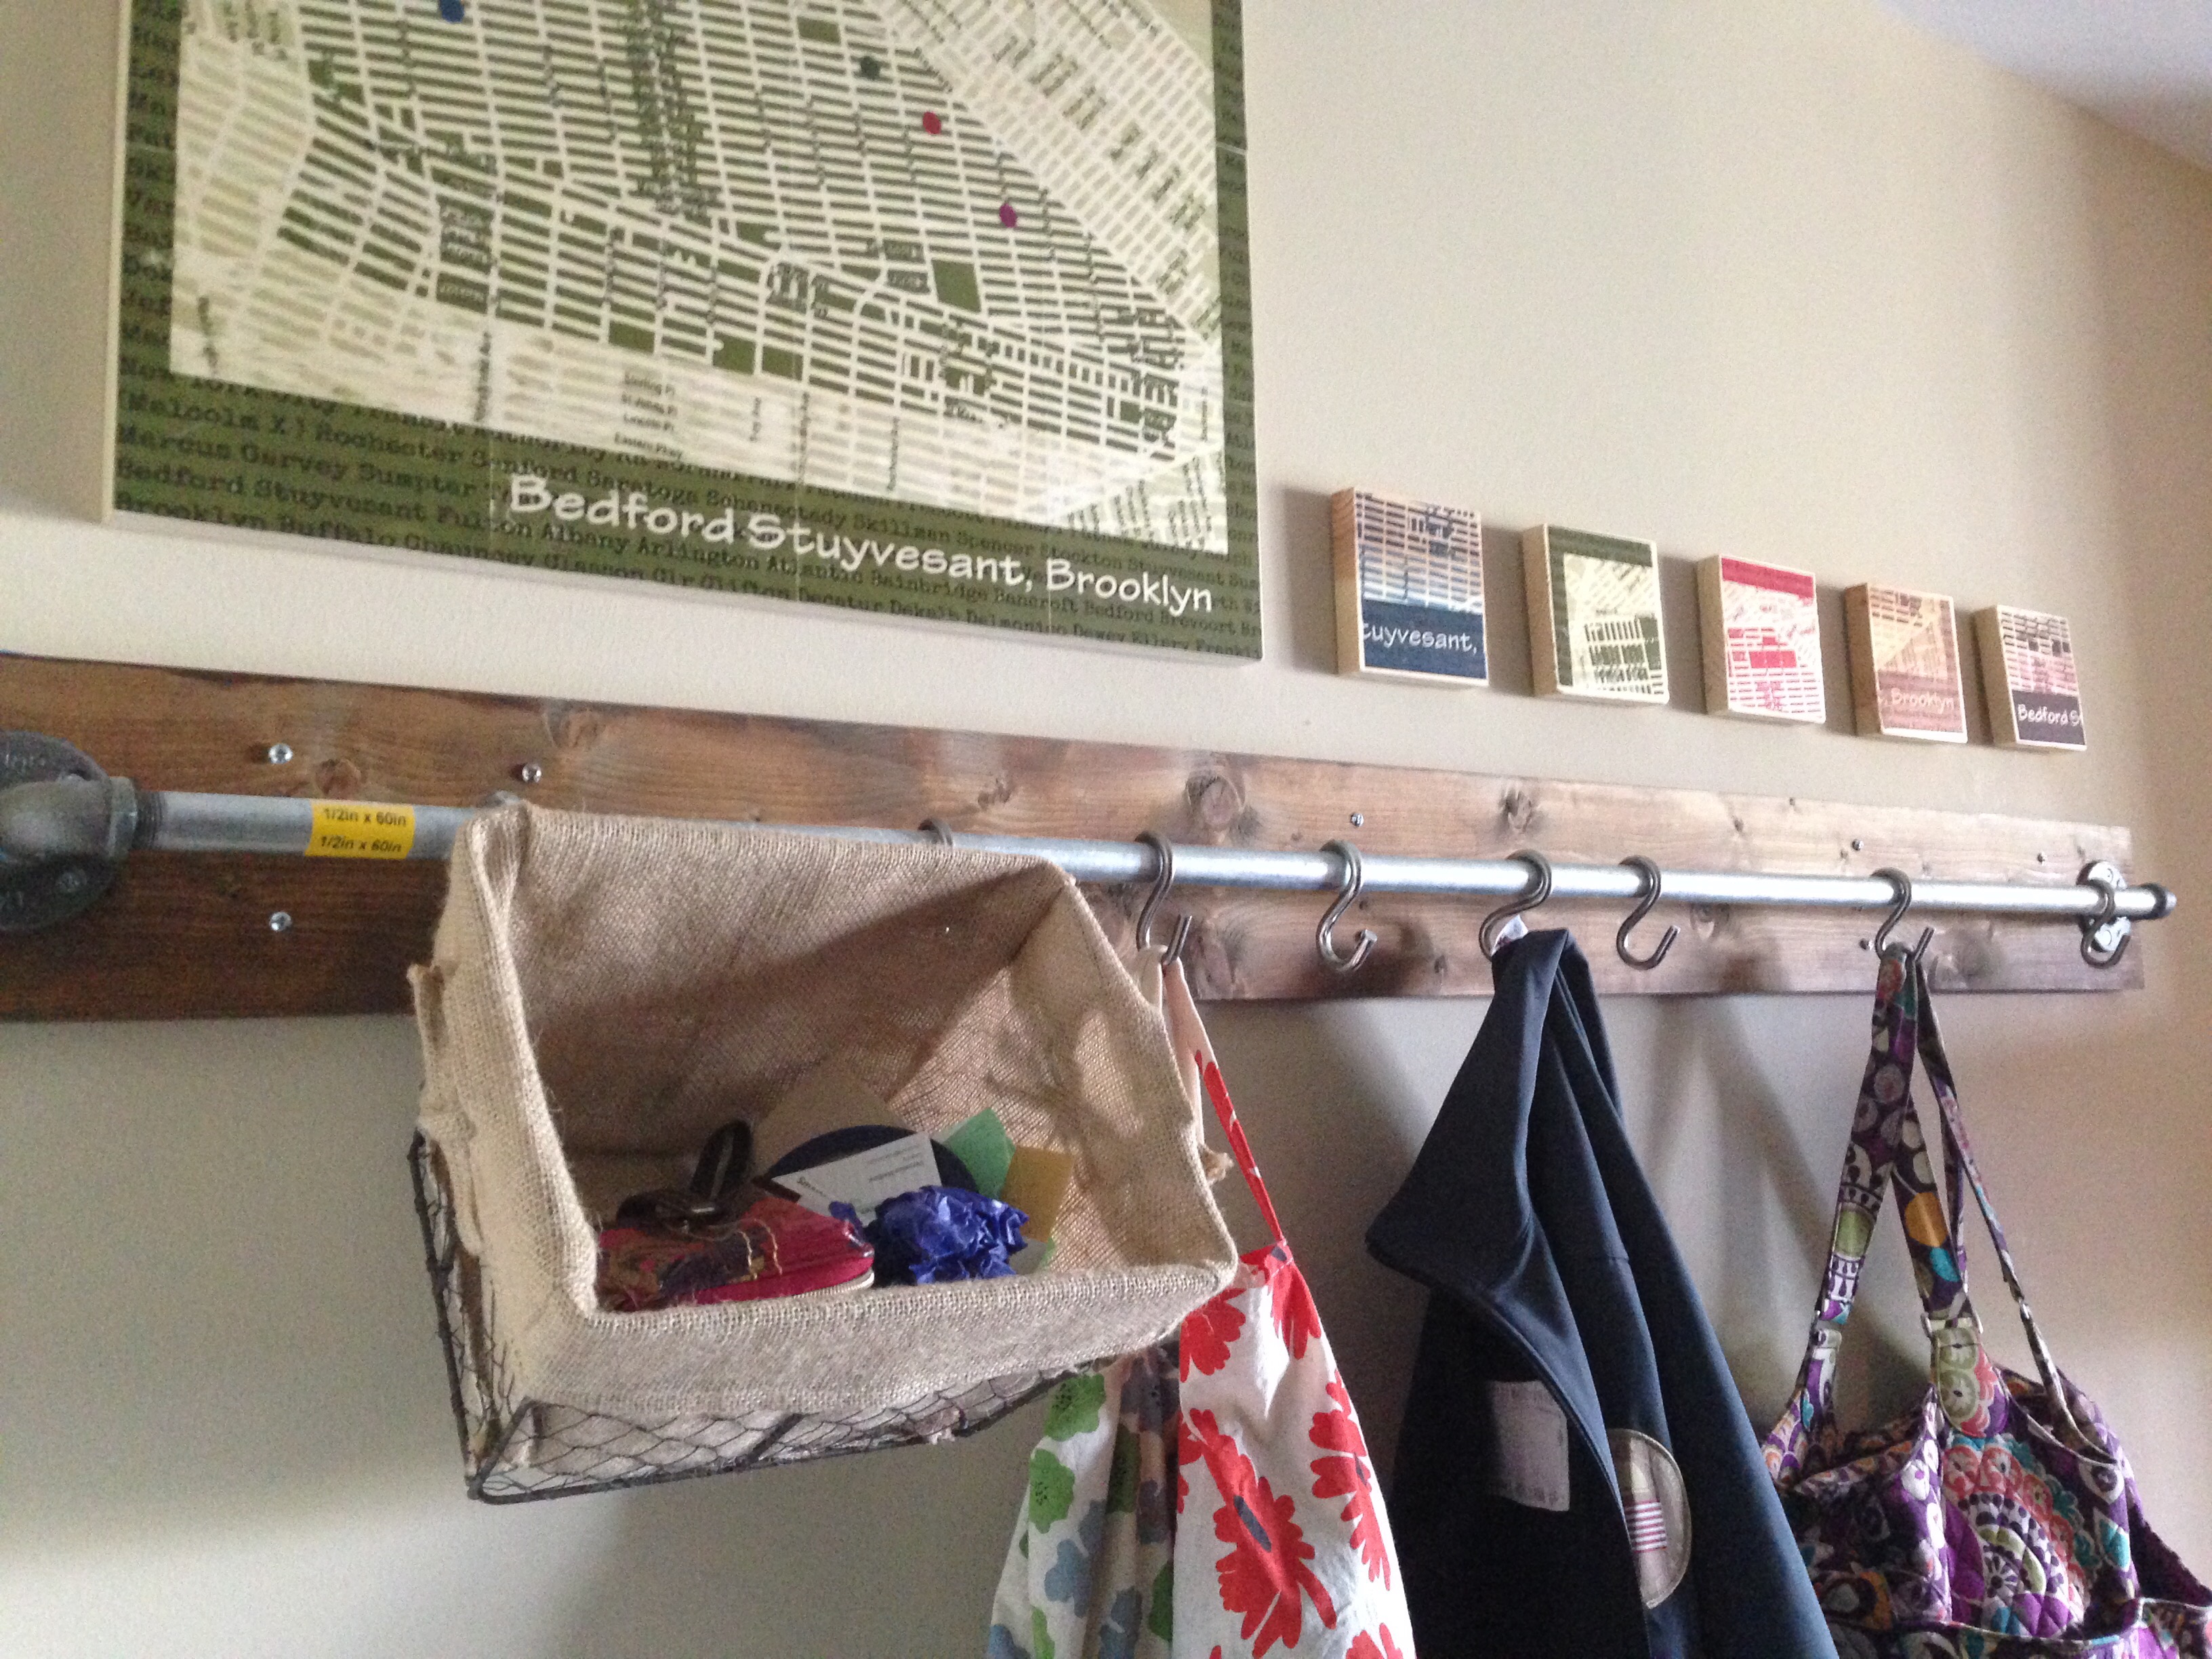
Some artwork to complement my pipe hanging bar (my Bedford Stuyvesant map wood panels seemed like a good choice), and this mount is complete!
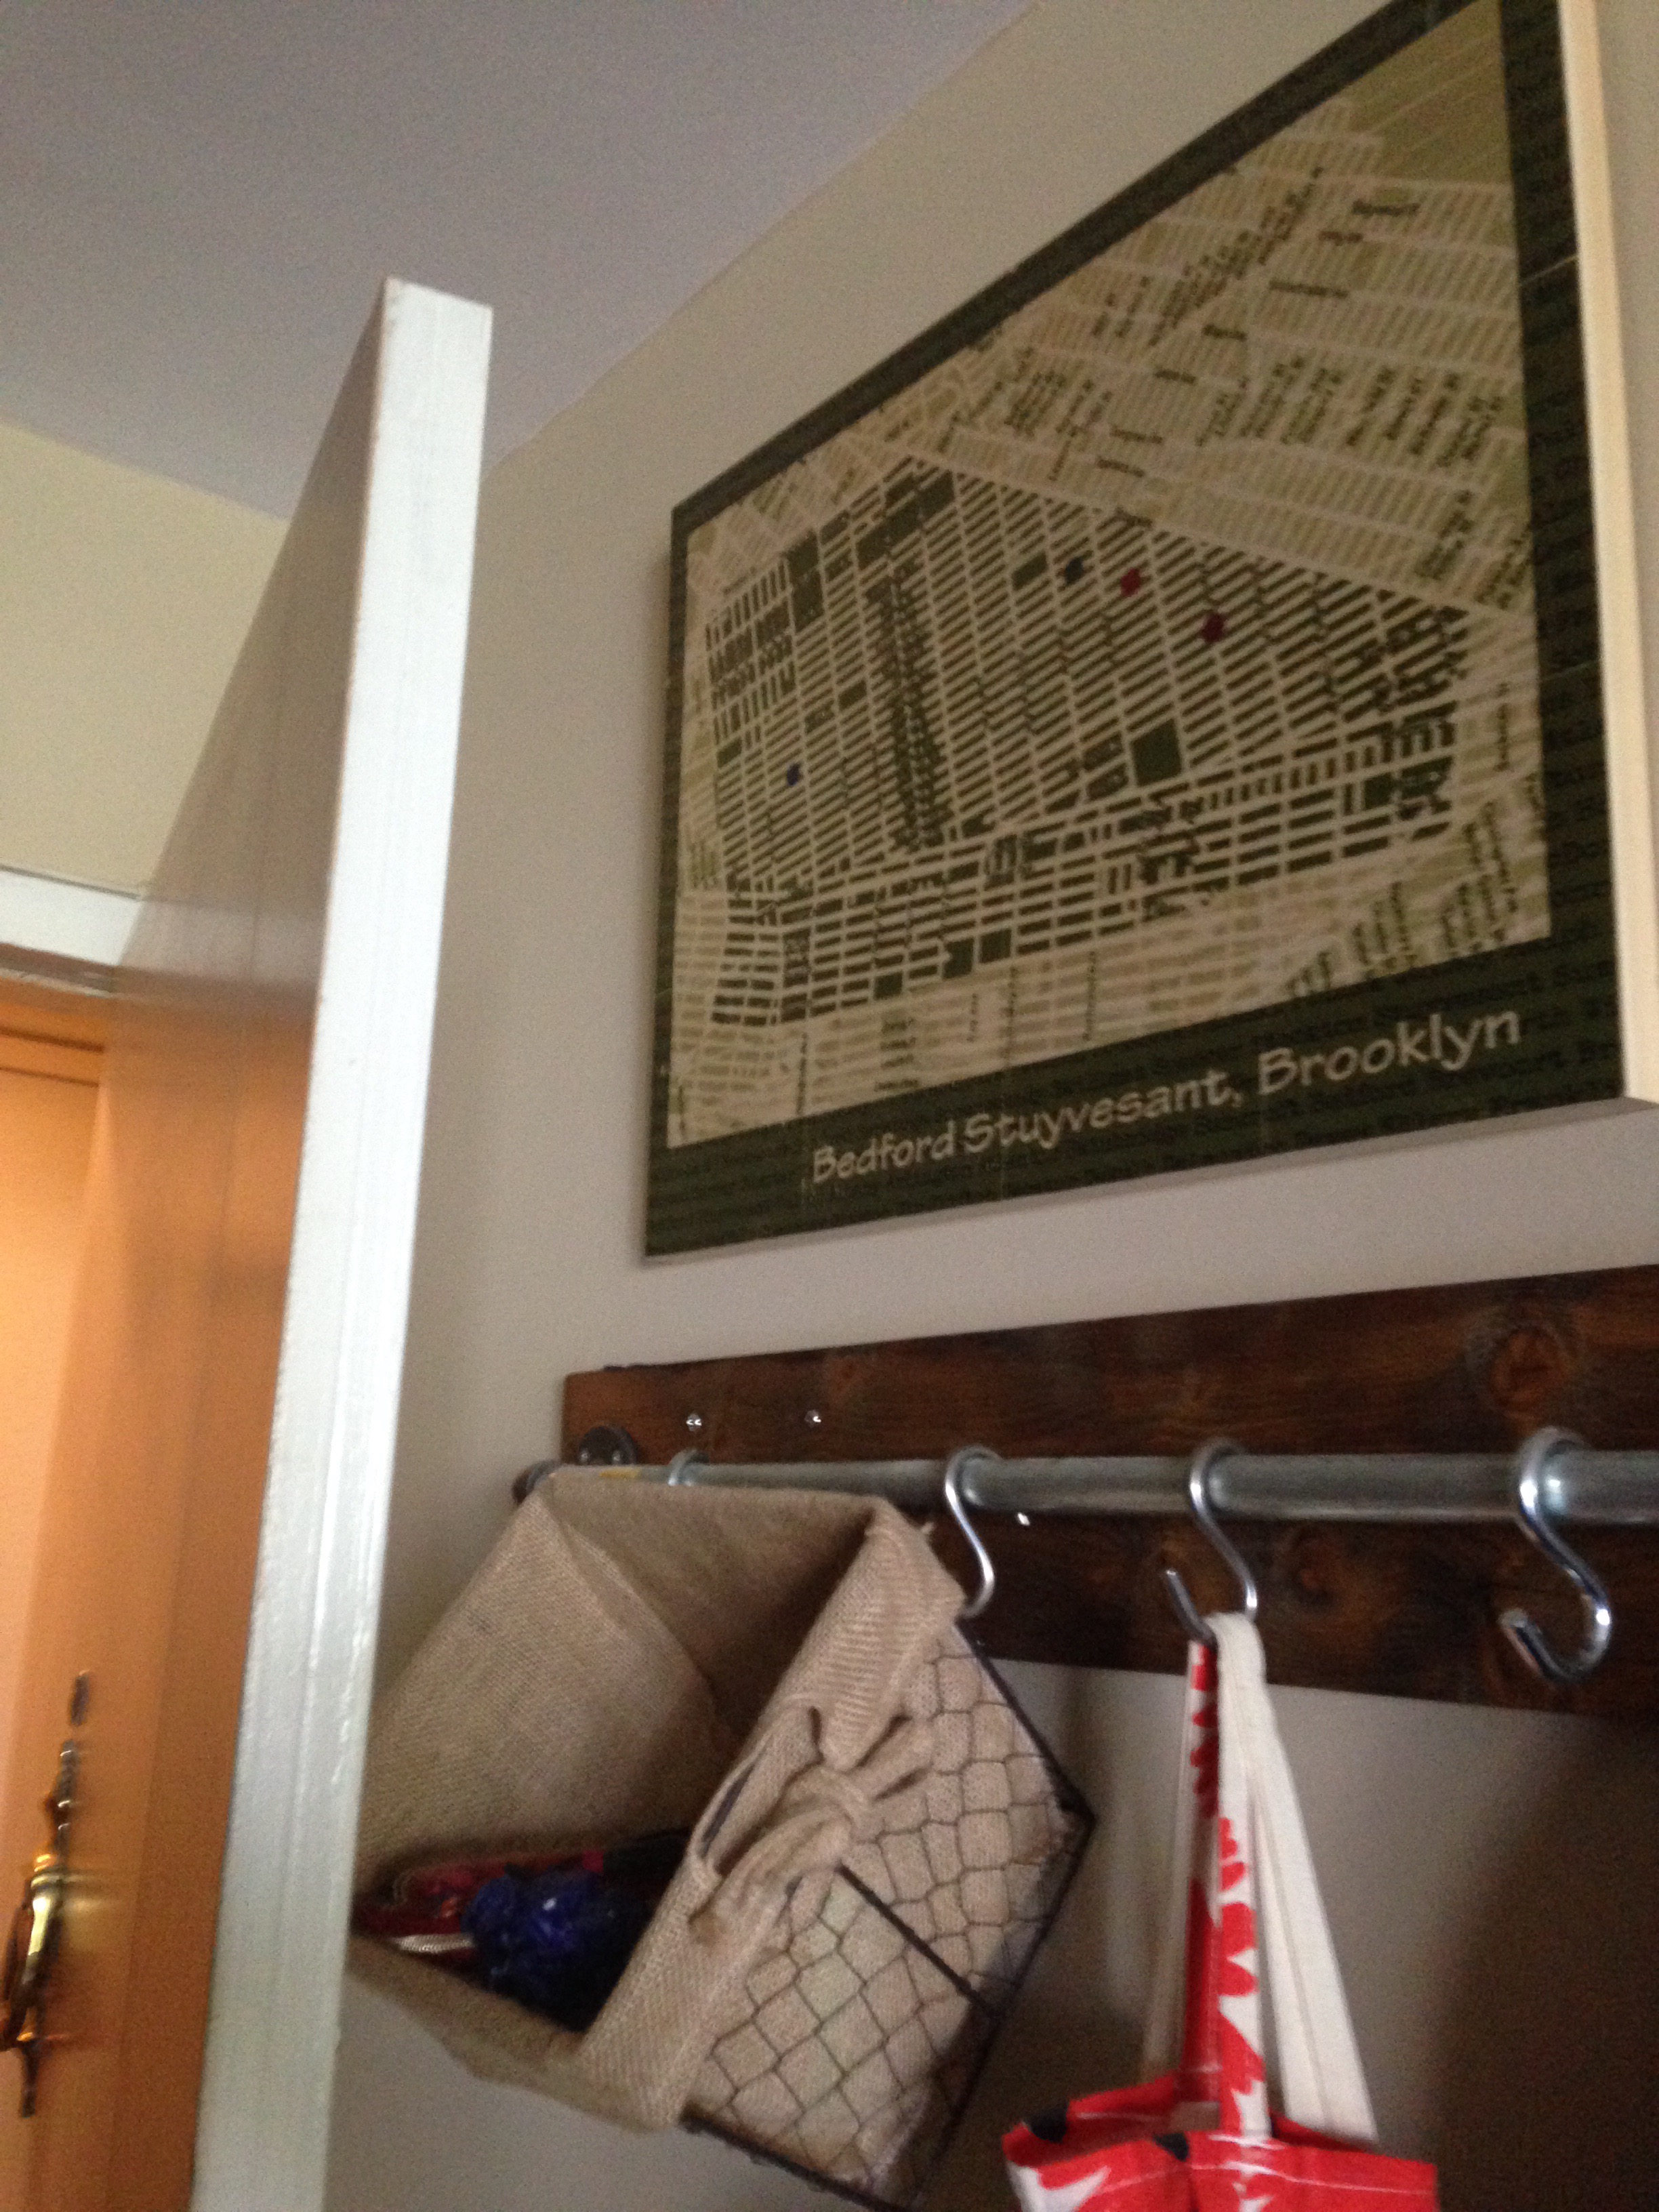
So what’s on the hooks? A wire basket I picked up from Michaels, a couple of linen printed bags from Tai Pei Trading Company, my Vera Bradley bag, etc…
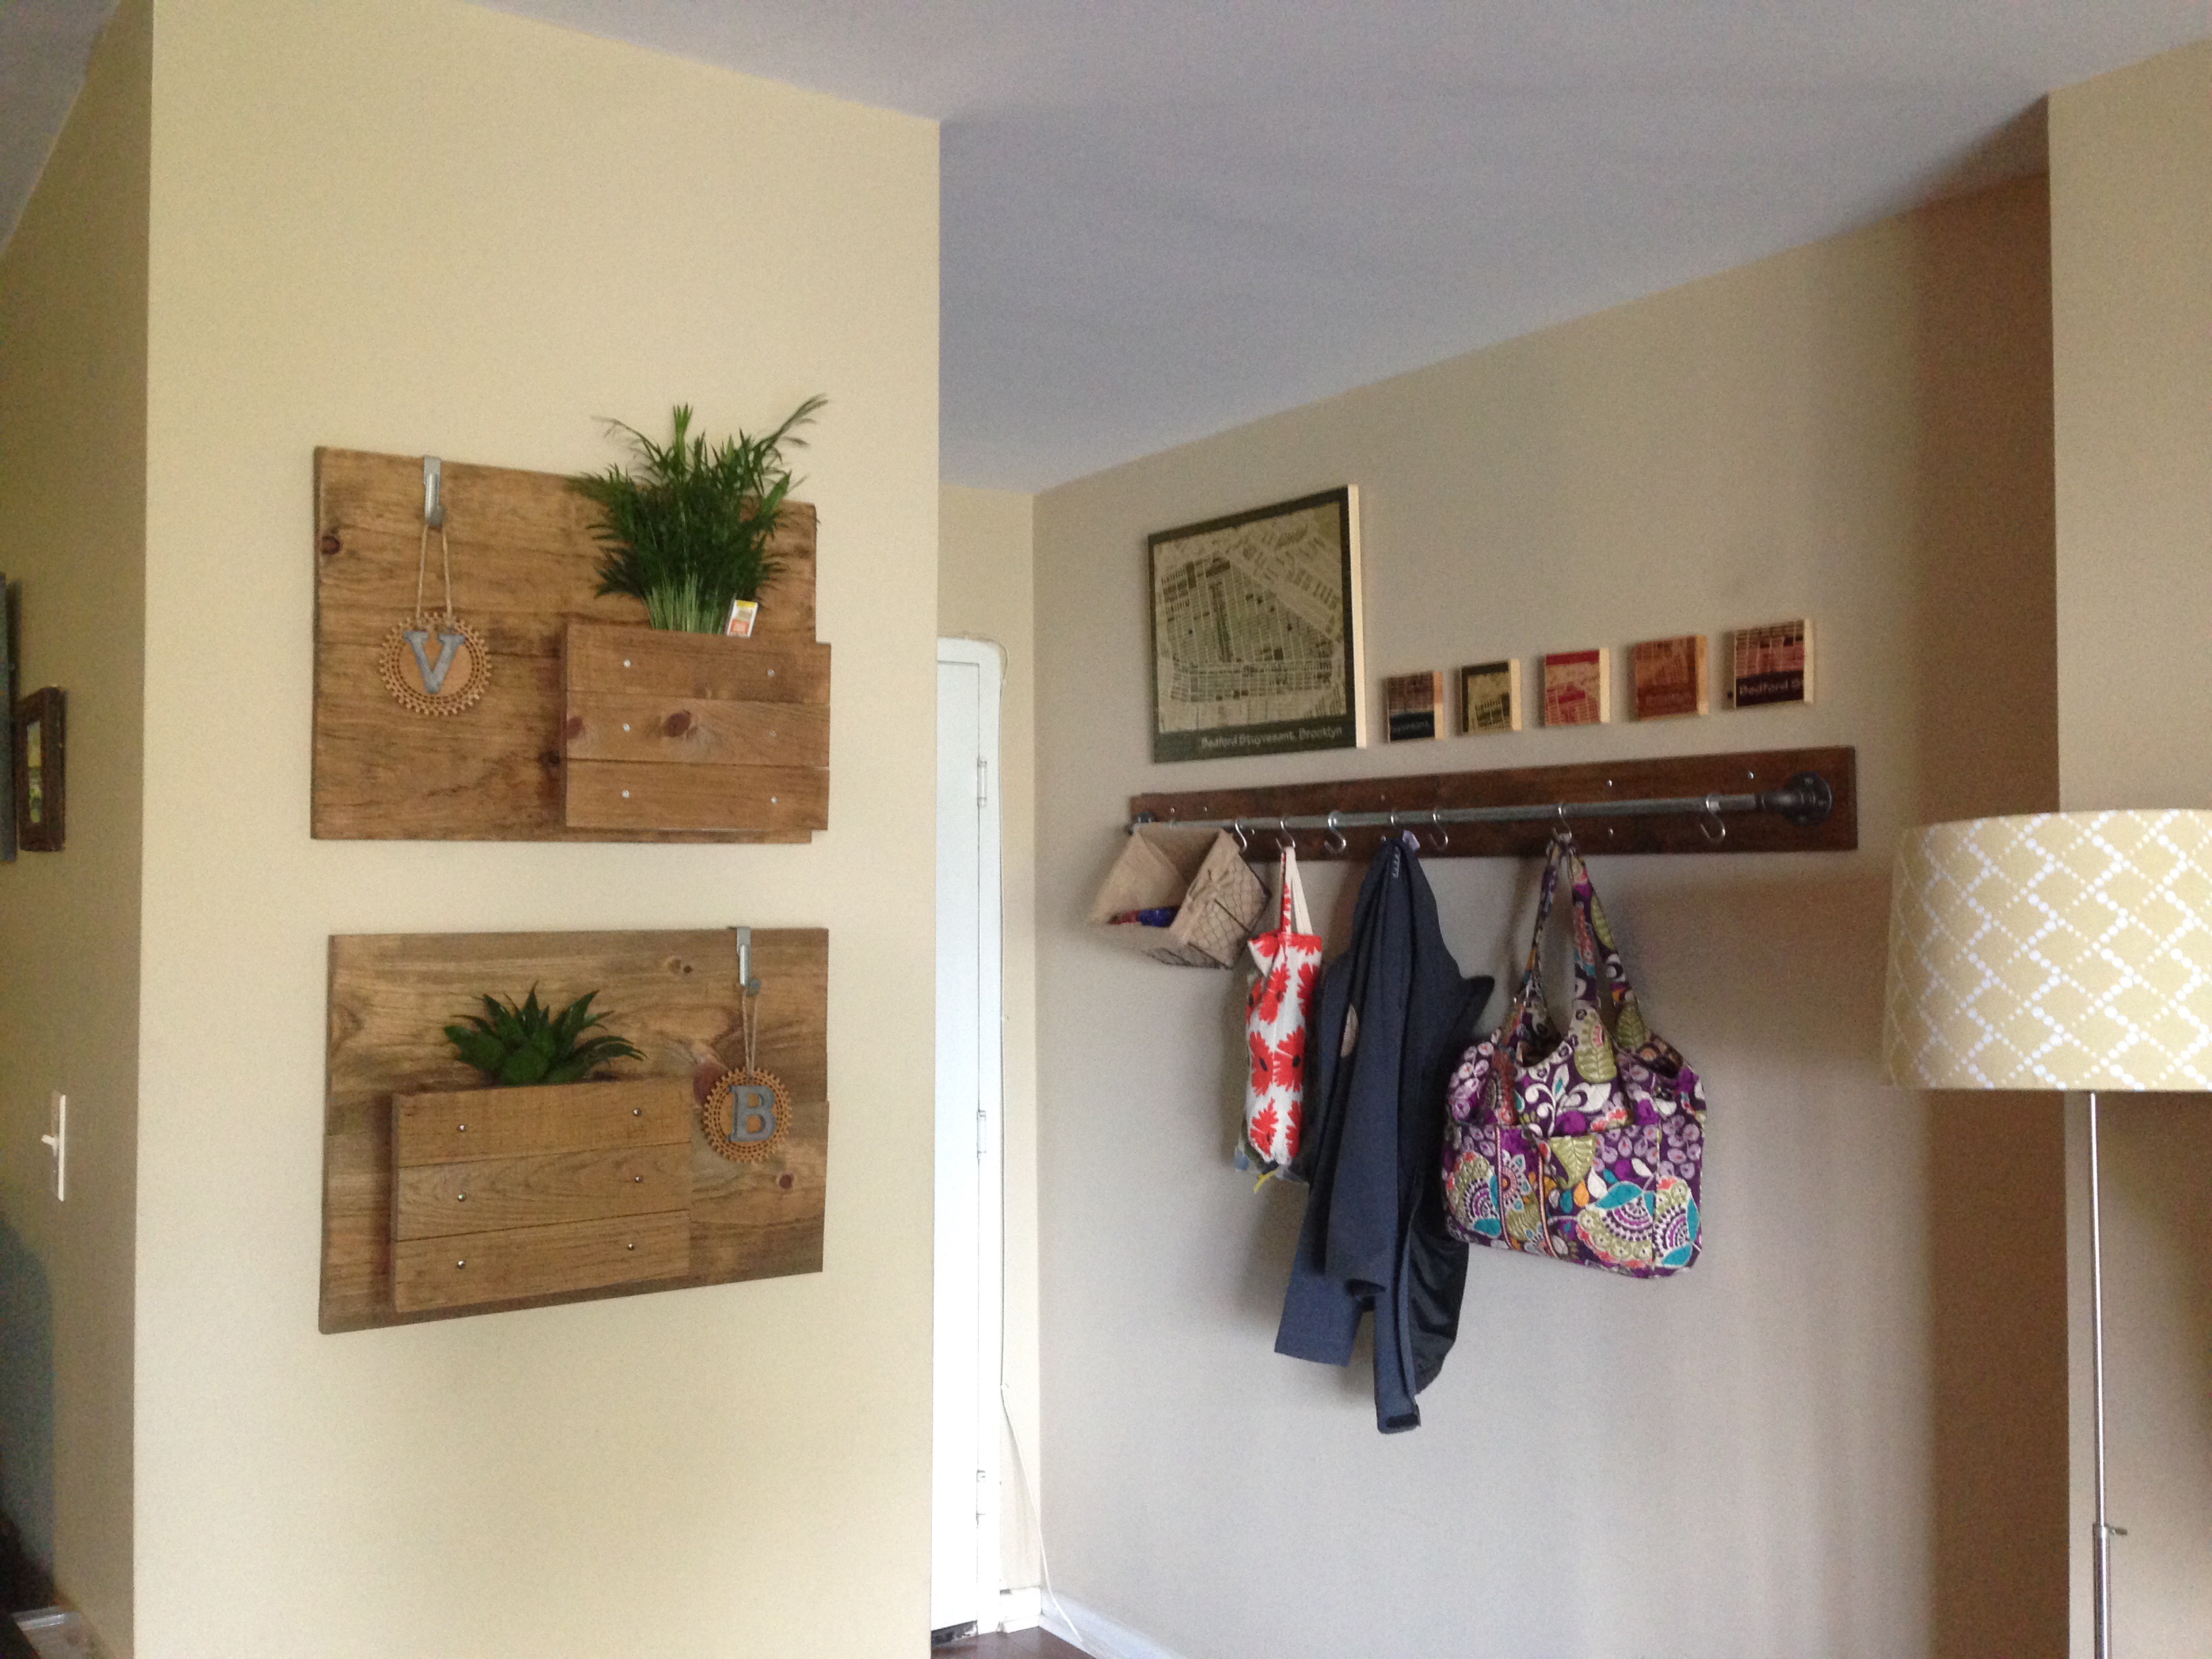
The entryway after picture is looking pretty good!
So, does it pass the front door open test? Why yes it does!
It took me long enough, but I finally have my new entryway mounted hanging bar. It was well worth the effort and the wait.
There is one more part to this project puzzle…adding the hanging organizer. I will save that for another day. In the meantime, too busy enjoying the fruits of my labor. V-

