Wall mounted rope pendant lights in the entryway
You may also like:
May 29, 2016: Last weekend, while down in Virginia Beach with family, I spotted this table tent ad of a rope-pendant light while having breakfast at the Cracker Barrel.
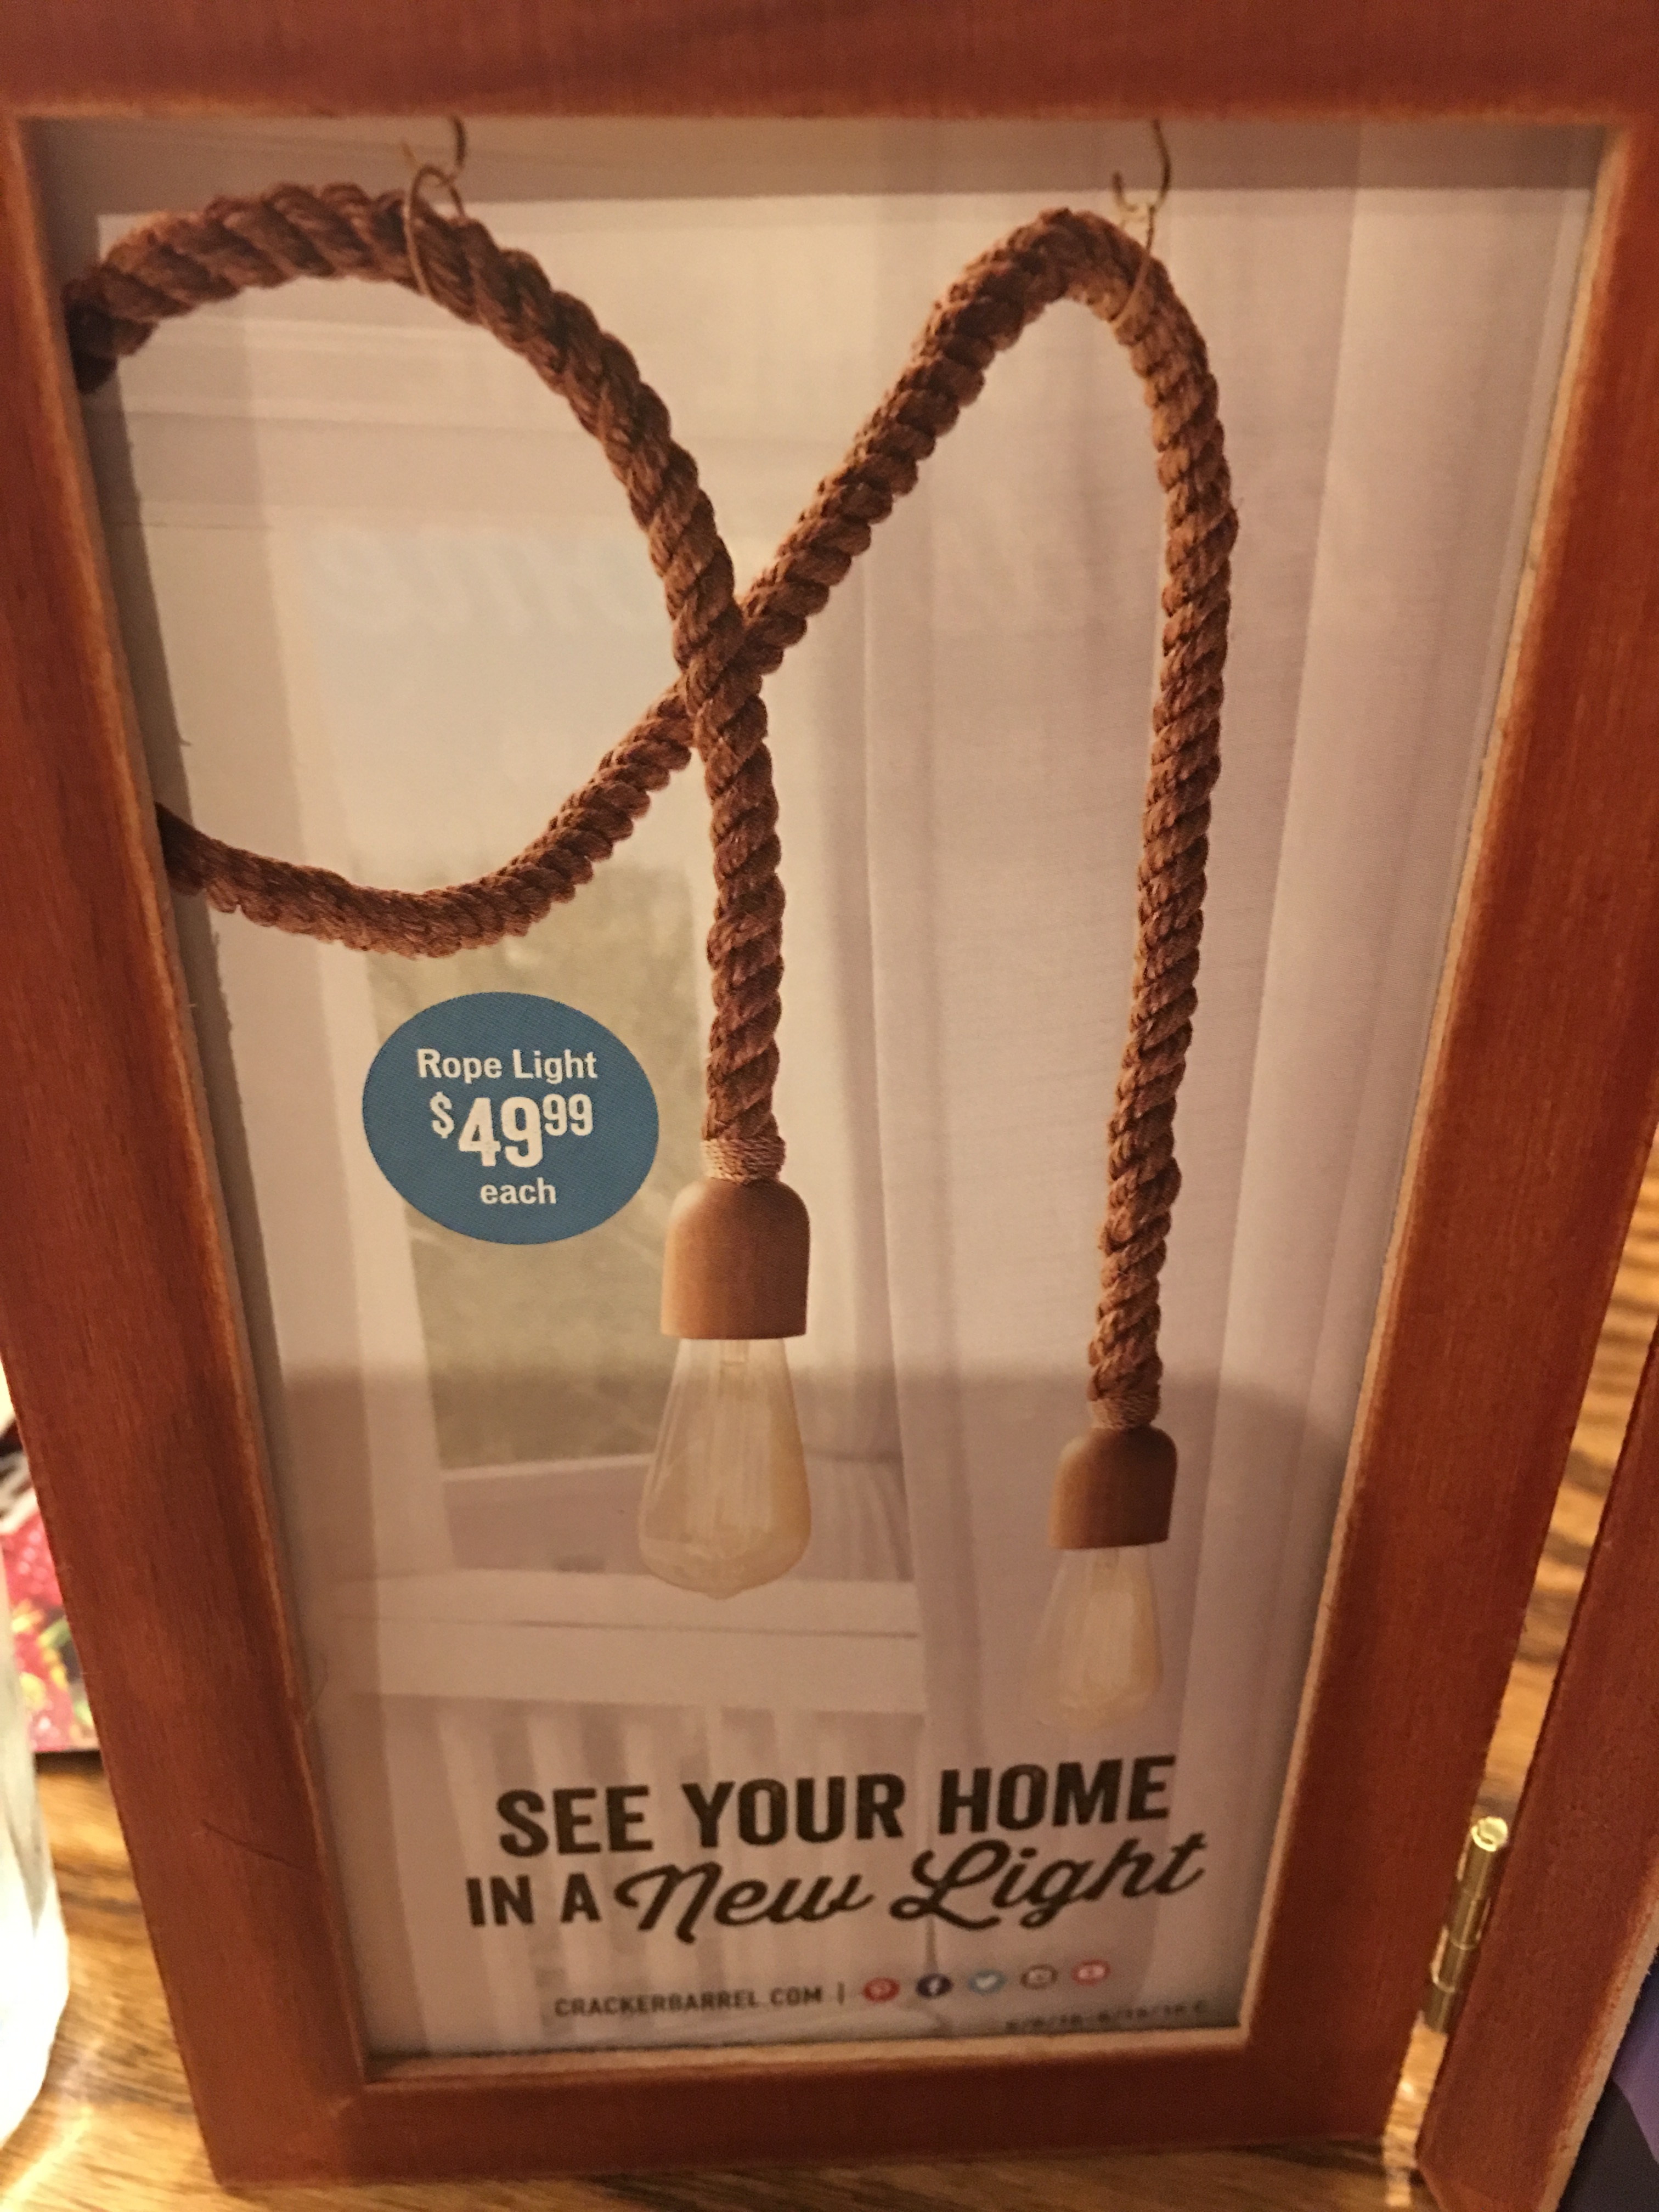
I was so dazzled (and surprised!) at the cool lighting item that Cracker Barrel had for sale. I mean, really? Cracker Barrel sells lights? I know that there are some home decor items in their General Store, but I had no idea that they offered lighting solutions.
While at the table, I checked their website. Yep, Cracker Barrel has a lighting department. With product options available online and in the store. Wow!
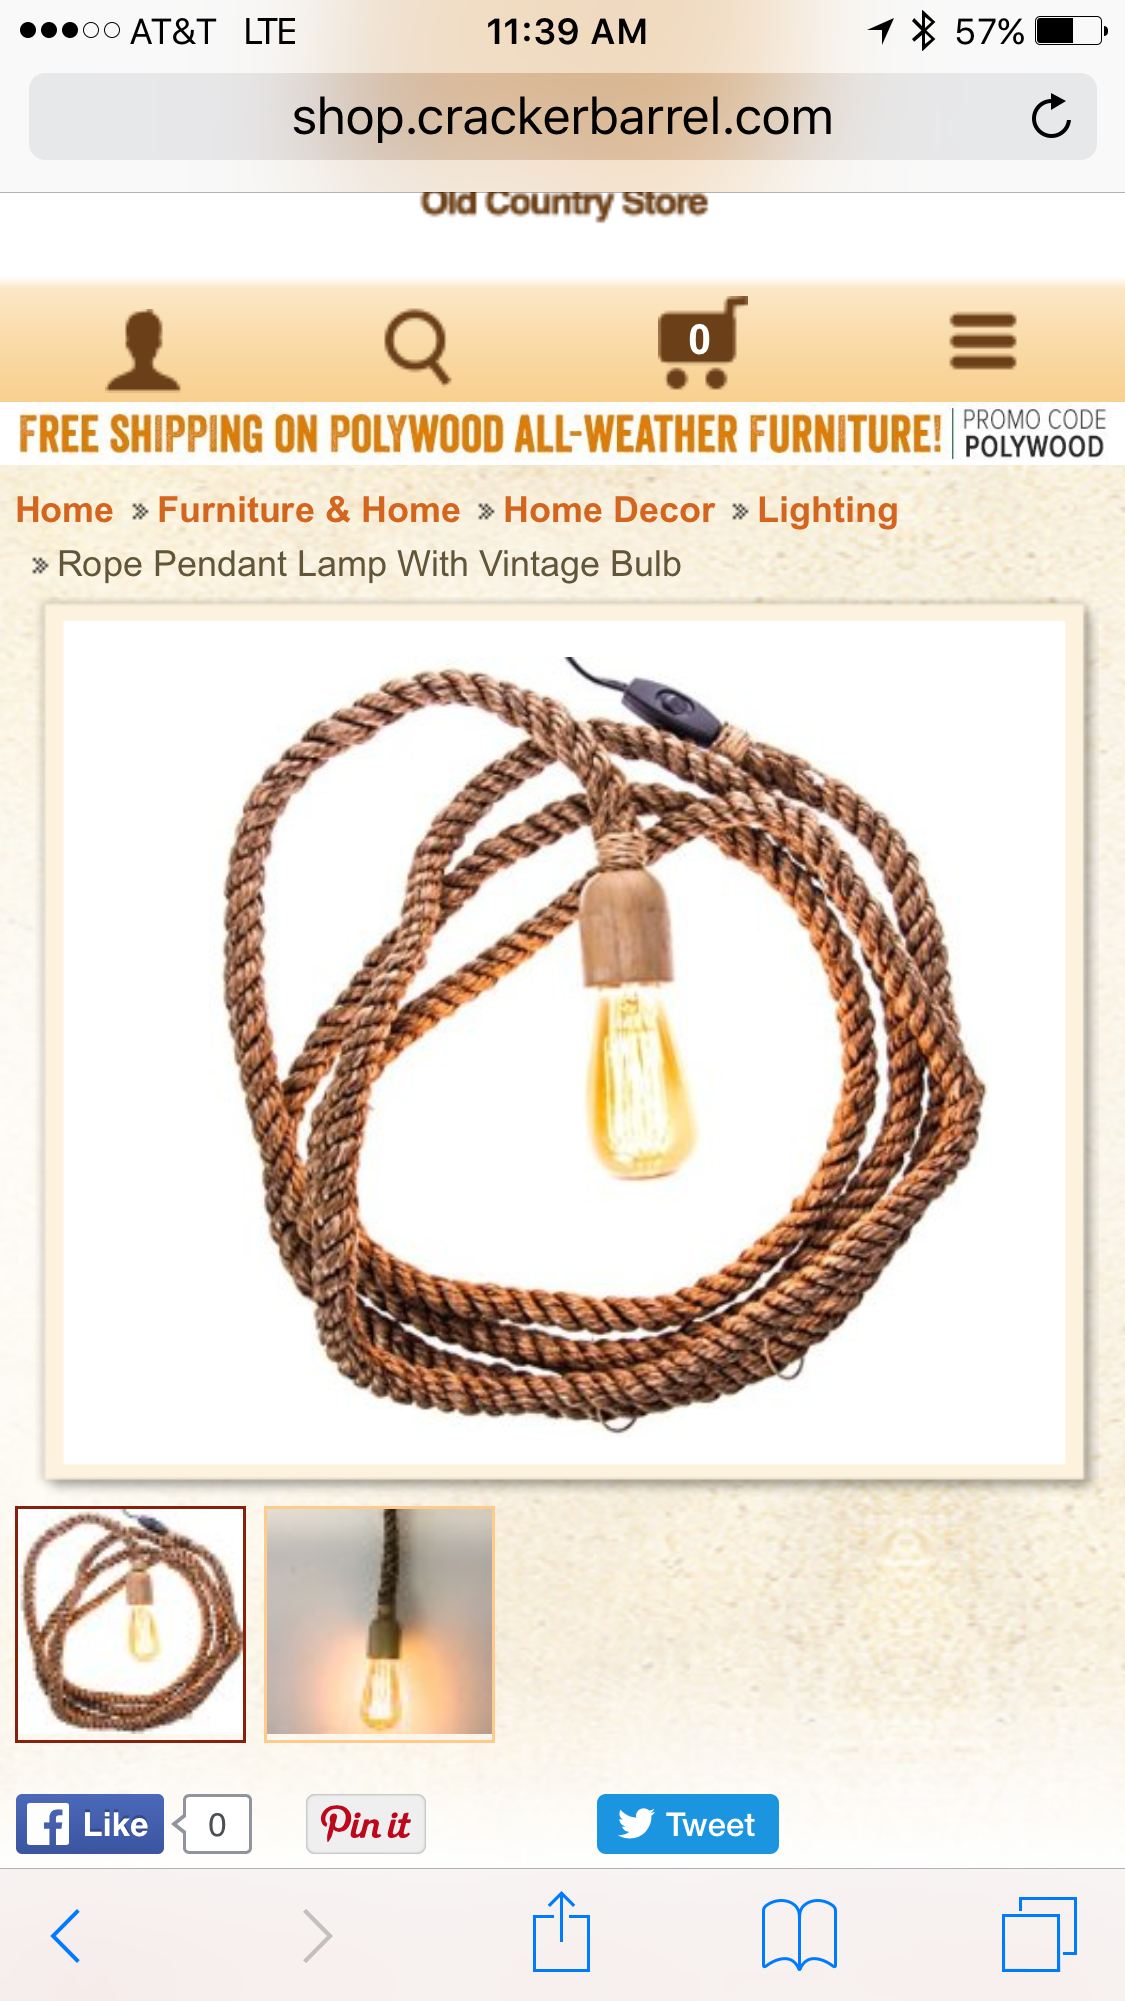
I went in search of the lighting pendants immediately after breakfast. Even the sales associate in charge of the General Store had no idea that Cracker Barrel carried these lights. But after some searching, we found boxes of these lights tucked under a table. She pulled it out of the box and confirmed that these are plug-in lights, not hard-wired.
“Sold! I’ll take two,” I quickly declared. Something told me that I needed to jump on snapping up these lights.
I’ve been intrigued with the idea of mounting pendant lights in the condo. I’ve also been brainstorming ideas on ways to hide (or beautify) the cords that hang down from the DIY wall-mounted sconces I’ve made for the living room. I’m toying with the idea of using copper-clips and wood to make the handing light cord more appealing to the eye.
But this rope pendant light instantly solves the cord decorating puzzle.
Back at the hotel, I pulled out one of the pendant lights and gave it a try. Perfect!
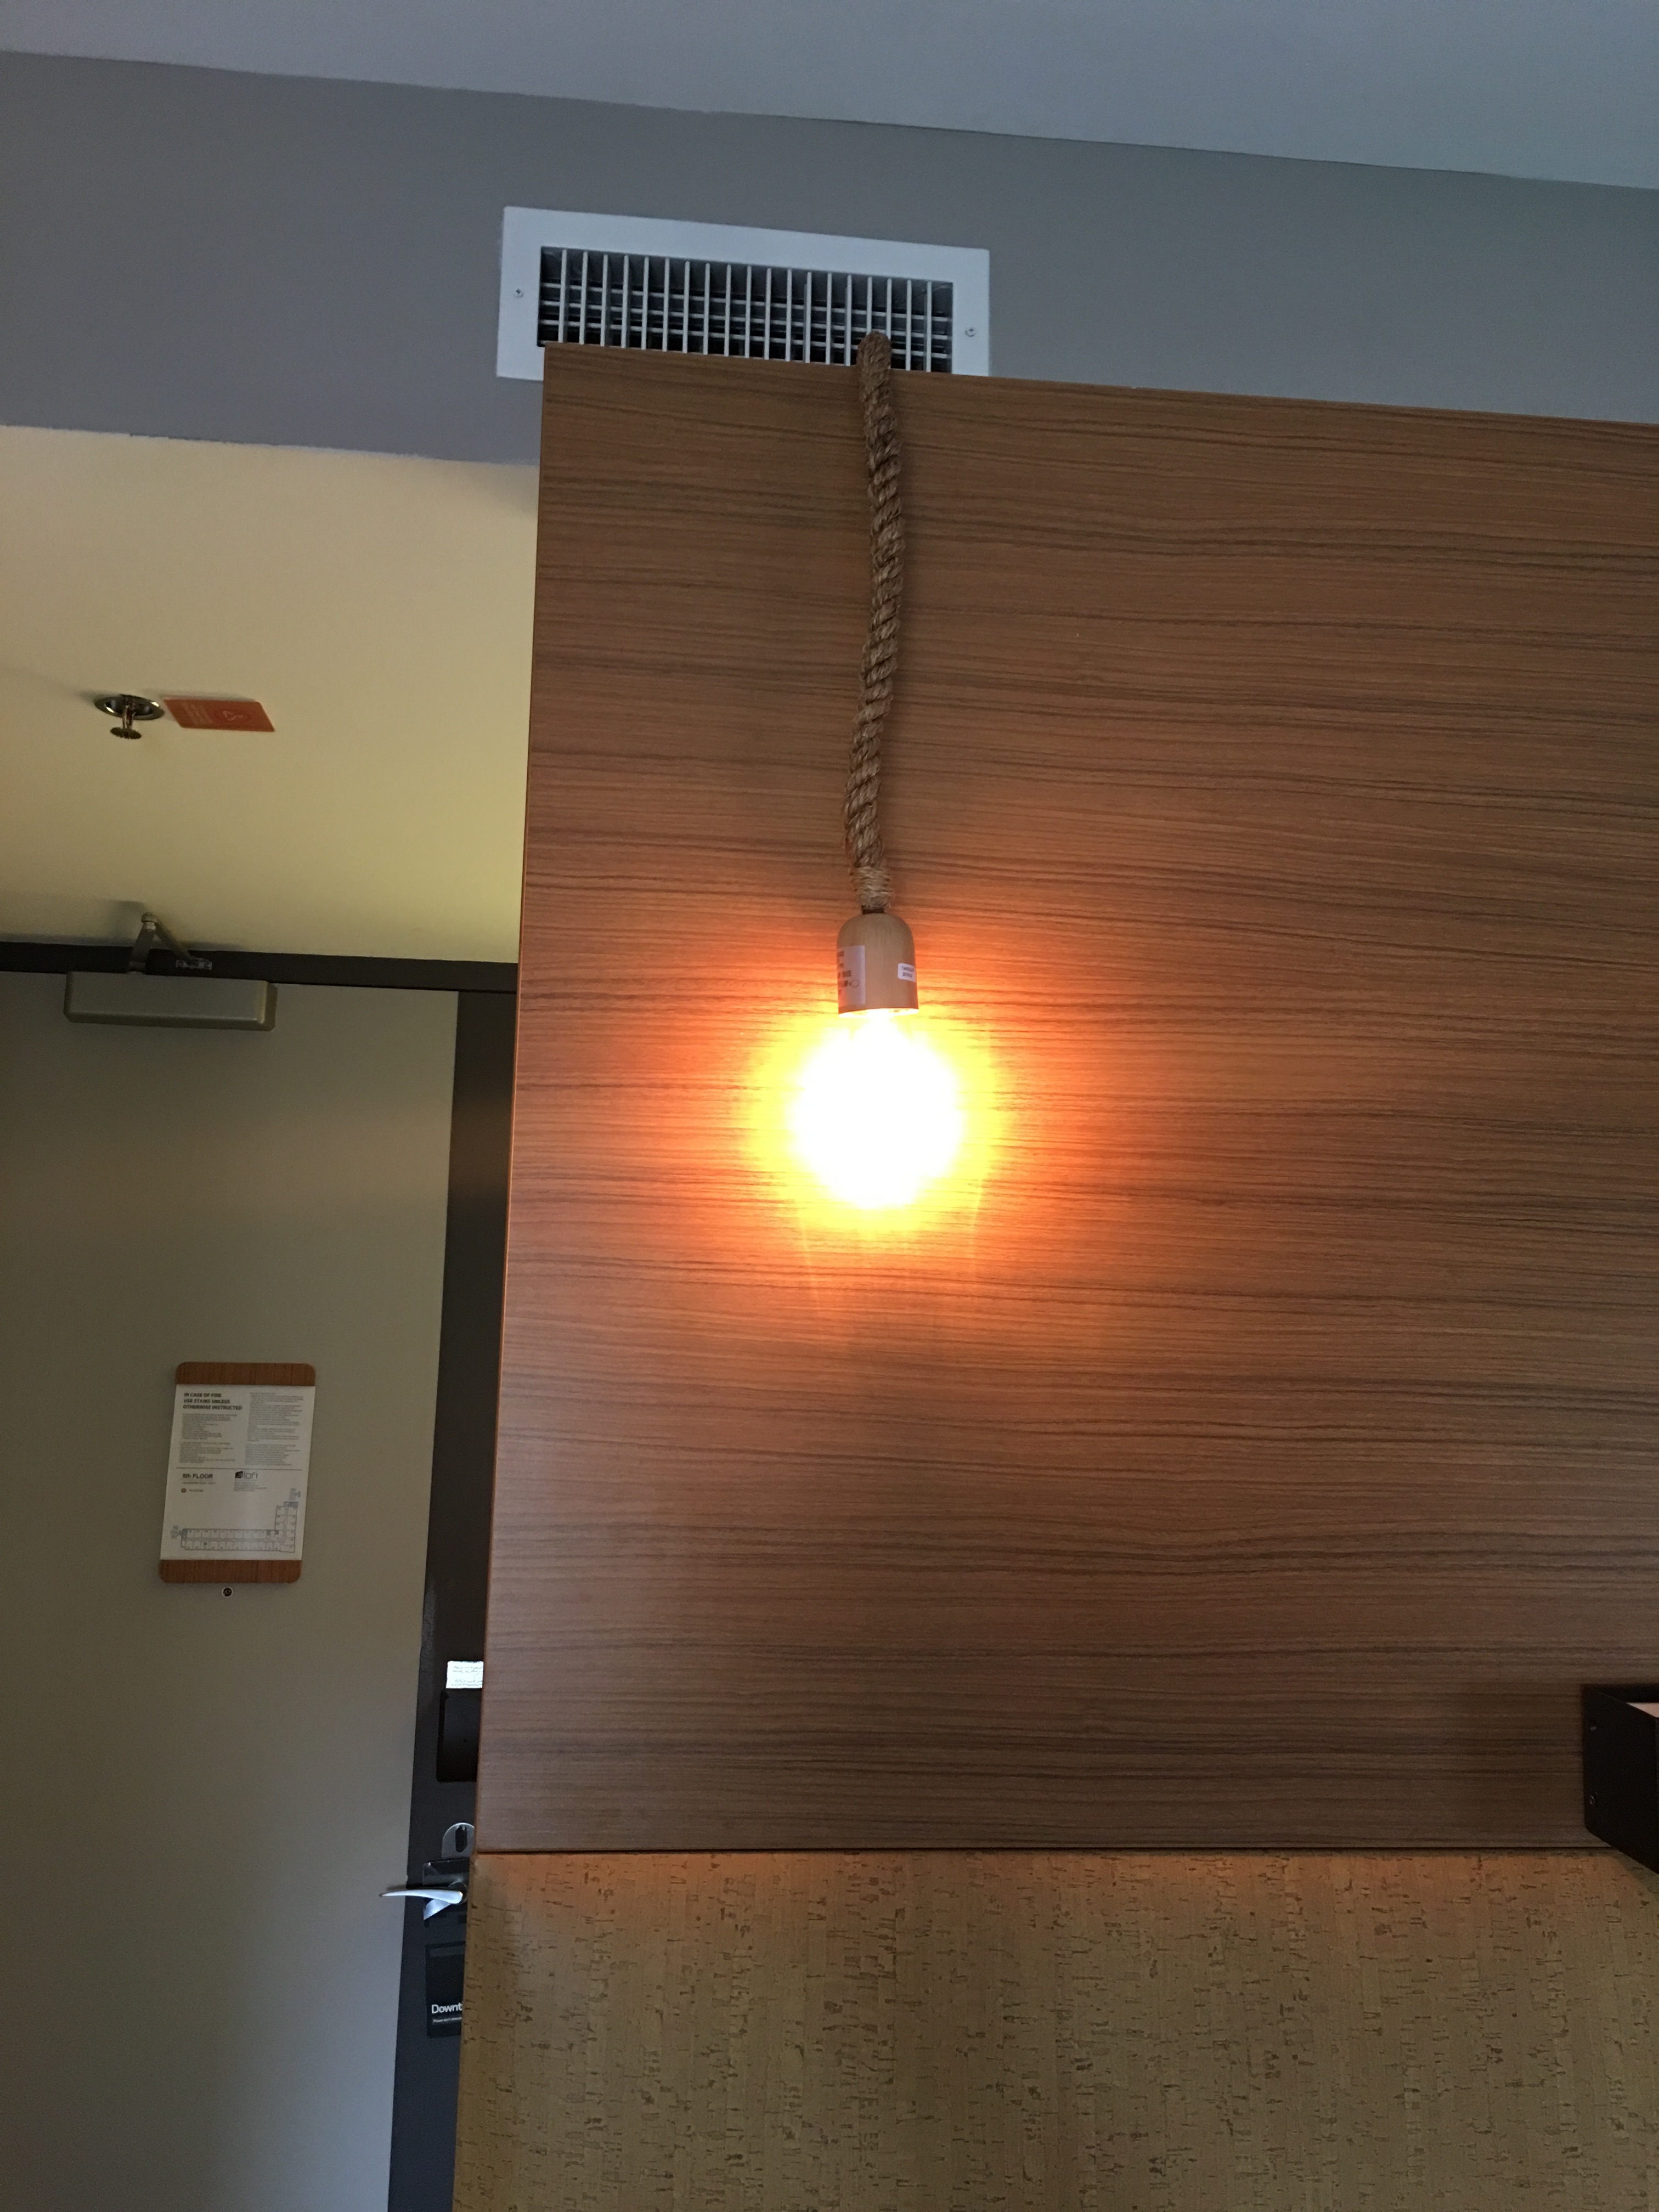
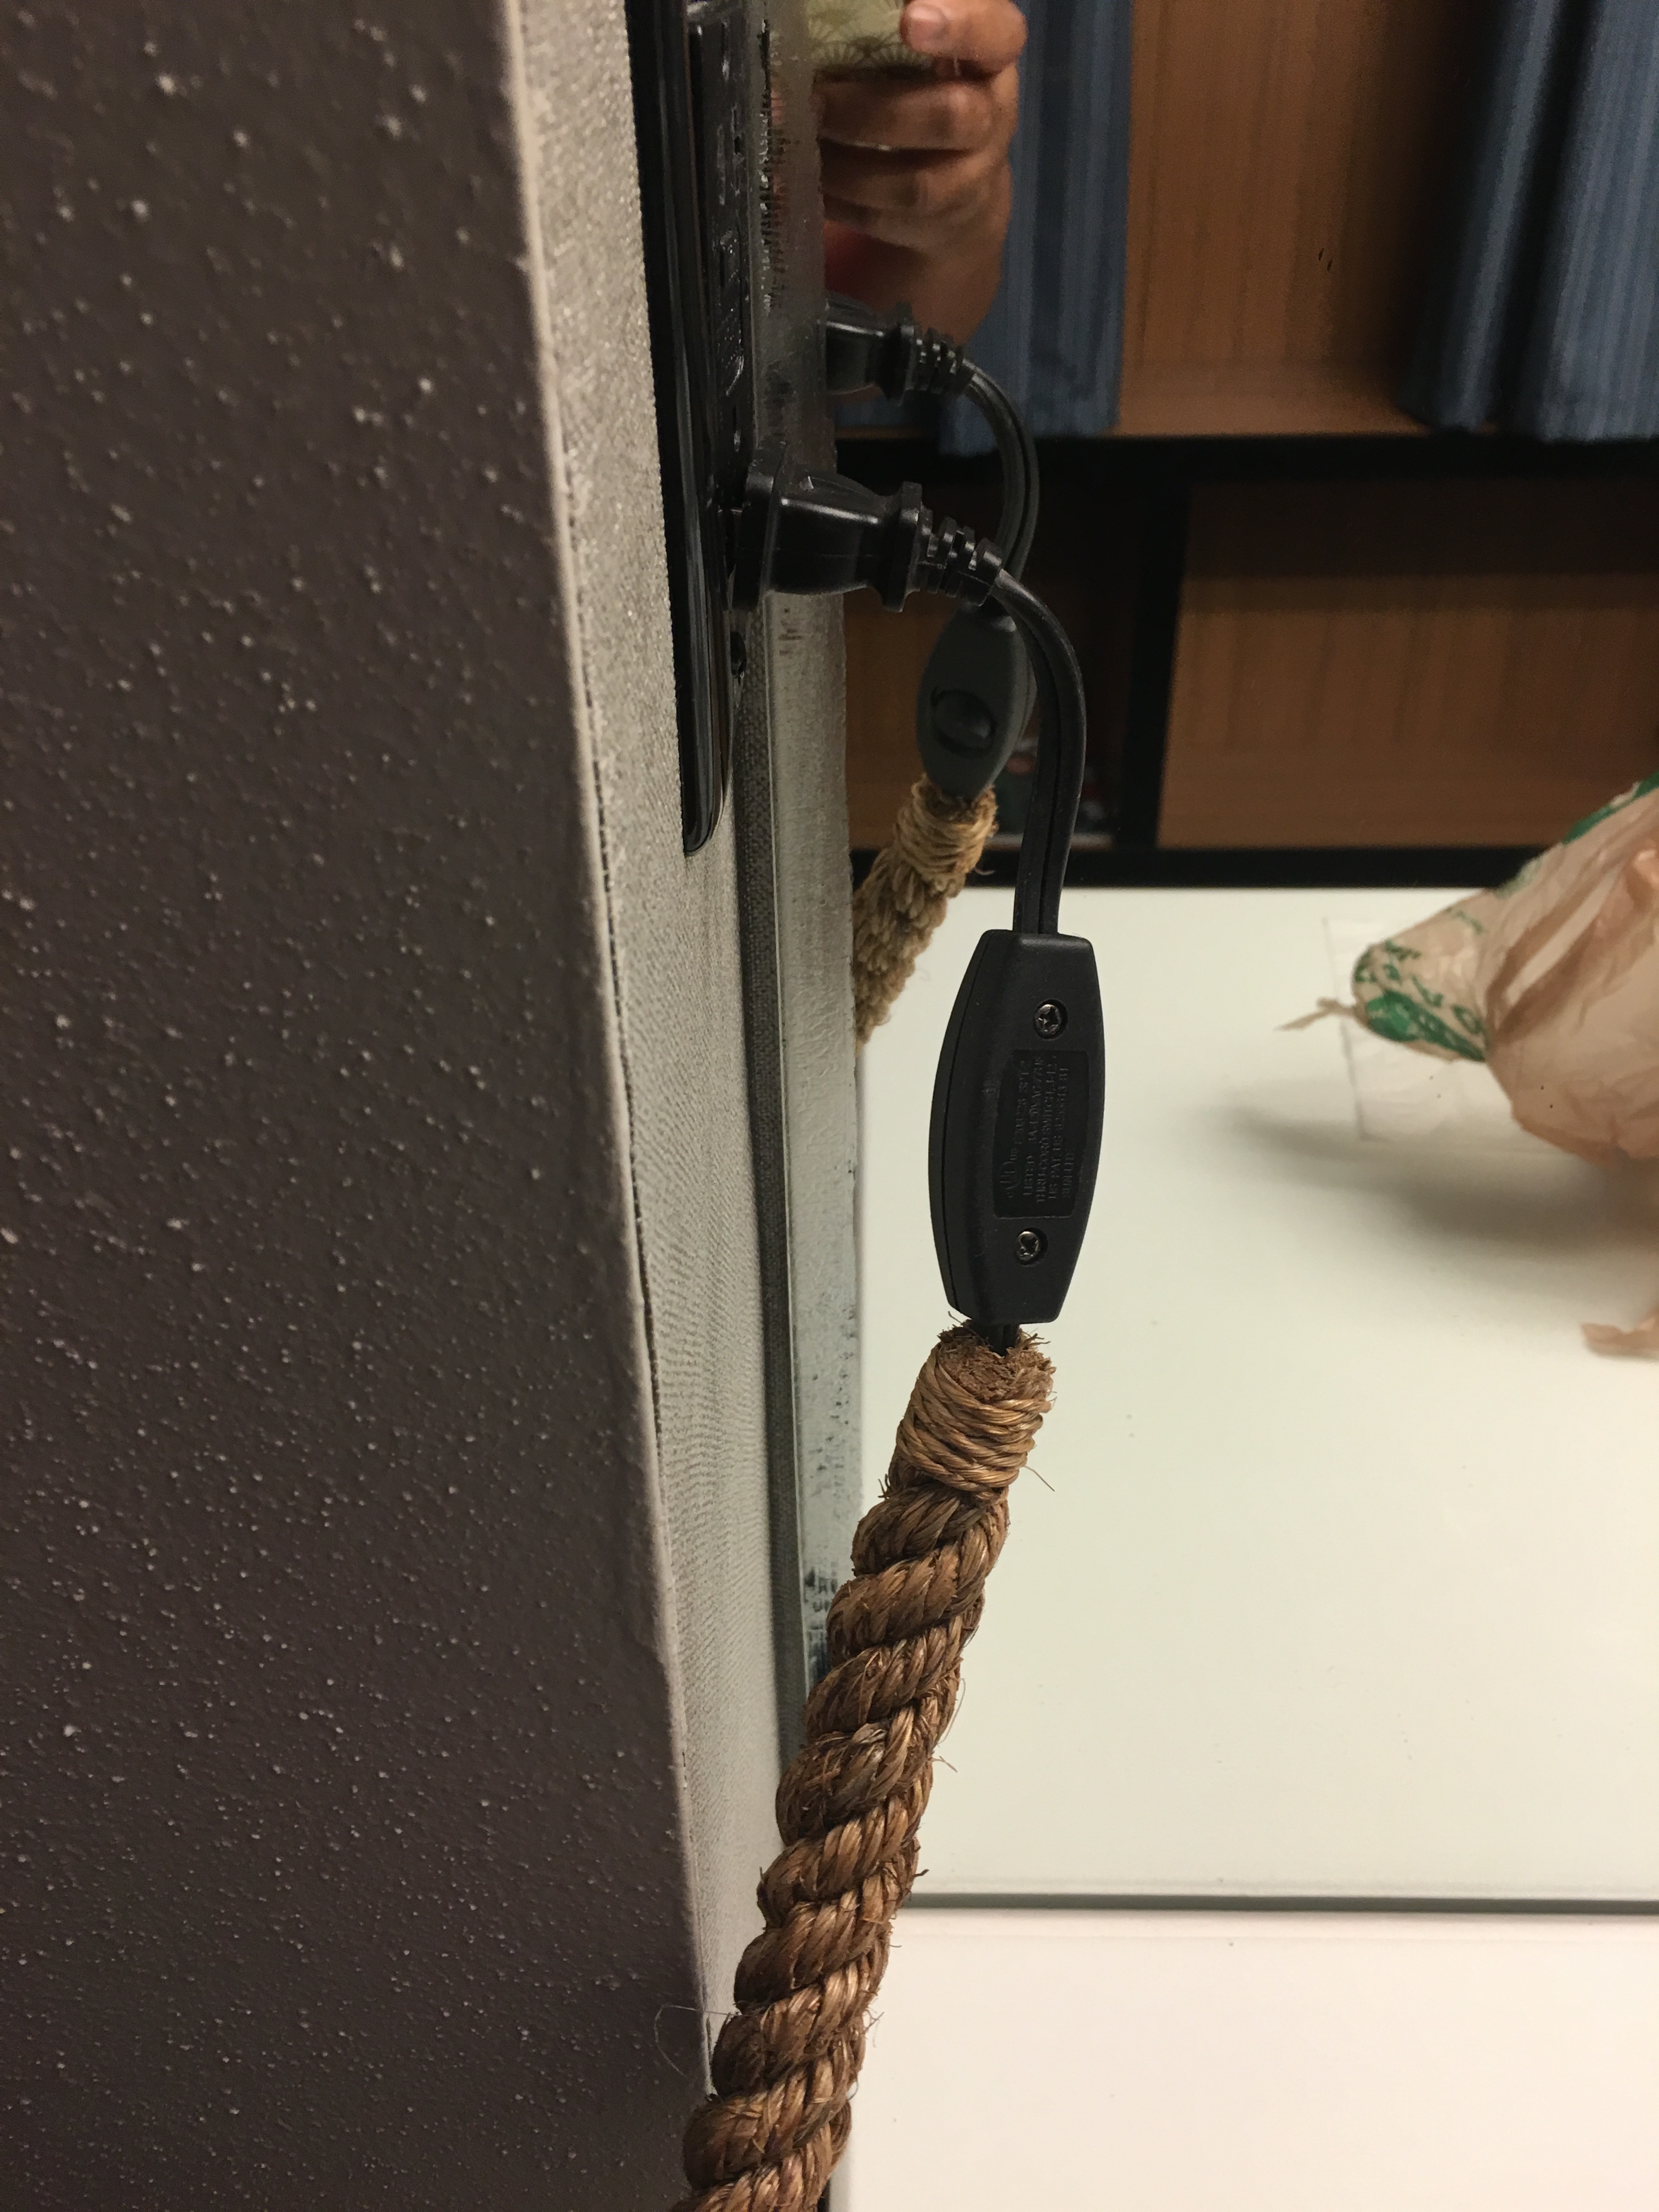
The cord is really long (roughly 15 feet). And the rope wrapping extends from the light base to the AC plug.
Back home in the condo. I used a spare piece of plywood to hold the pendant in place next to the wood and pipe bar in the entryway.
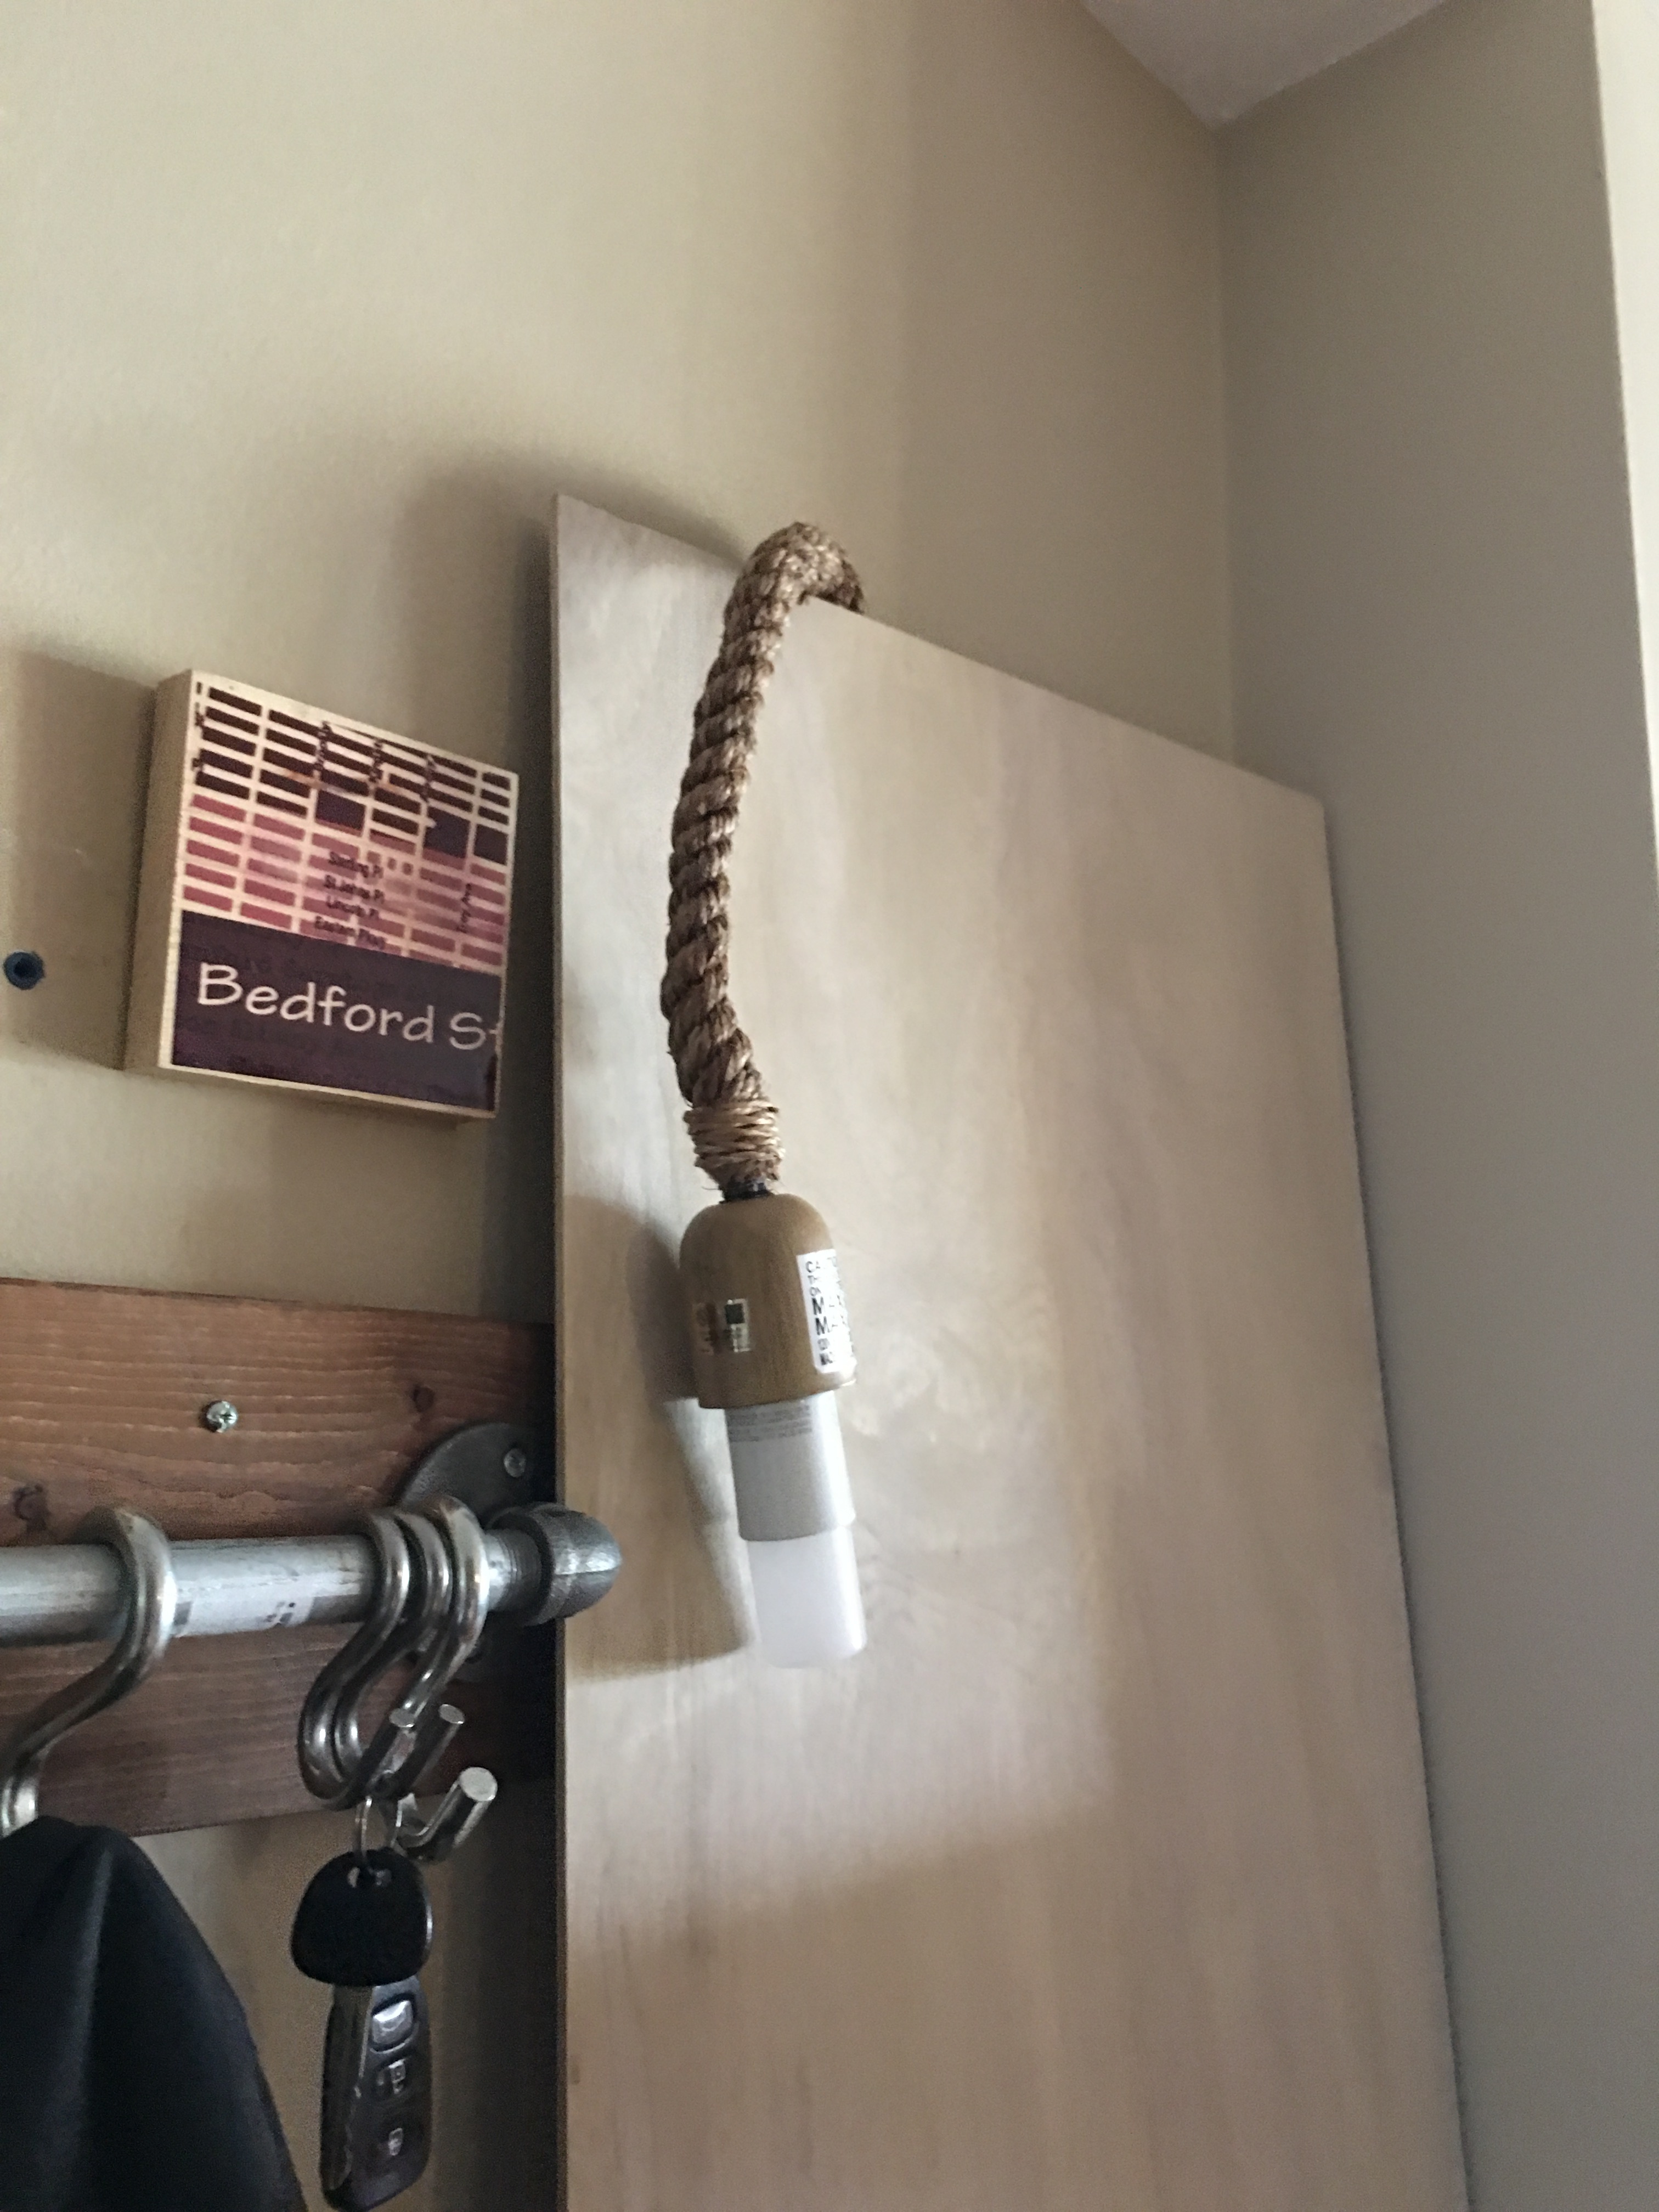
One thing I immediately confirmed is that this space needs the light to point upward. More ambient light is needed in this room (so that we can remove the floor lamp that we currently have propped on top of two boxes in the corner of the entryway). So rather than mounting the lights as hanging pendants, I decided to mount them on the wall. The cord will hang down the wall and plug into the outlet at the bottom.
I decided to use round plank wood plaques that I bought from Michaels as the light mounting base.
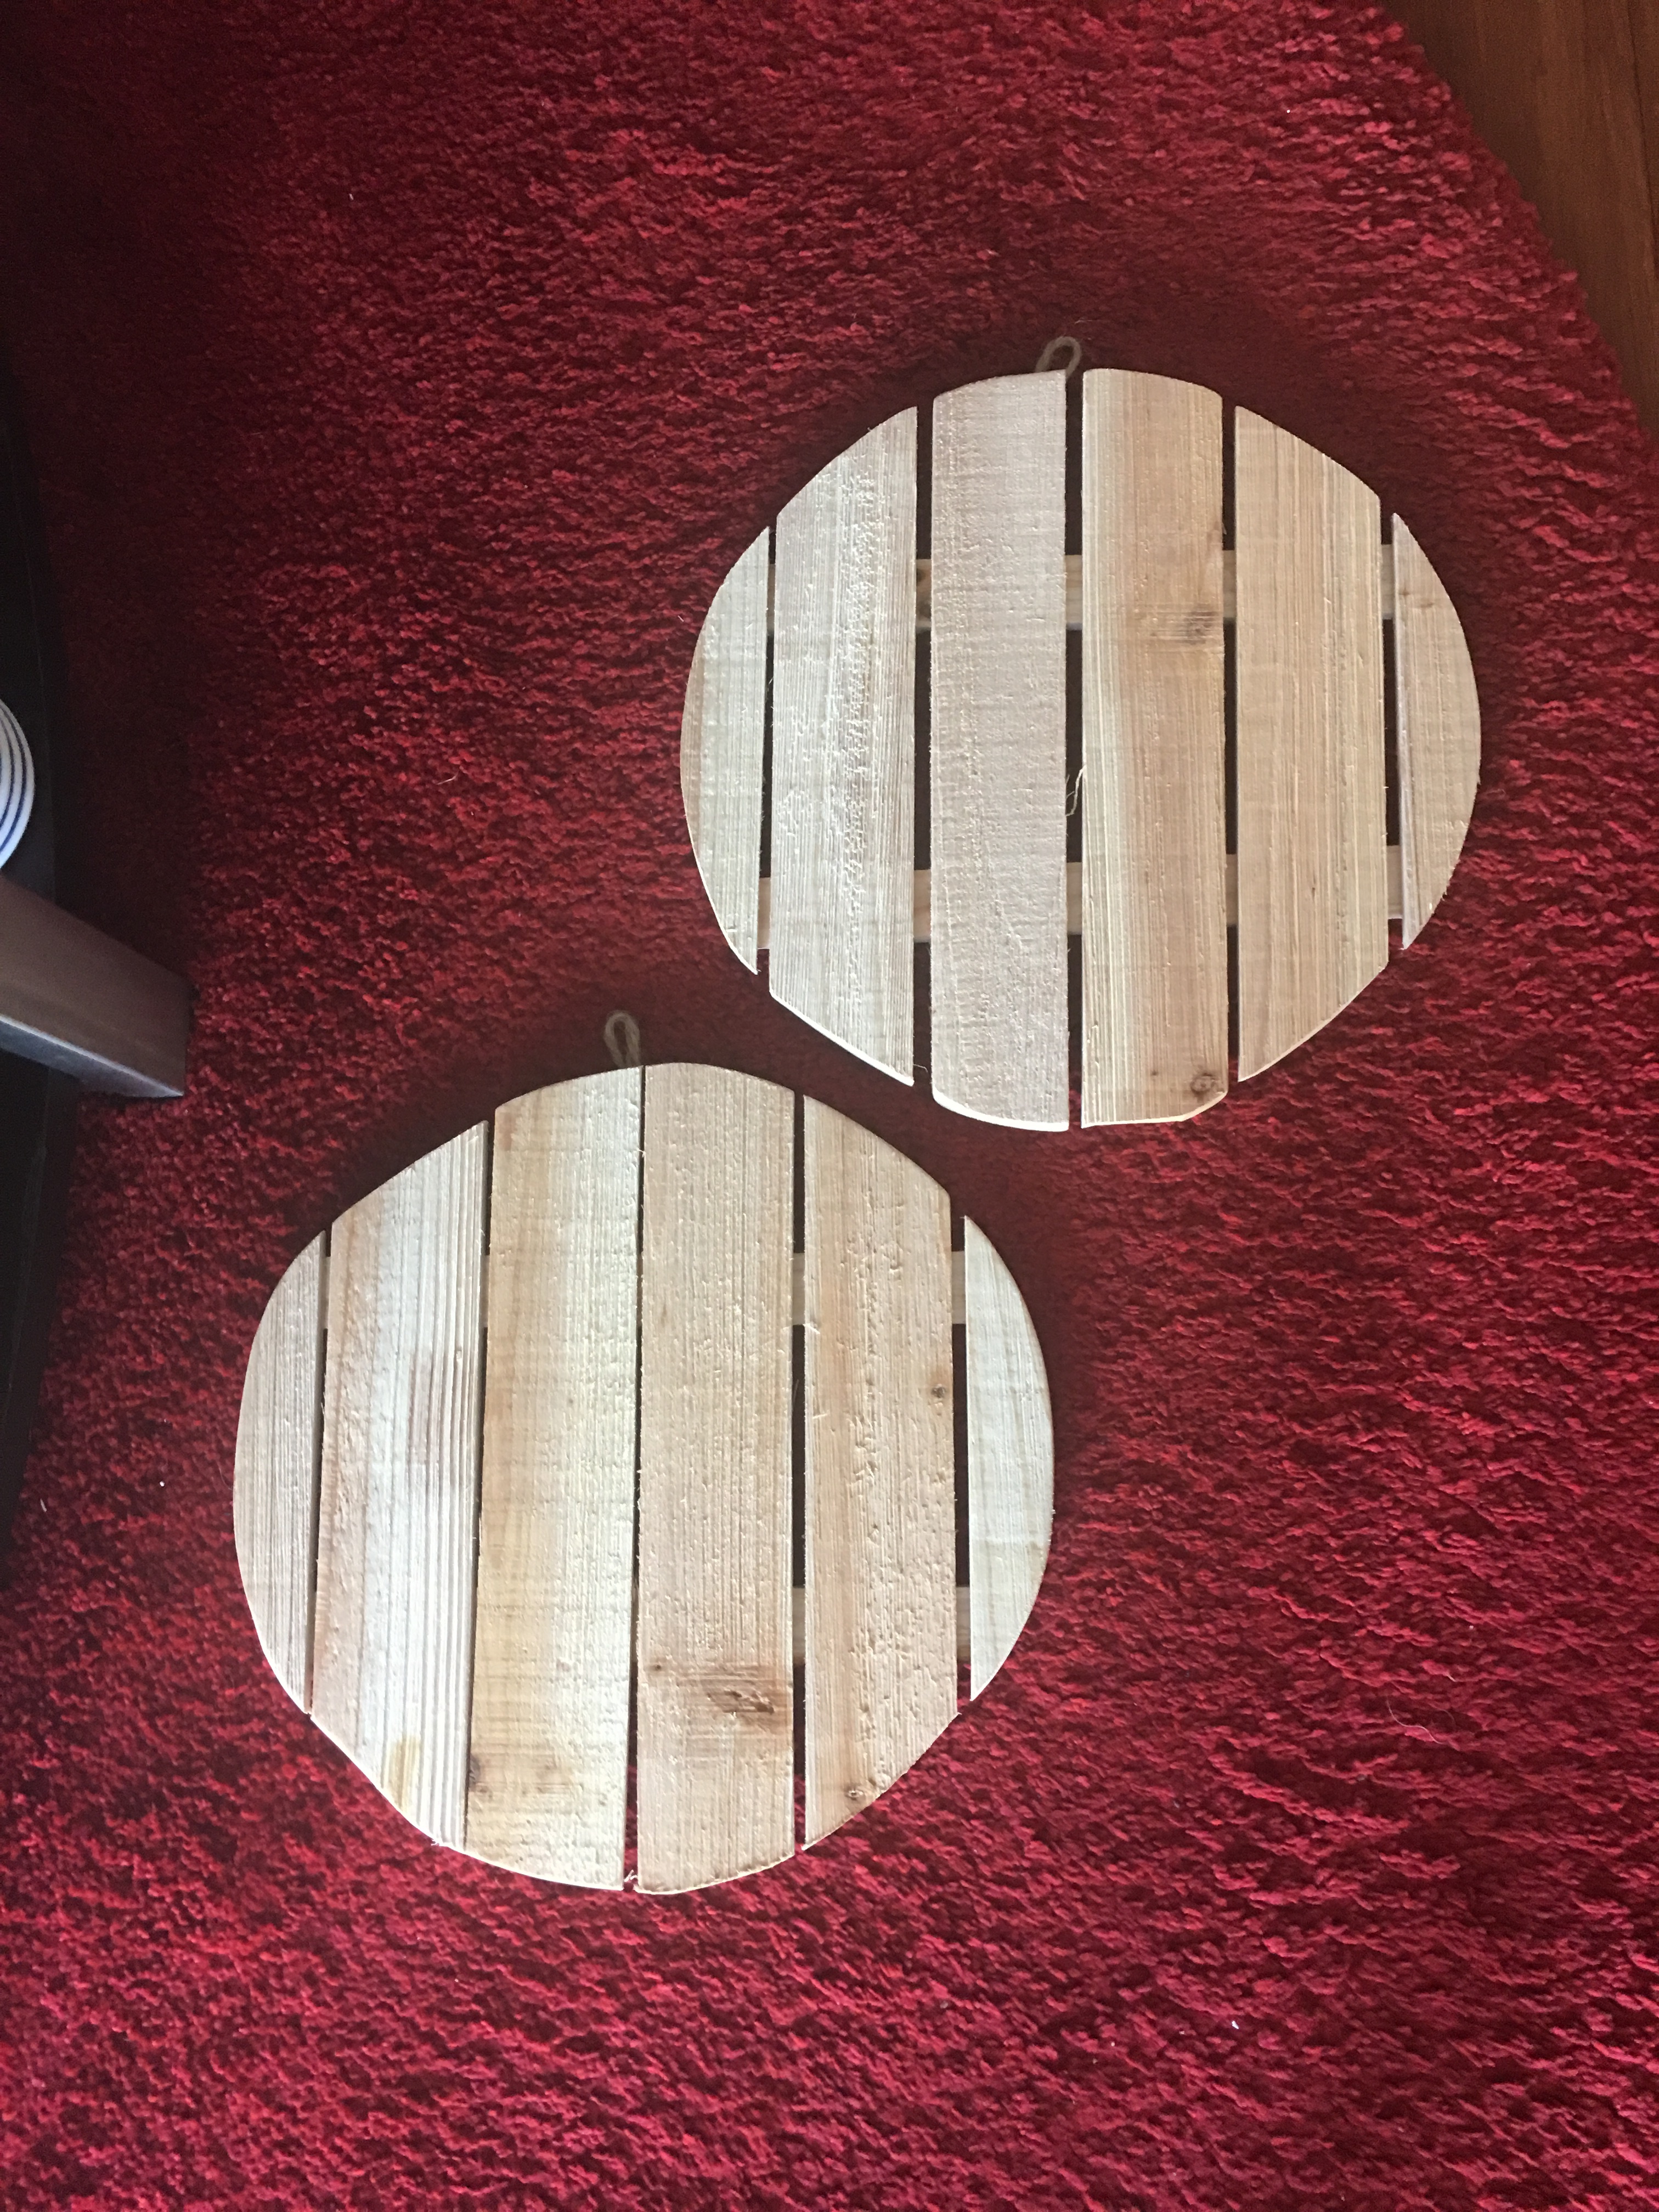
I use these plaques for mounting my DIY wall scones and knew they would be perfect for this project. I just needed a way to attached the pendant light base to the plaque.
So I went to Home Depot early Wednesday morning and picked up two 1.5″ galvanized pipe clips. But that evening after work, I quickly discovered that the clips are way too big for the base.
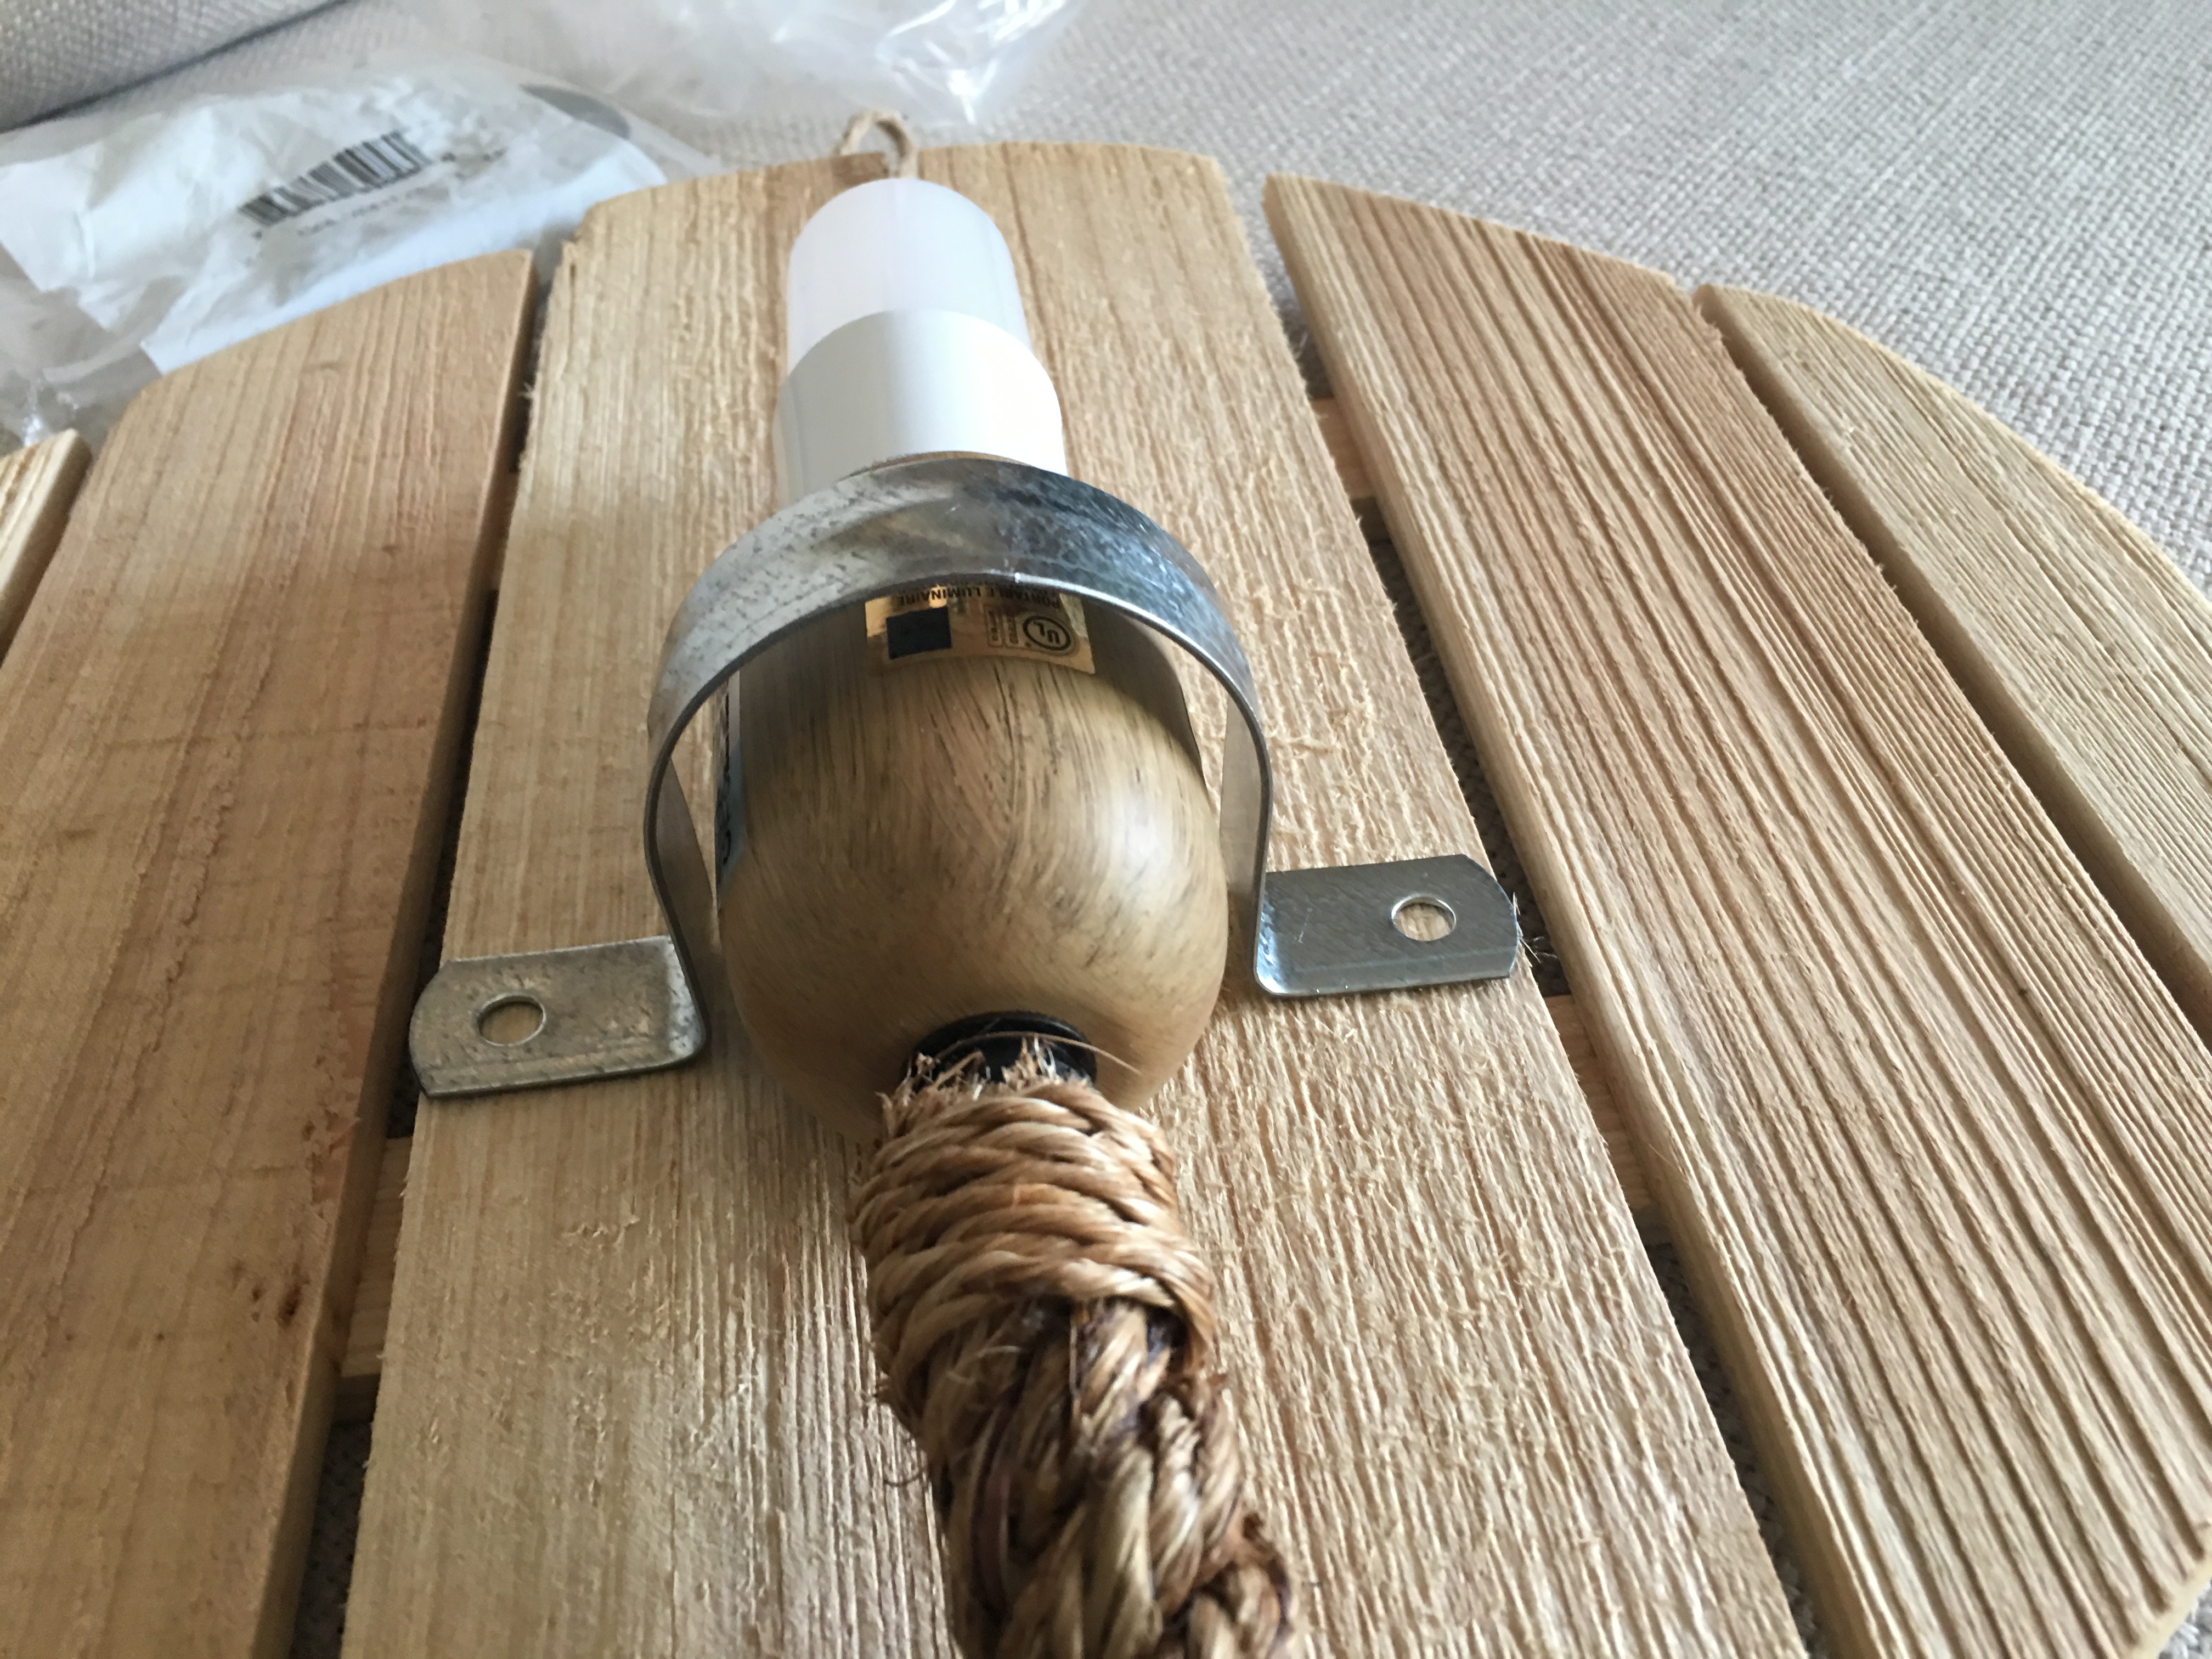
Not wanting to make another trip to Home Depot that night, I pulled out cable ties and velcro to attach these lights to the plaques.
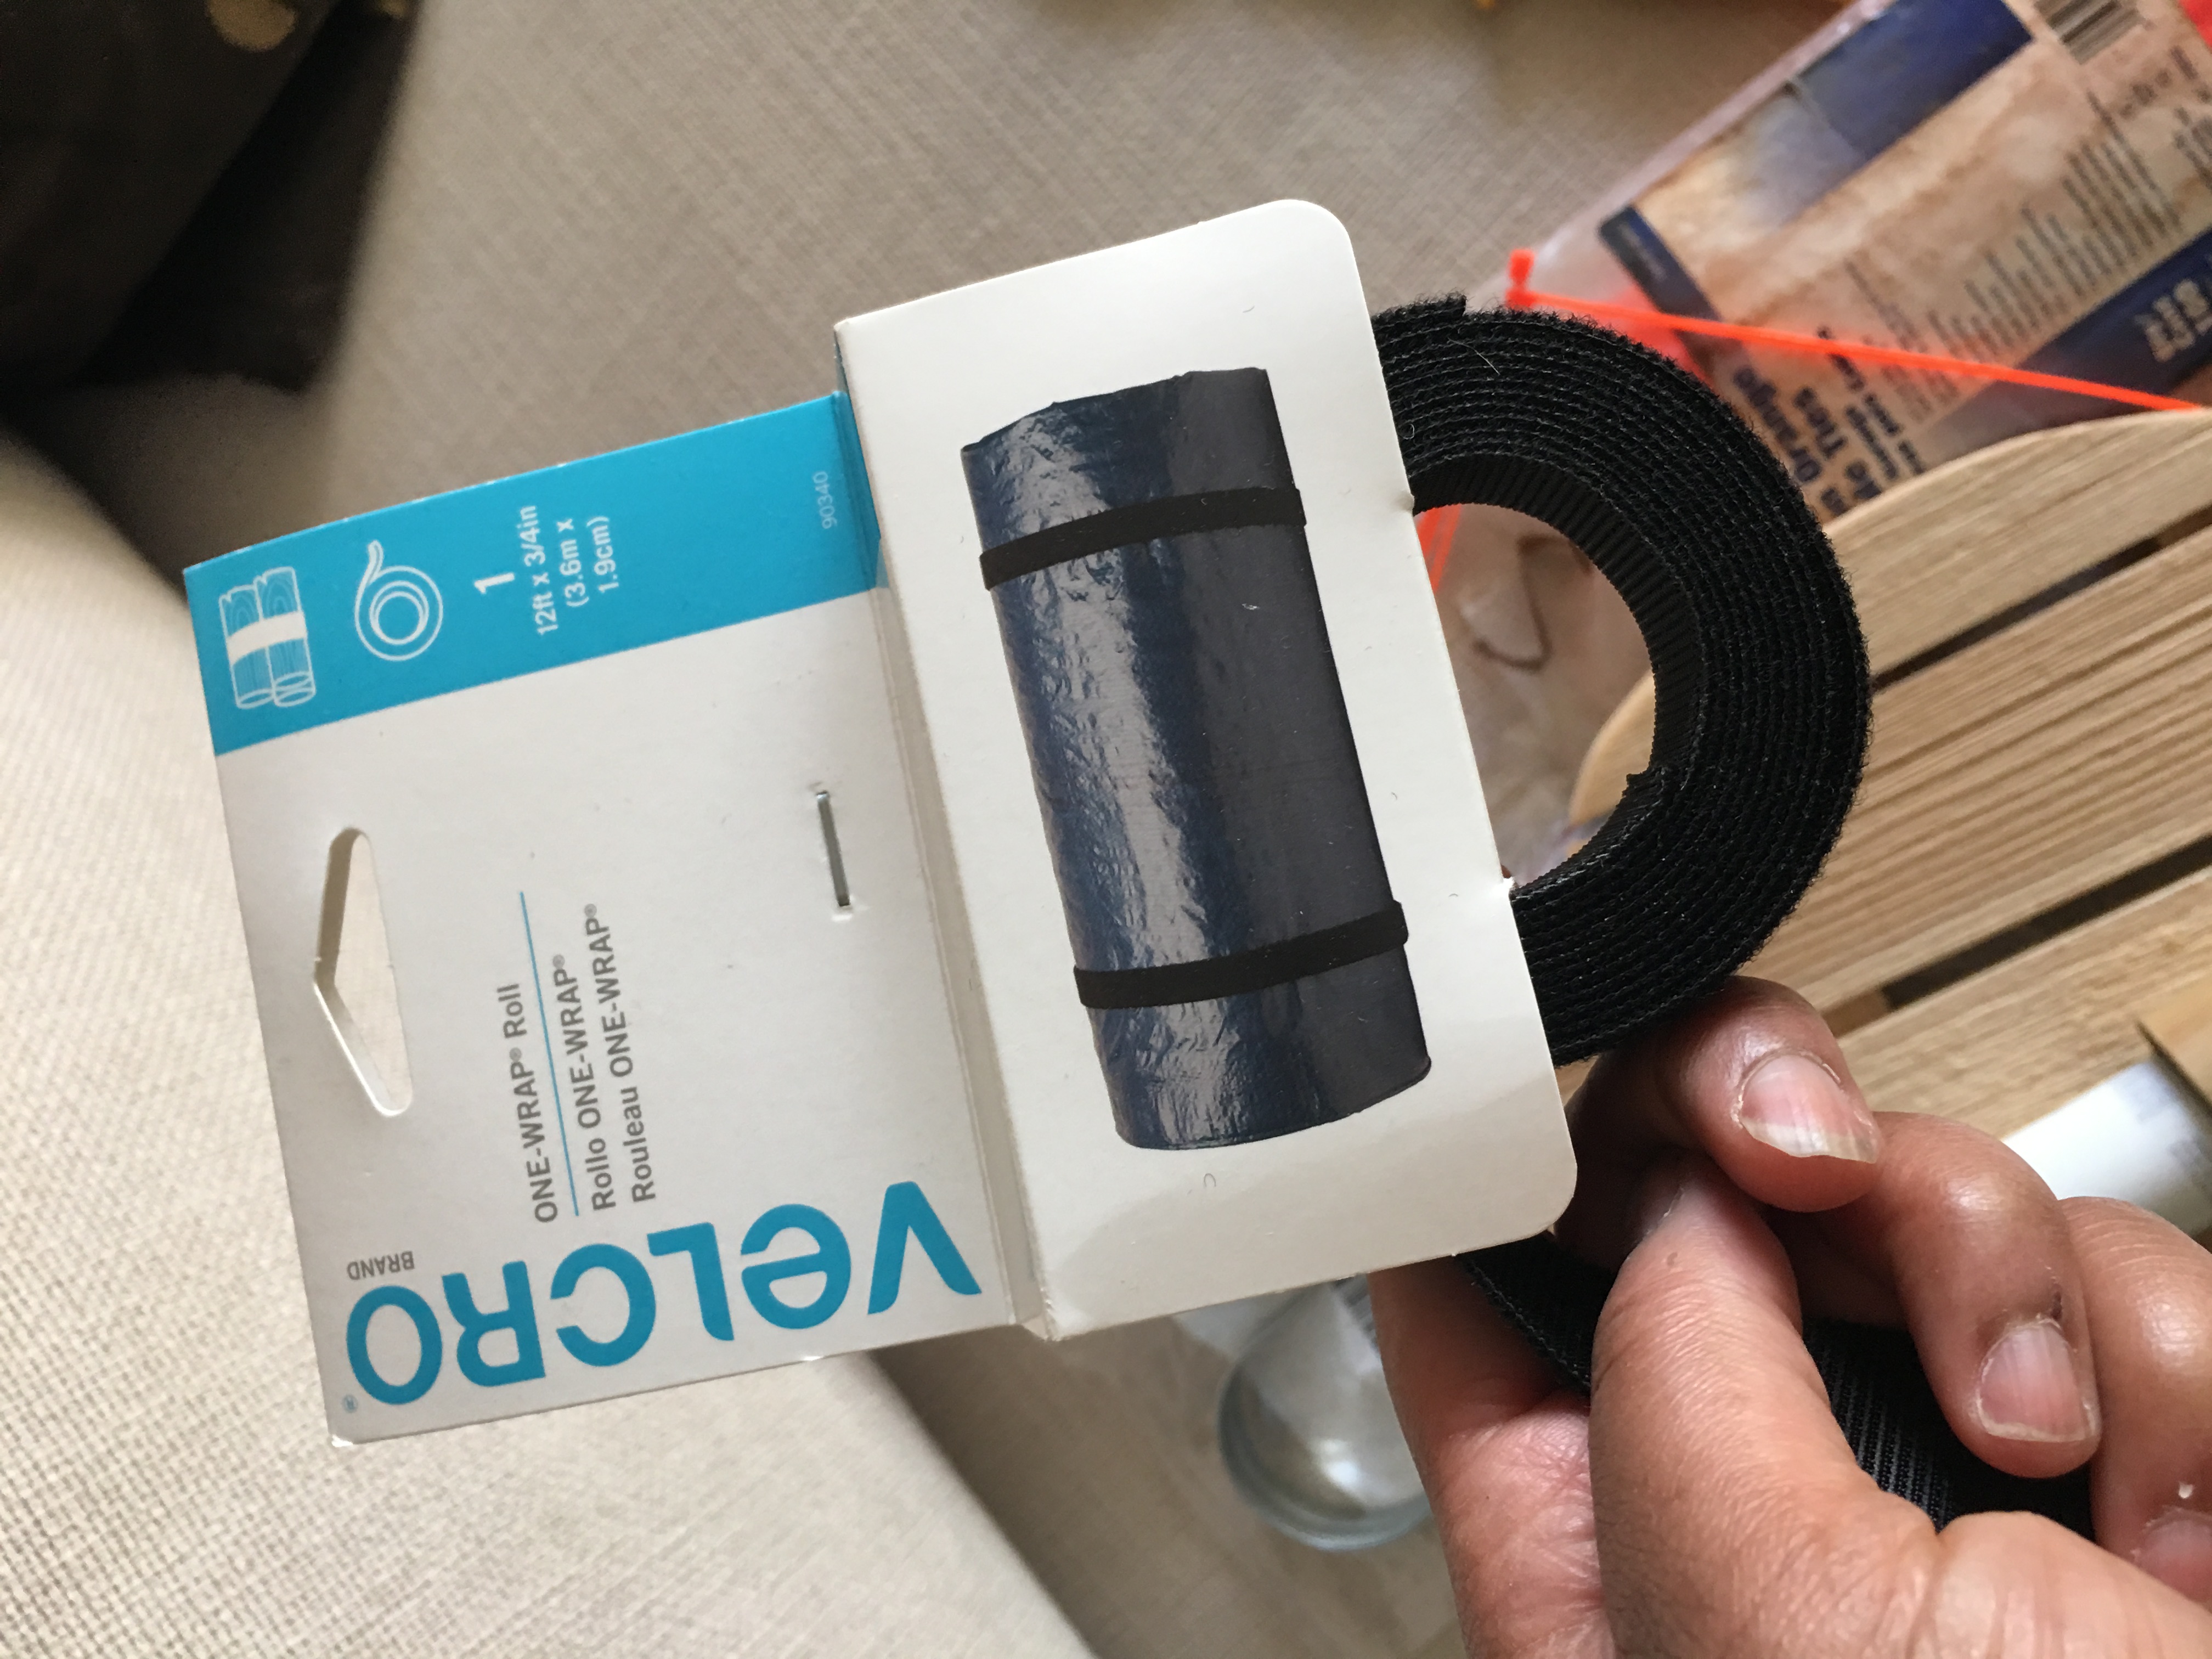
After much painstaking effort, I managed to secure the light to the wood plaque with both a cable tie and a big (and very visible) strip of velcro.
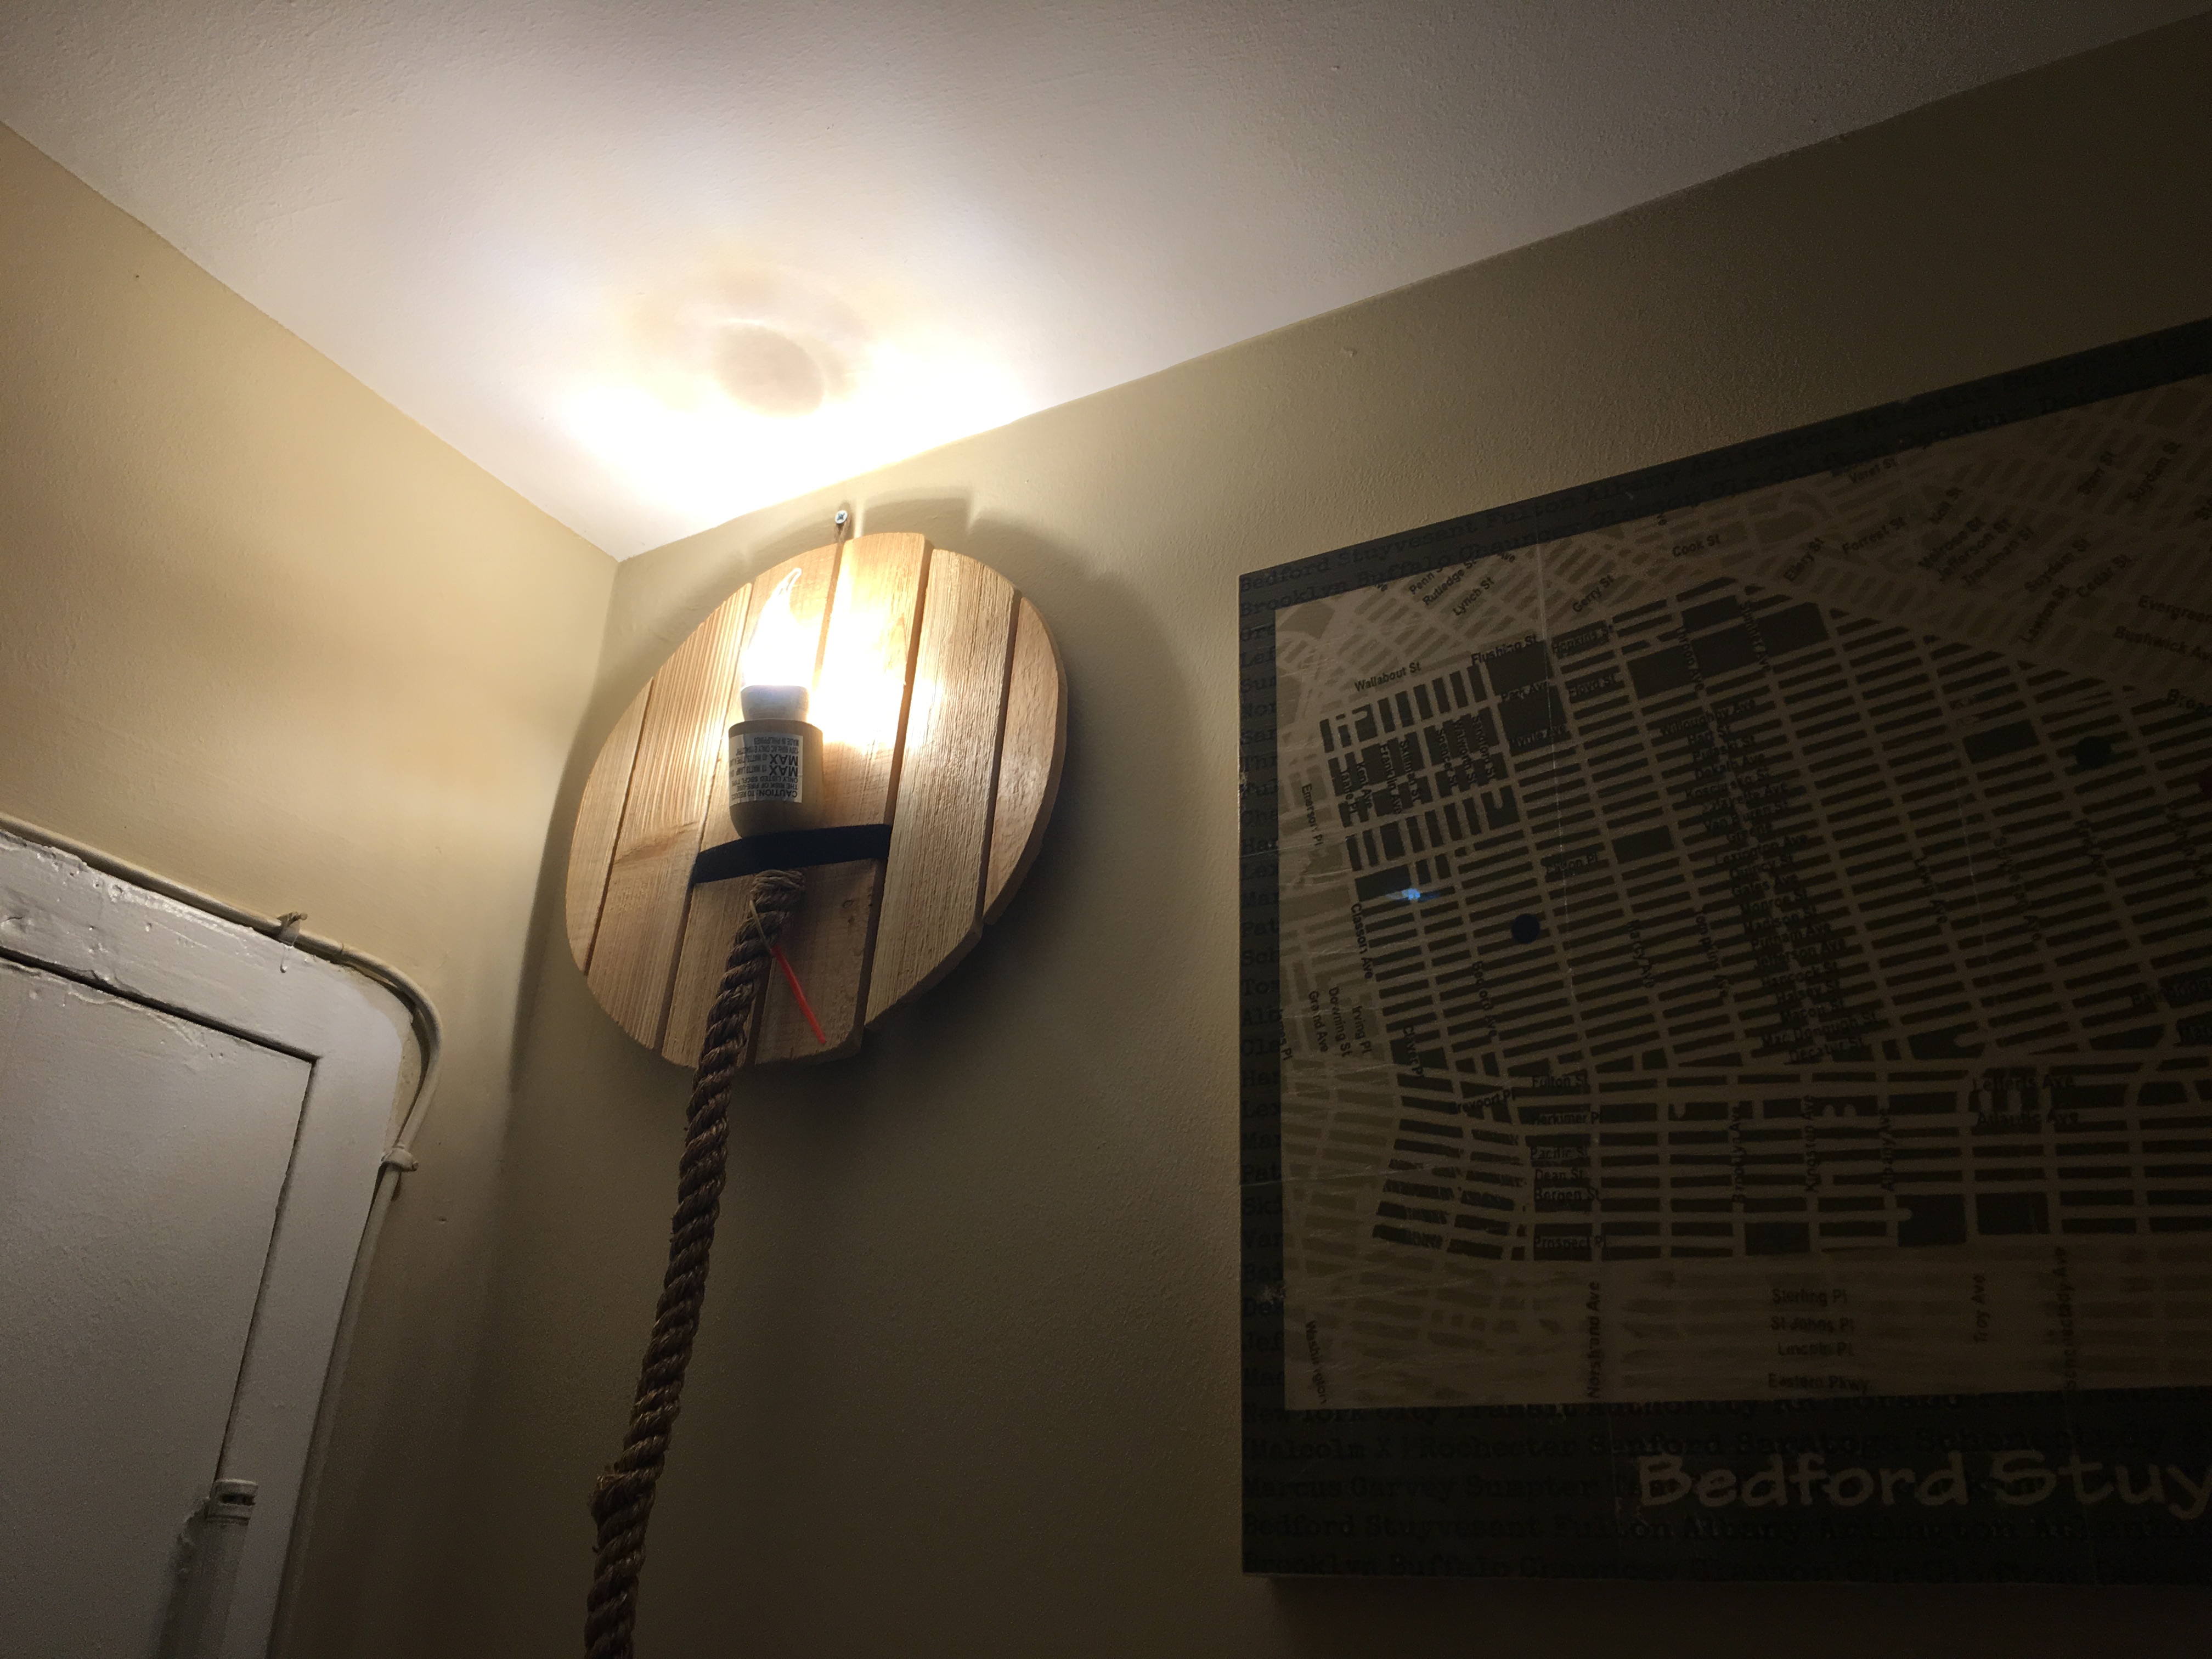
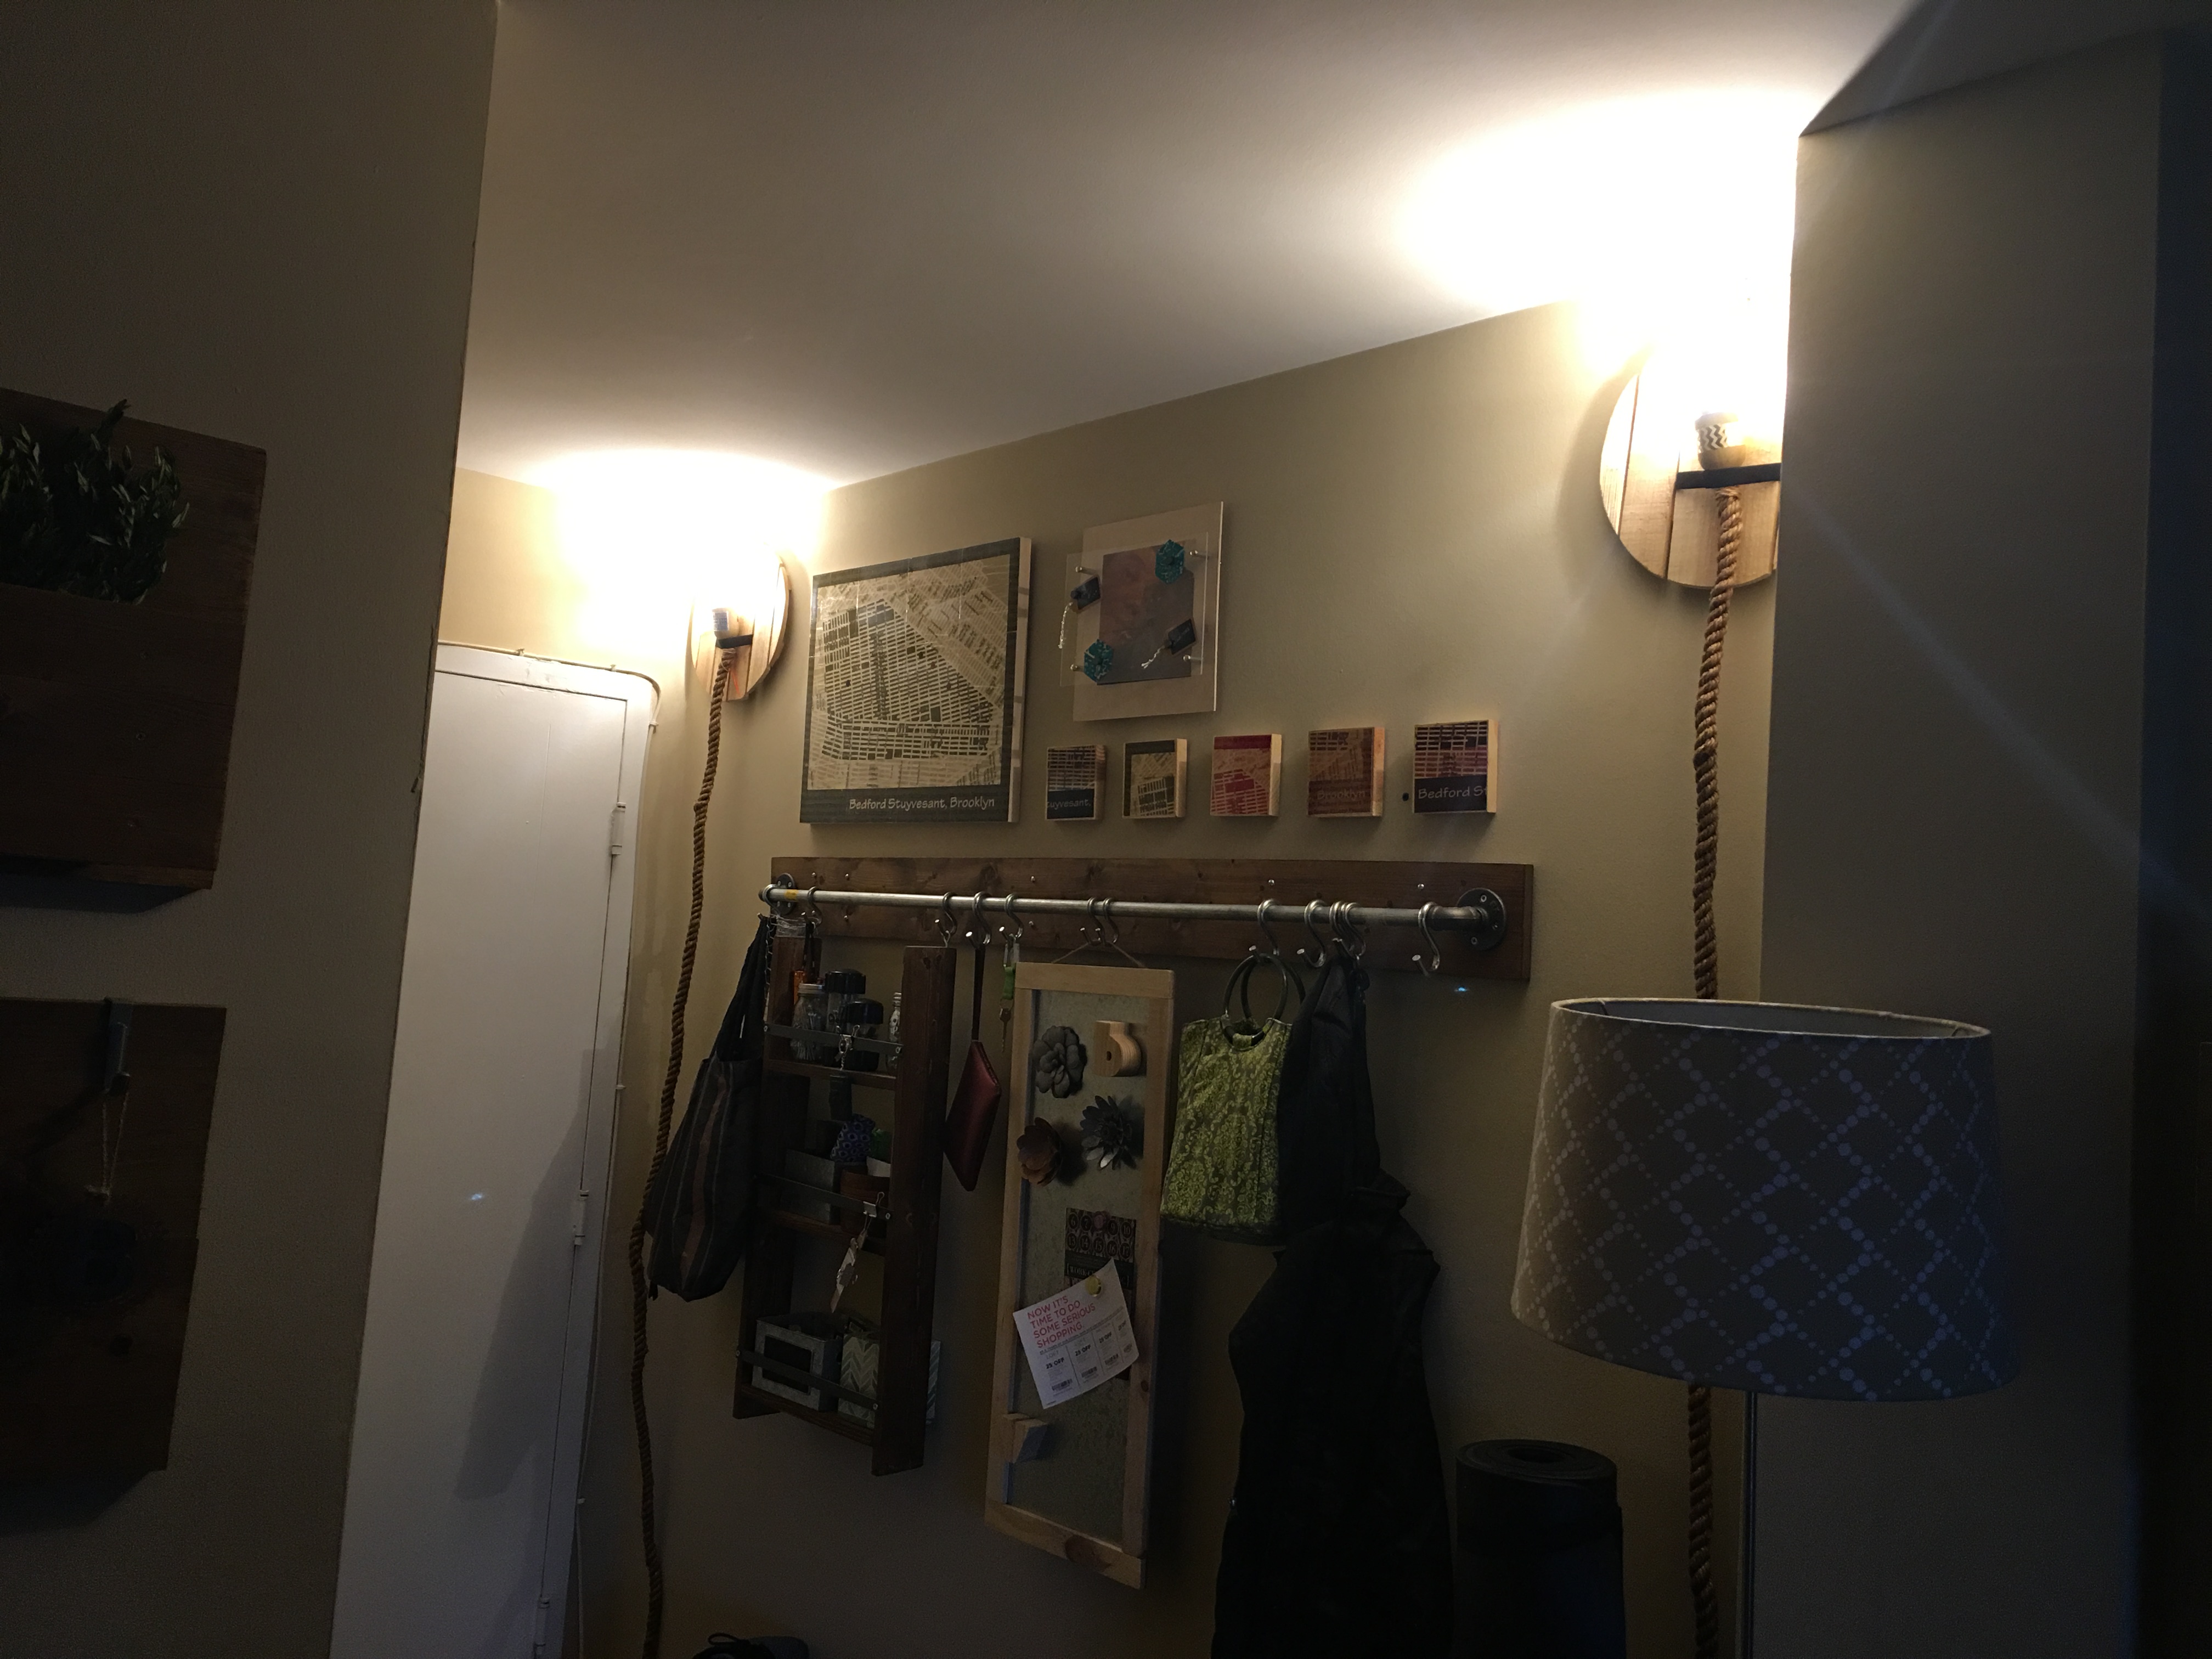
This wasn’t the prettiest mount, but it was a successful mount all the same. Adding screws high up on the wall at both sides of the pipe and wood hanging bar allowed me to hang the plaques on the wall.
Rather than using the vintage bulb that came with the lights, I added LED soft white candeladra bulbs to the sockets. Perfect.
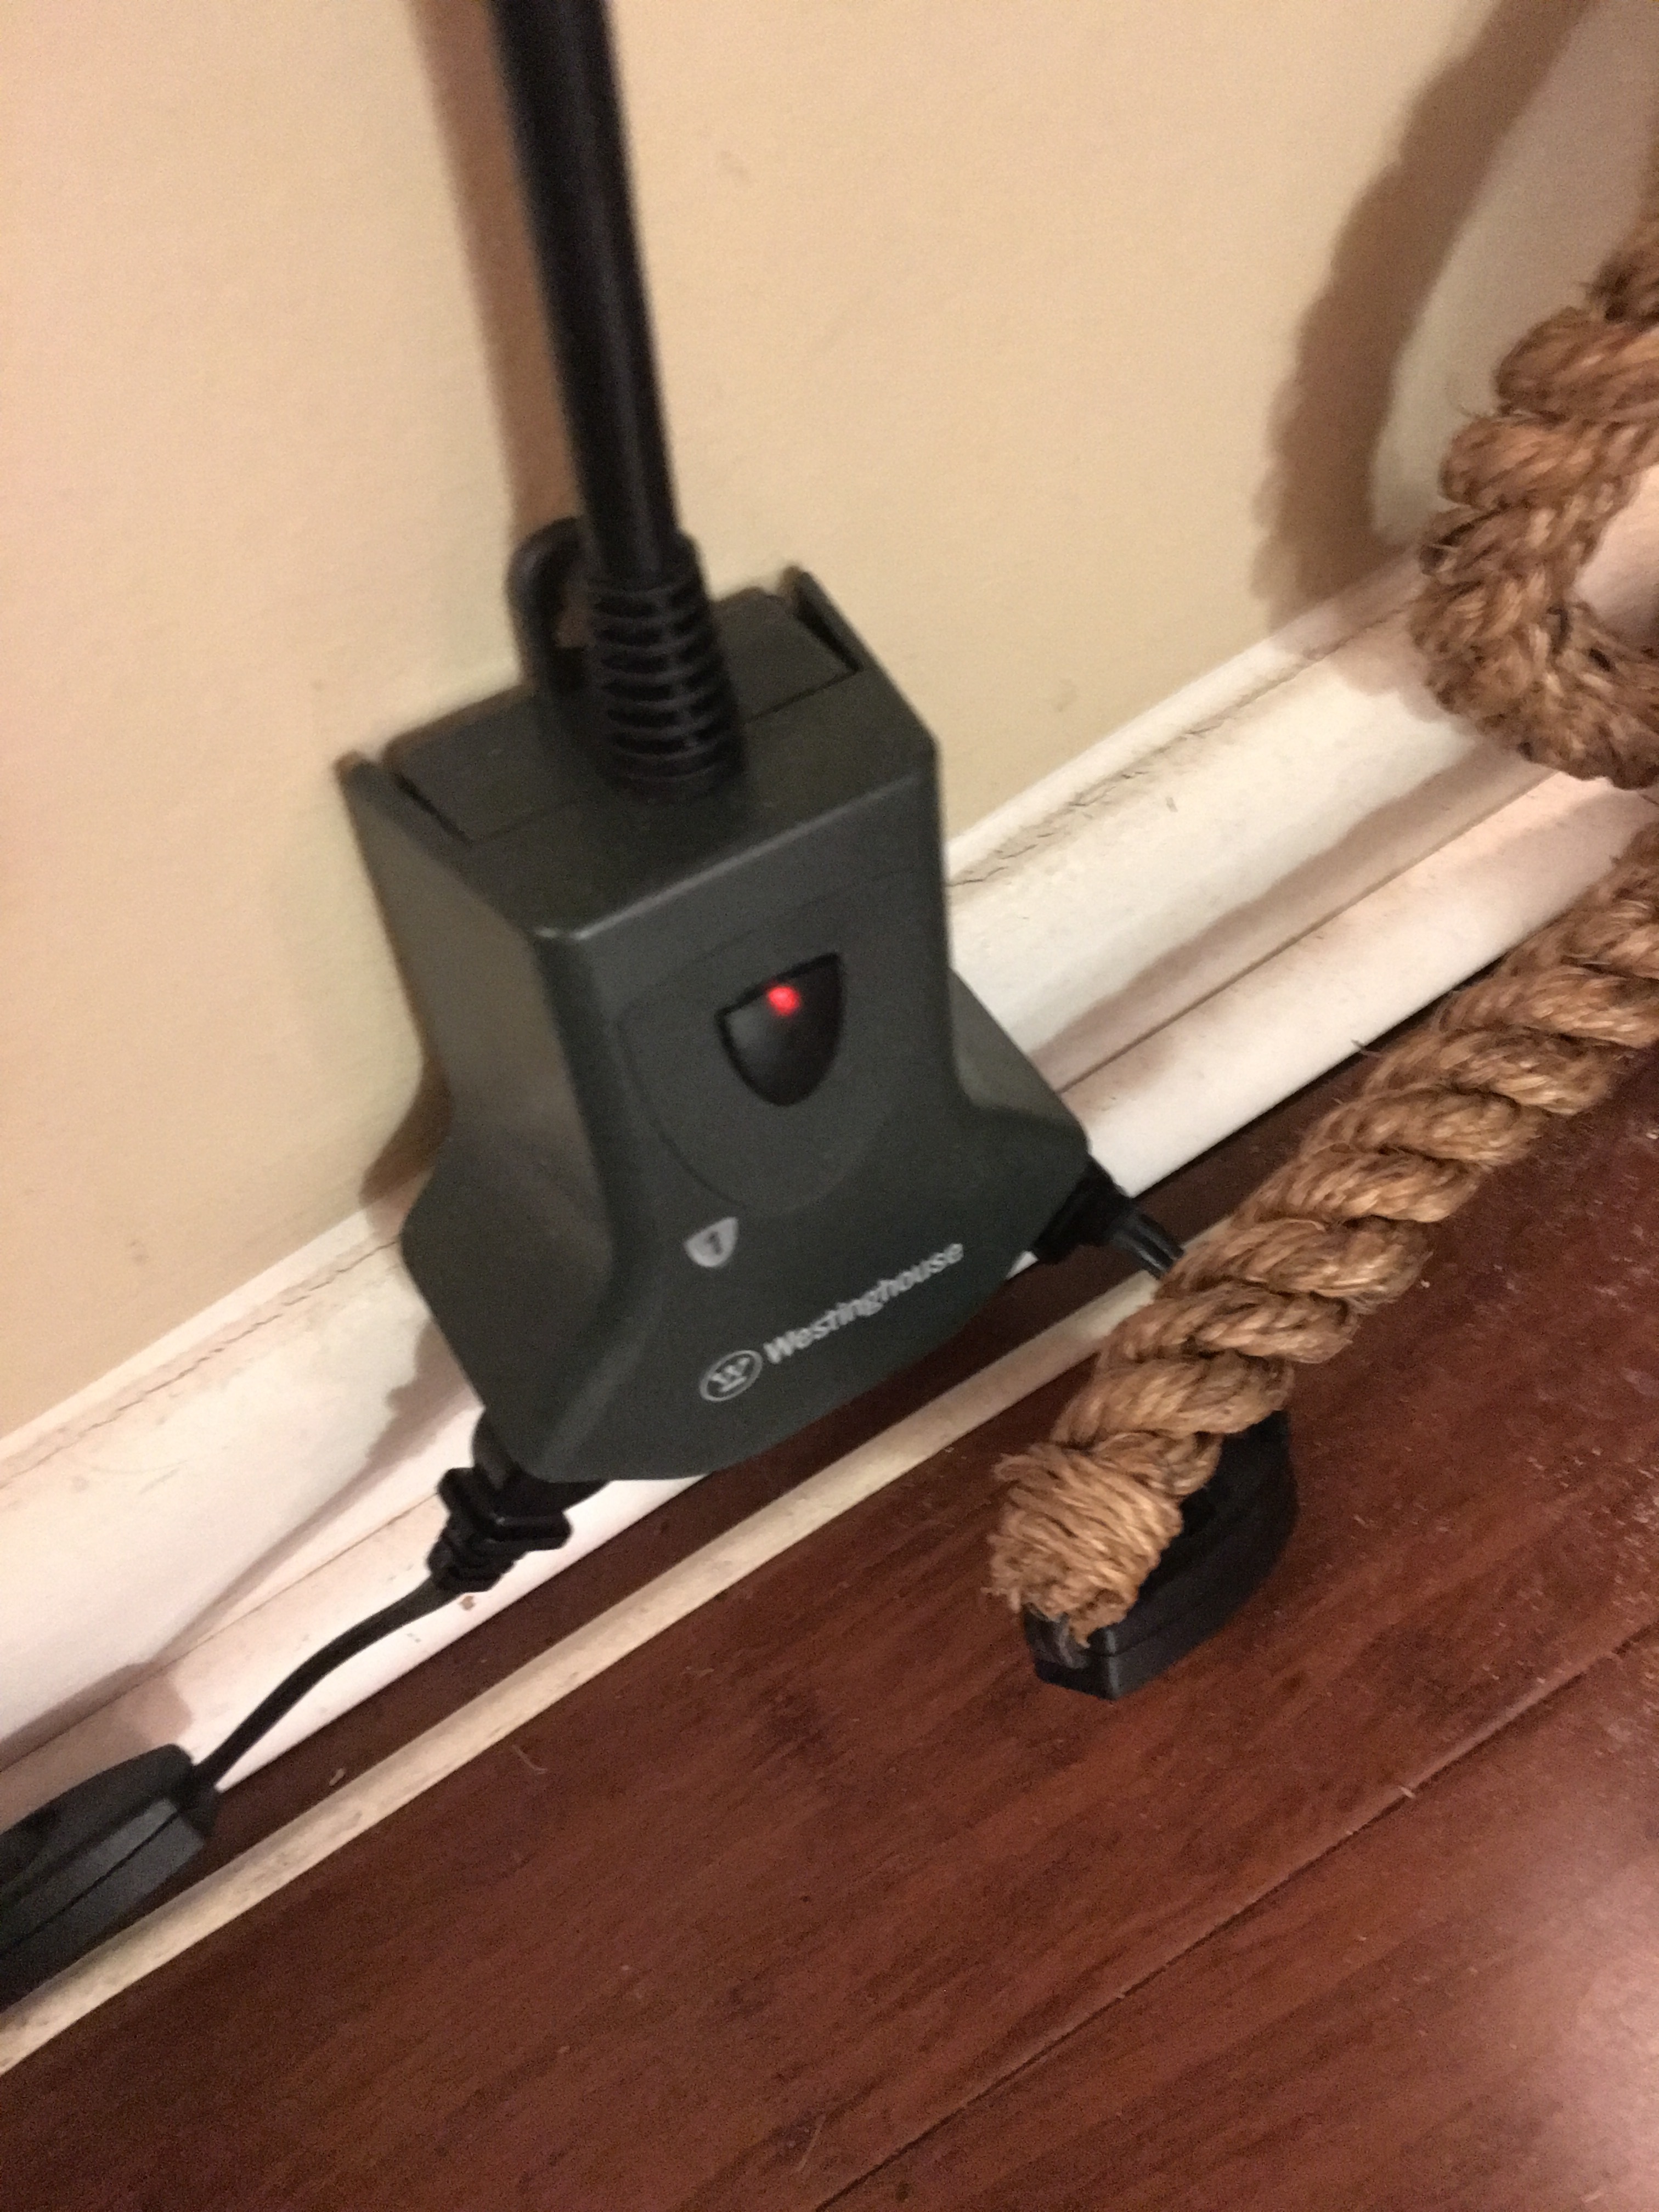
Even more perfect, I had an outdoor light remote control kit on hand. I found one from Westinghouse at Target last week for $17 bucks. And, on impulse, I brought it home, having no idea that this project was on the horizon.
I plug each light into one of the three outlets in the remote control adapter.
And I had loads of fun using the remote control to turn the lights on and off from various positions in the condo. My favorite place to use the remote is right from the entryway itself (shown here clipped onto the my DIY hanging organizer).
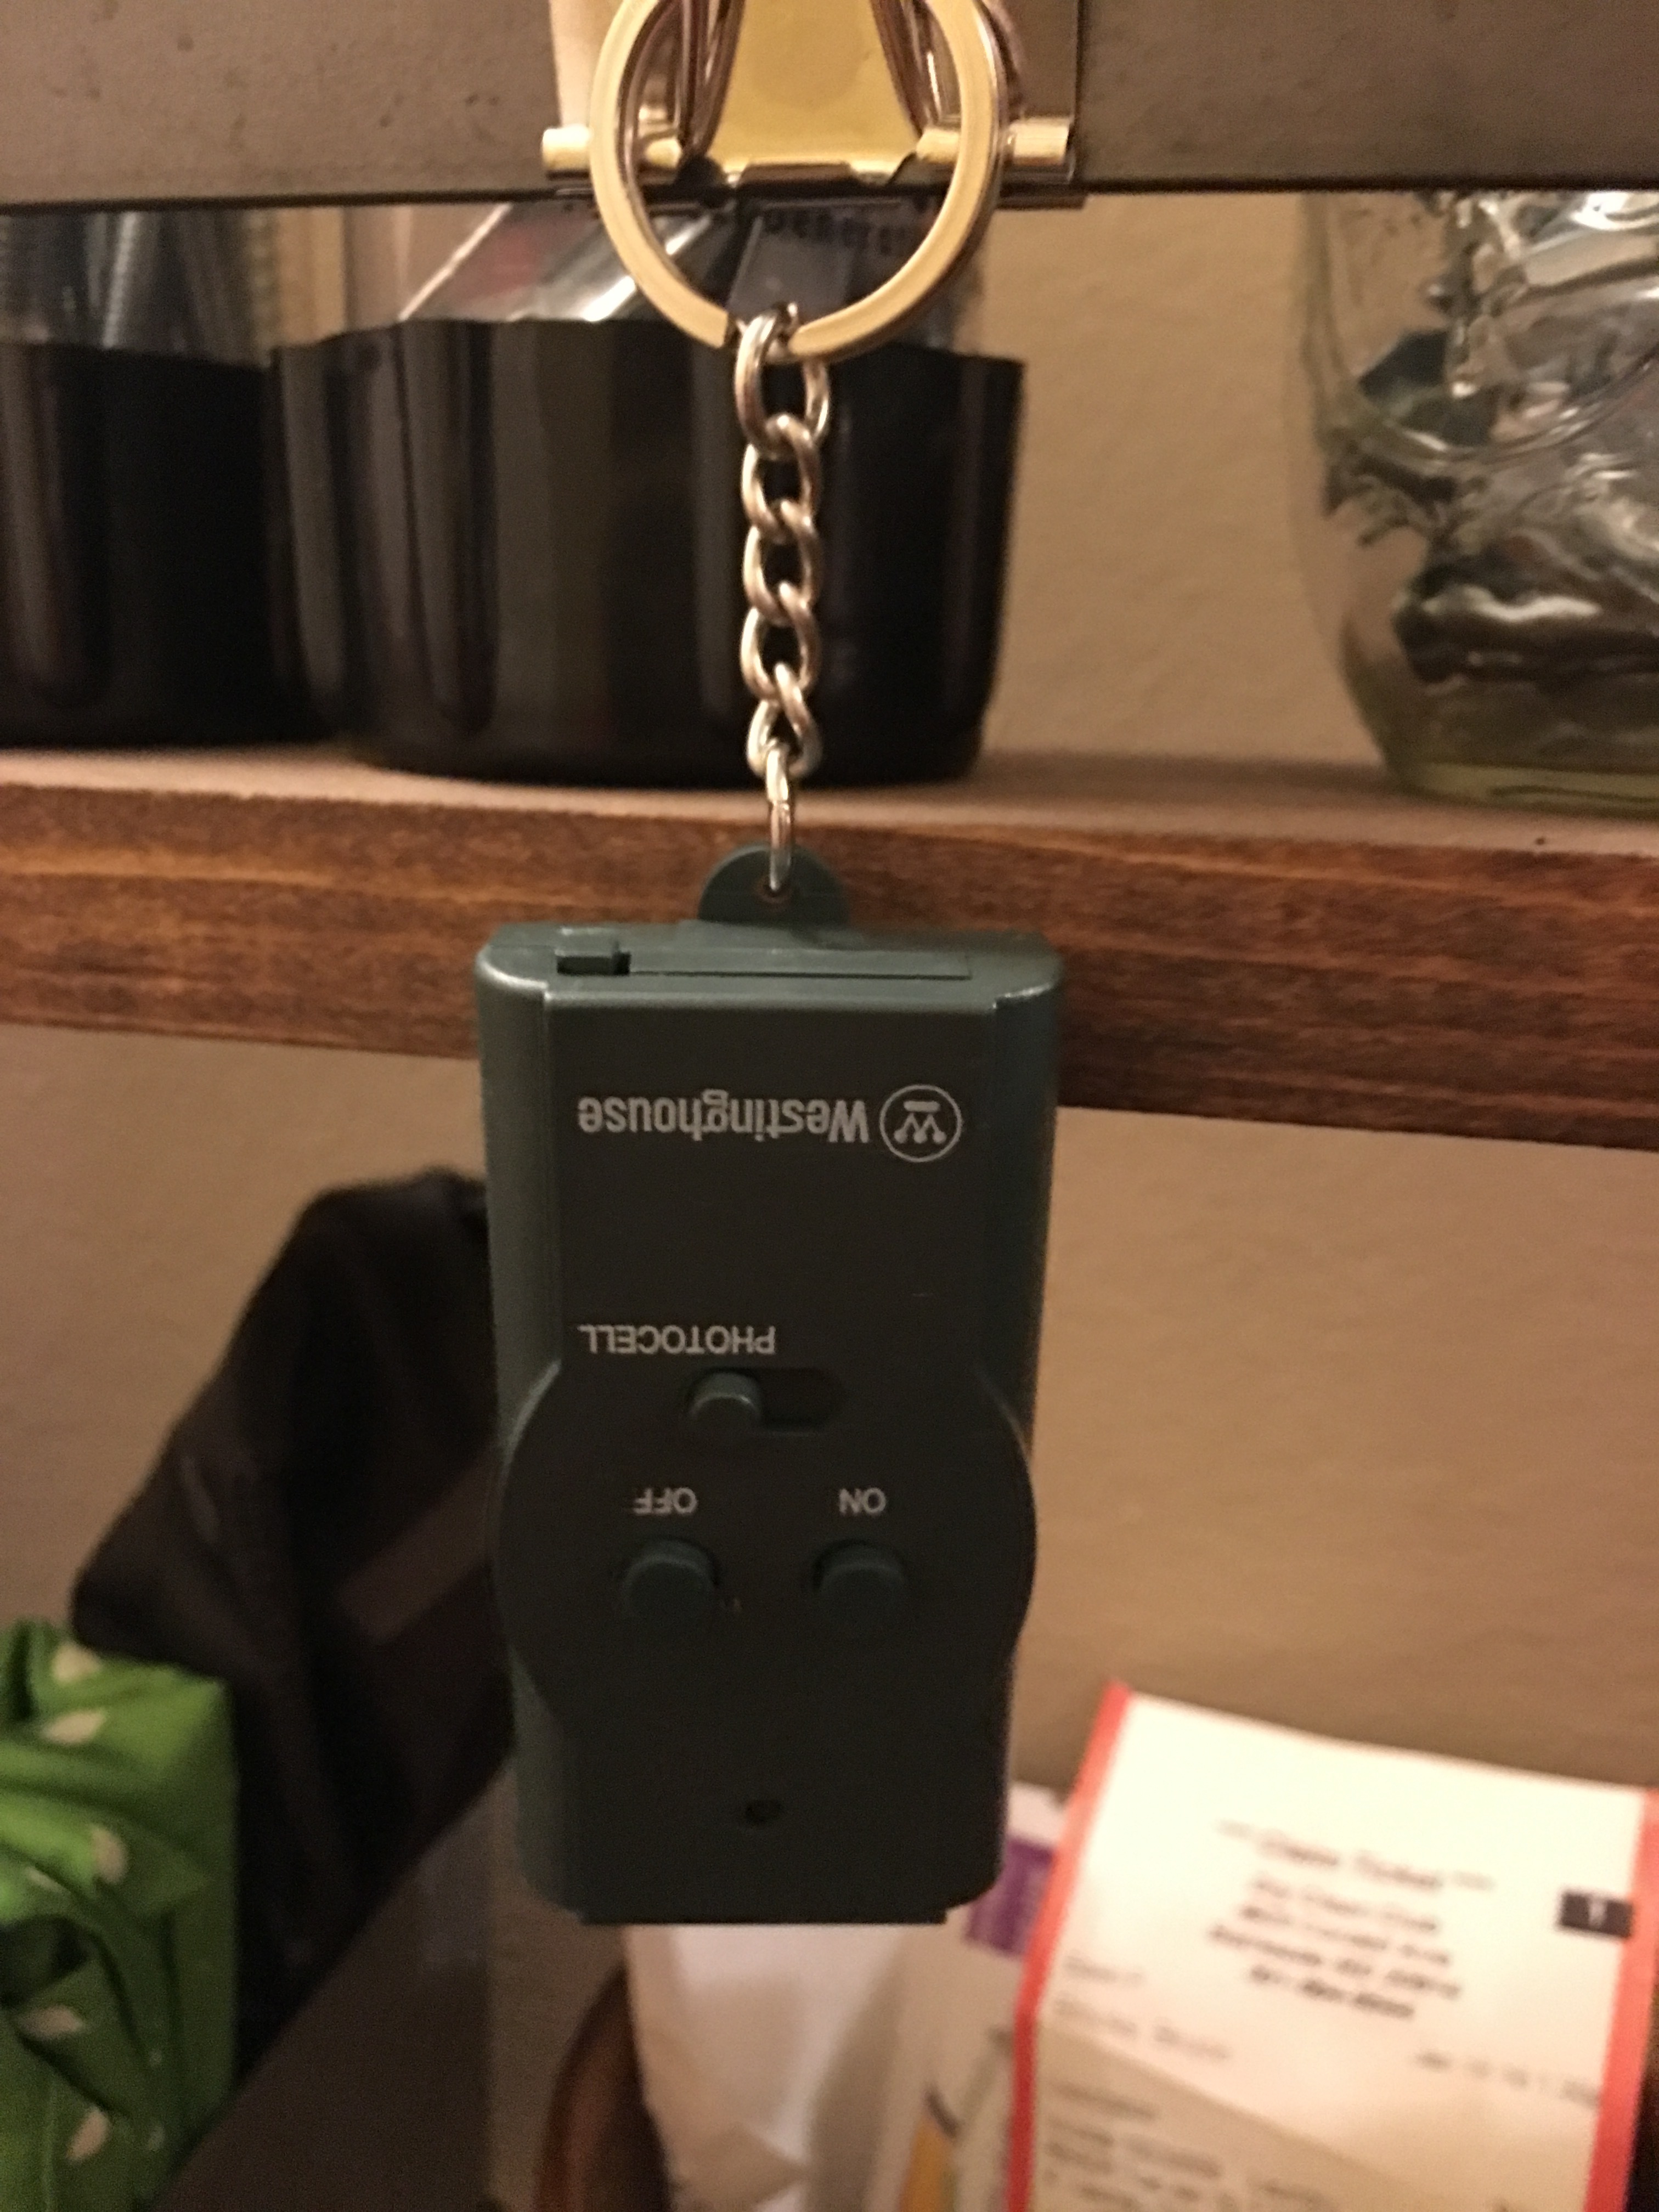
From here, the remote control serves as the light switch. Brilliant!
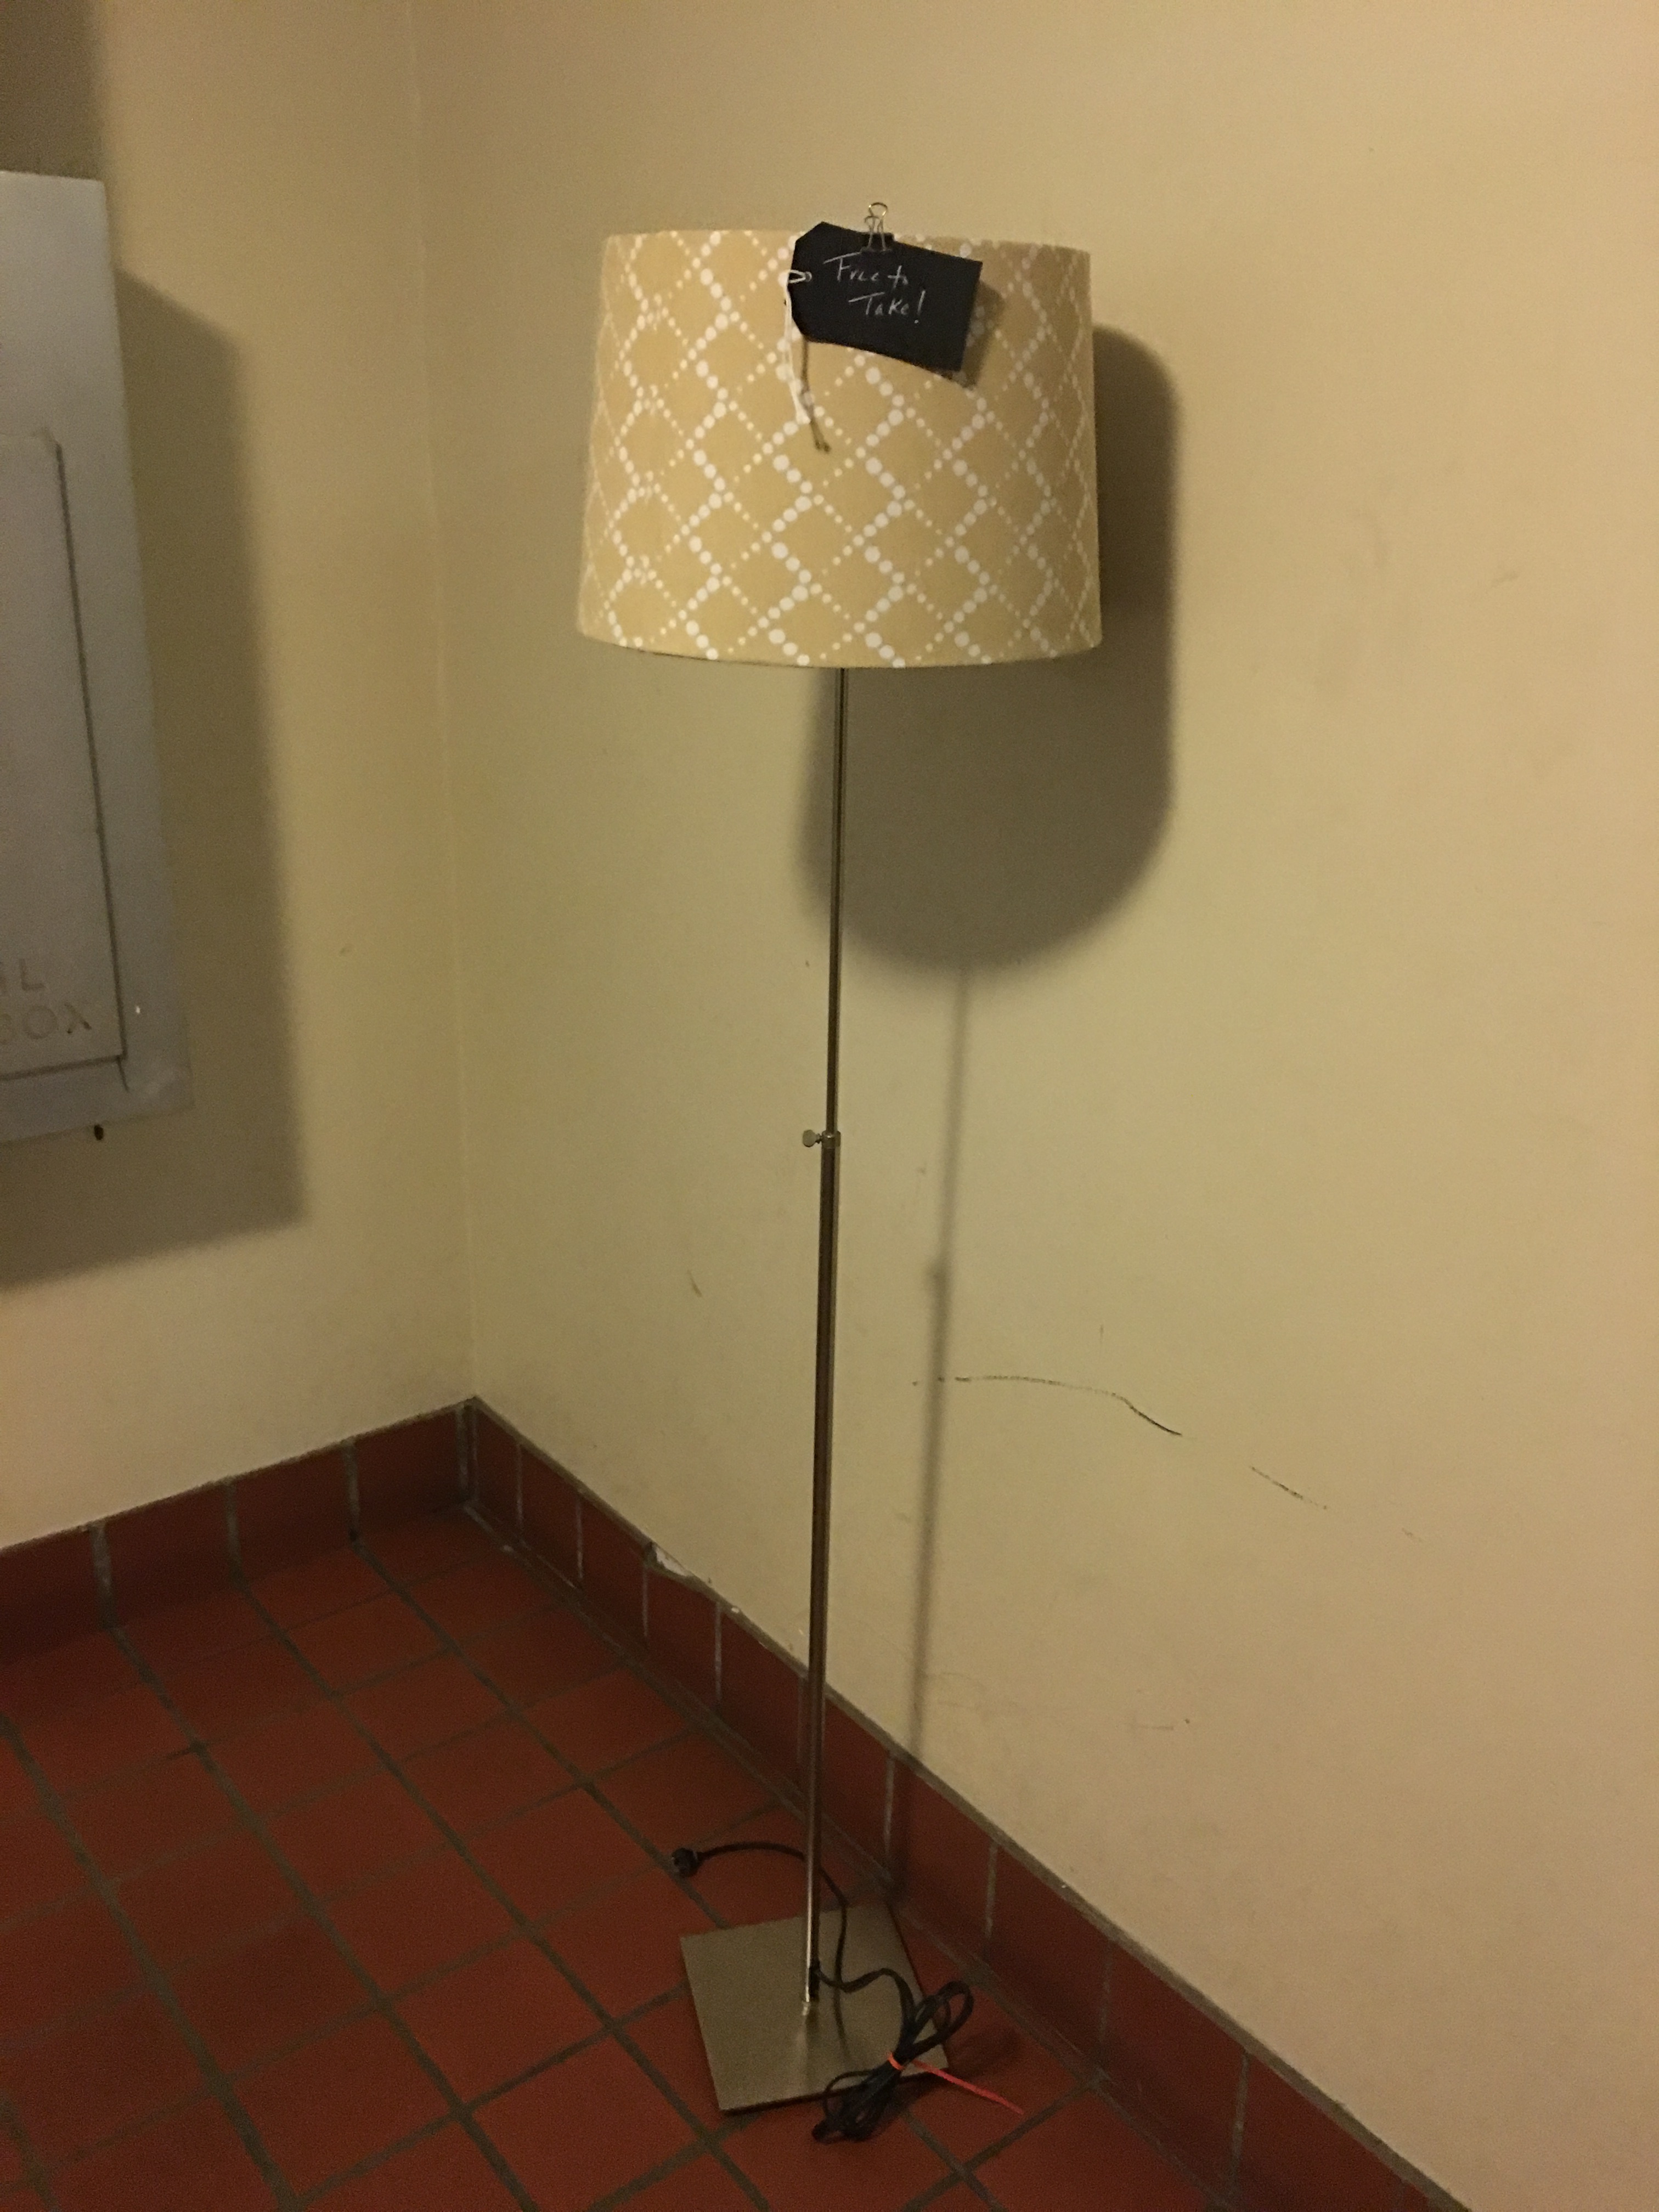
I was so pleased with the wall-mounted light pendants that I opted to give away the floor lamp that used to stand in the entryway to the neighbors. I left the floor lamp and shade on the ground floor by the exit with a “Free to Take!” sign attached.
My excited was so great over my new wall-mounted lights that I shared a video of turning the lights on and off to online friends. I was happy to leave the lights uncovered so that we can achieve maximum illumination in the space. I still toyed with the idea of making a sconce shade for the lights, but I kind of liked them shadeless. It added to the rustic, DIY feel of the project.
But then the next morning I changed my mind. The lights need a shade. But one that doesn’t cover the light. Like a metal-pattered shade.
So after work on Thursday I was back in the Home Depot shopping metal sheets. I decided to go with the nicest (and priciest) option – the copper-colored star shaped metal sheet.
I used 8″ embroidery hoops I had on hand to make shades out of the metal sheet. After cutting a hoop in half, I clipped the metal sheet to the outside of the curved wood at the top and the bottom.
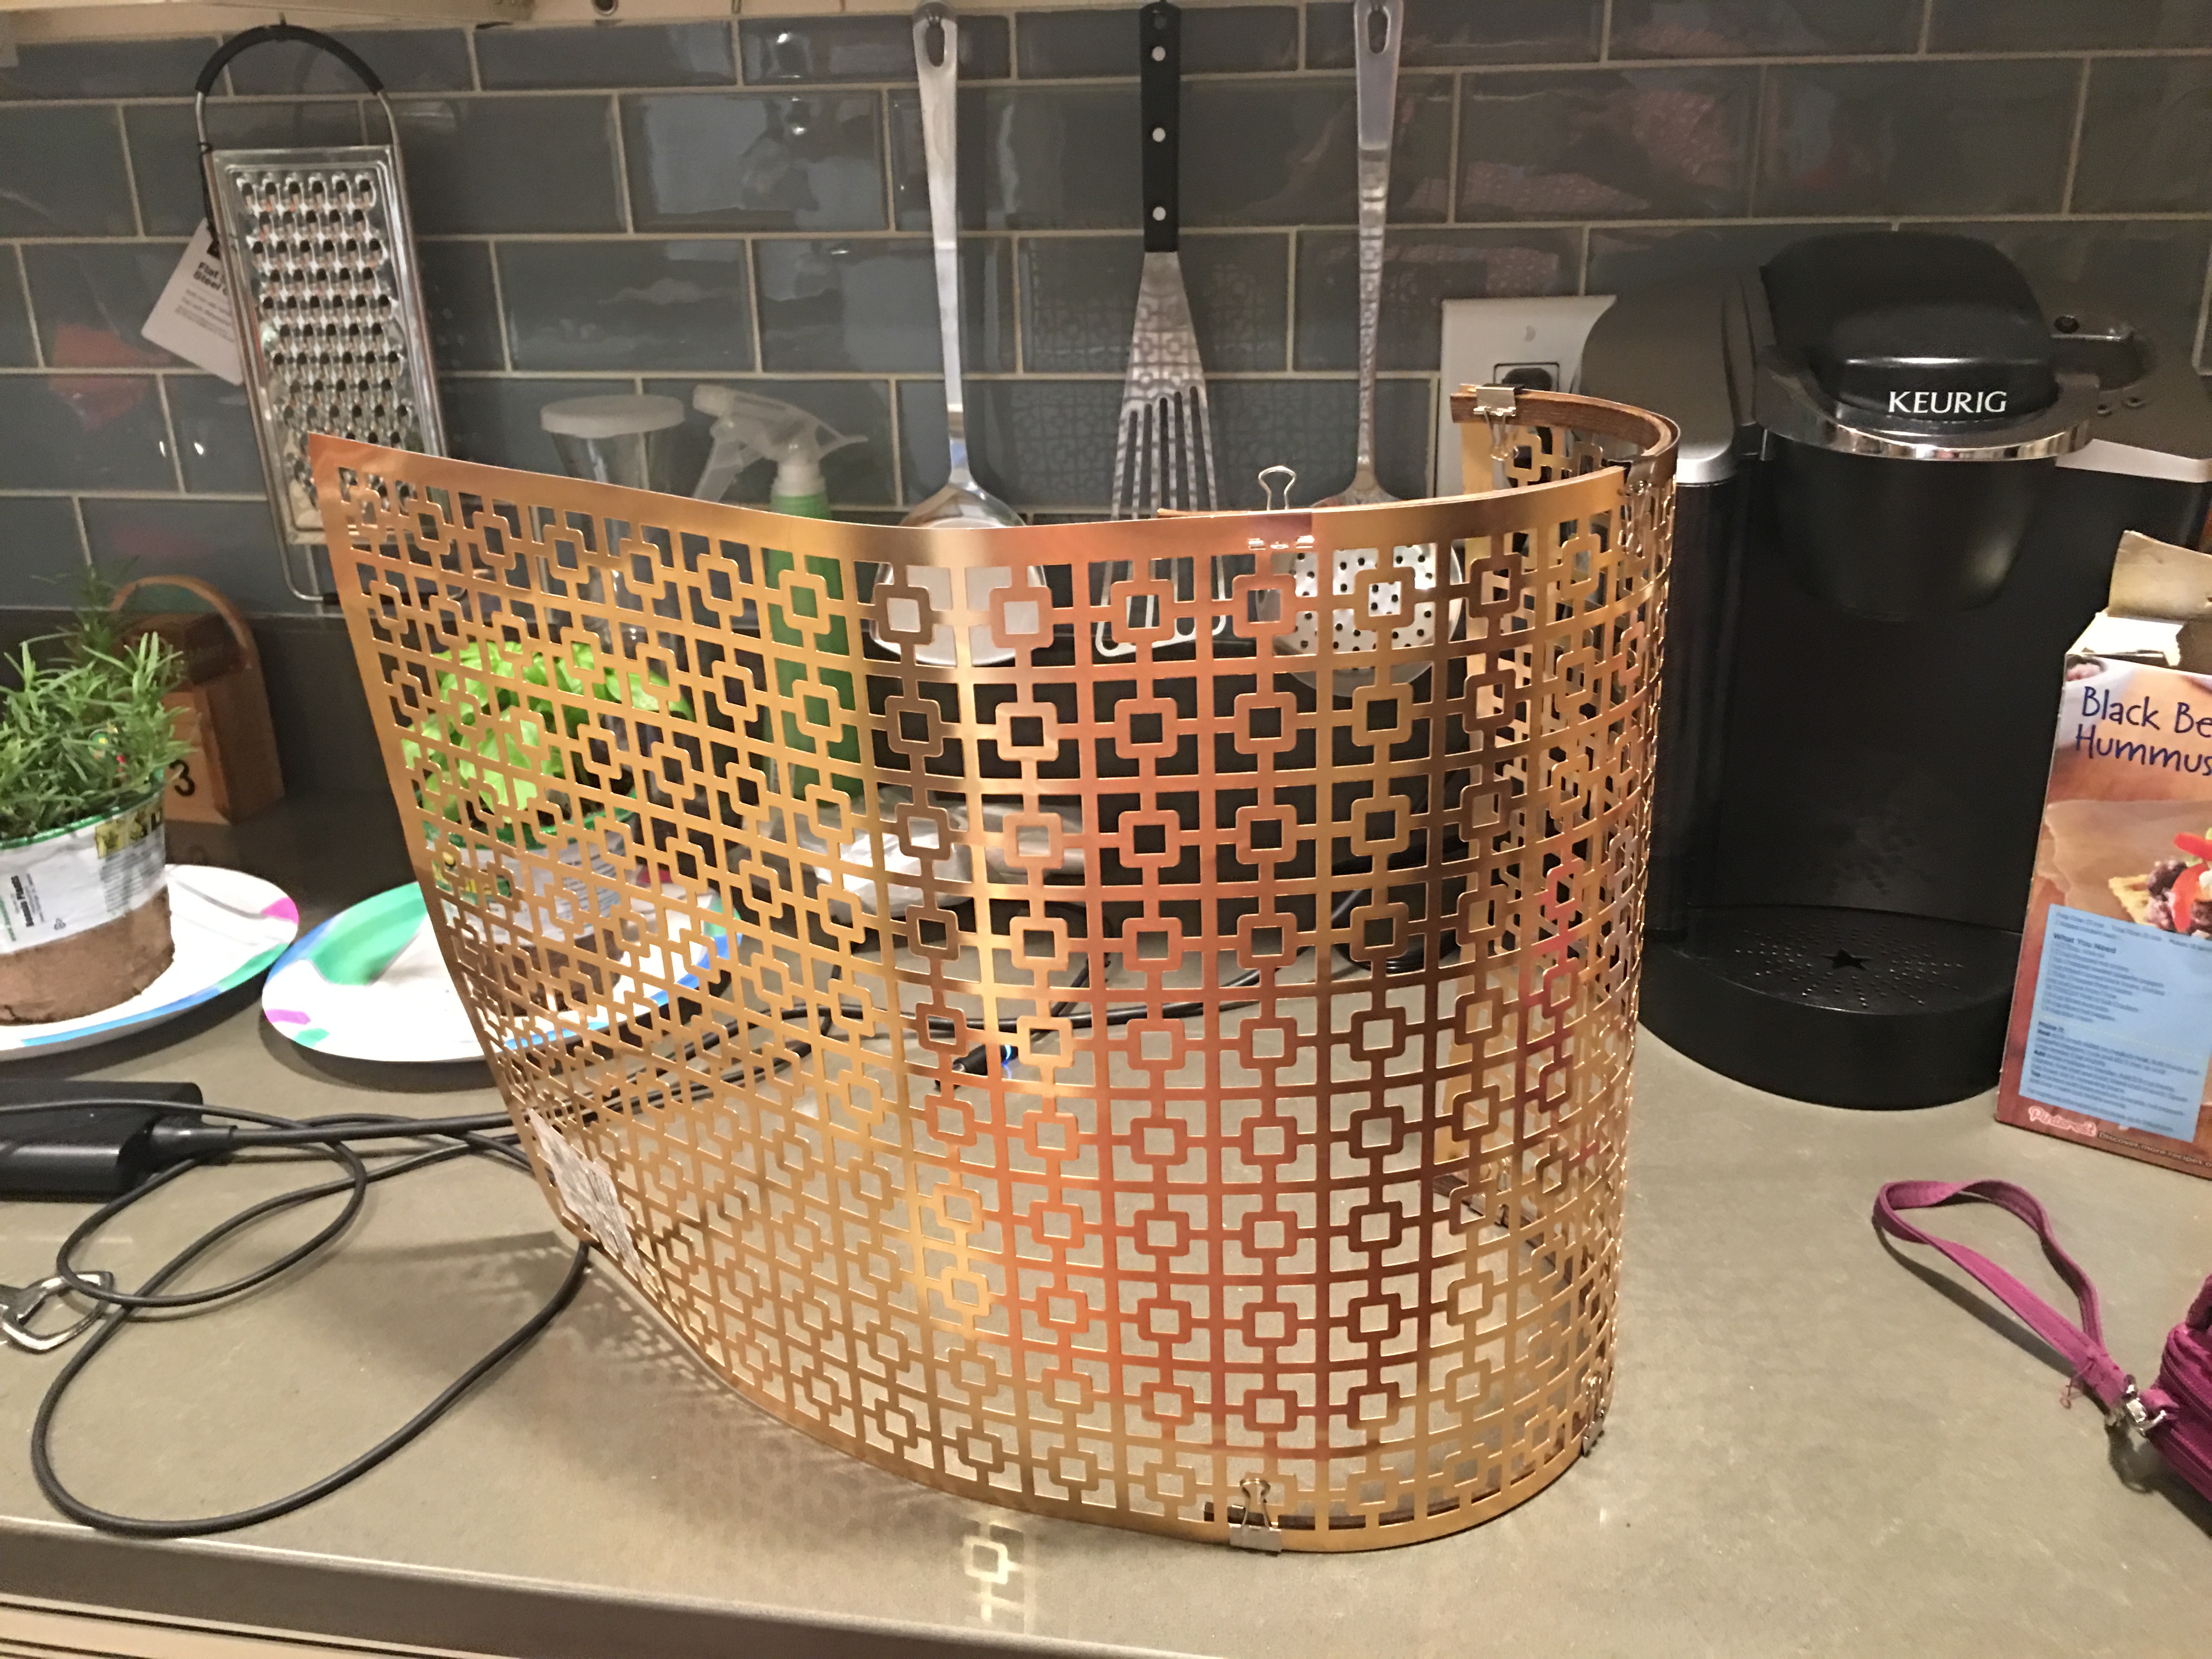
Once I determined how long the sheet needed to be, I used metal snips to trim down the sheet.
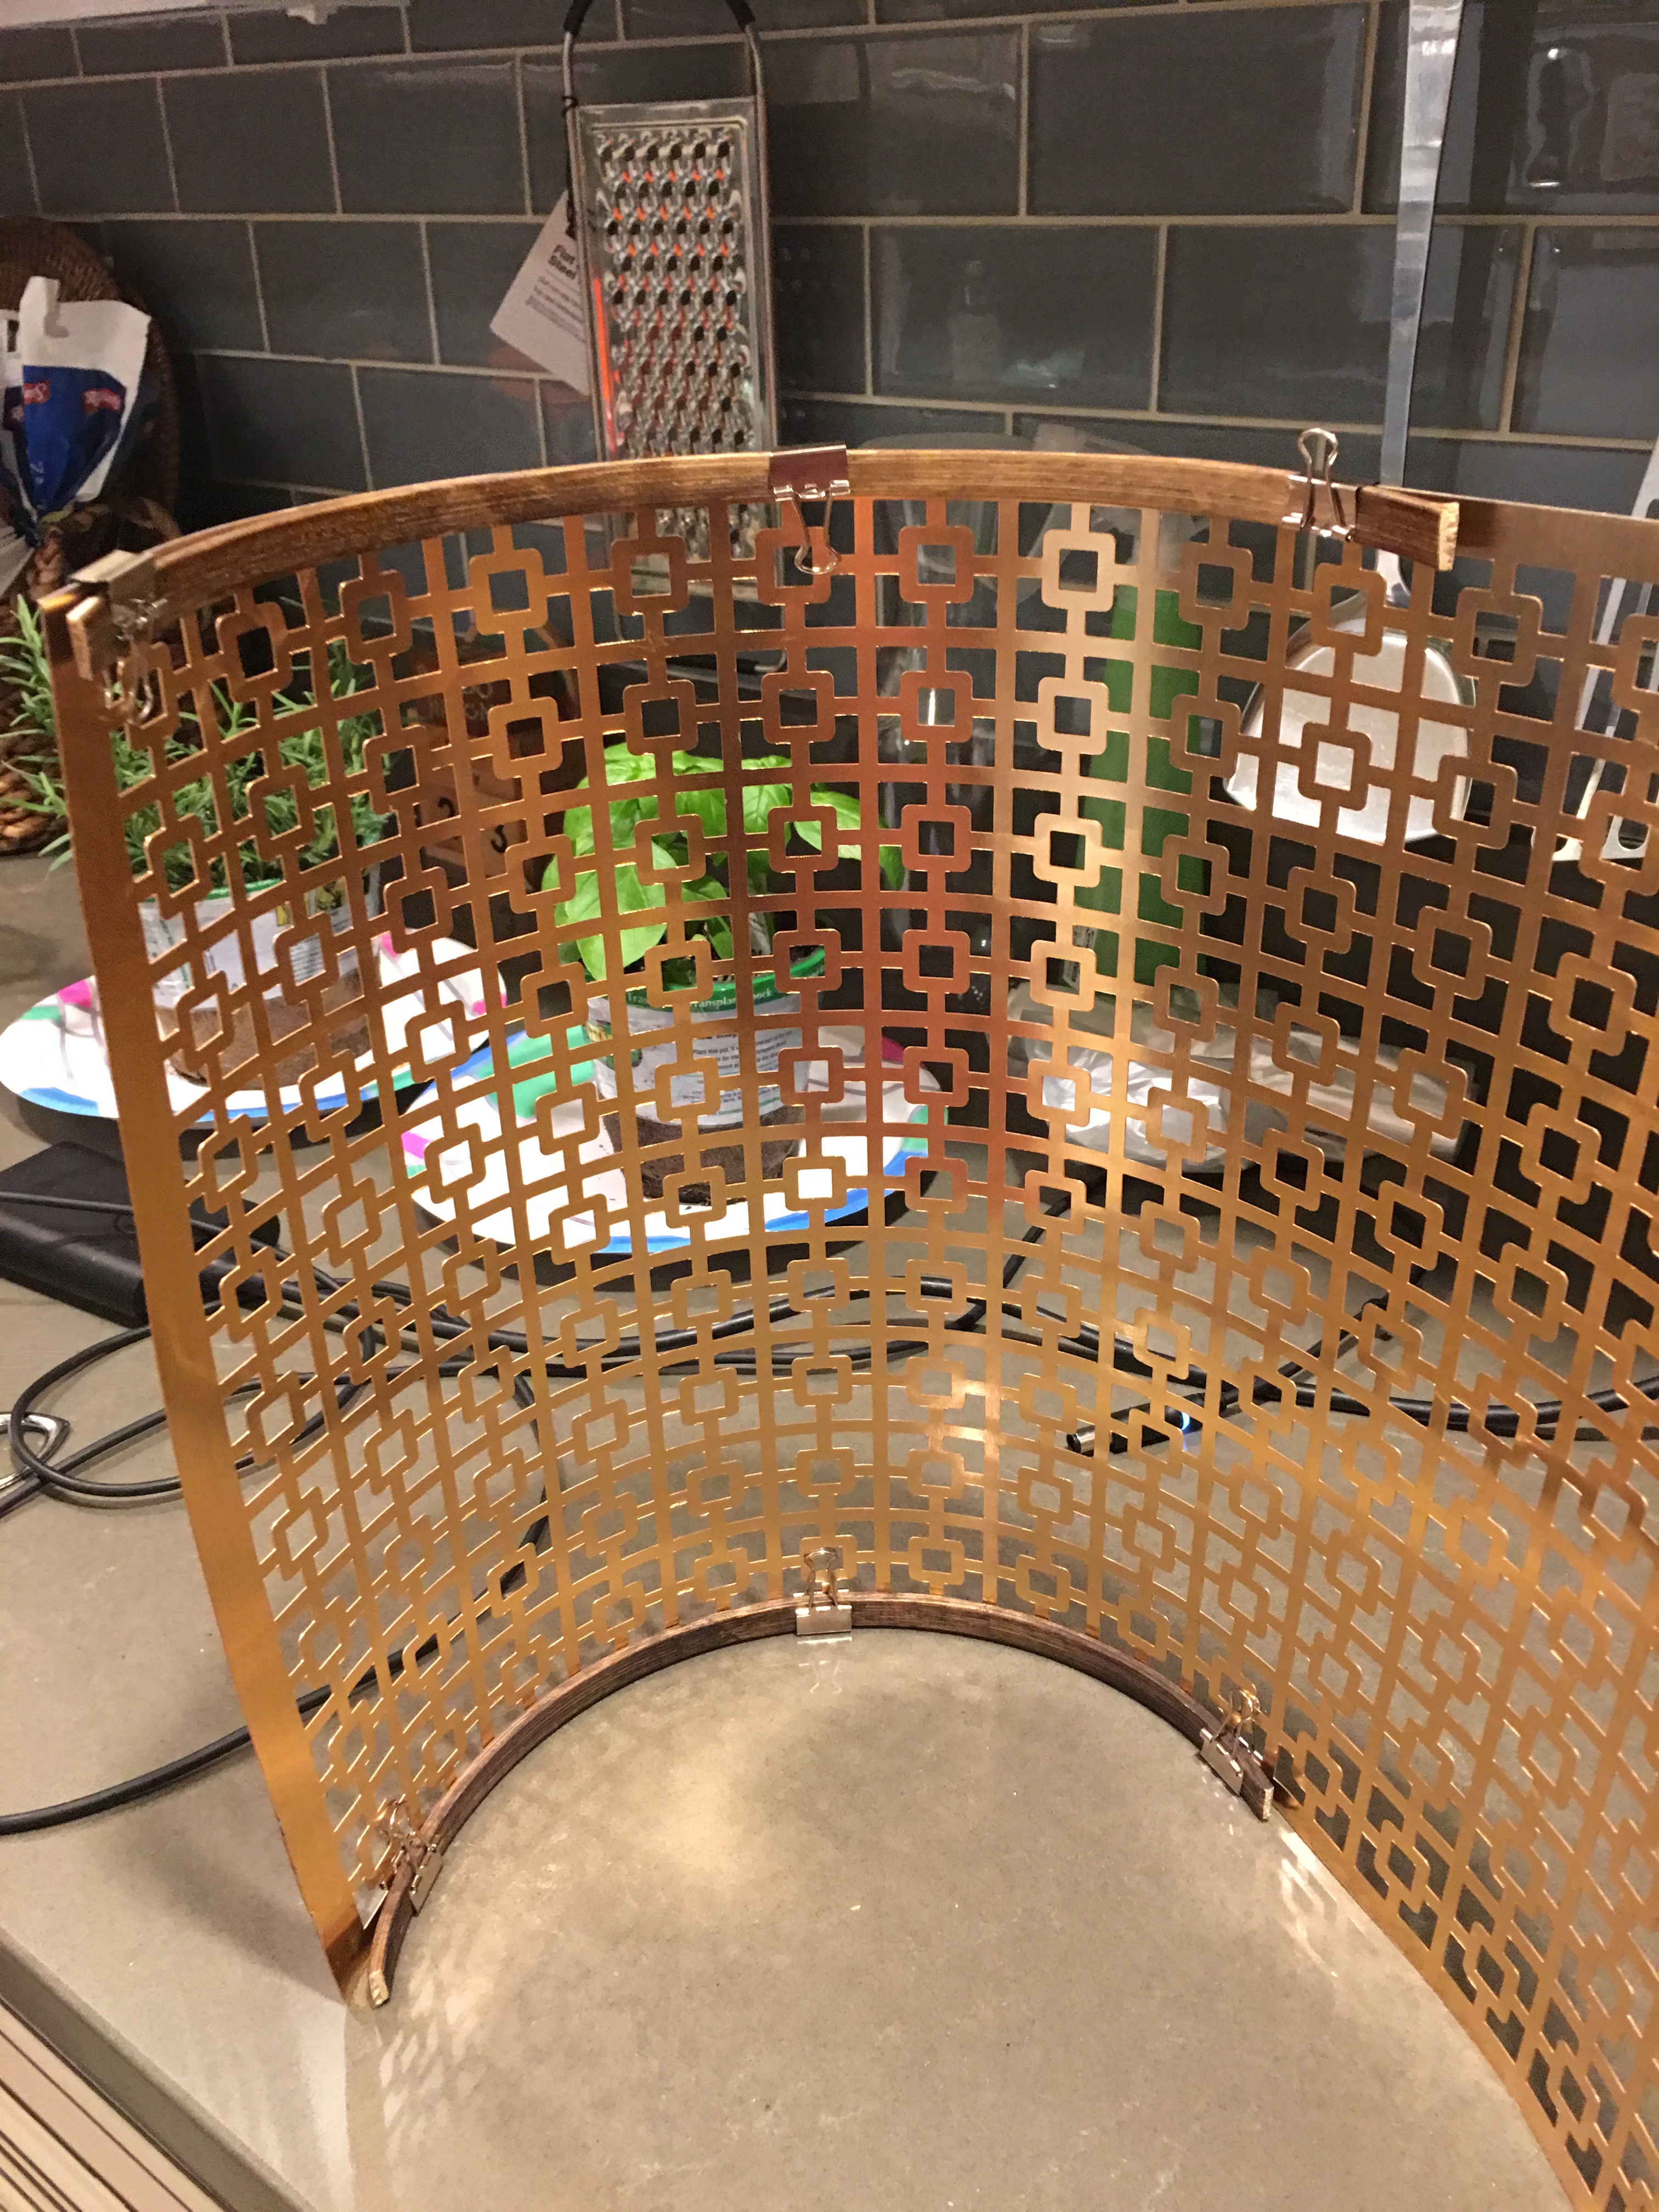
To cover the ragged edge of the metal sheet, I placed a strip of project wood to that side of the shade…
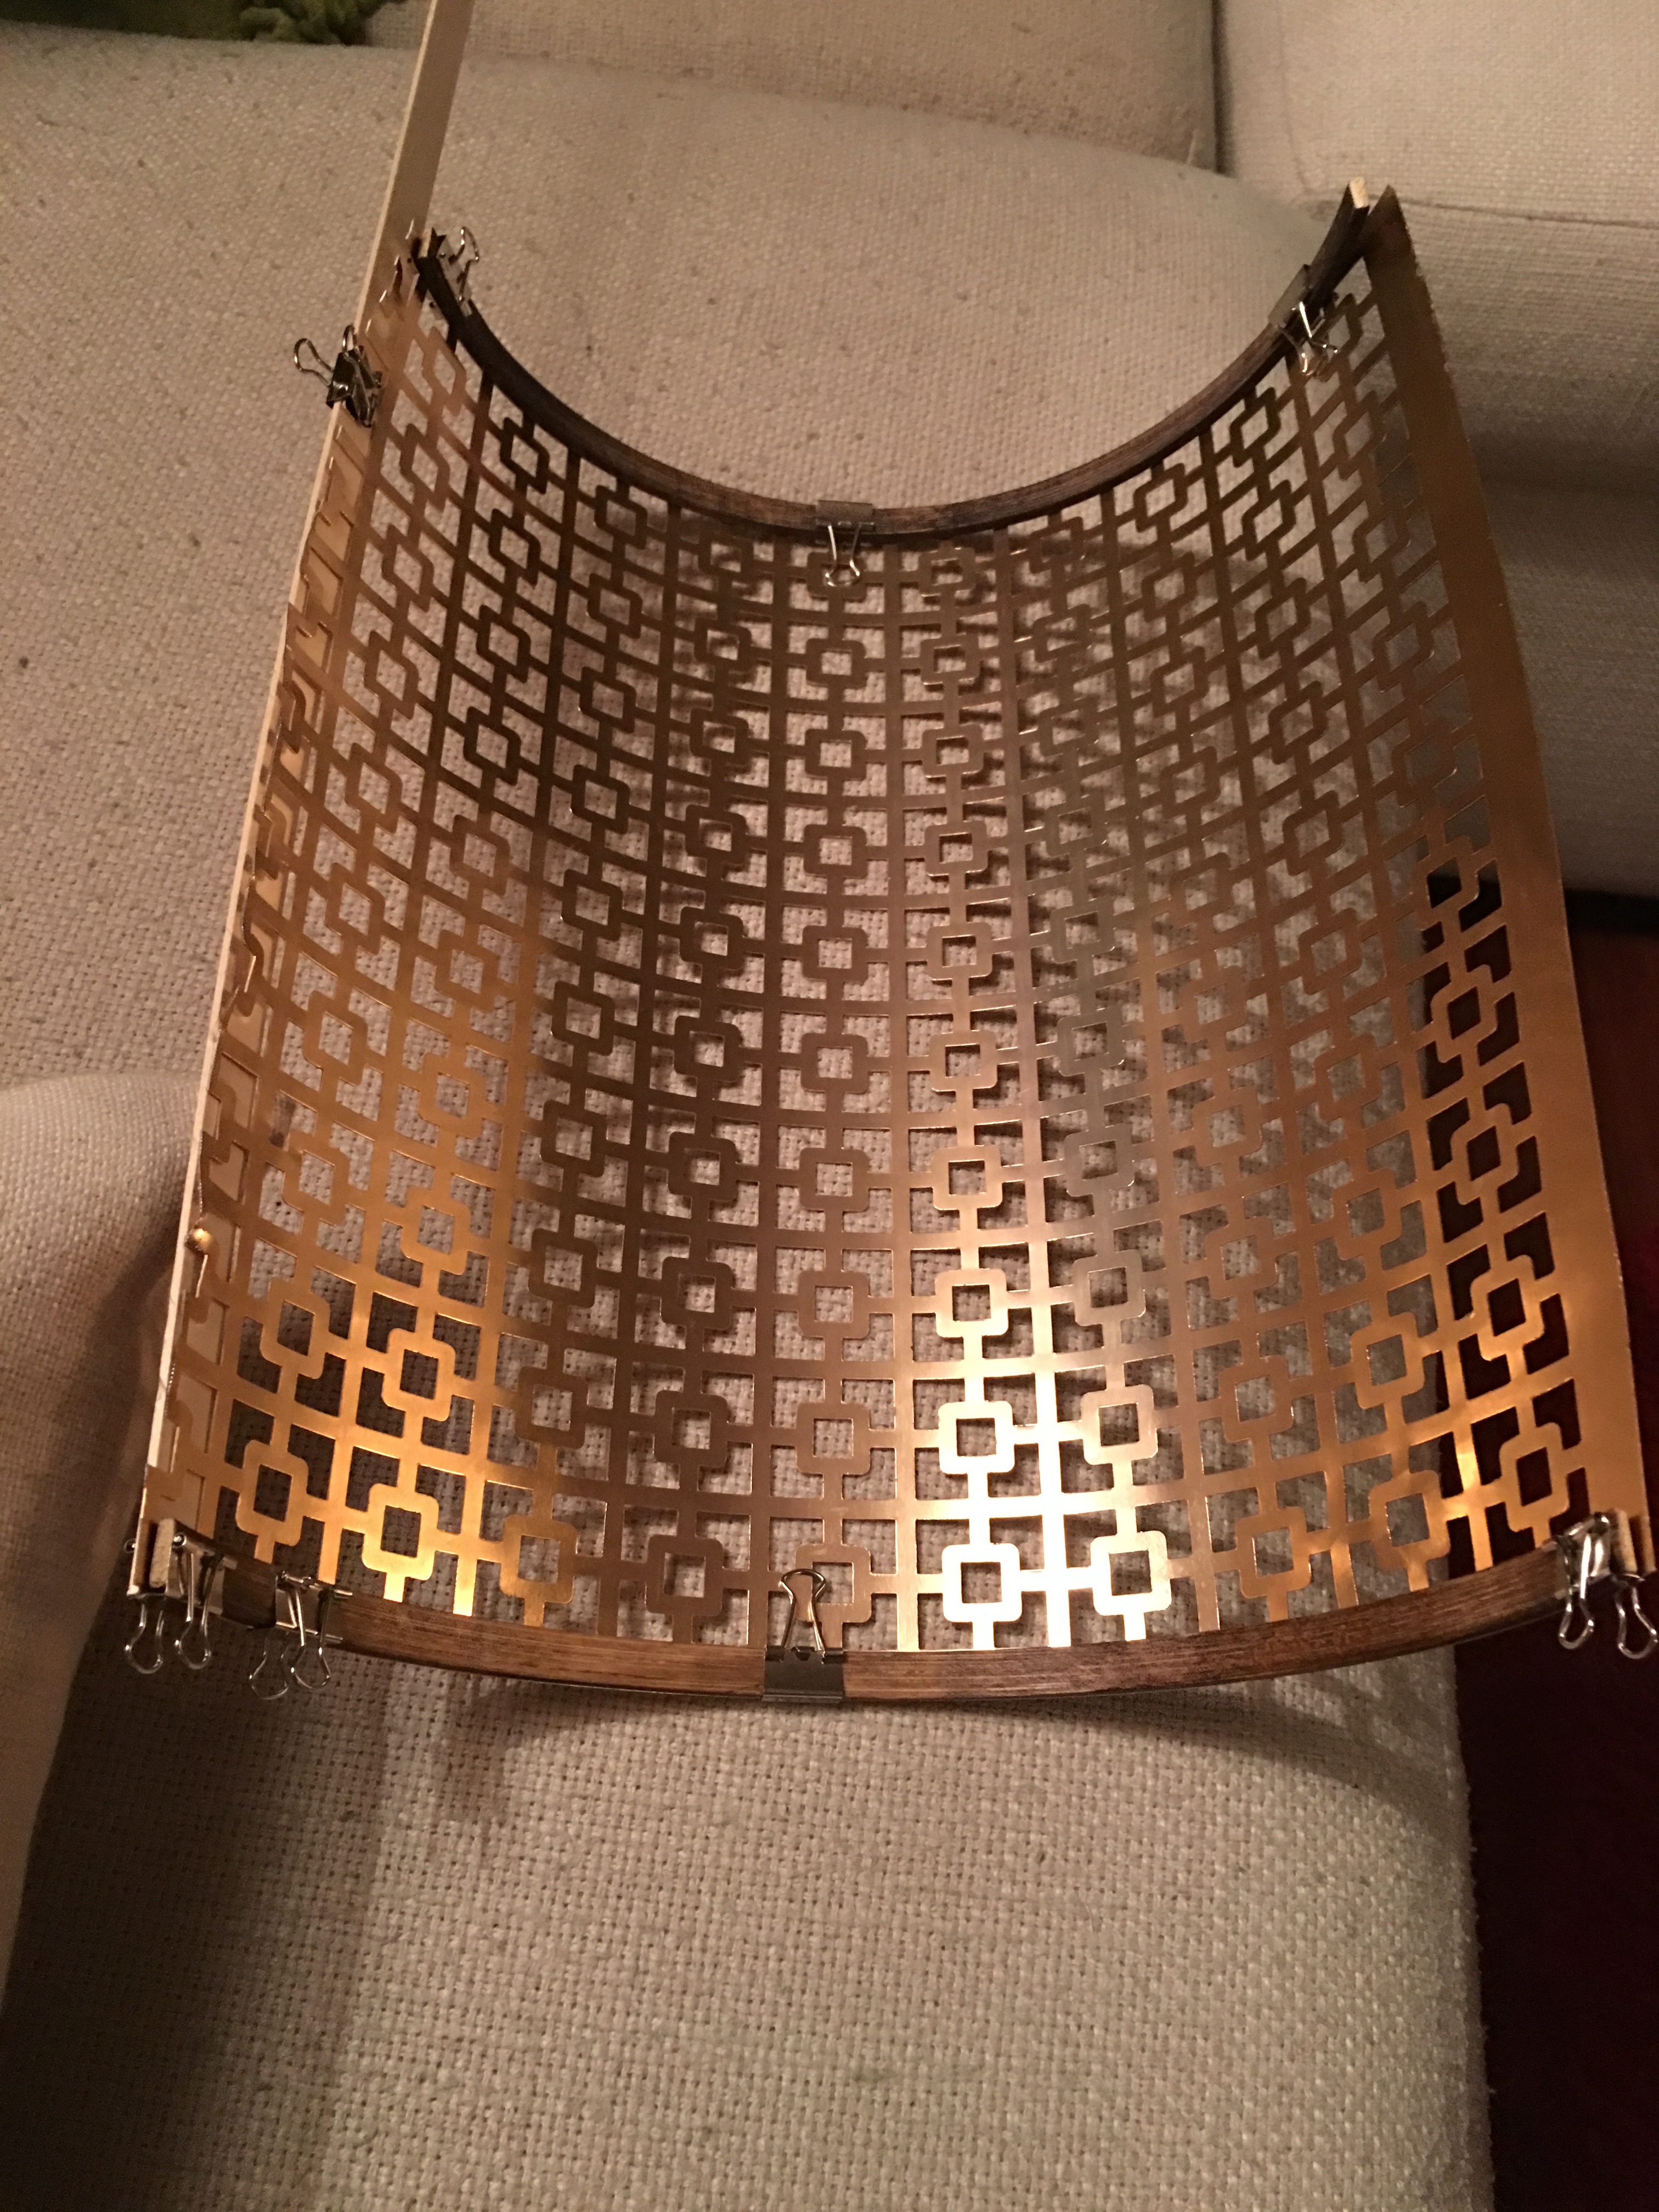
…and I wrapped jute twine around the metal edge and the wood.
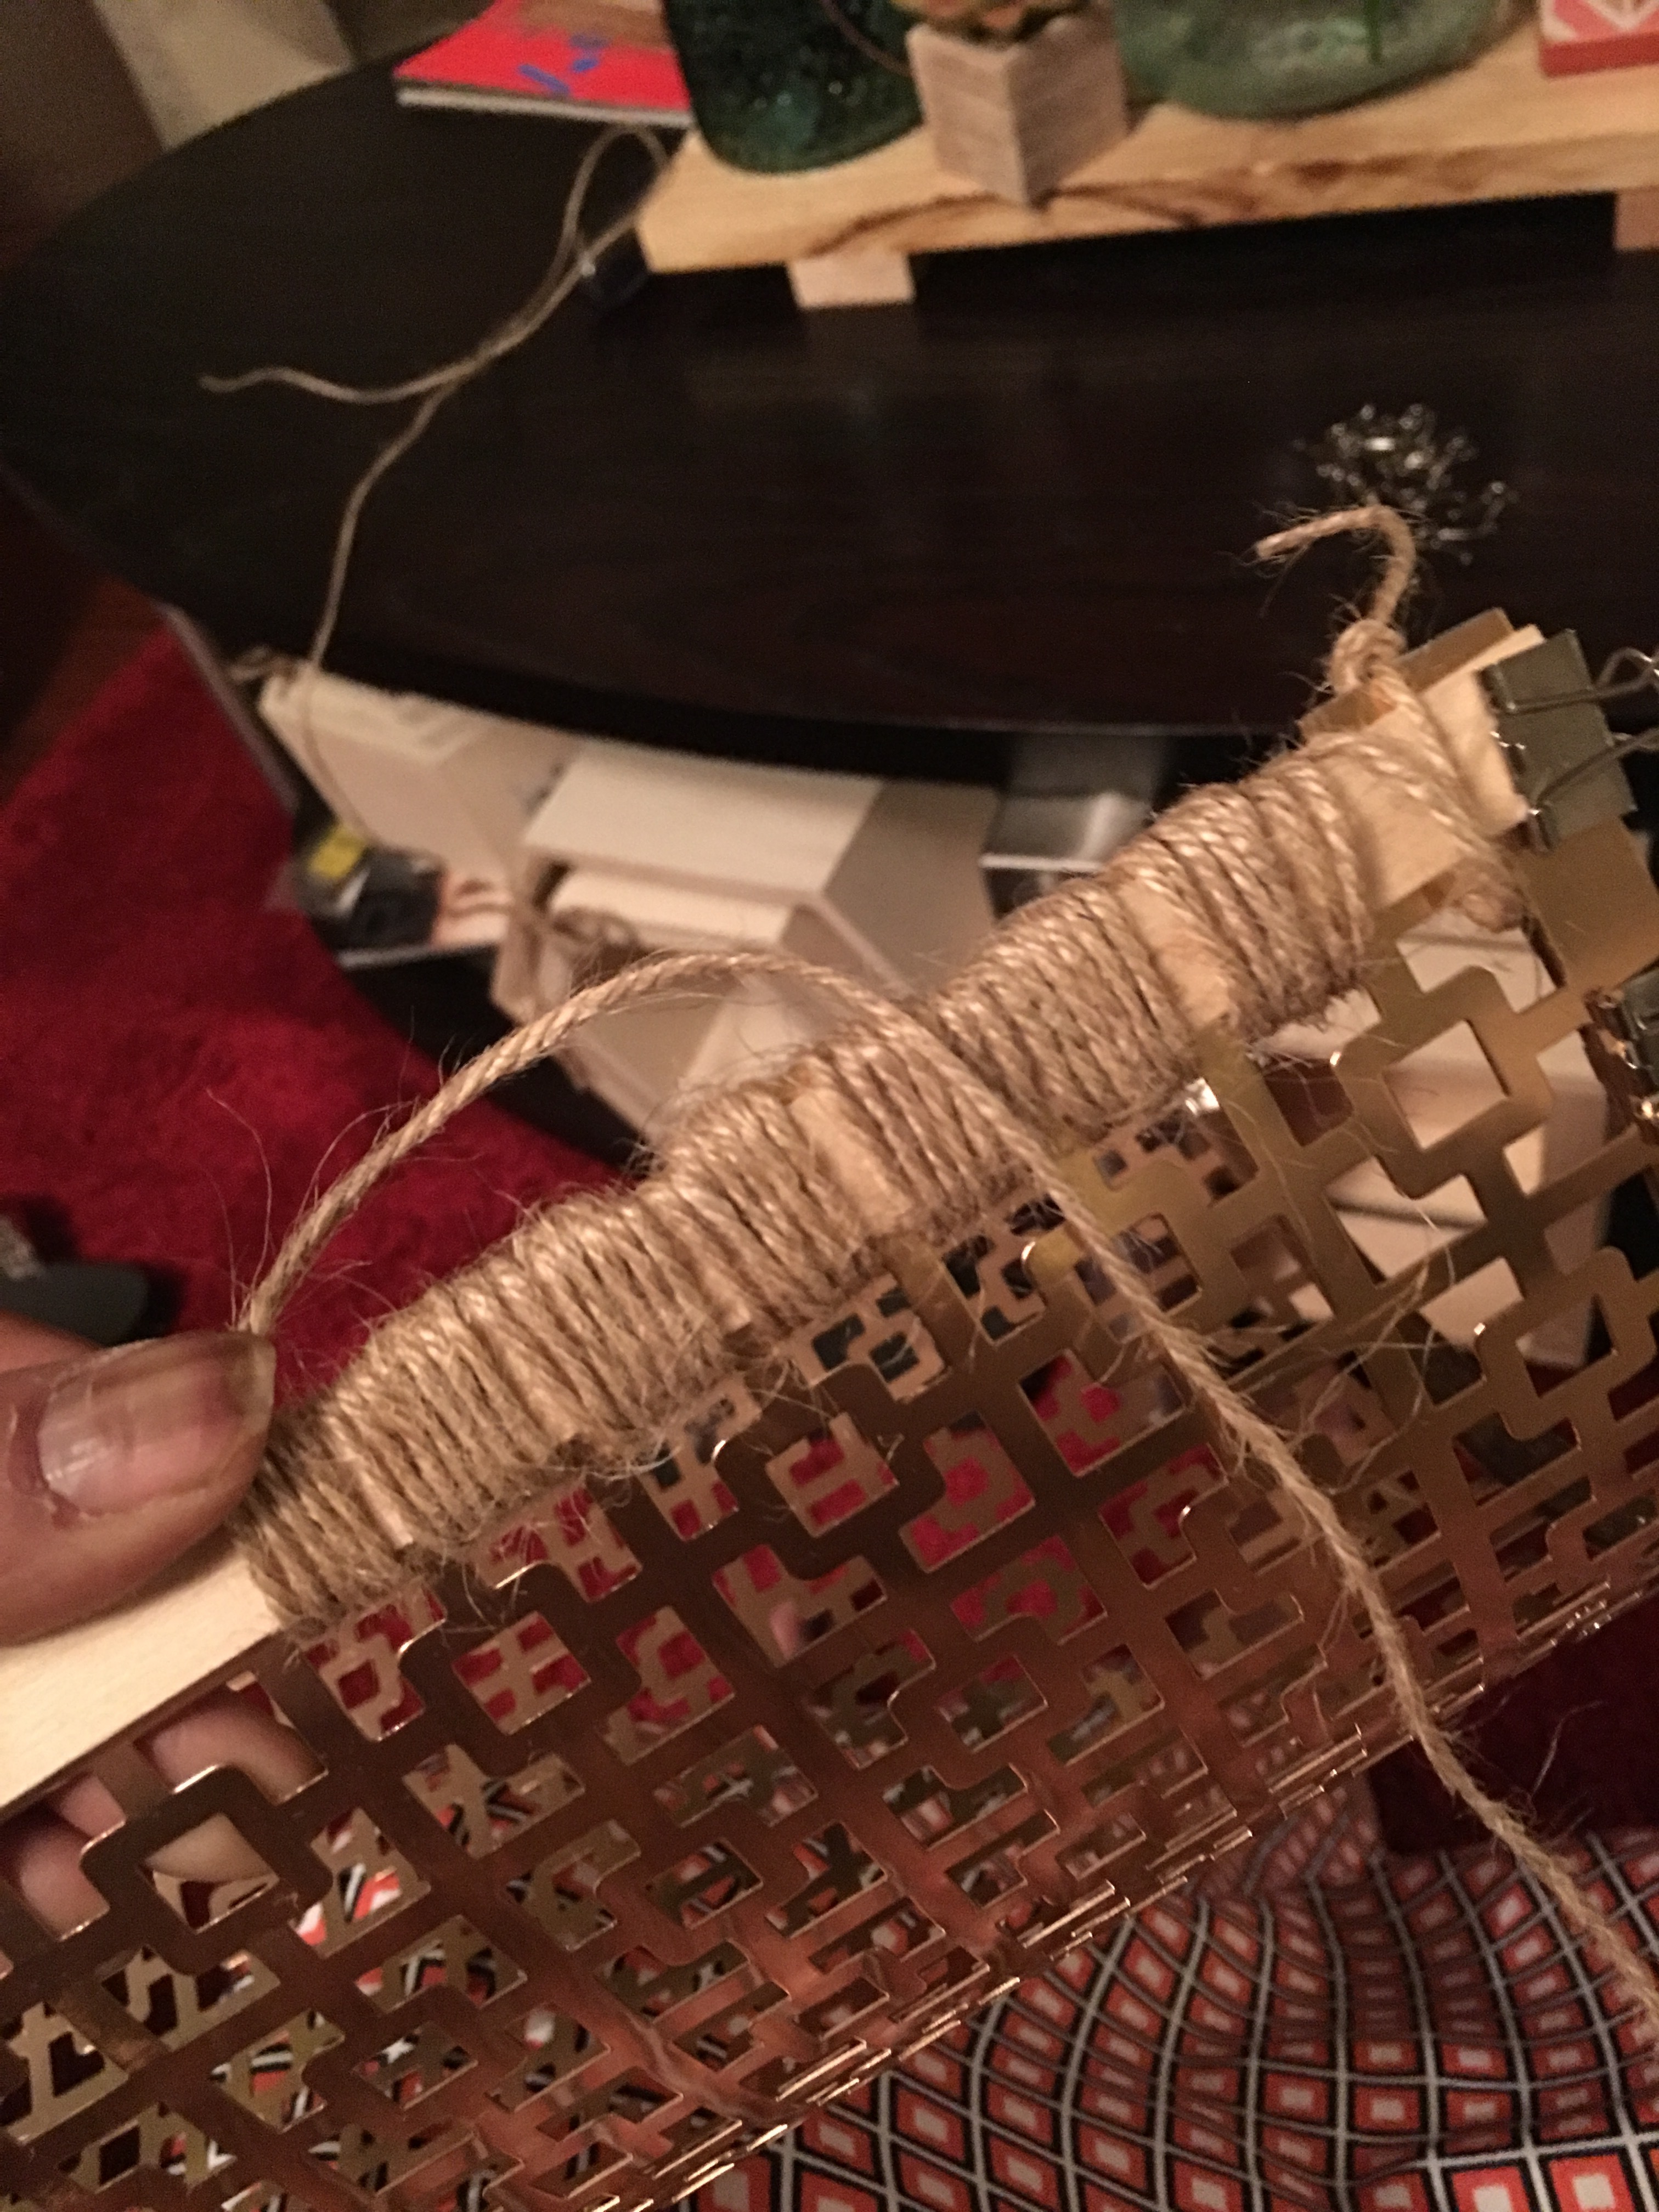
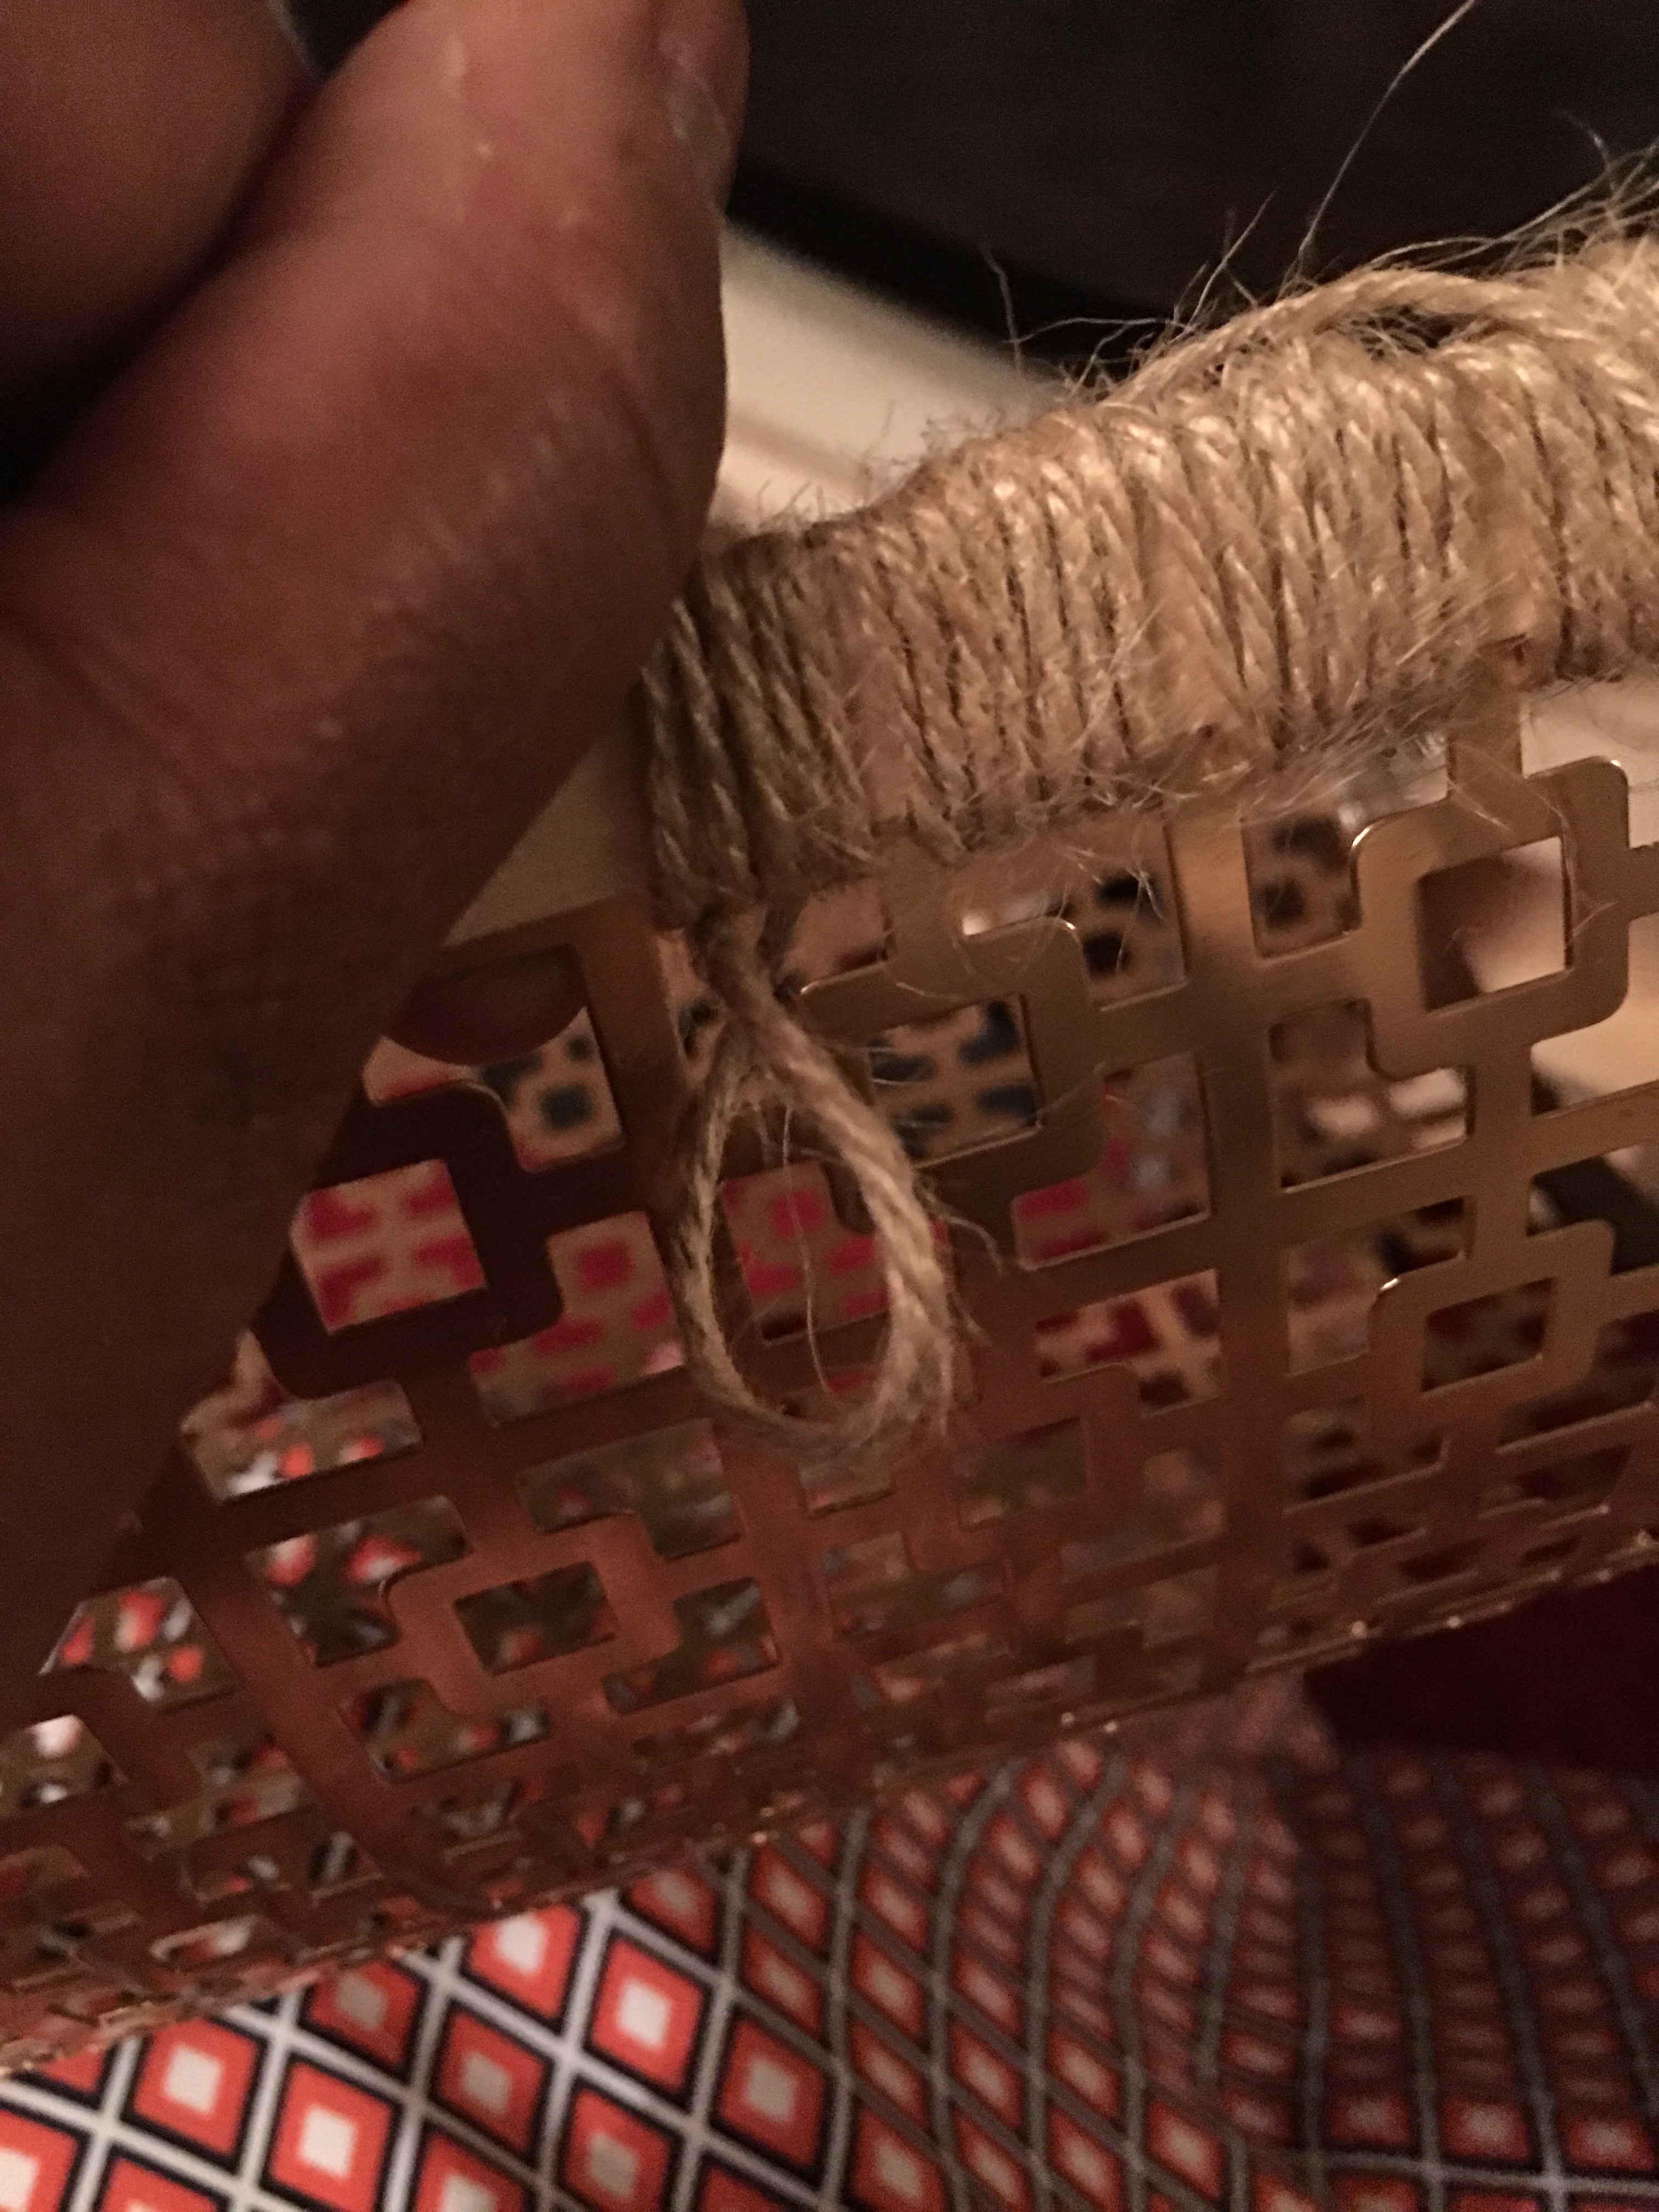
Once the jagged edge of the metal sheet was fully wrapped with twine, I tied a piece of twine across the top of the shade. And I hooked the twine over the top of the wood plaque to add the shade.
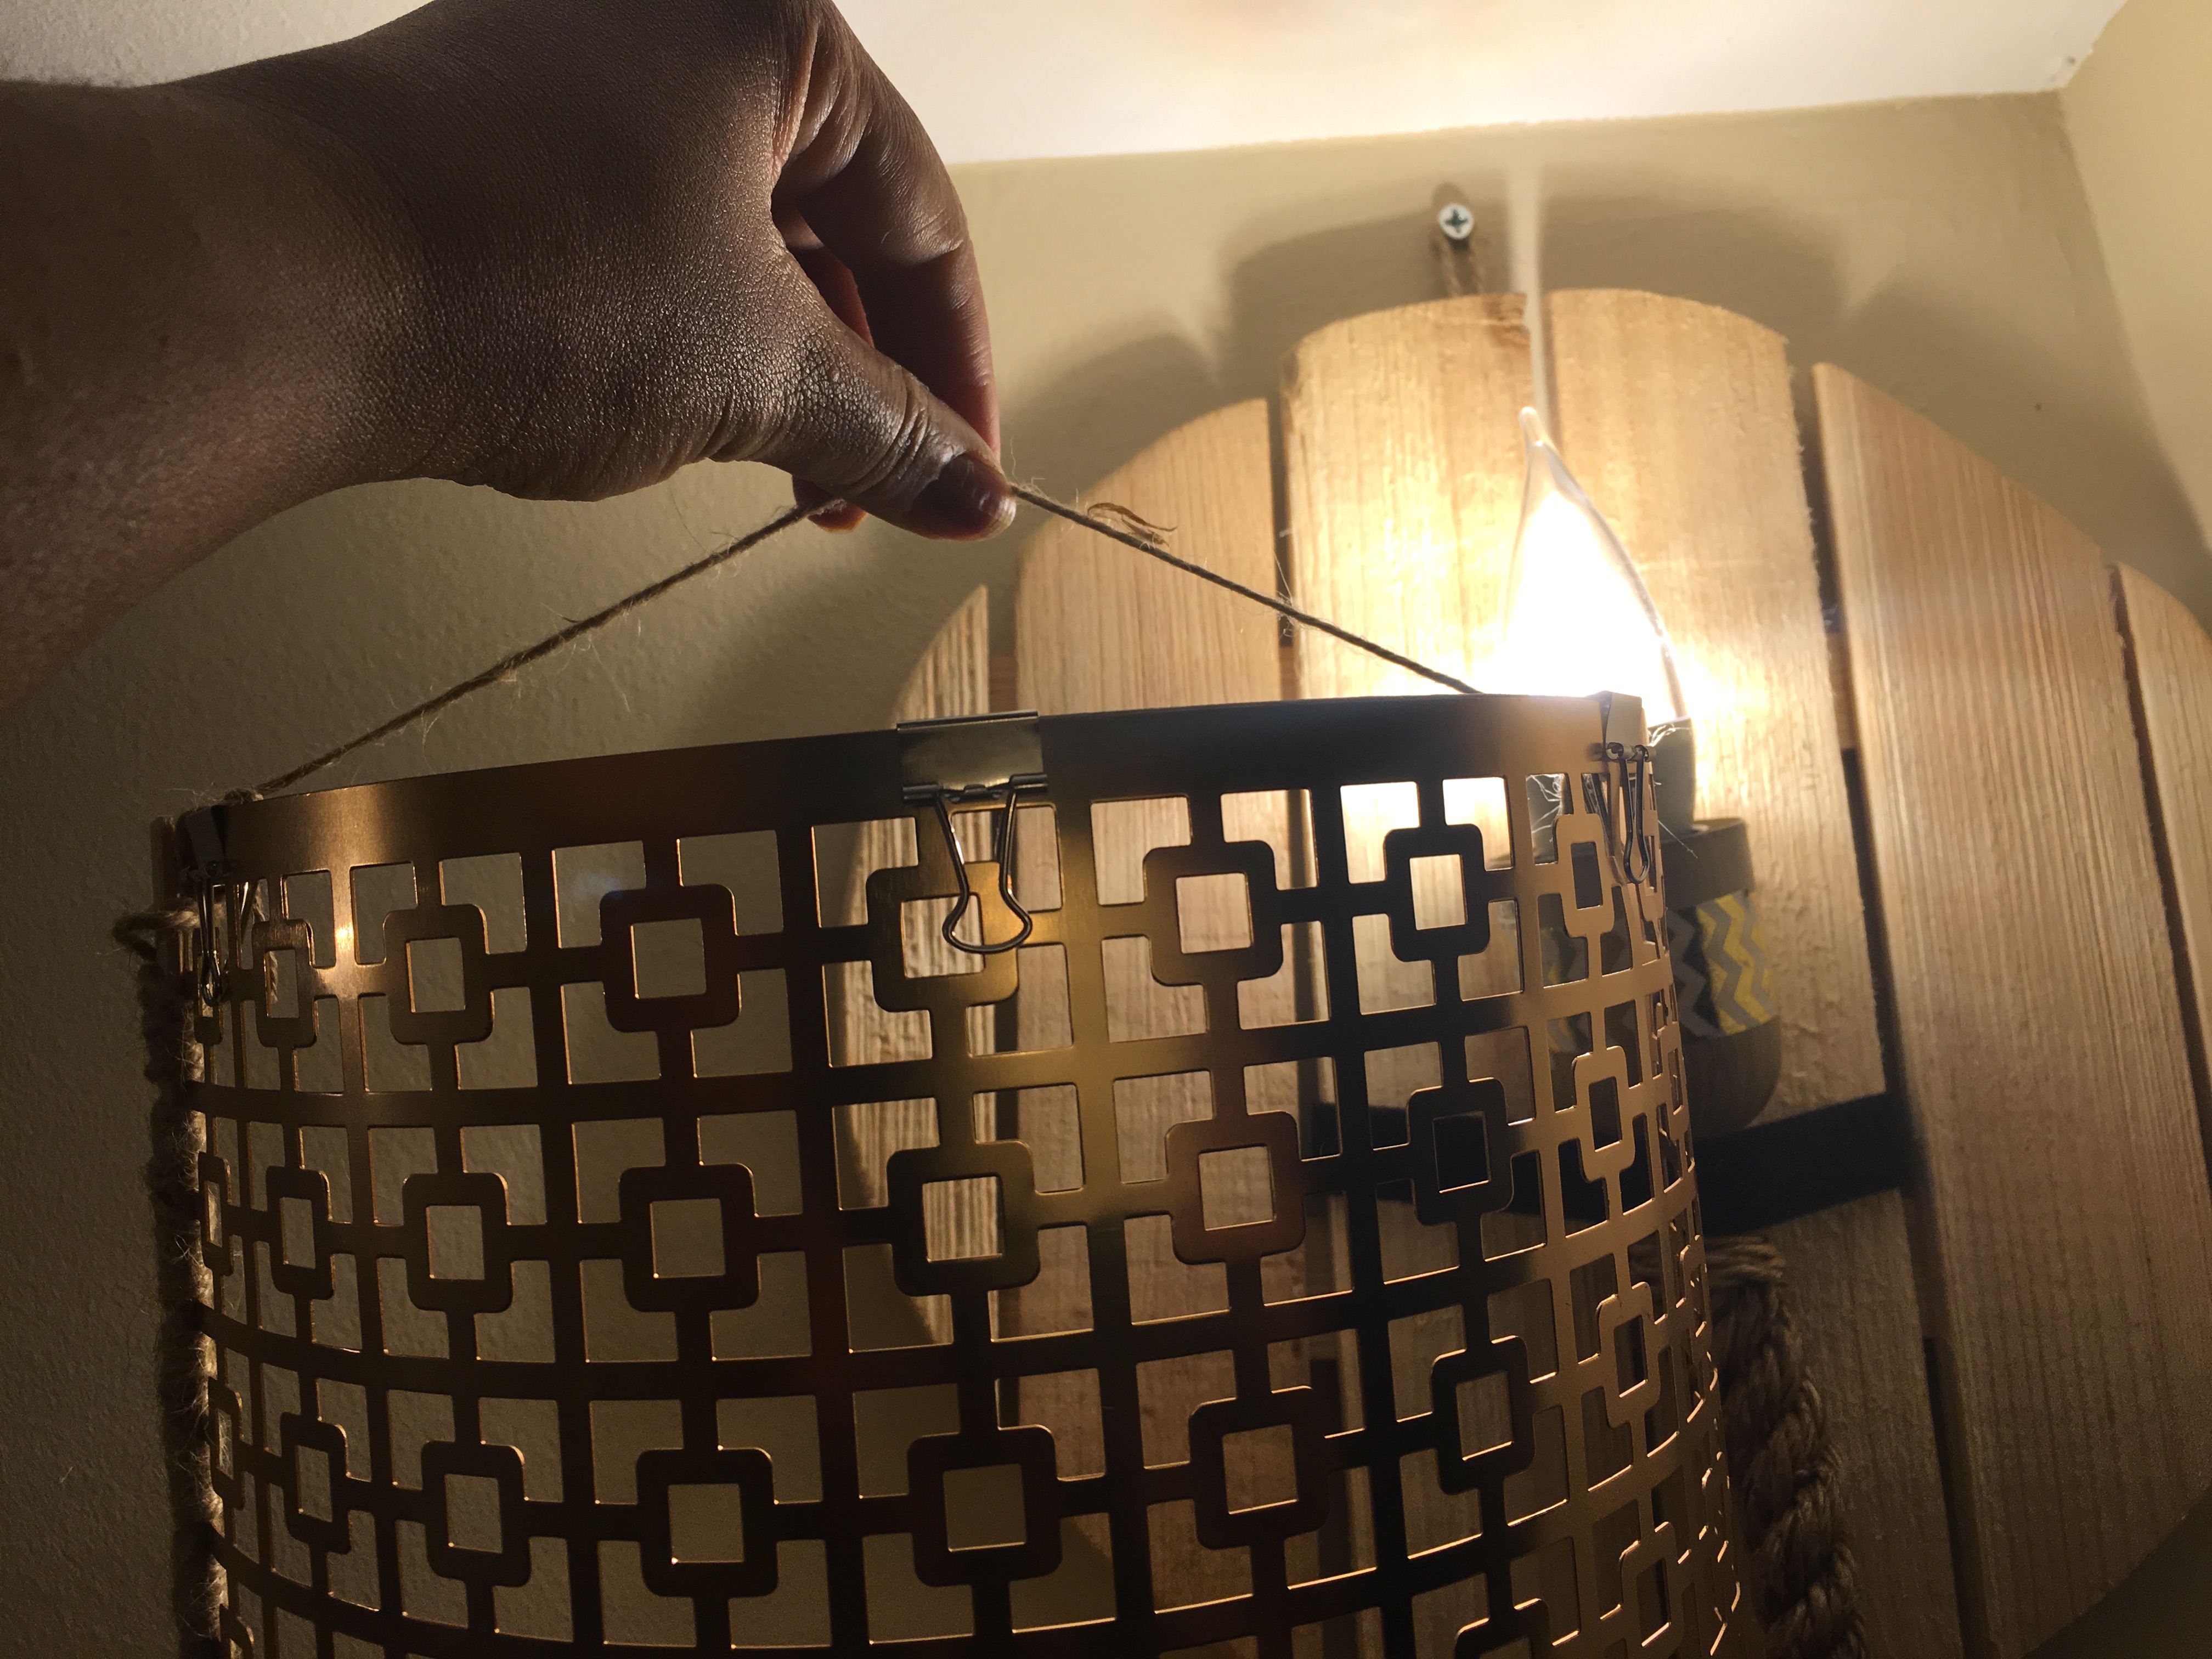
So one shade up on Thursday night.
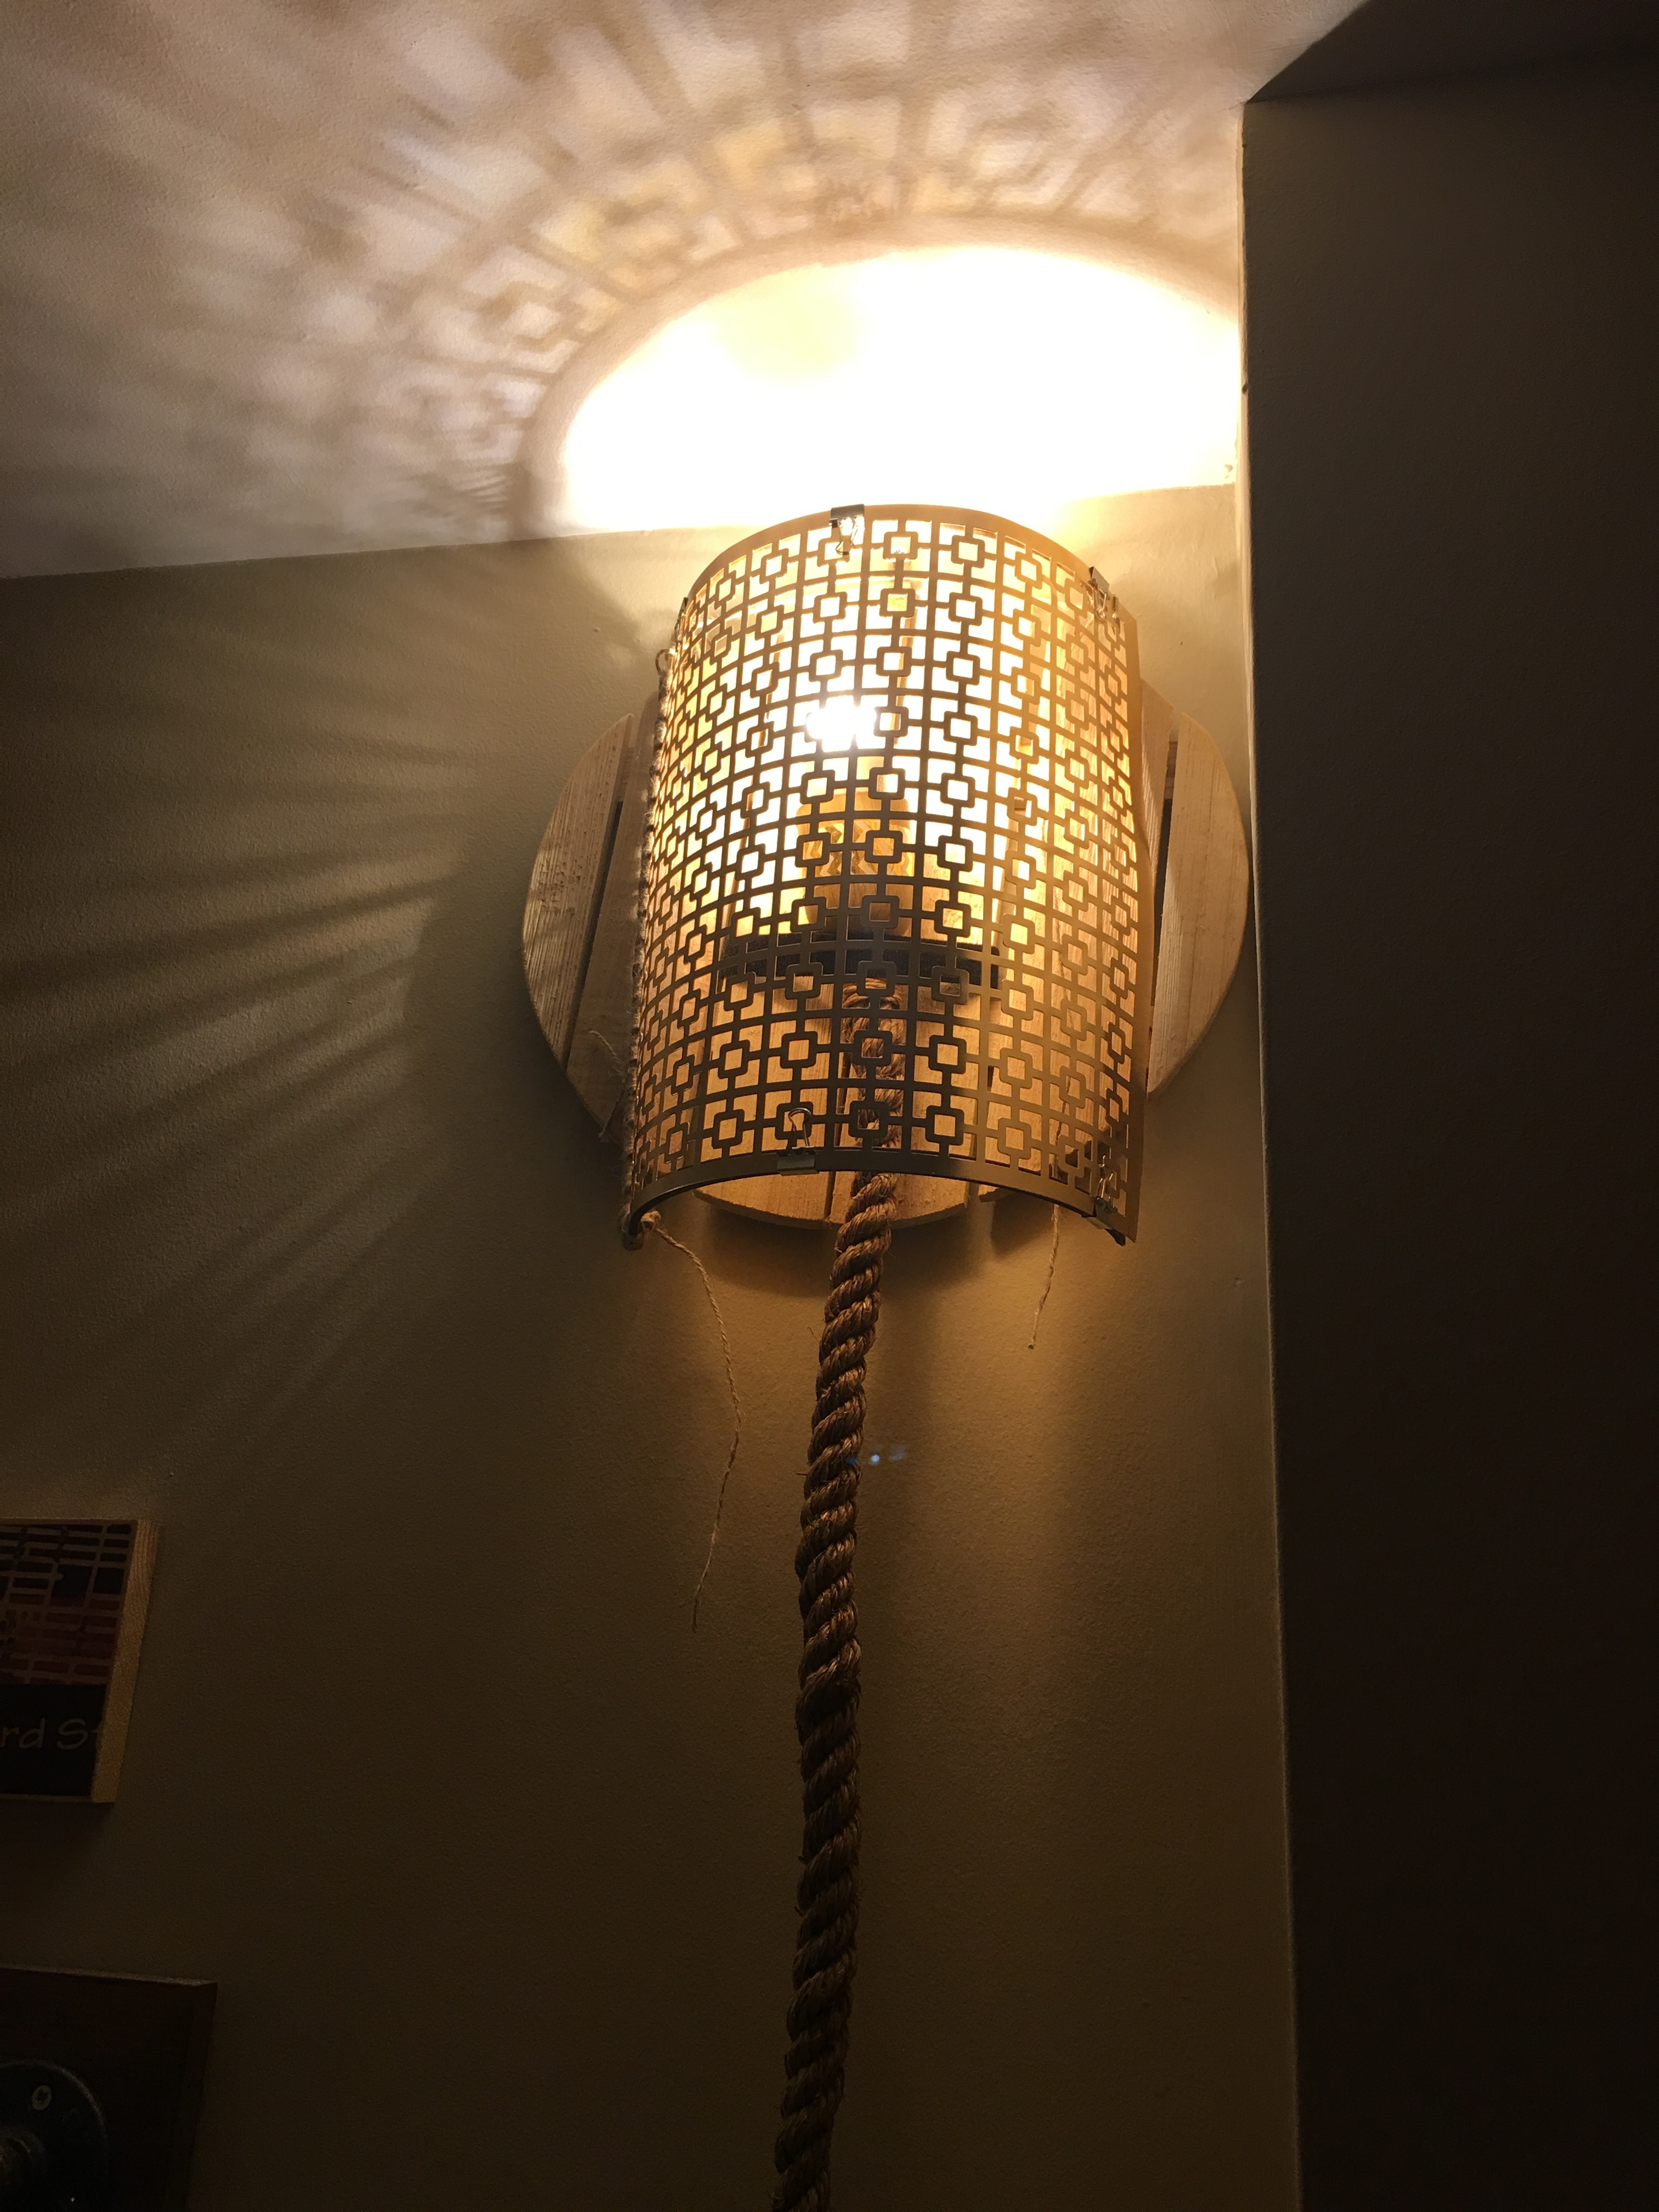
I thought it looked nice, even with one side wrapped in twine and the other left bare. But for symmetry-sake, I decided to wrap the other side over the long weekend (while making a shade for the other light.)
But first, I had to address the unsightly velcro strap that secures the light to the plaques. I went back to Home Depot to get more clips in different sizes. 1.5″ galvanized, 1″ copper and 3/4″ copper. Sunday morning I was ready to go with the power drill, screws and nuts.
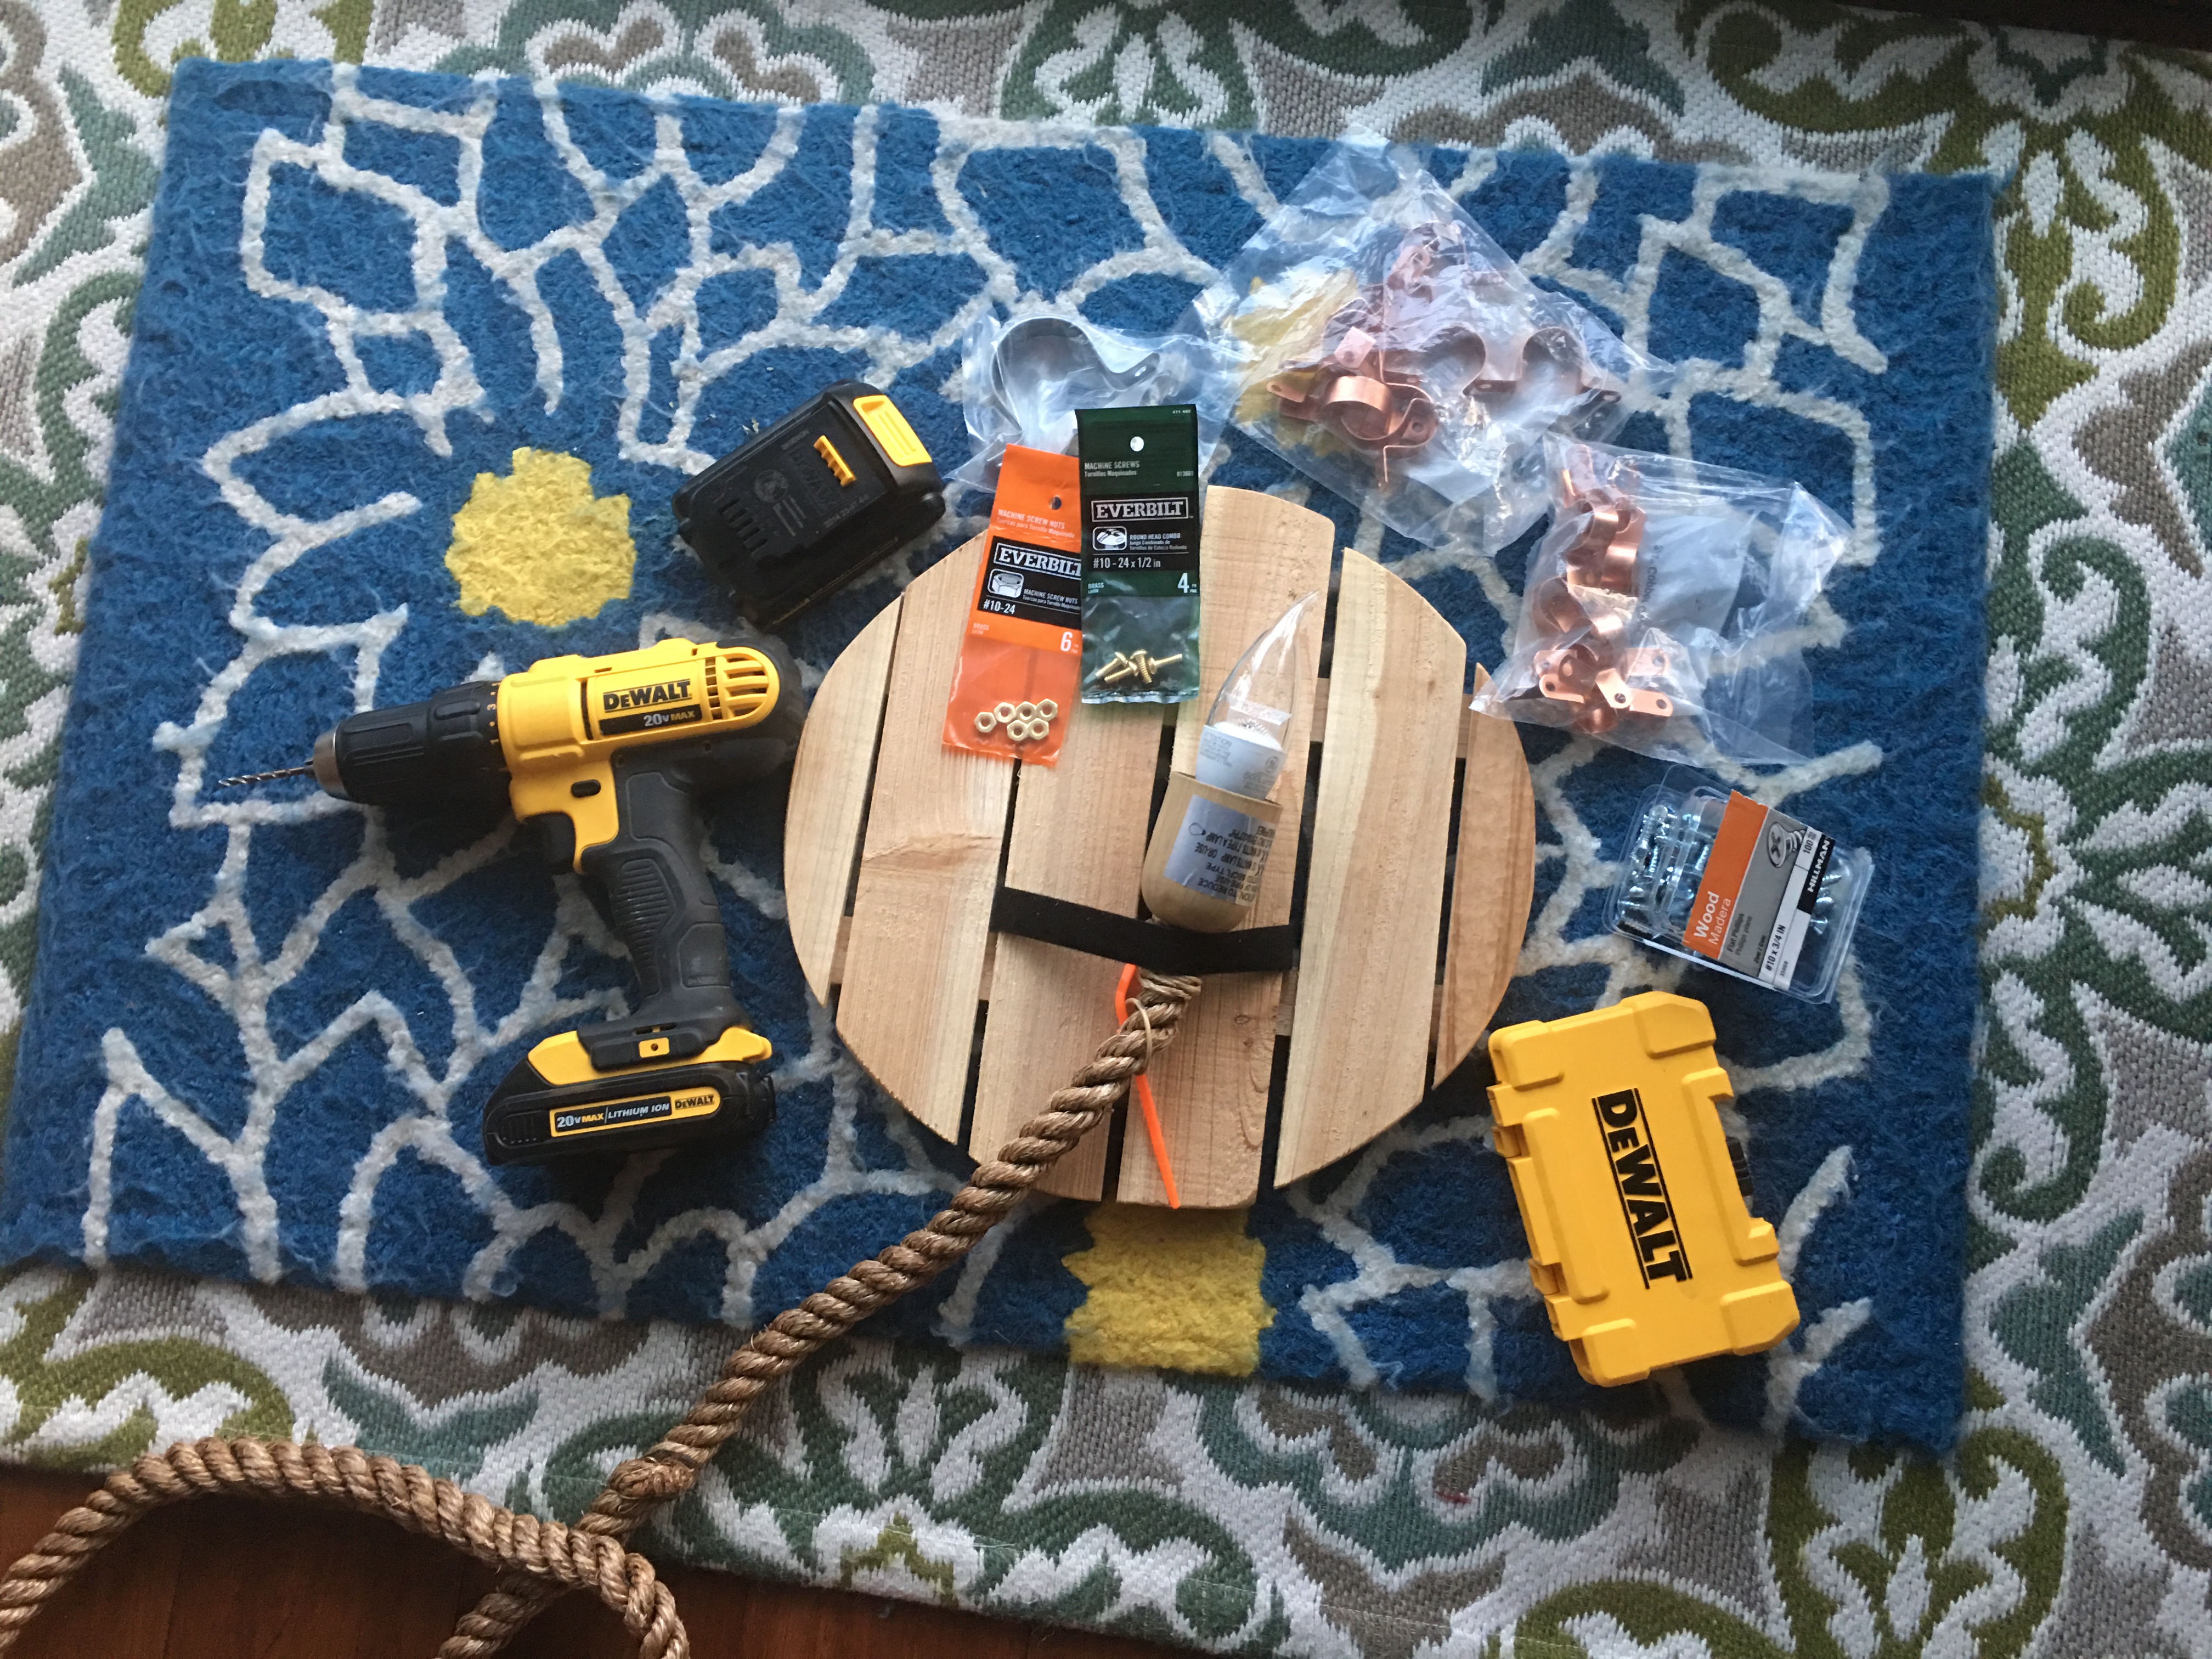
The 1.5″ galvanized clips were the perfect fit.
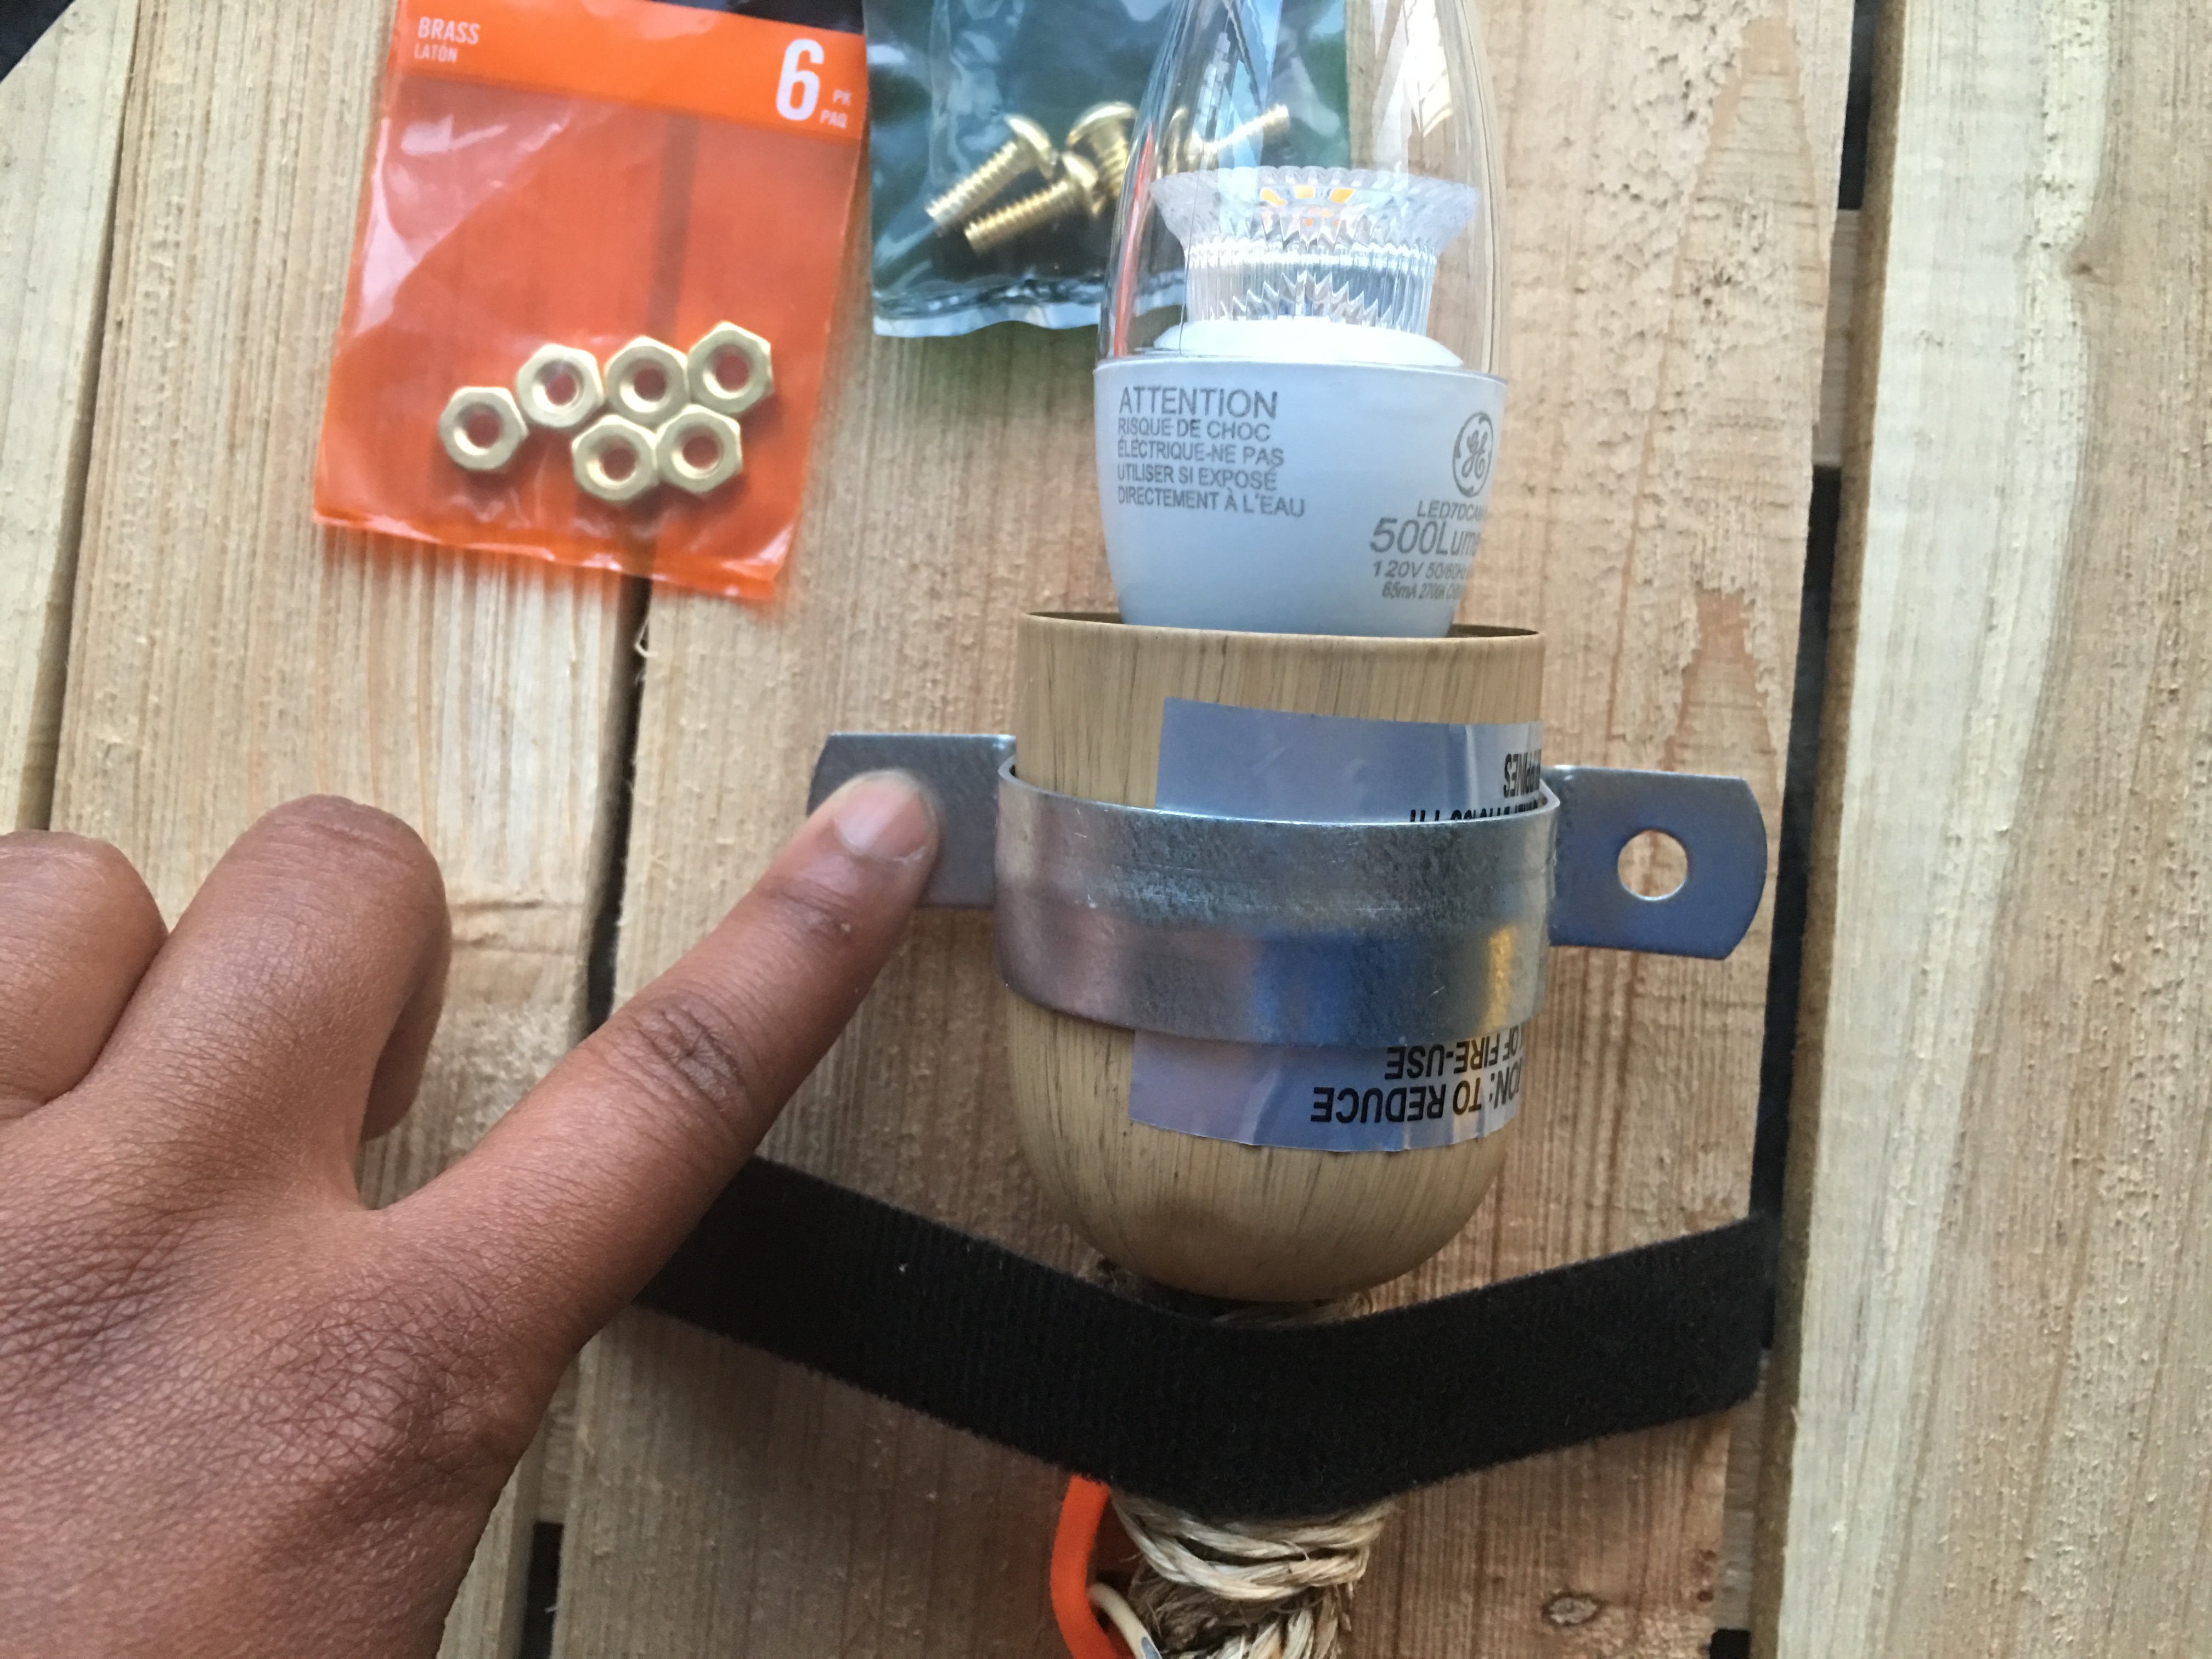
I marked the plaque for the drill holes, used a 5/8″ drill bit to drill through the wood plaque, and attached the light using the clip with 1/4″ (#20) machine screws 3/4″ in length.
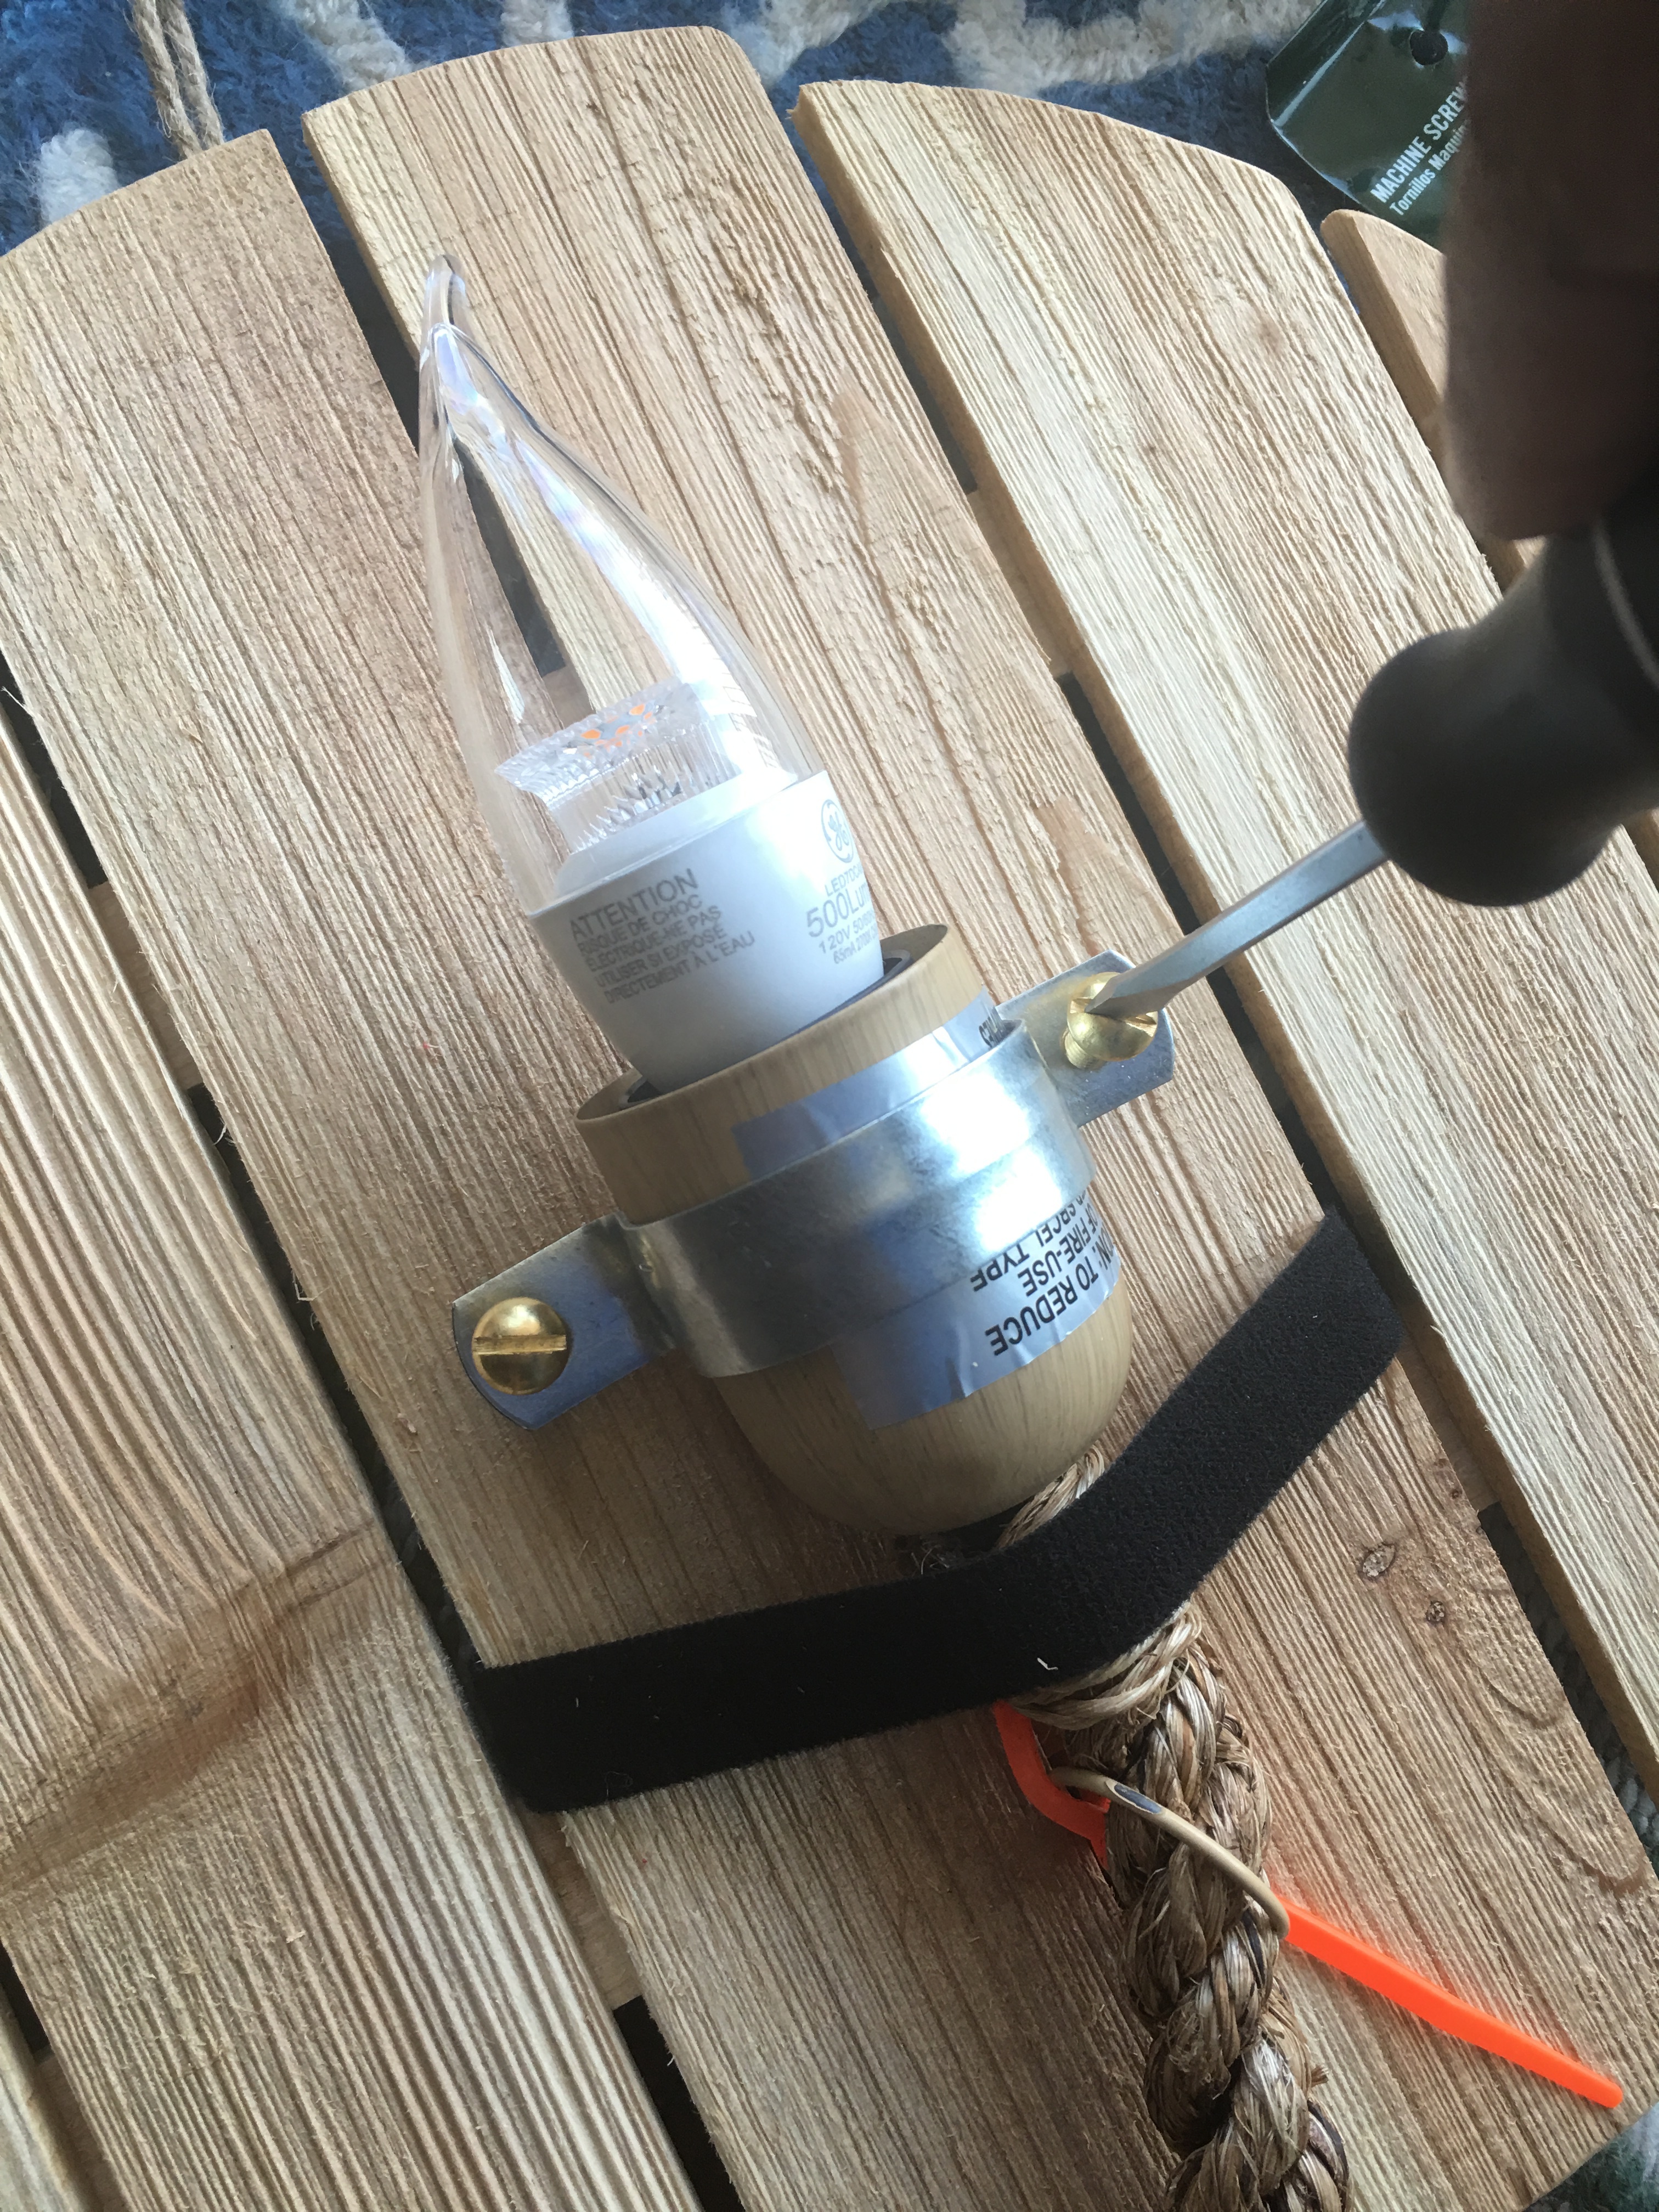
As I worked on updating the mount, I ran into two other issues. First, the pallets that make up the face of the plaque began to separate from the back wood framing.
Some wood glue and clamps fixed this issue in no time.
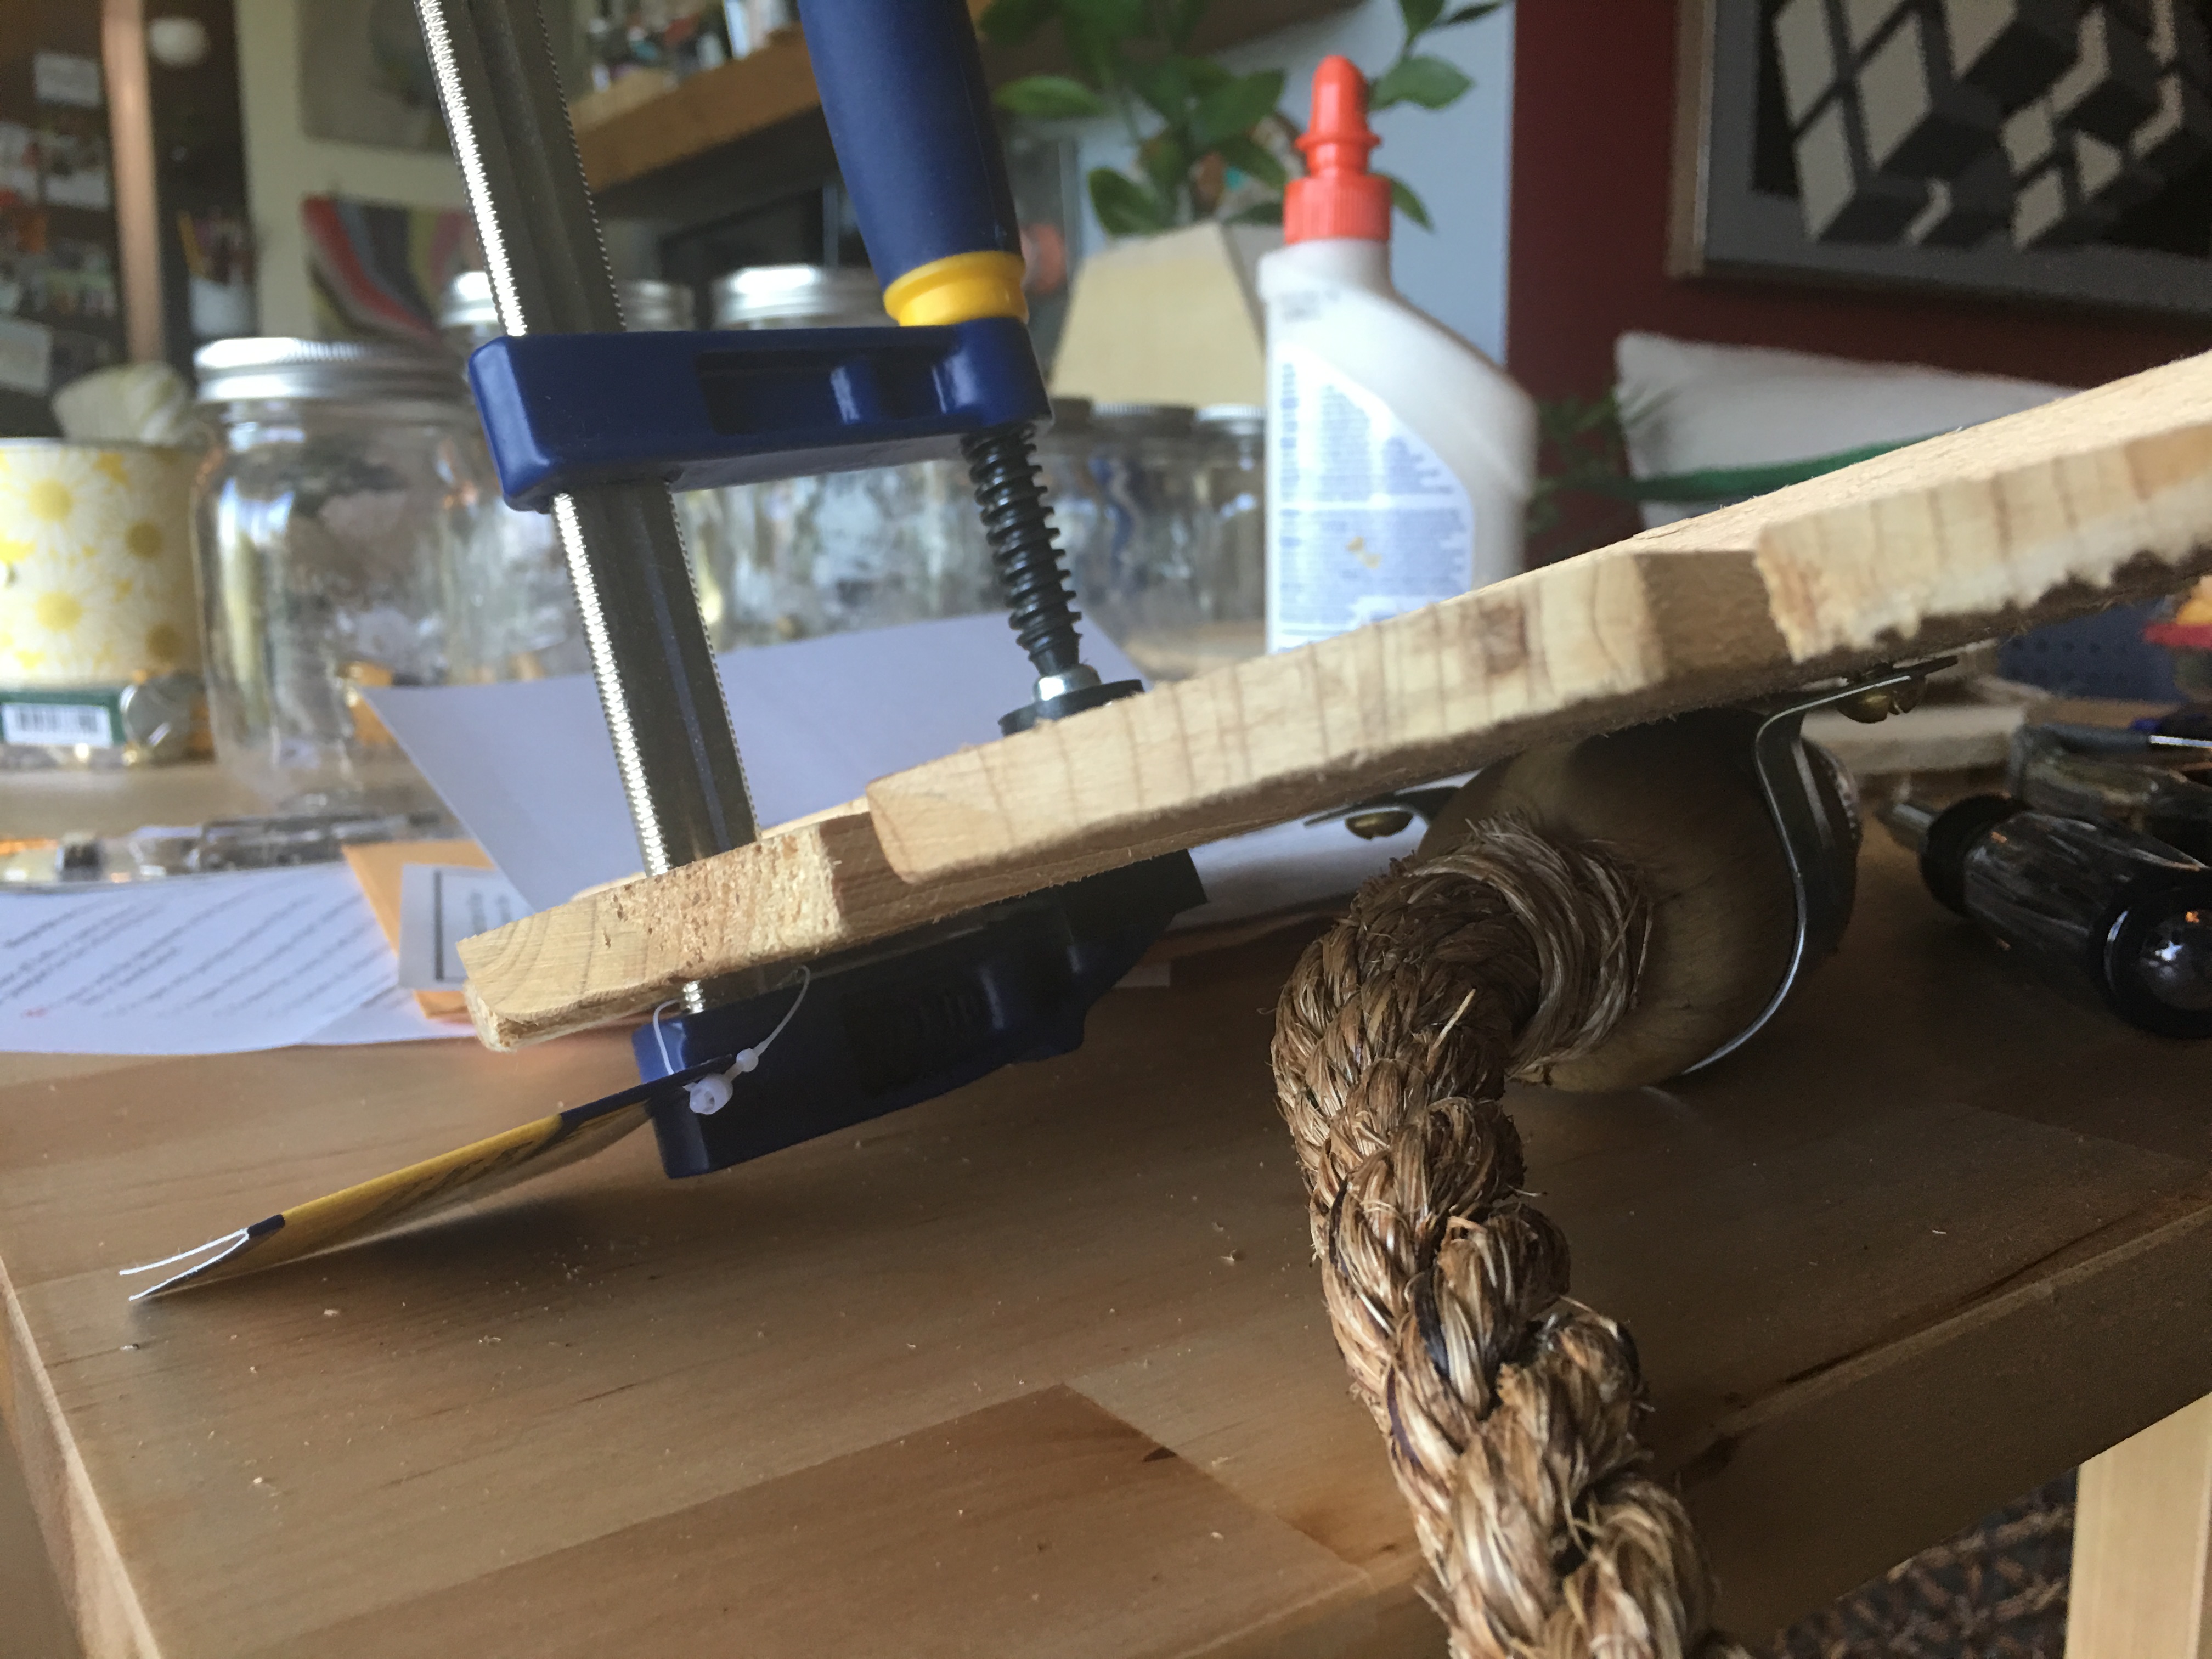
Second, the stapled twine loop at the top of the plaque is off-center.
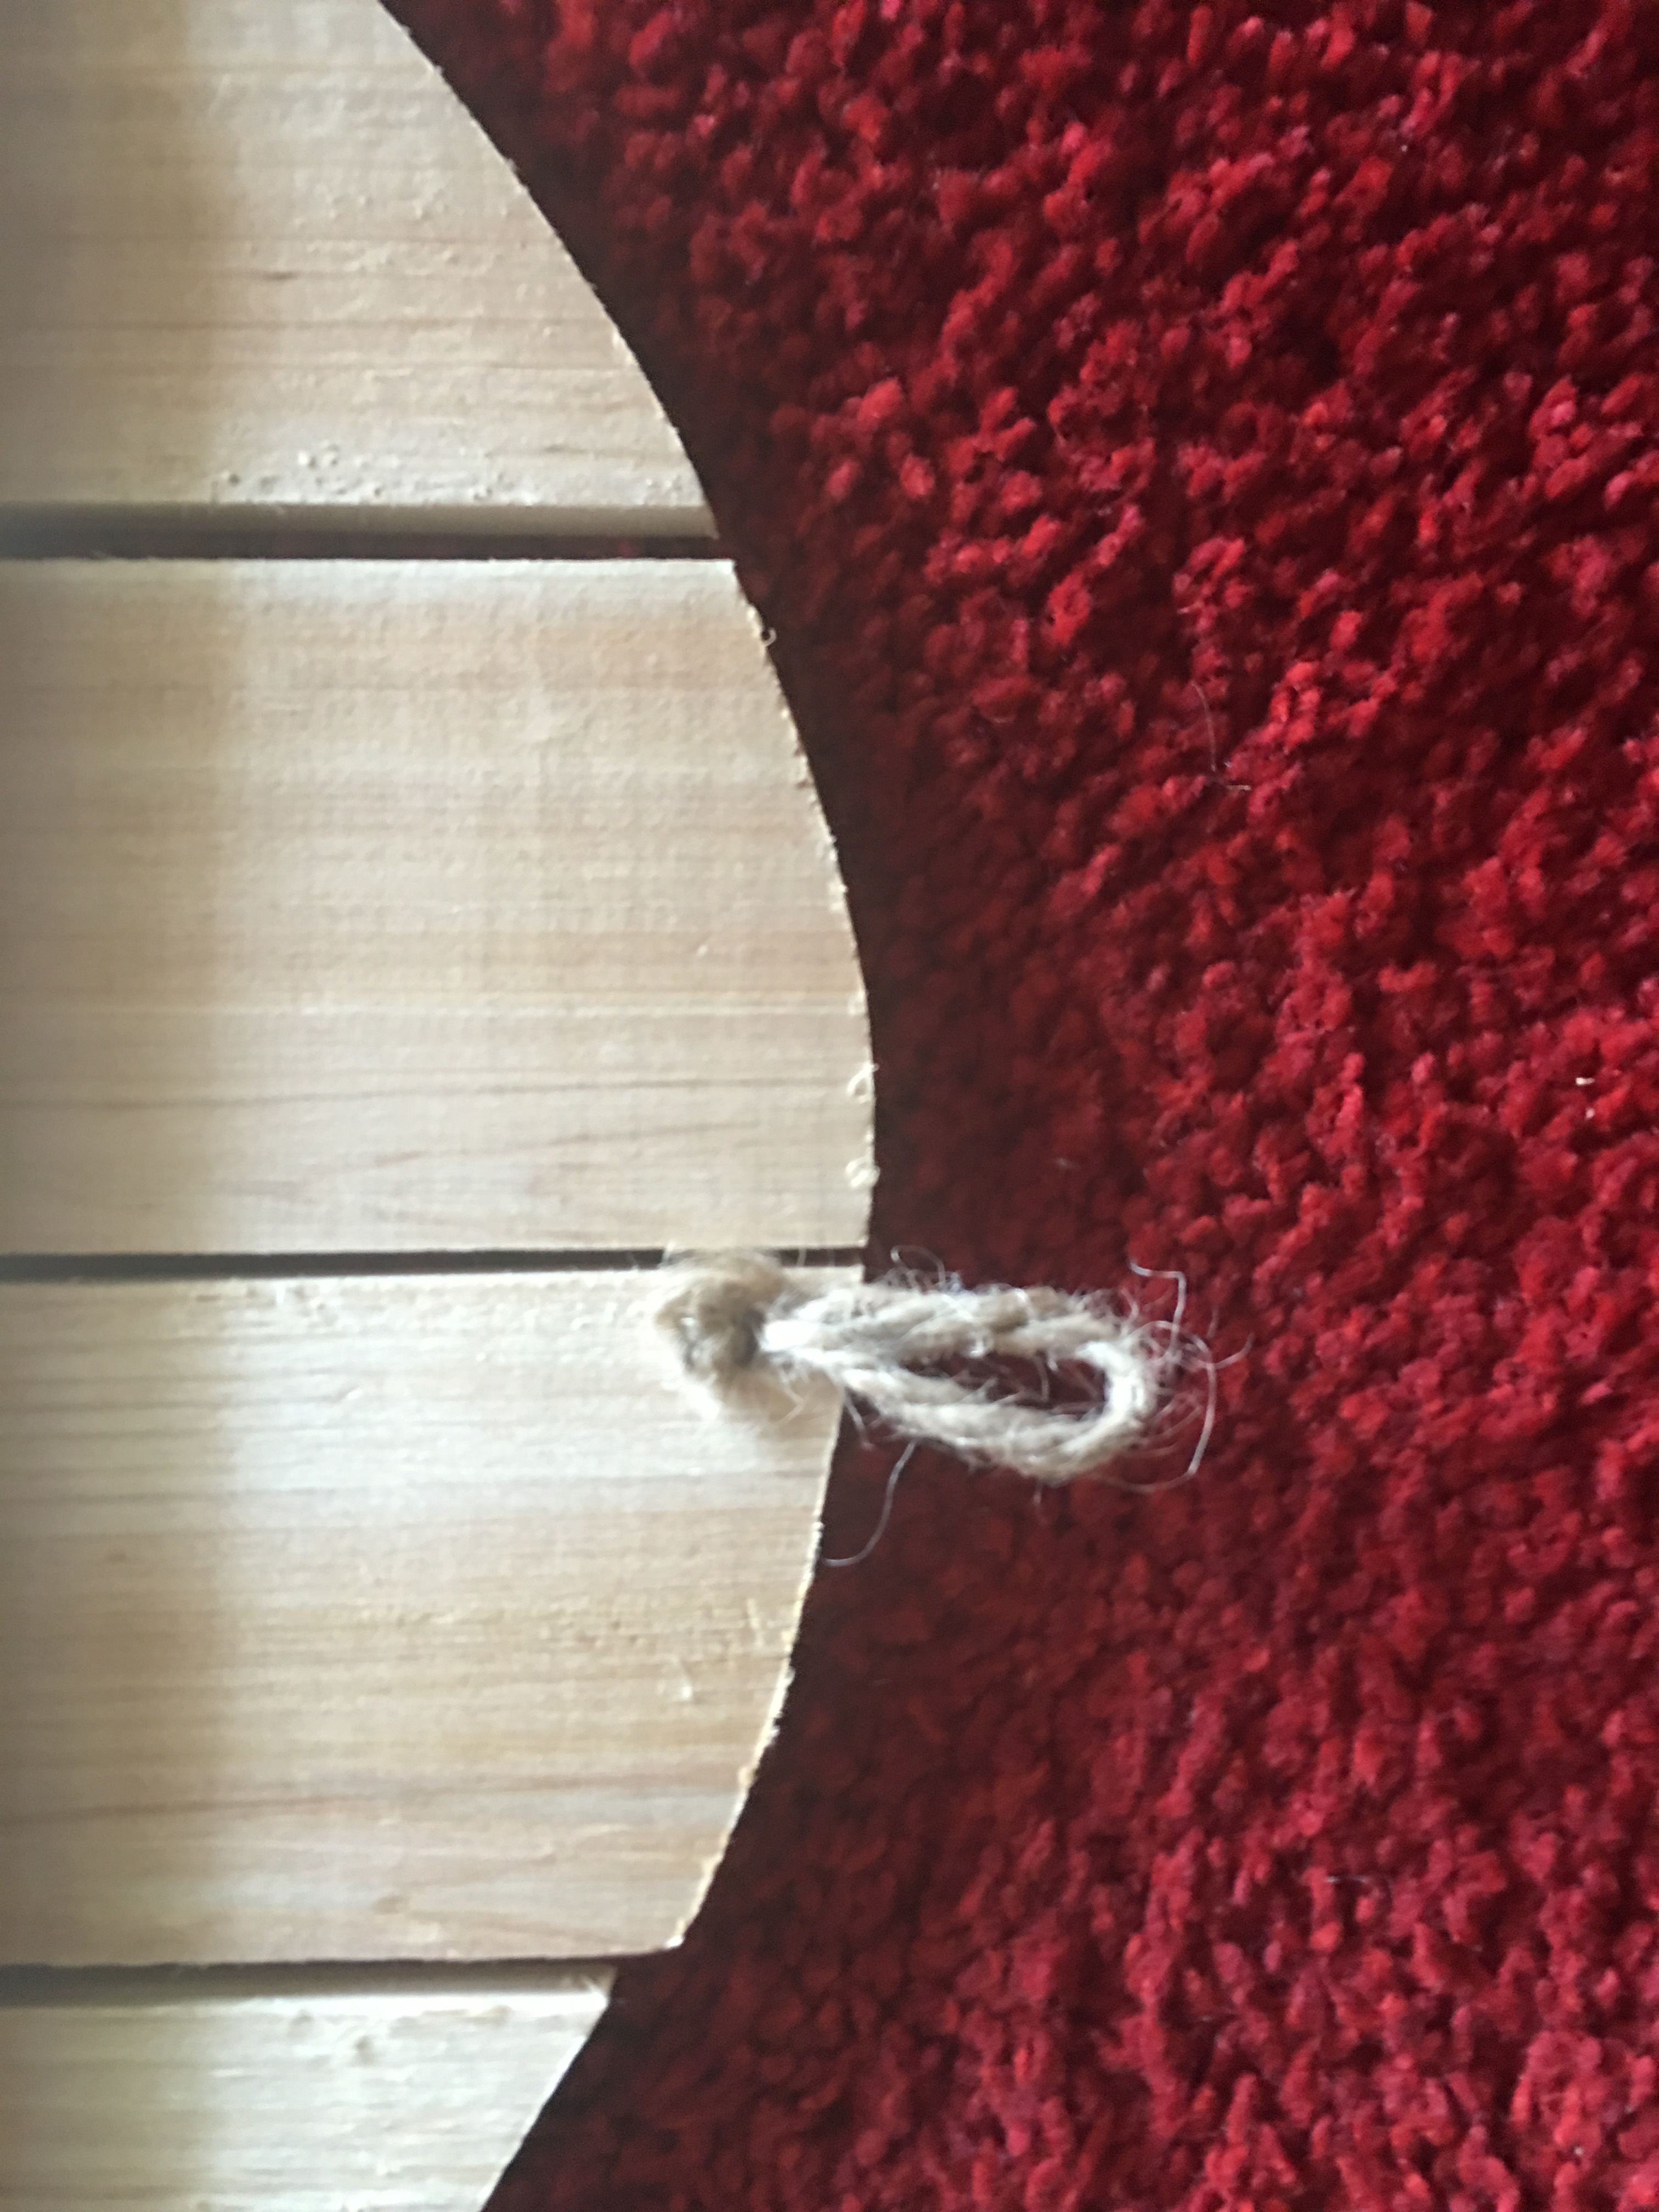
This causes the plaque to hang in such a way that the wood pallets are displayed with a slight tilt. I needed this fixed so that the pallets are centered and liner when the plaque is mounted on the wall.
To fix this, I added a HangZ flat mount sawtooth hanger upside down…
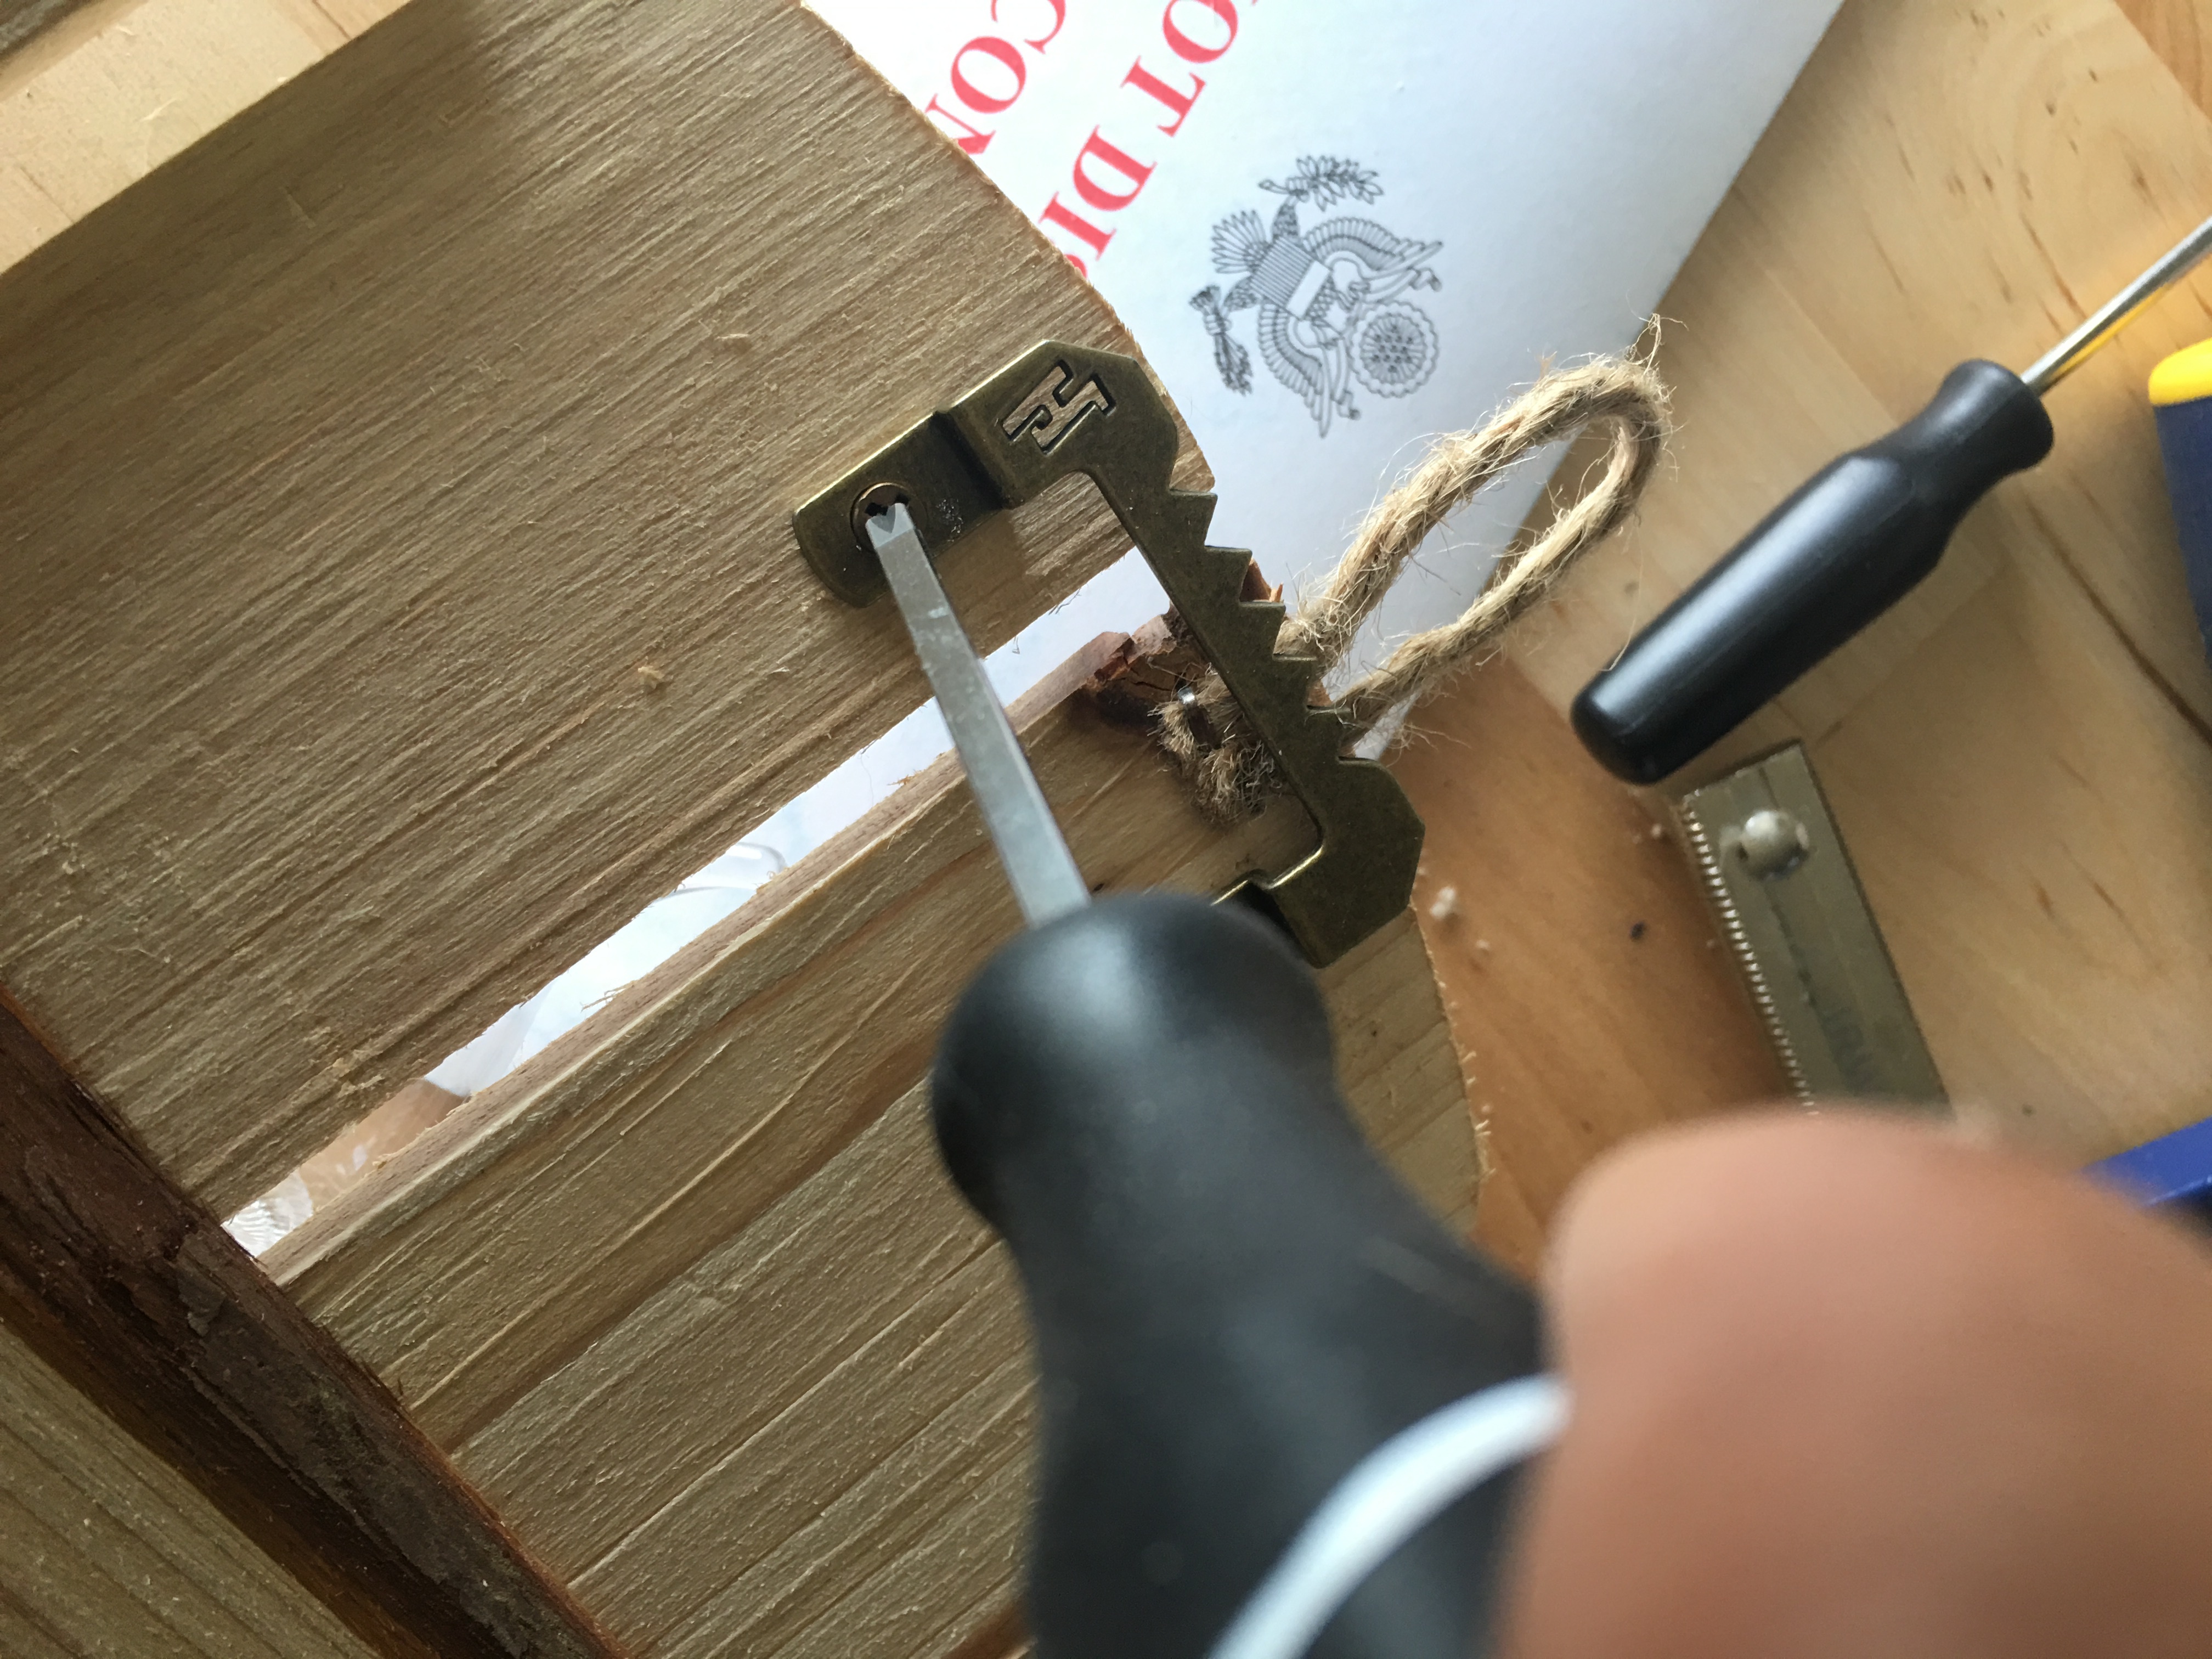
…and added another twine loop through the hanger.
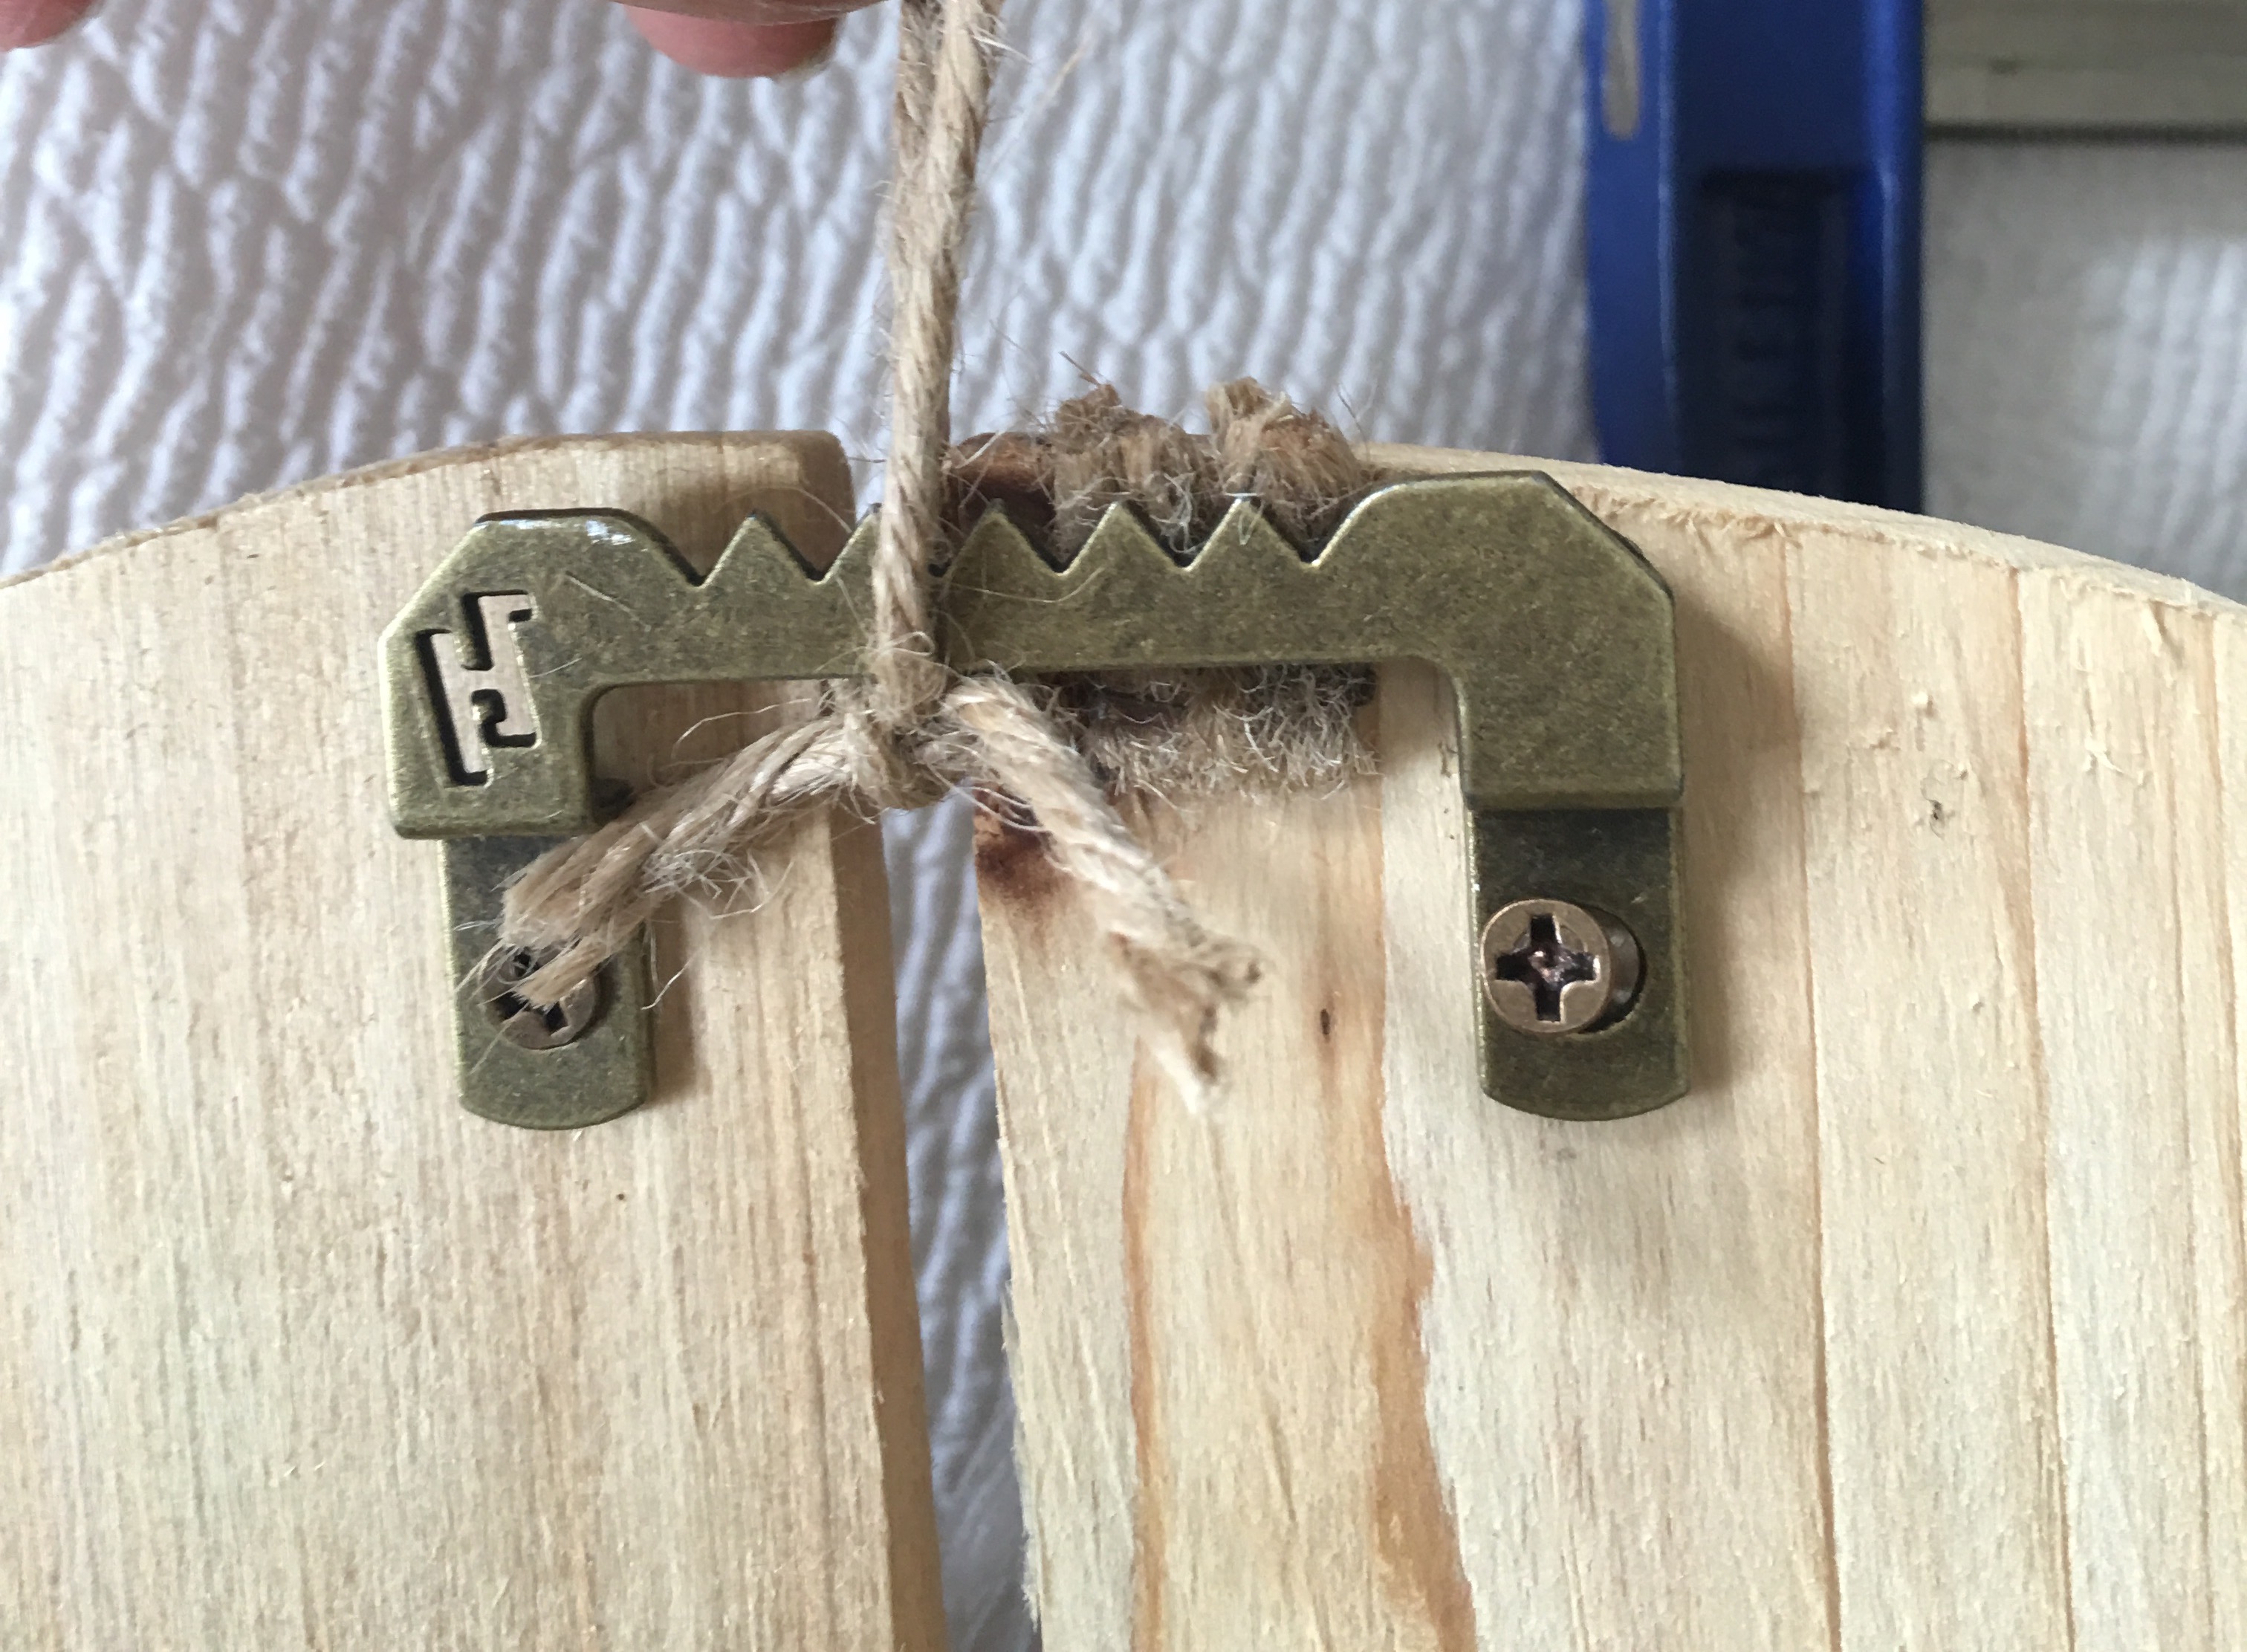
This loop is now used to hang the plaque on the wall dead-center.
I moved on to string up the second side of the first light shade (yes, still on shade #1)…
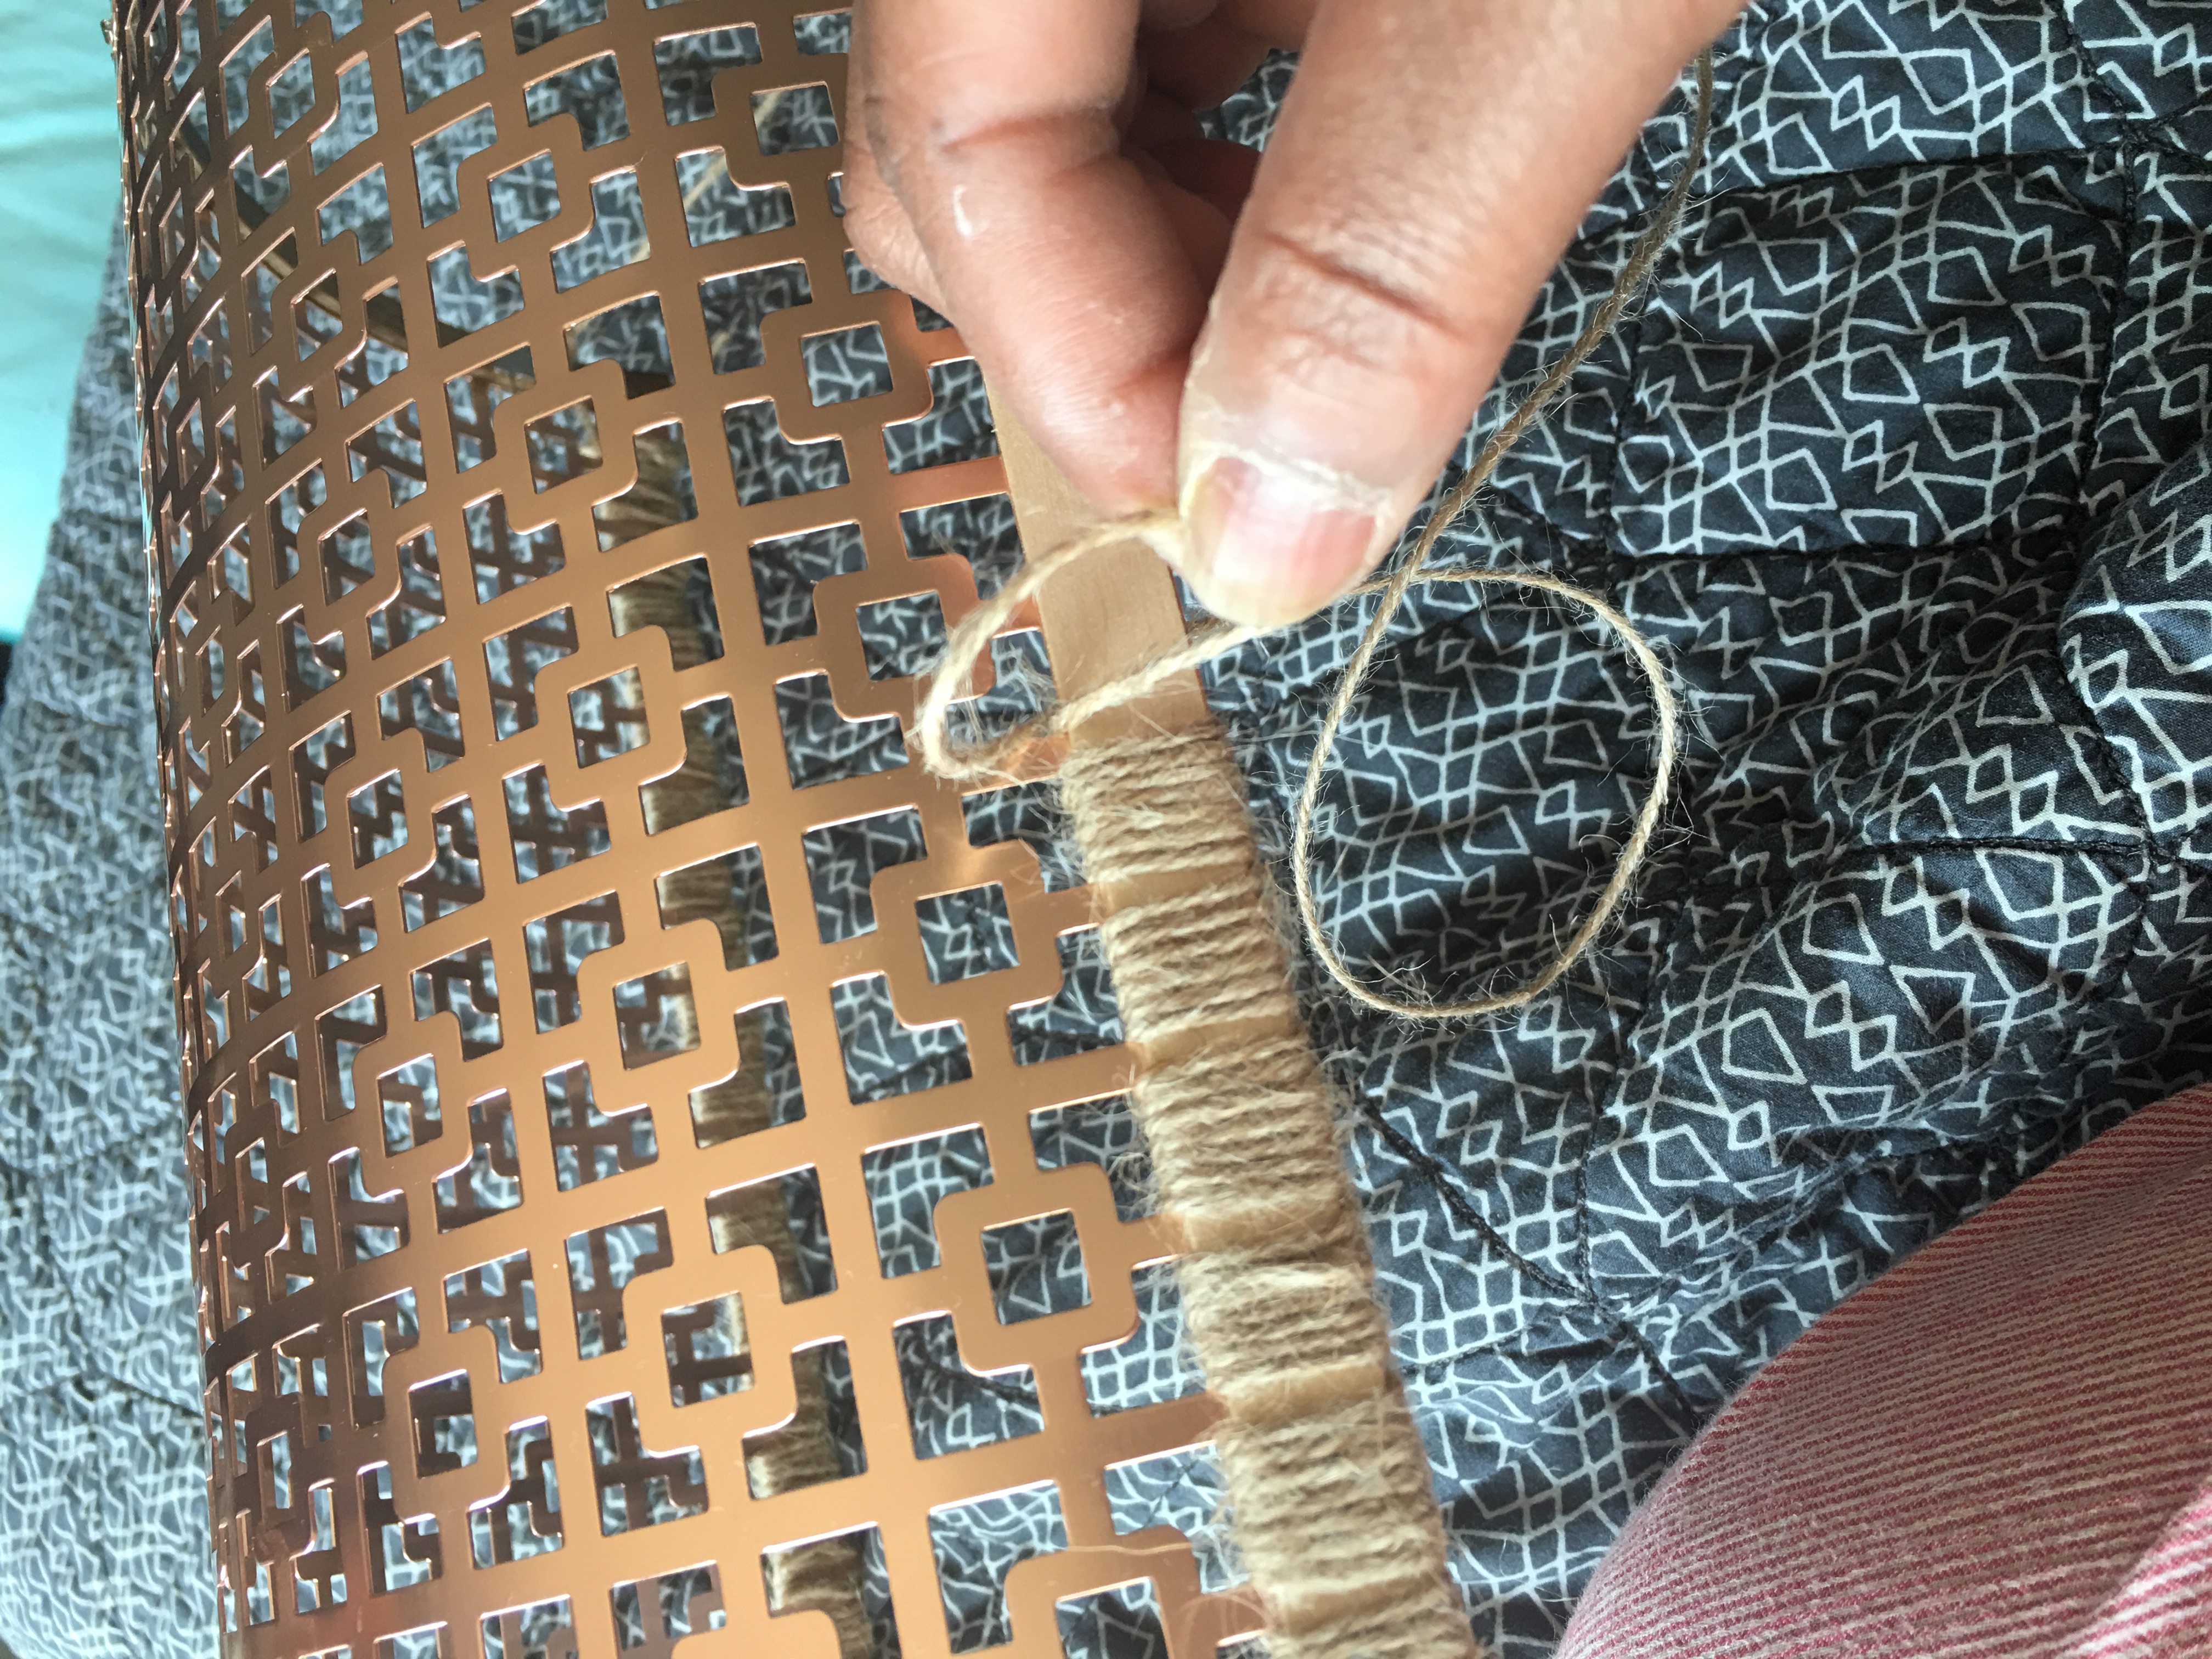
…and when complete, the first shade (now symmetrical) is ready to hang.
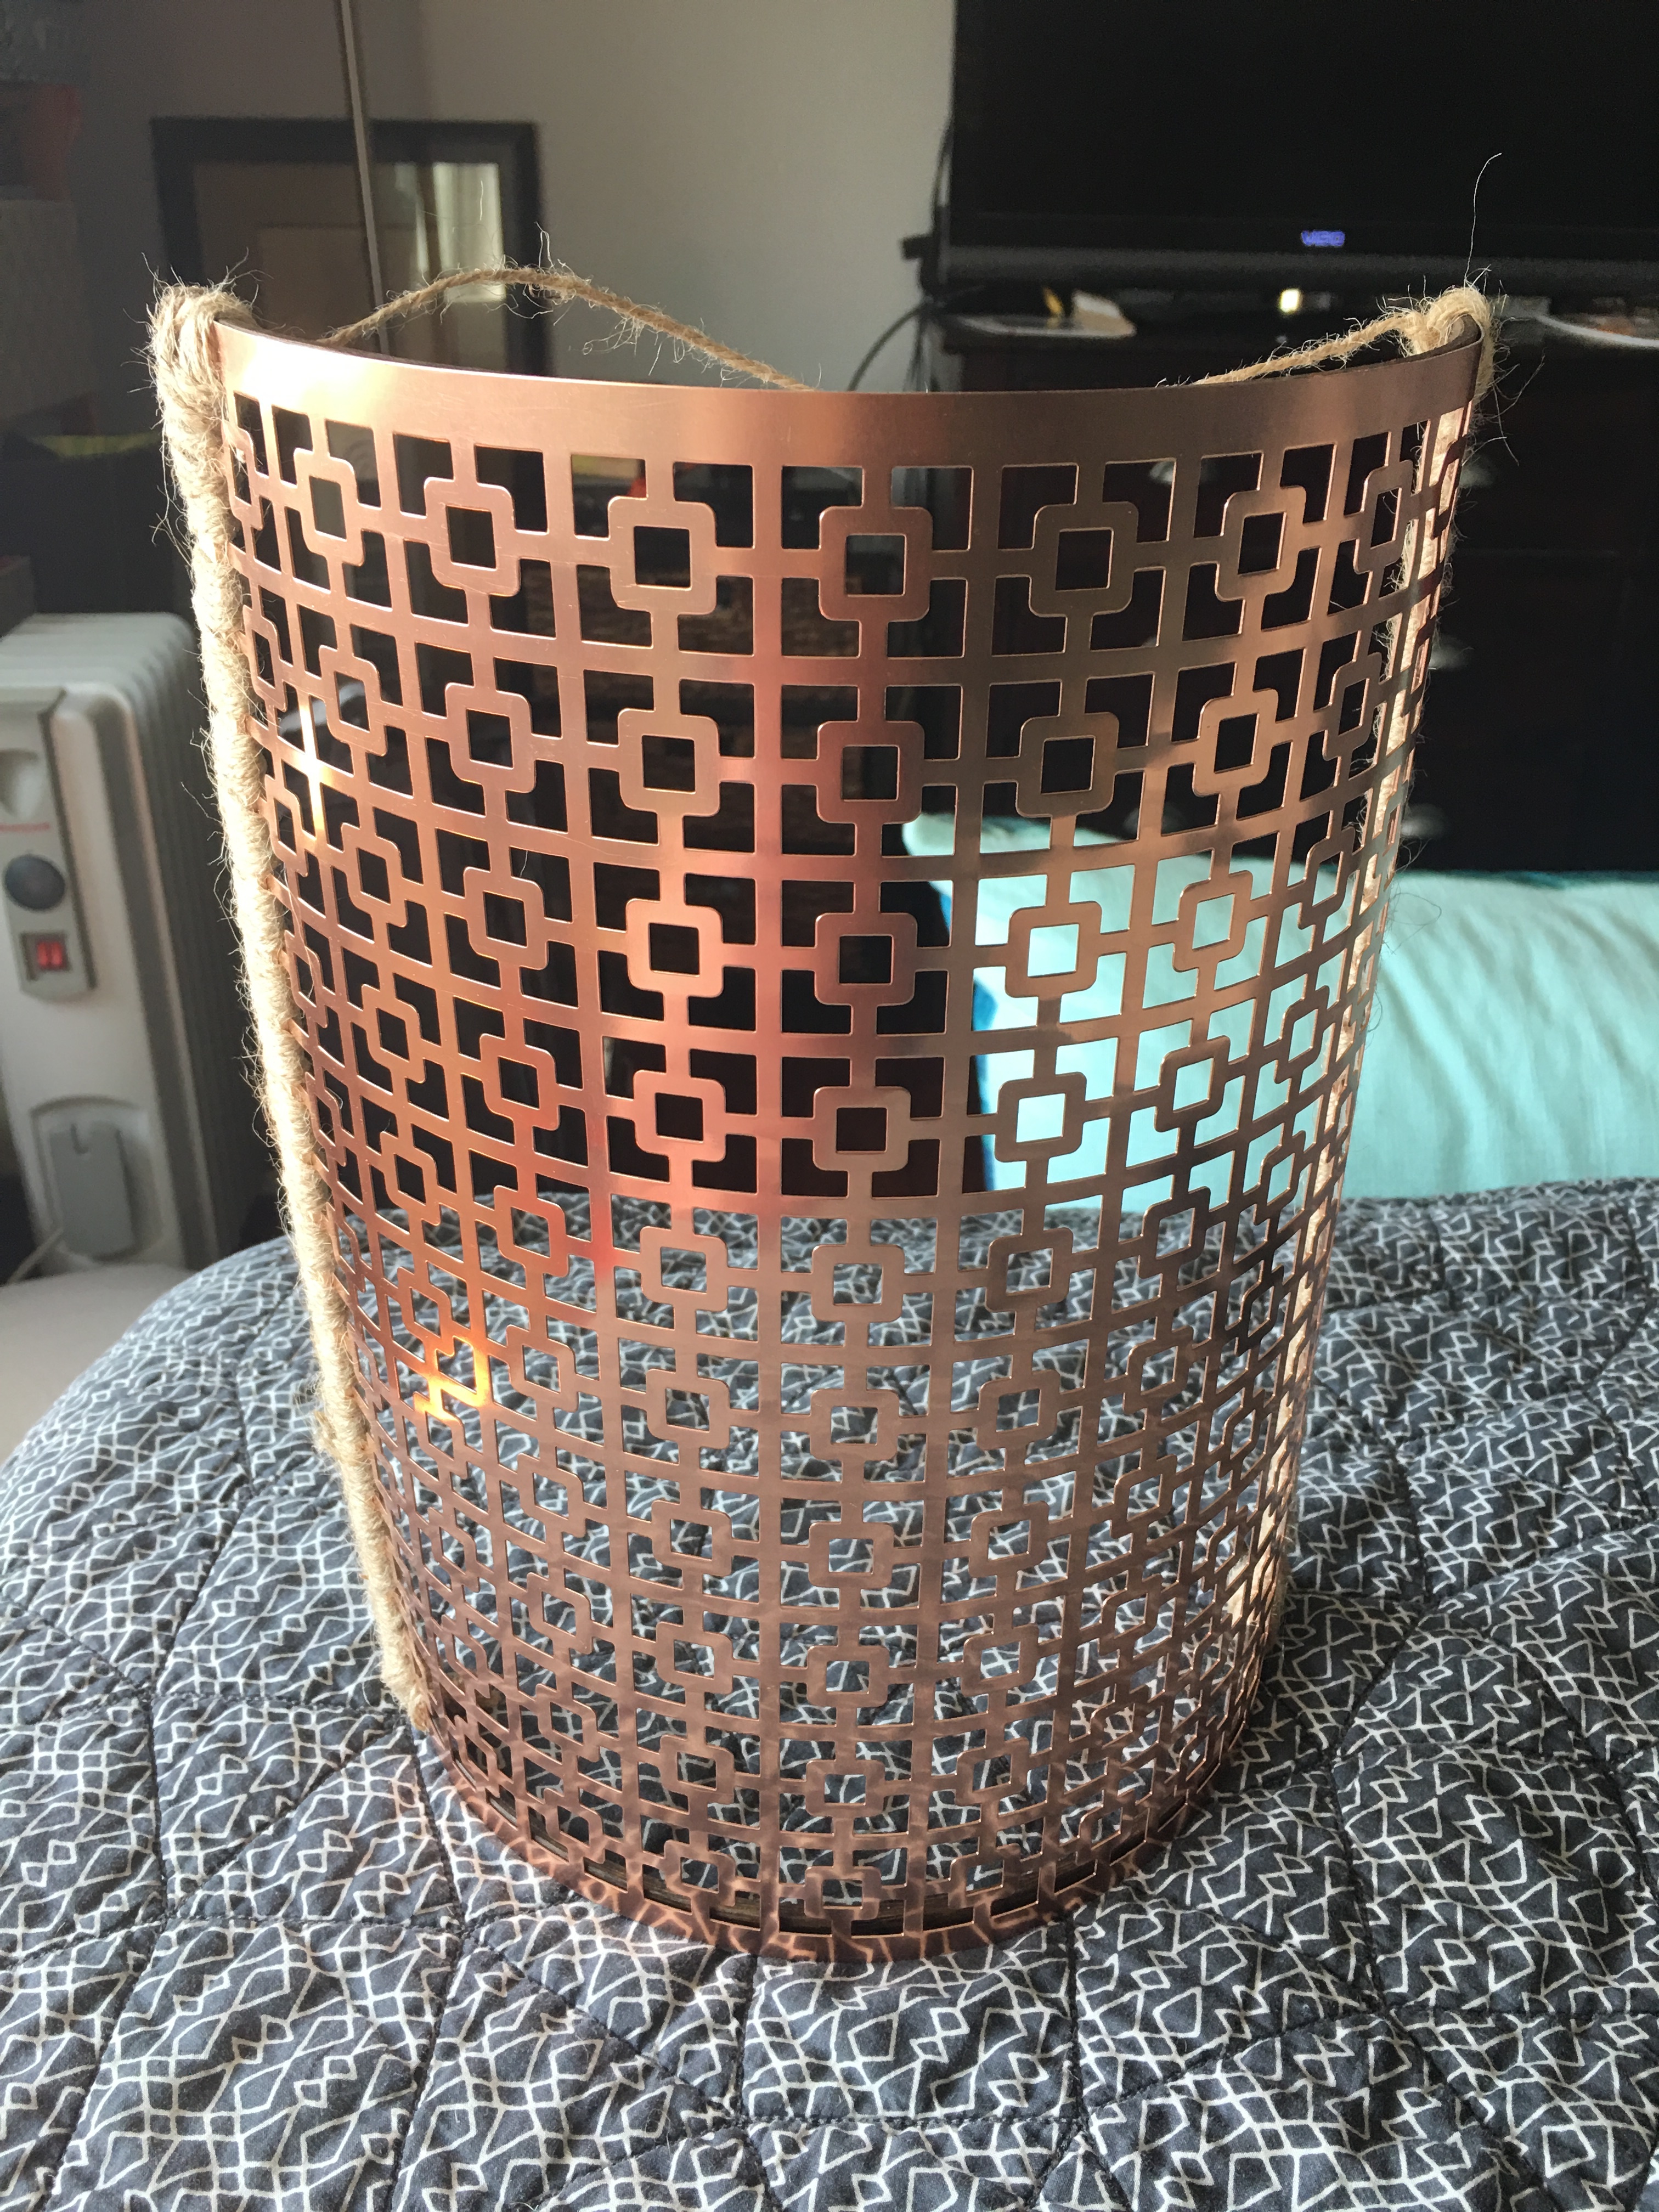
I moved on to make the second shade exactly like the first – no glue or screws. Just binder clips, project wood and twine. (I experimented with the Krazy Glue and hated the way it came out, so I went back to the tried and true.
A couple of hours later, shade #2 was added to the second wall plaque (by looping the top string around the back of the plaque).
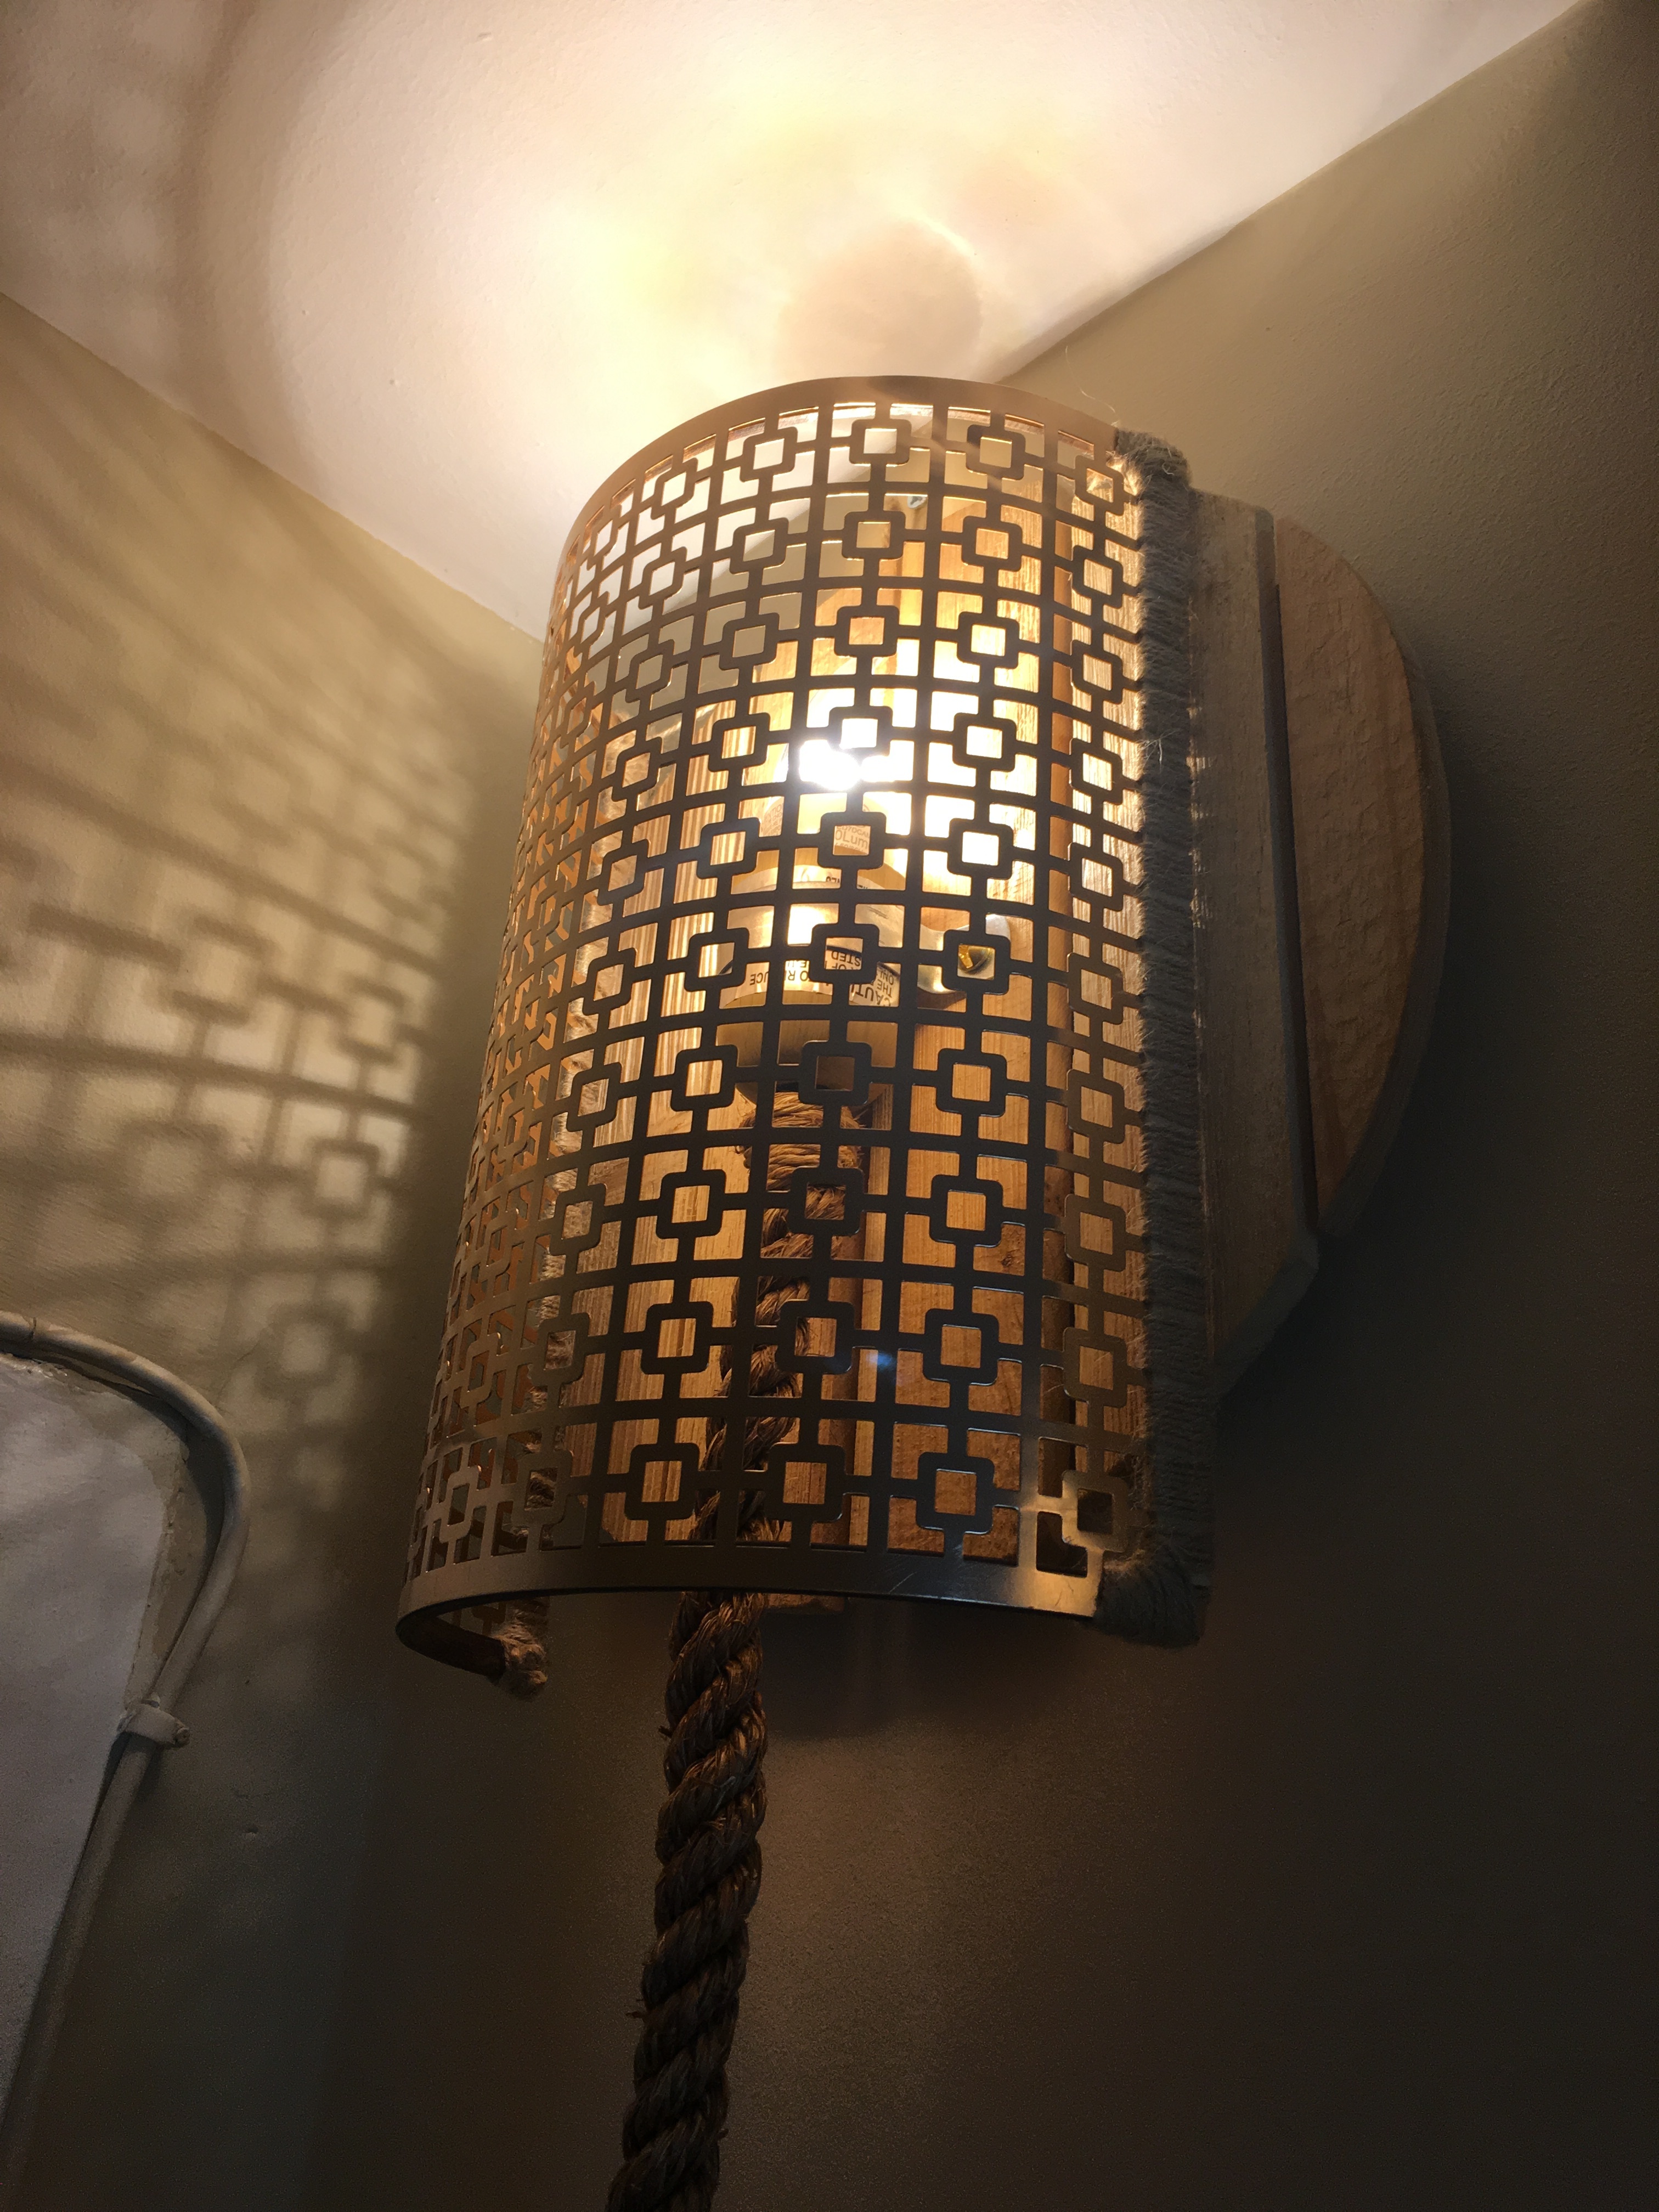
So here’s how the entryway looked on Sunday night! 🙂
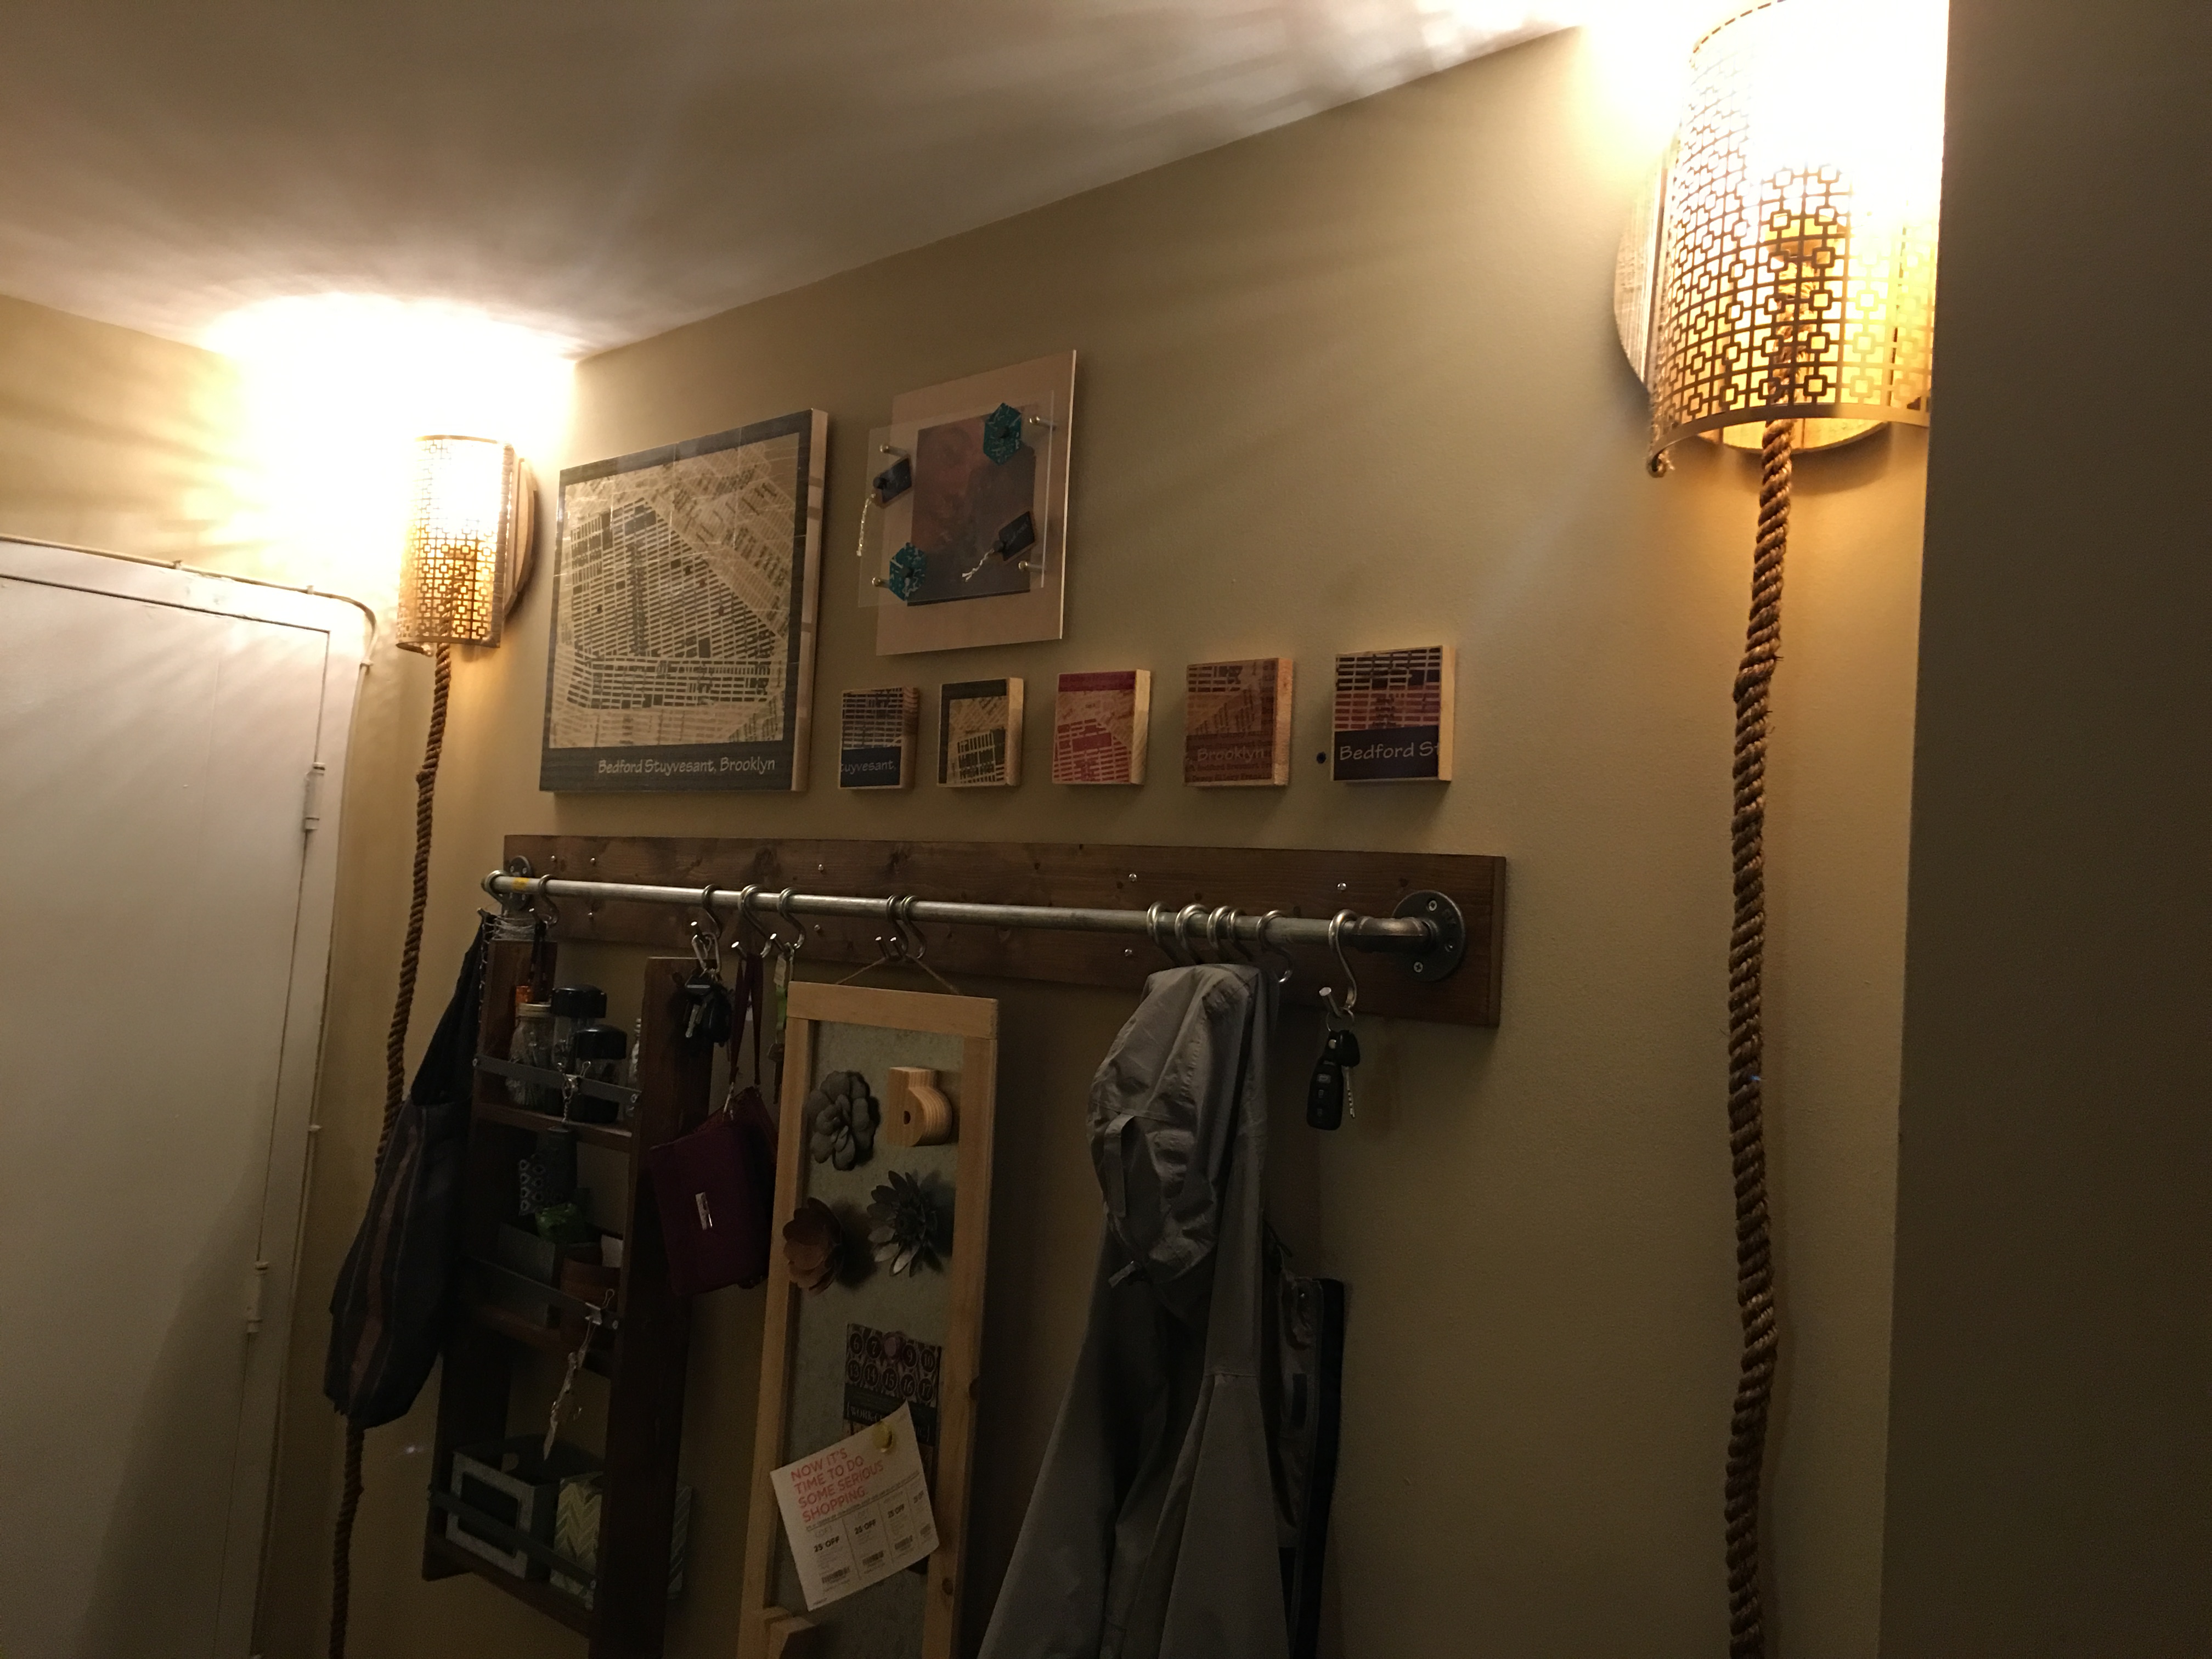
With the lighting update of the space, that spurred me on to update the decor of the entry way as well. So on Monday (Memorial Day), I completed one of my wood hexagon wall planters, swapped out the current floating frame with two others, and here’s how the entryway looks now.
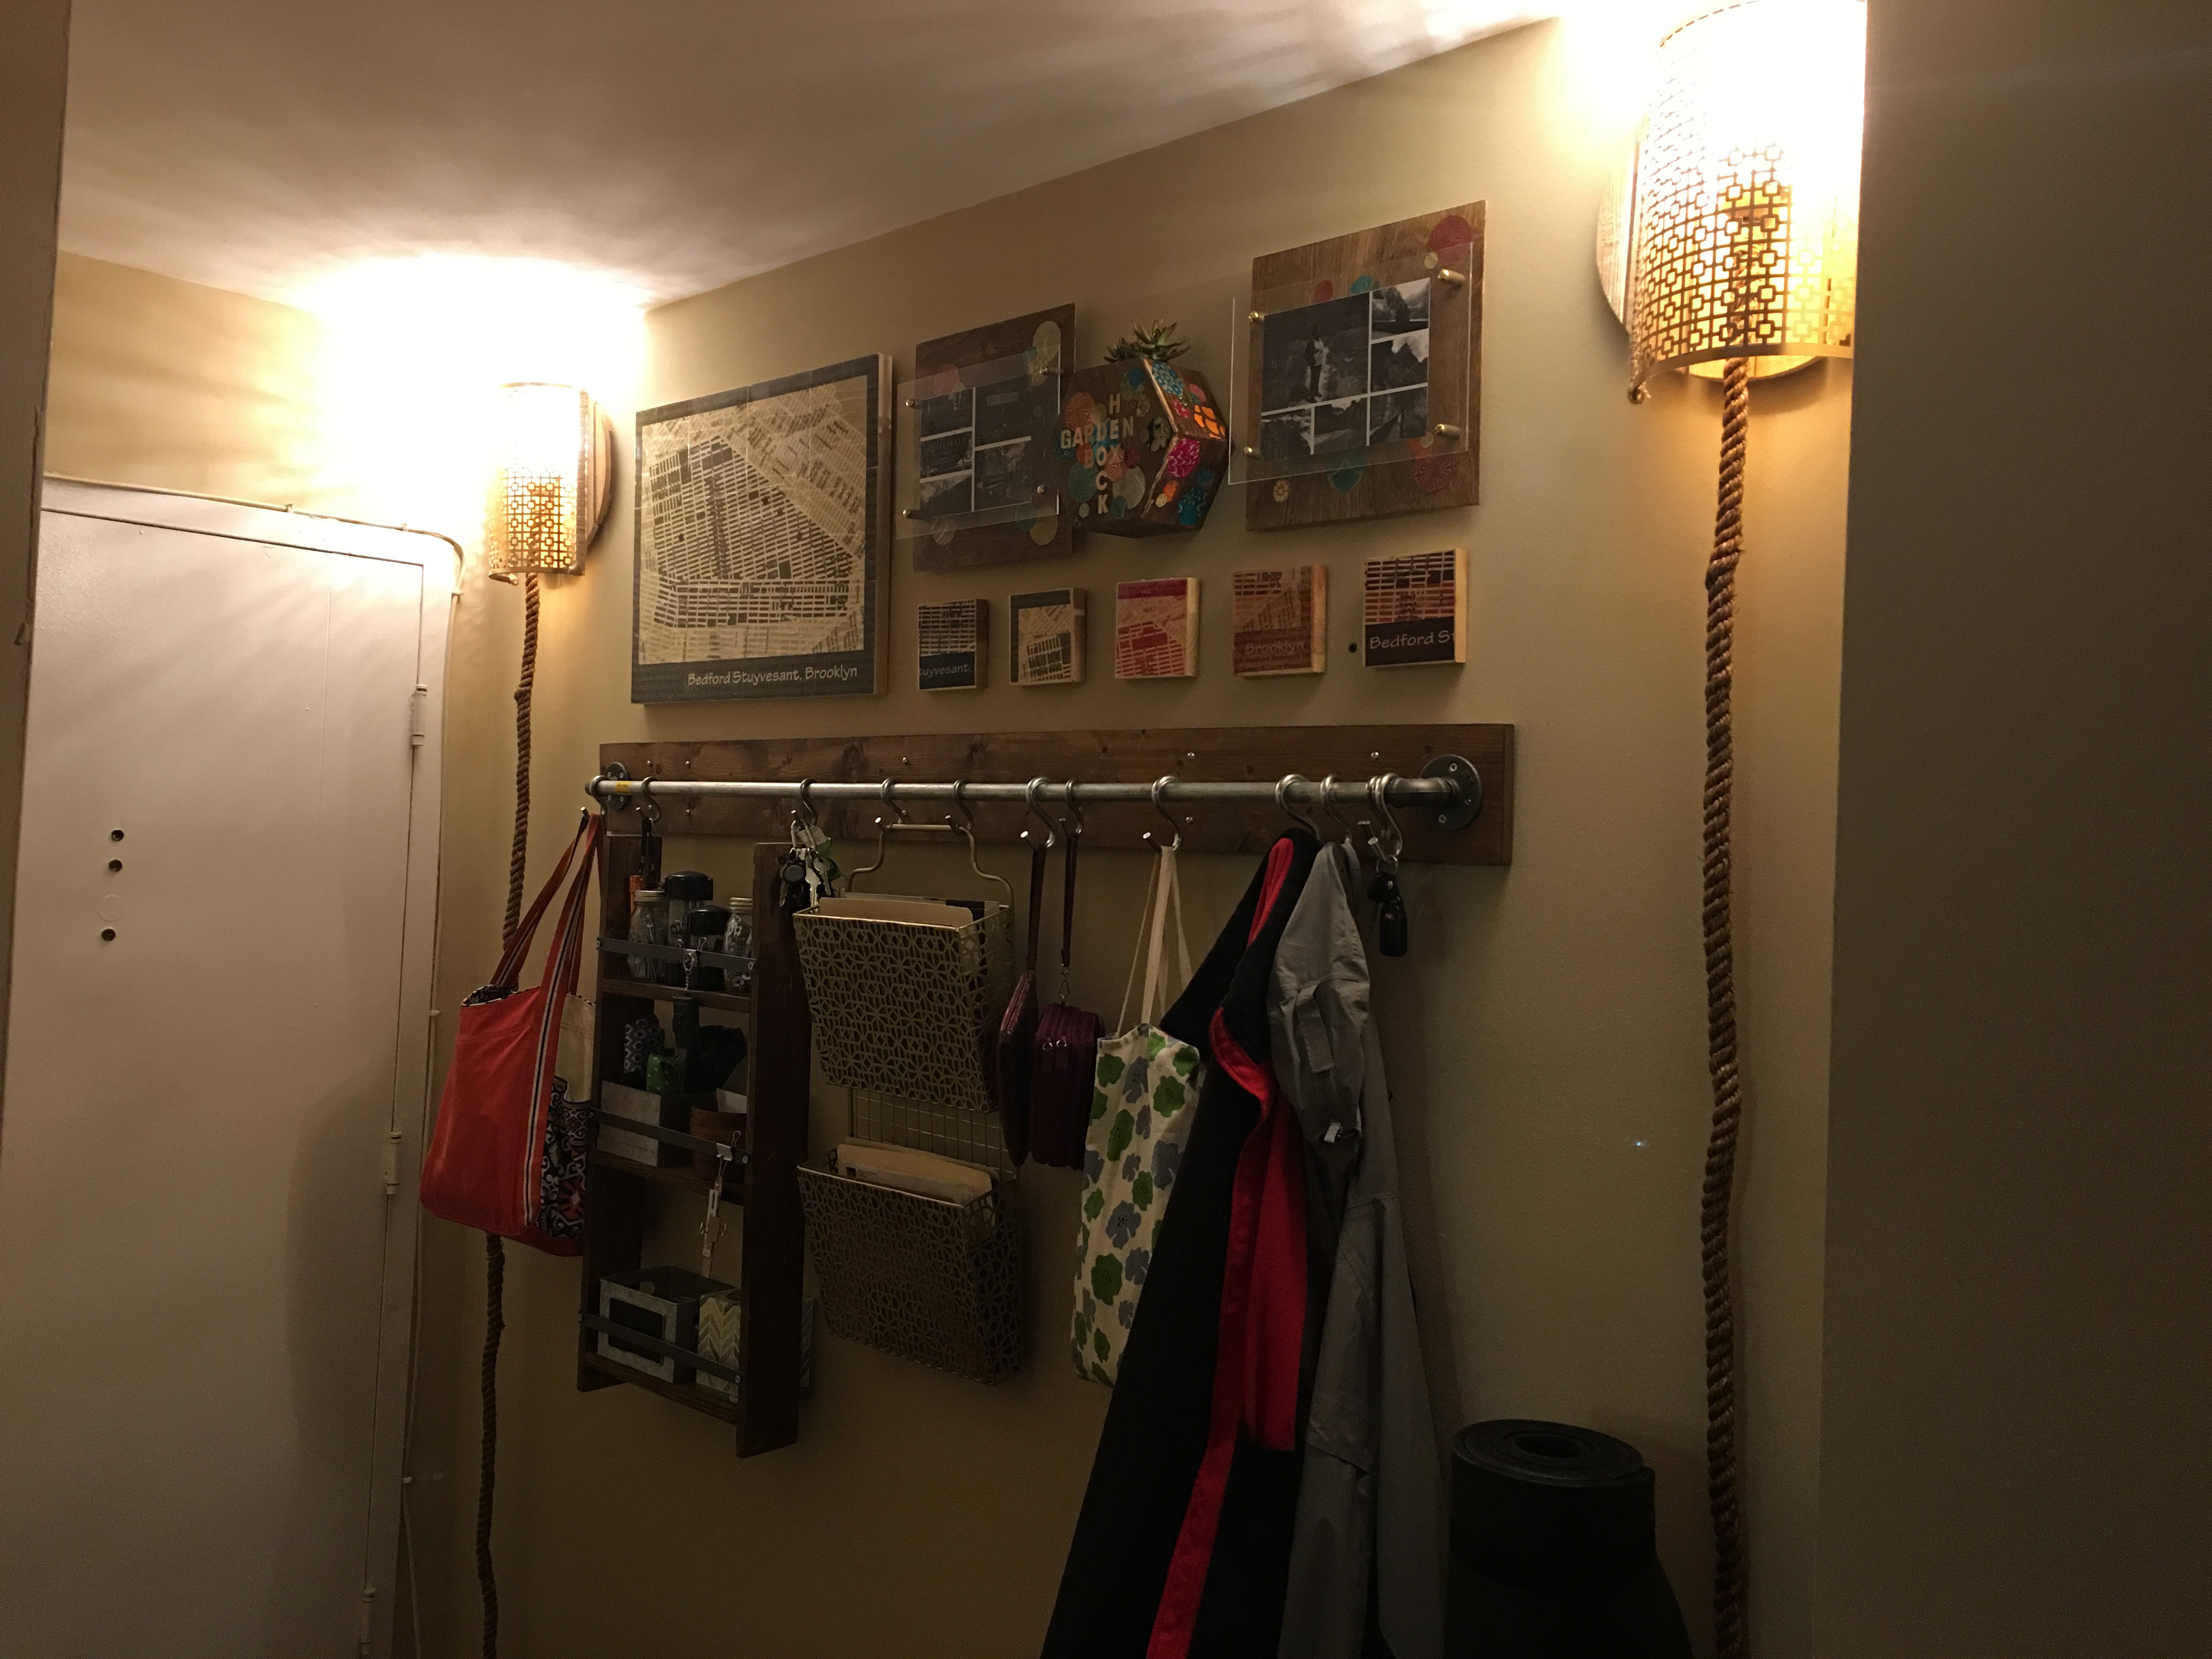
This could not have come out more perfect! Love the way this wall-mounted light project came out.
Sometimes my most favorite projects just come out of the blue. To think that this wasn’t even on my radar eight days ago. Many times, I come across something new and interesting while out and about, inspiration strikes, and I’m off and running creating something special and unique for our space.
I can’t think of a better way to spend my Memorial Day weekend. V-
