Decorated wood flower boxes for my mama
You may also like:
May 7, 2016: Nothing says “Happy Mothers Day” than a beautiful bouquet of flowers, right? Well, this thought occurred to me while browsing my local A.C. Moore store, looking for DIY gift craft ideas for my mama, Xenia. I was in the store late Friday night looking through the aisles for ideas.
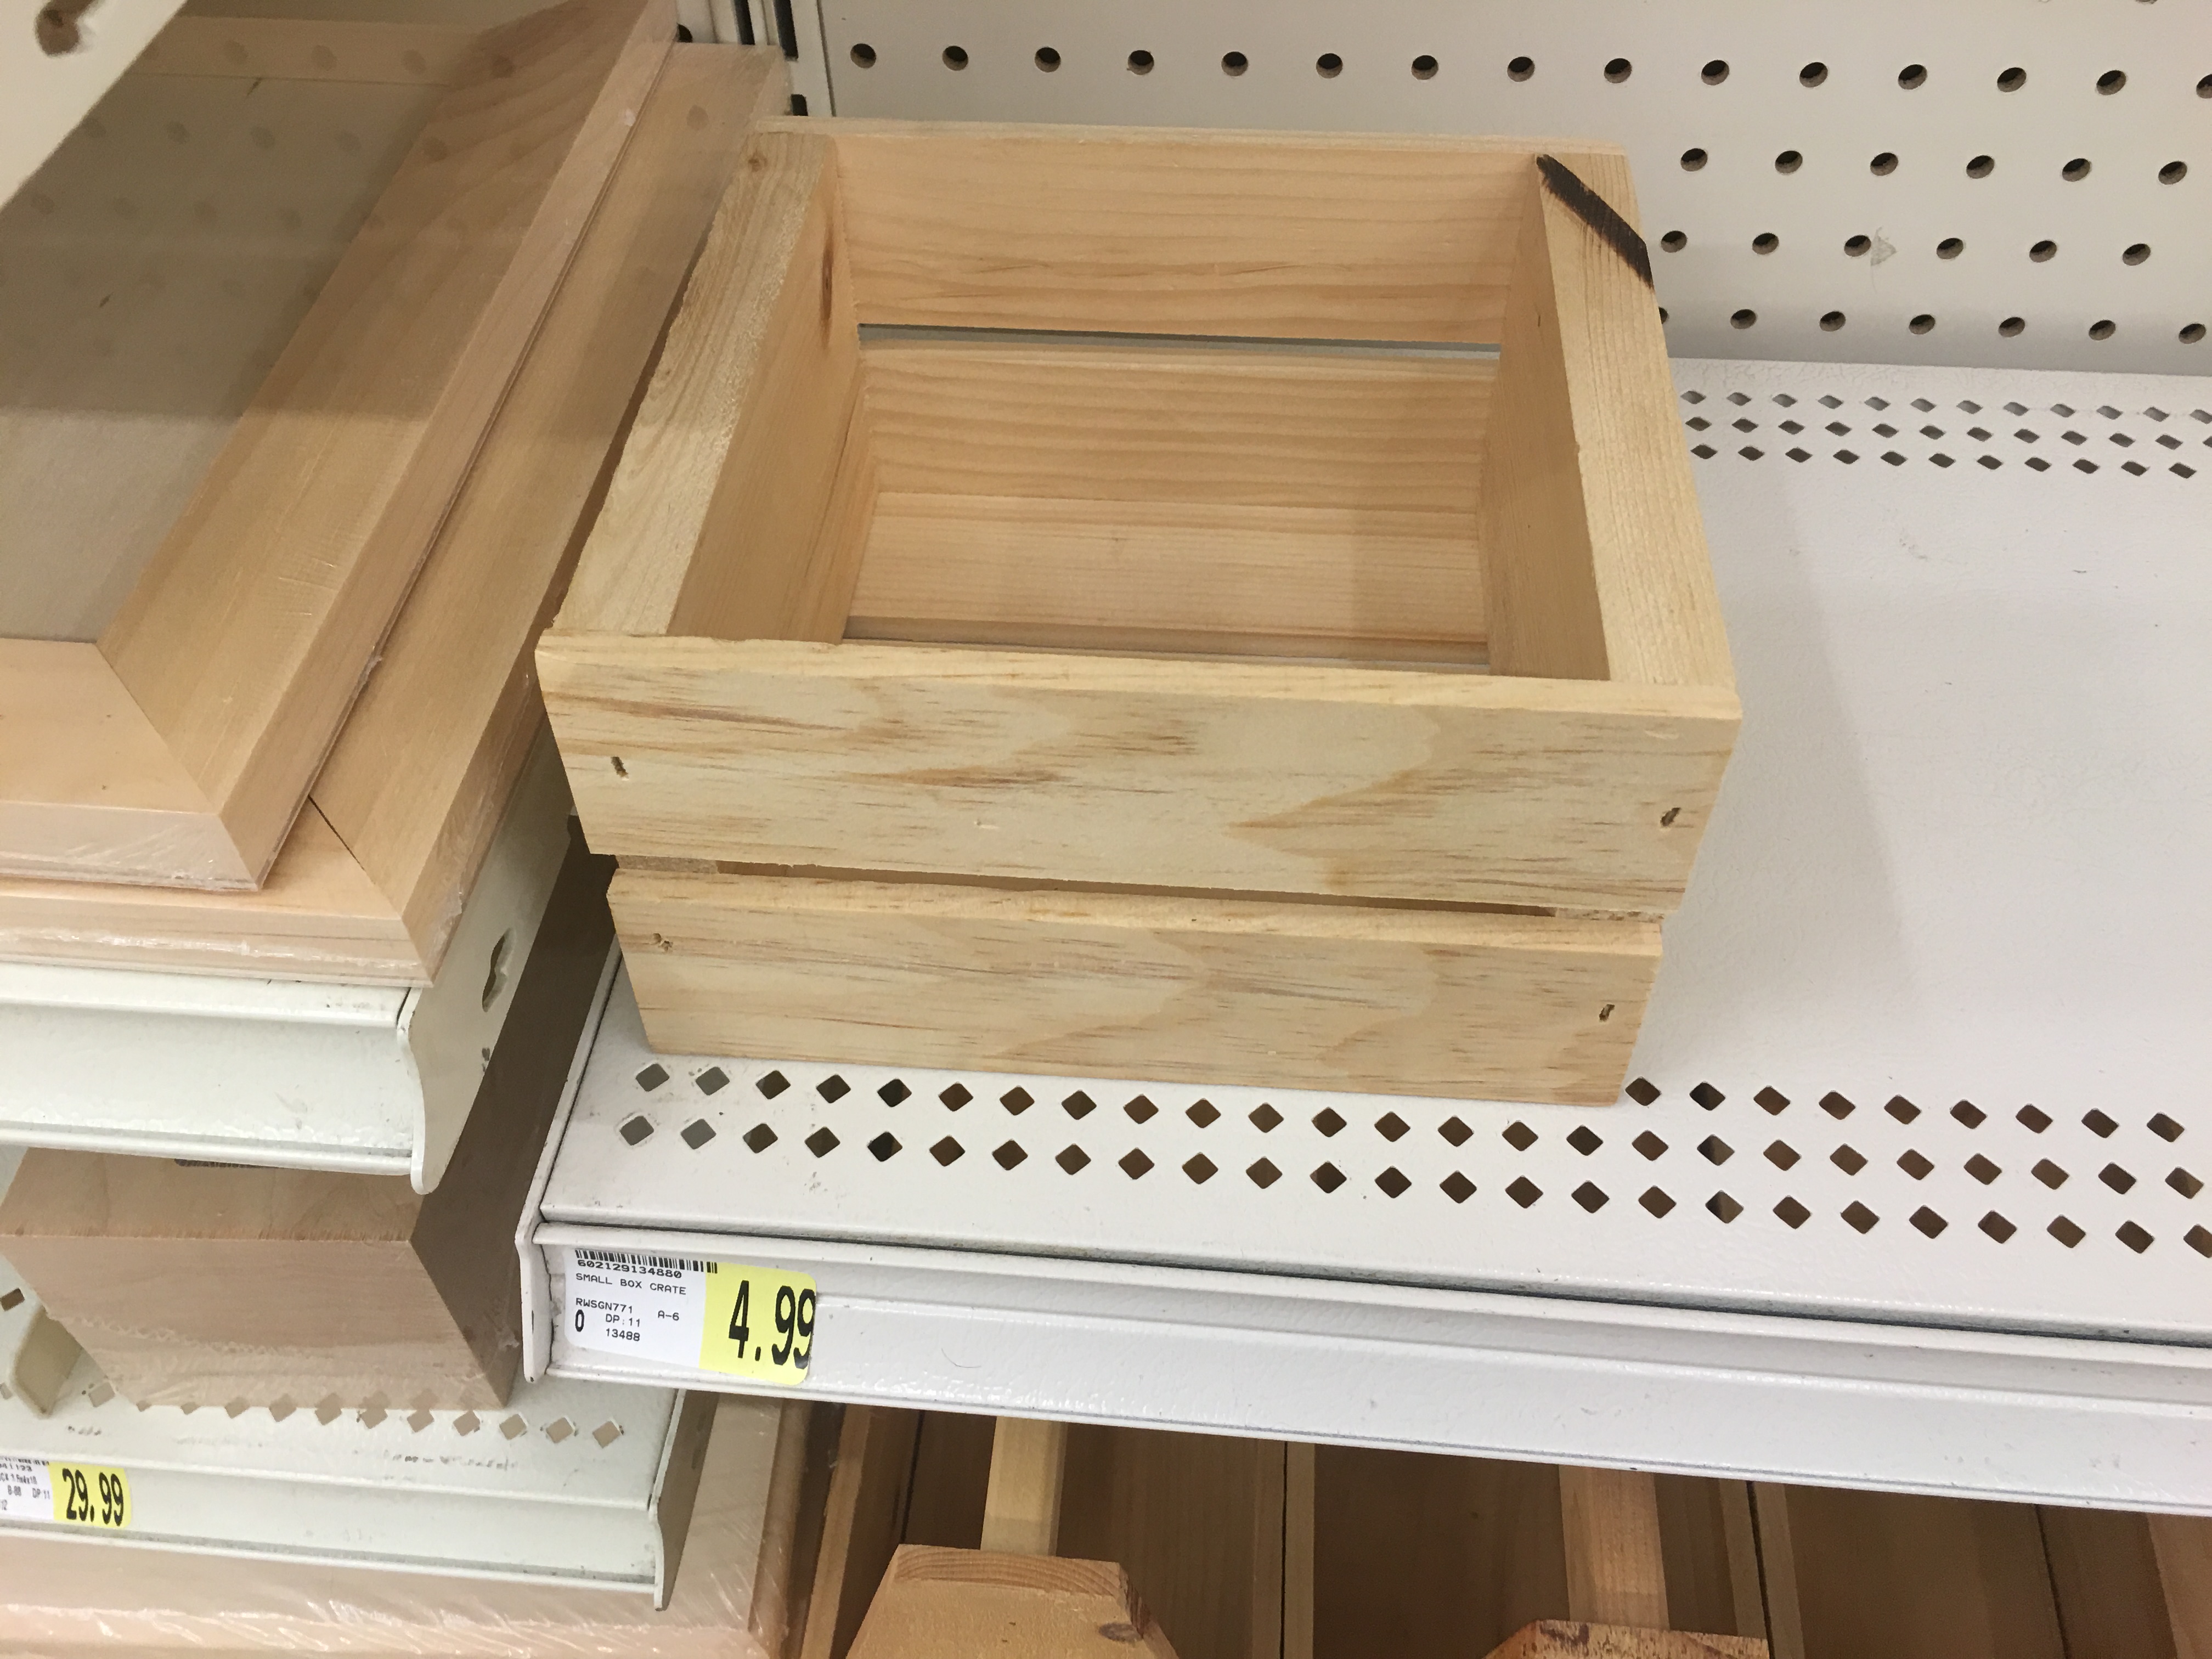
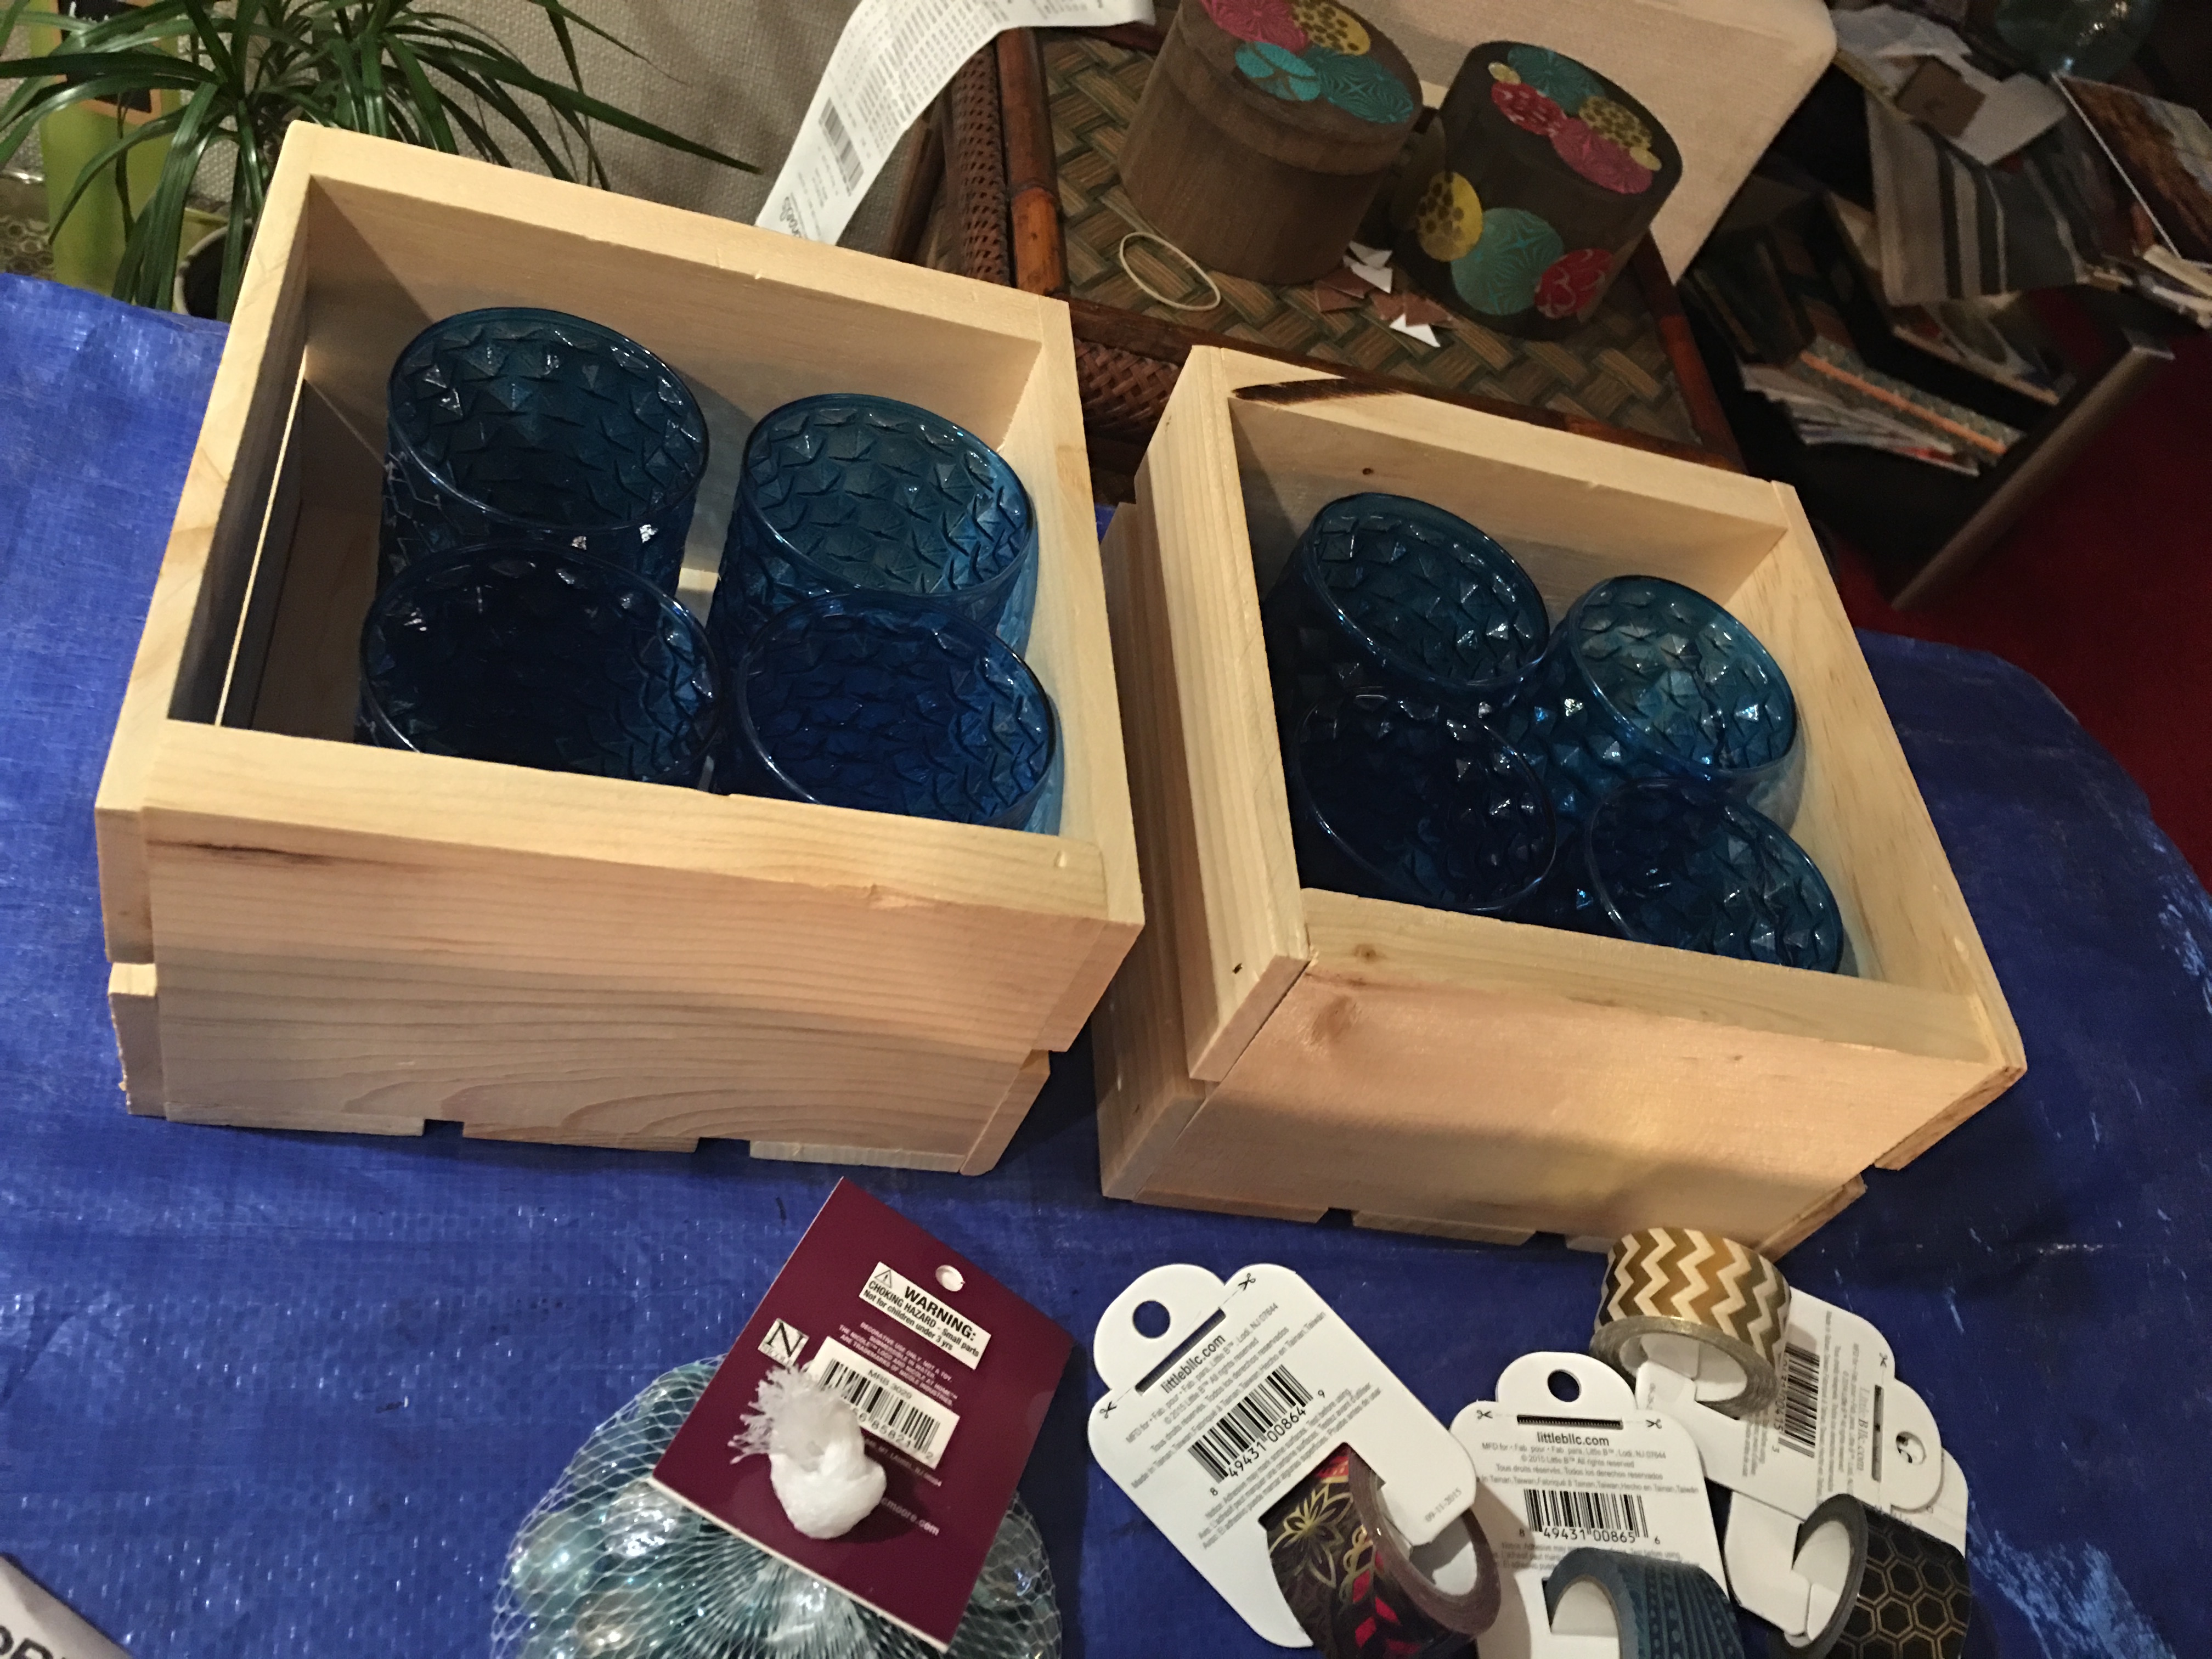
I spot these mini square crates in the project wood aisle.
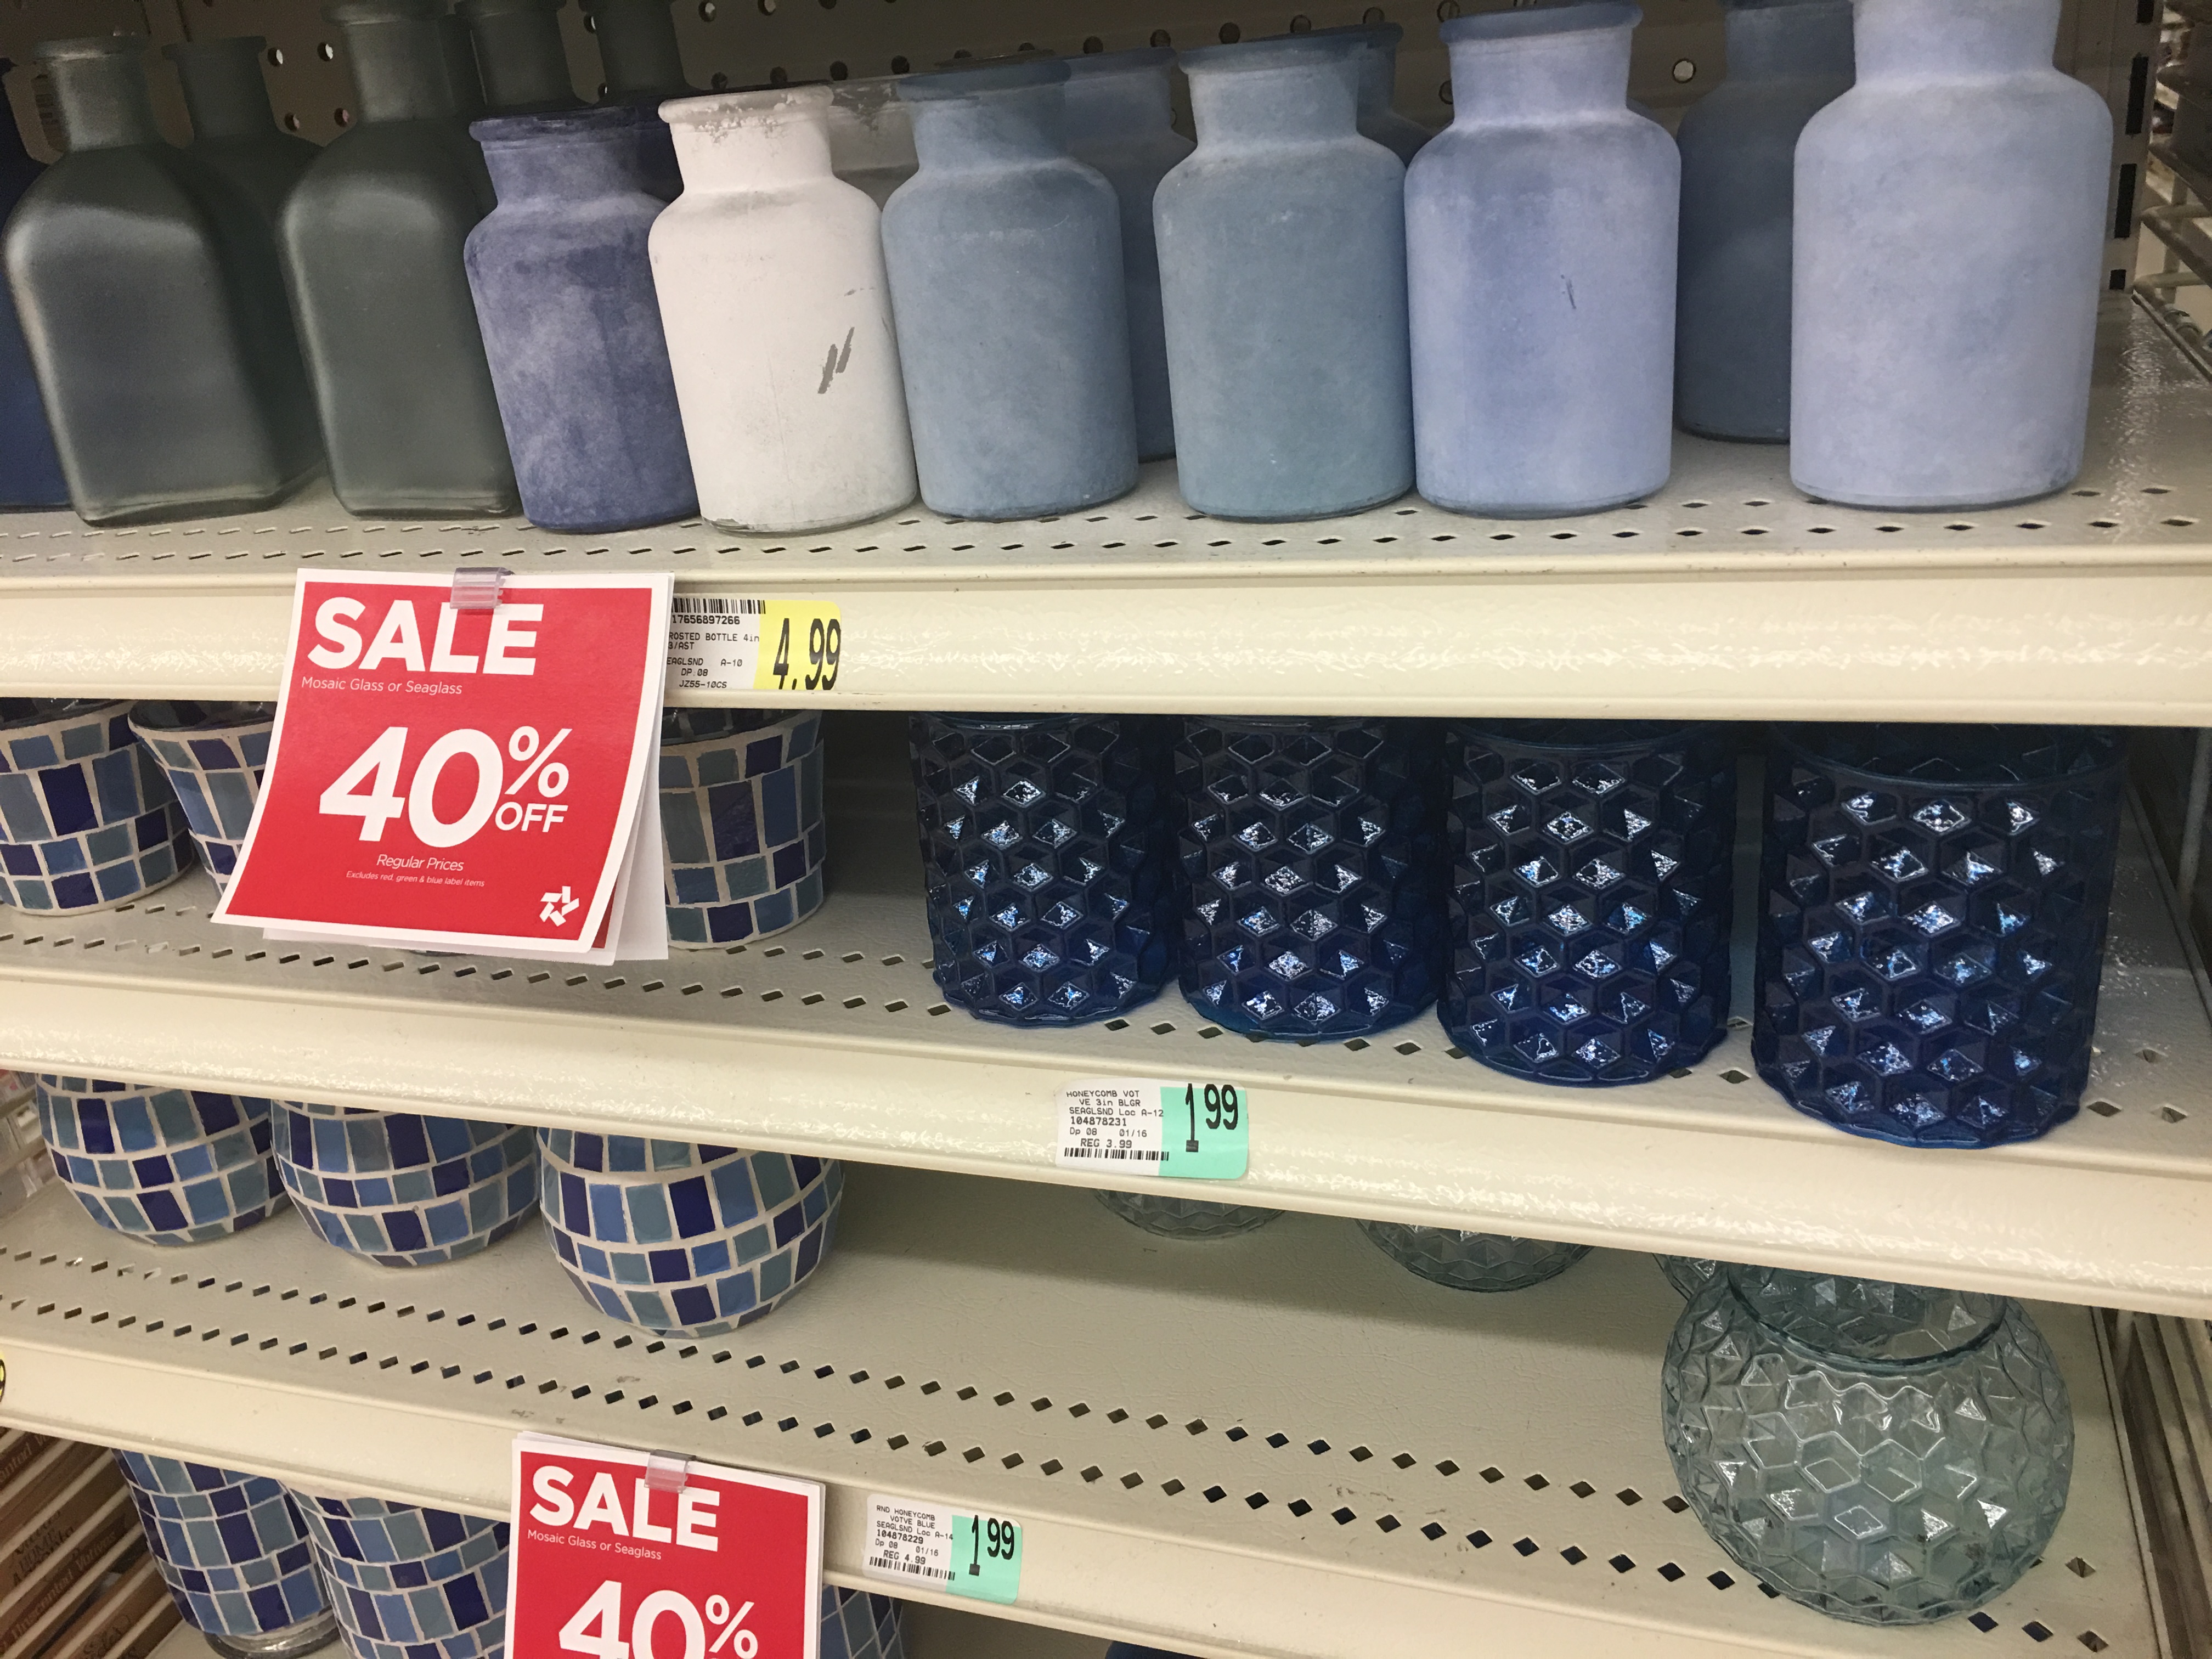
And I see these mini acrylic decorative votives in the glassware and bottles aisle.
Hmmm…my brain flips through a mental project file and it pulls up a cool DIY that I came across on Instagram. The FixerUpper Grocery Store flower crate DIY.
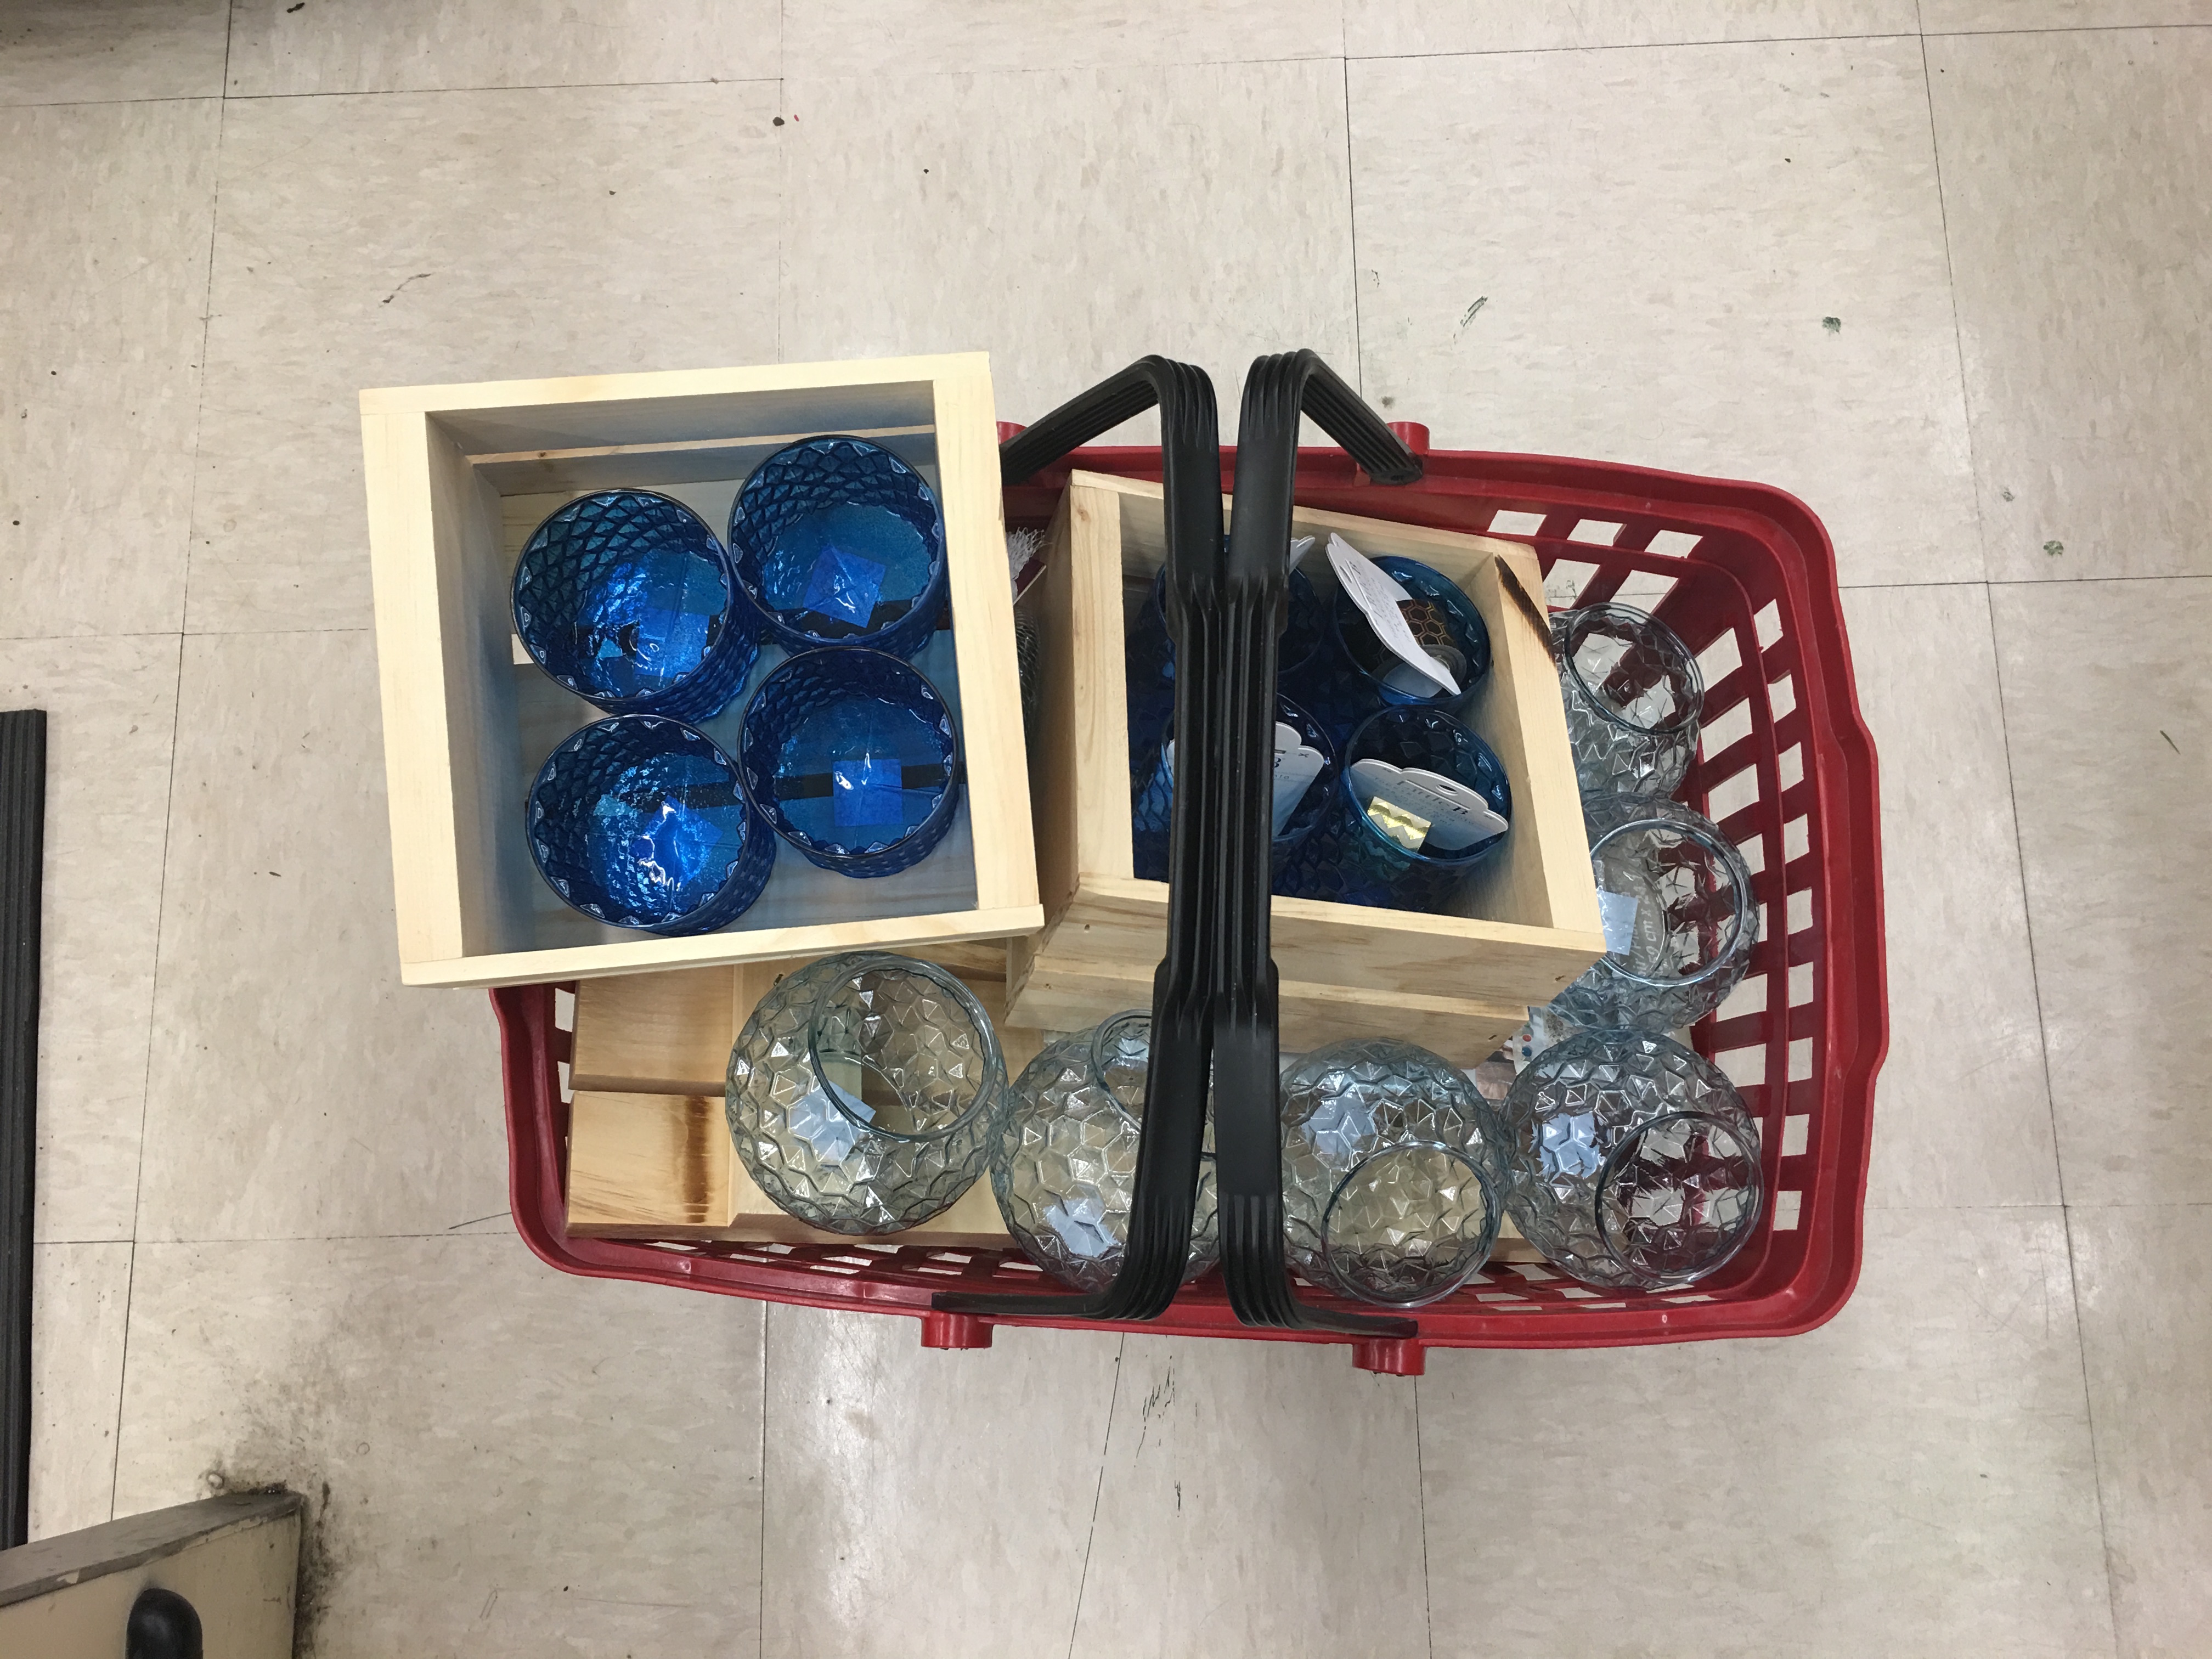
So I add two crates to my basket and clean the shelves of all blue honeycomb acrylic votives I could find. For this project, I need eight.
Once I purchase my supplies from A.C. Moore, I head across the shopping center parking lot to the Giant to get the flowers.
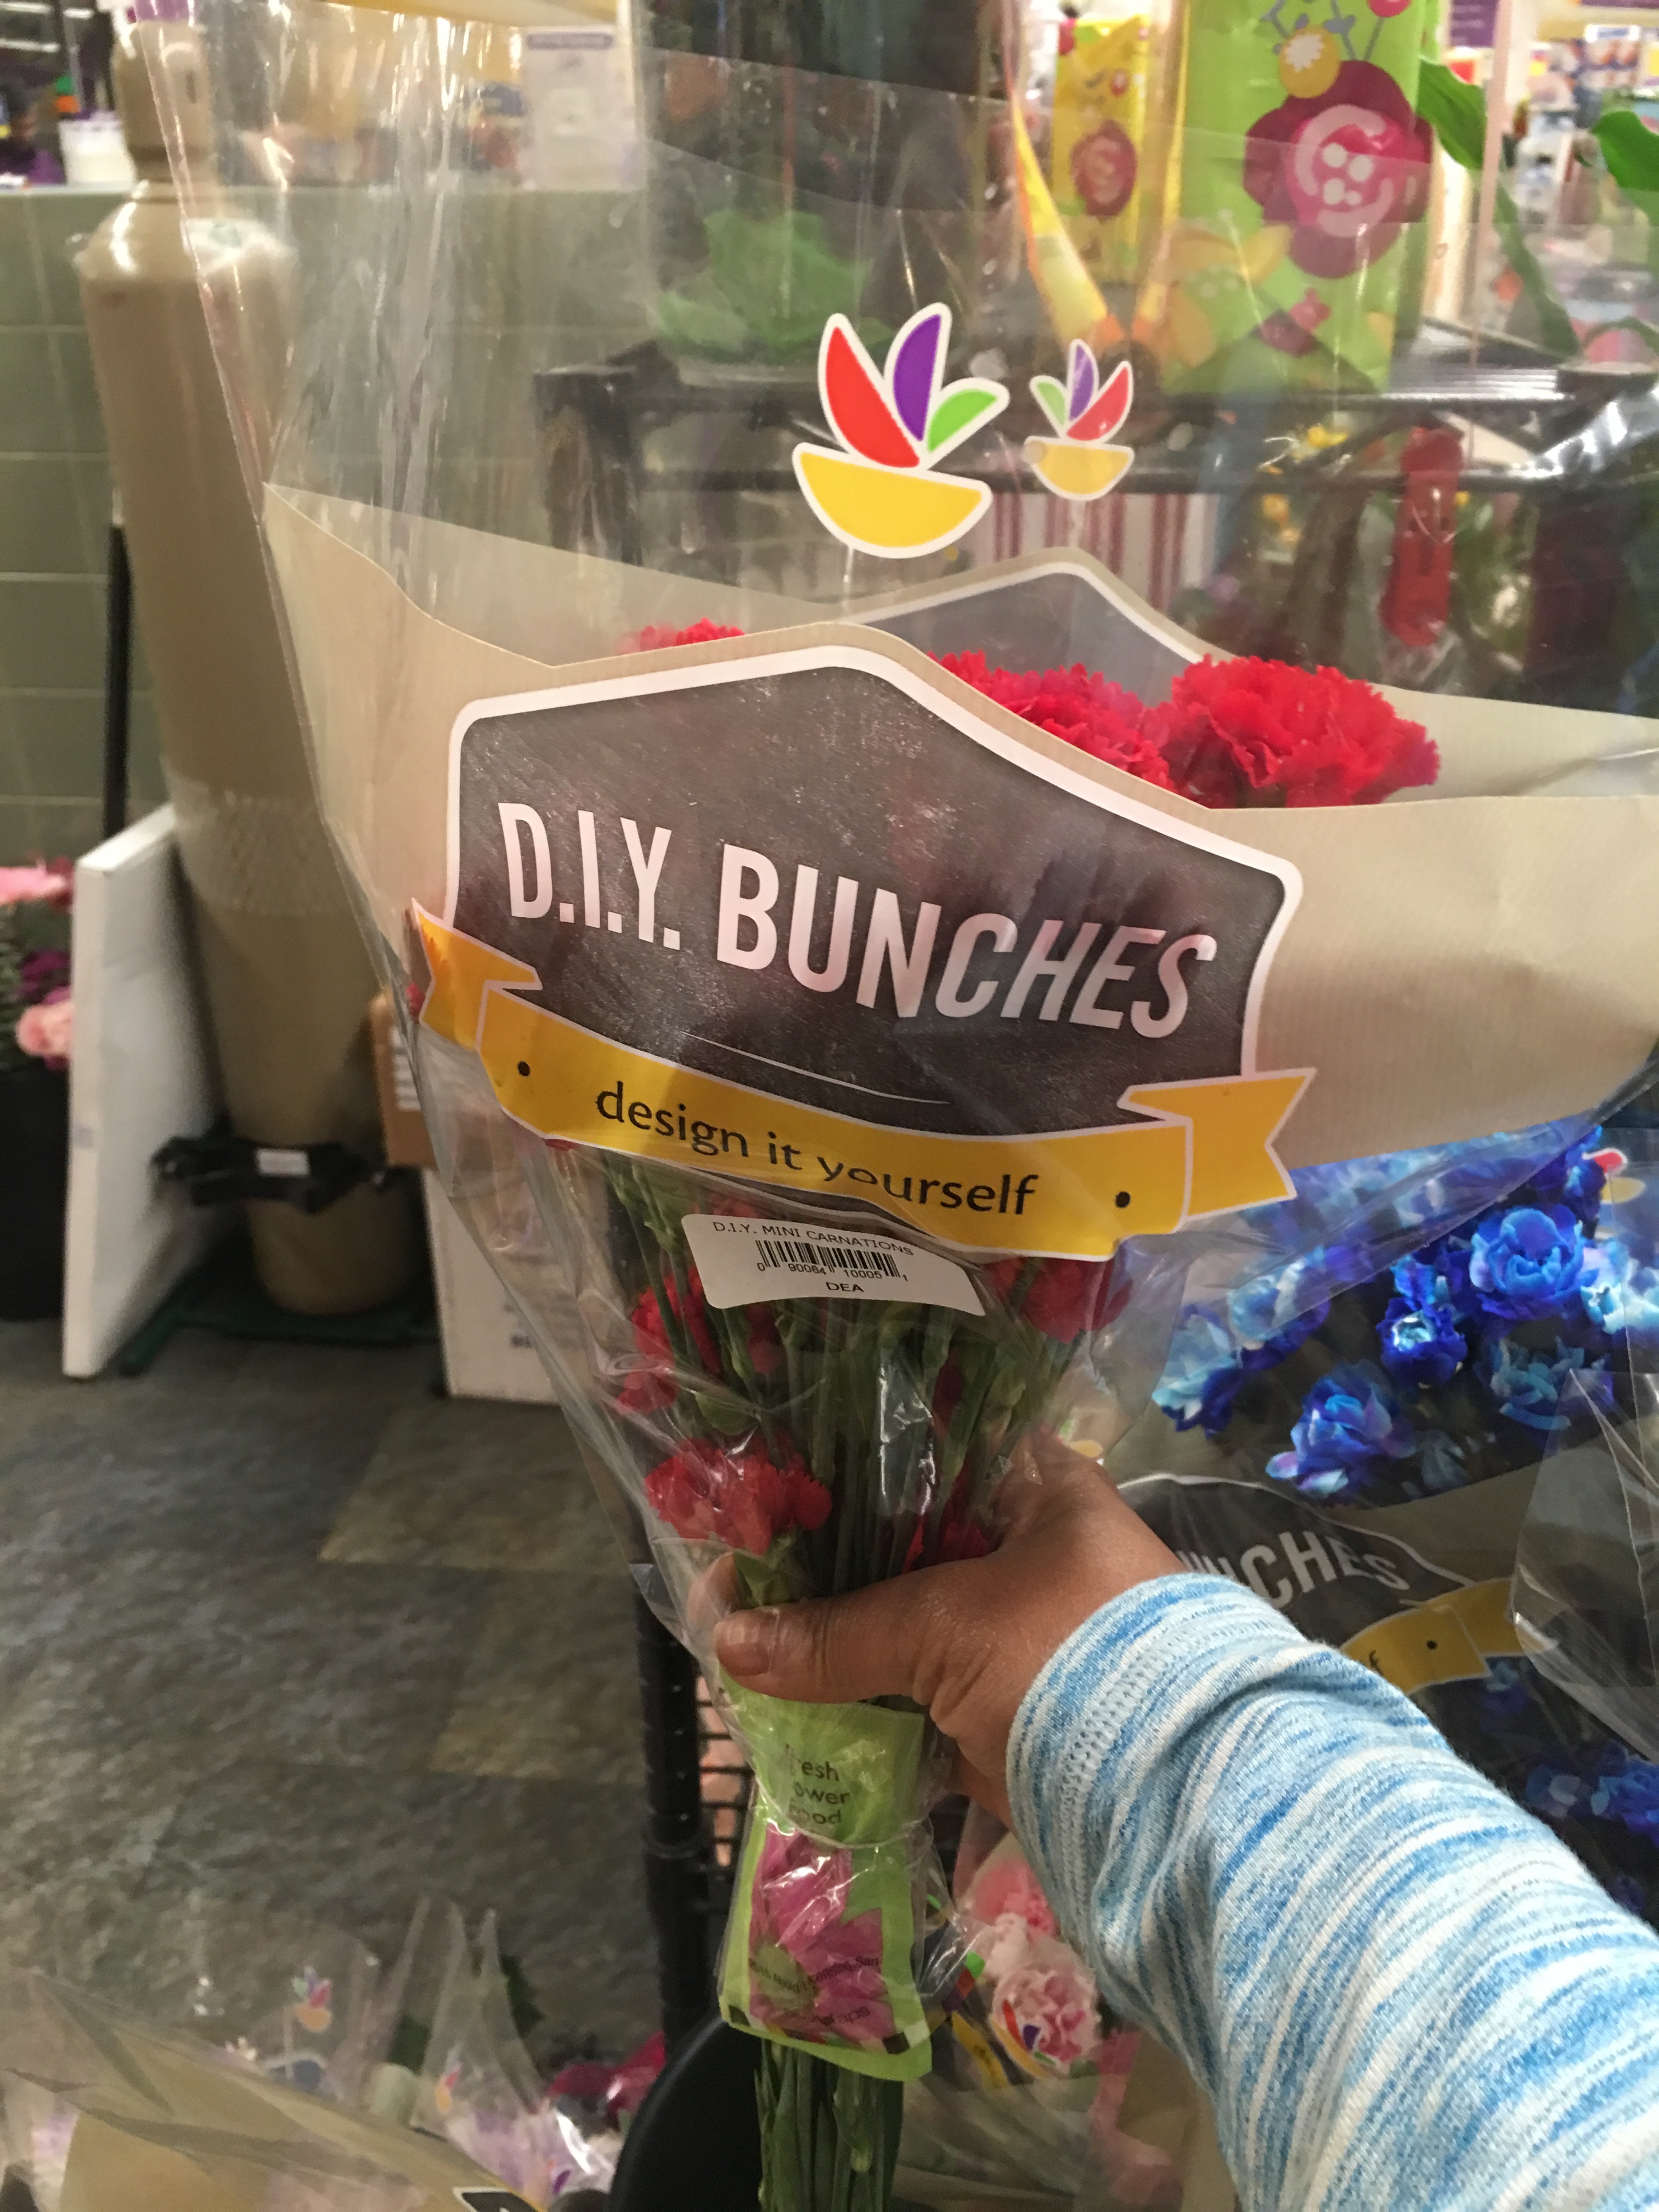
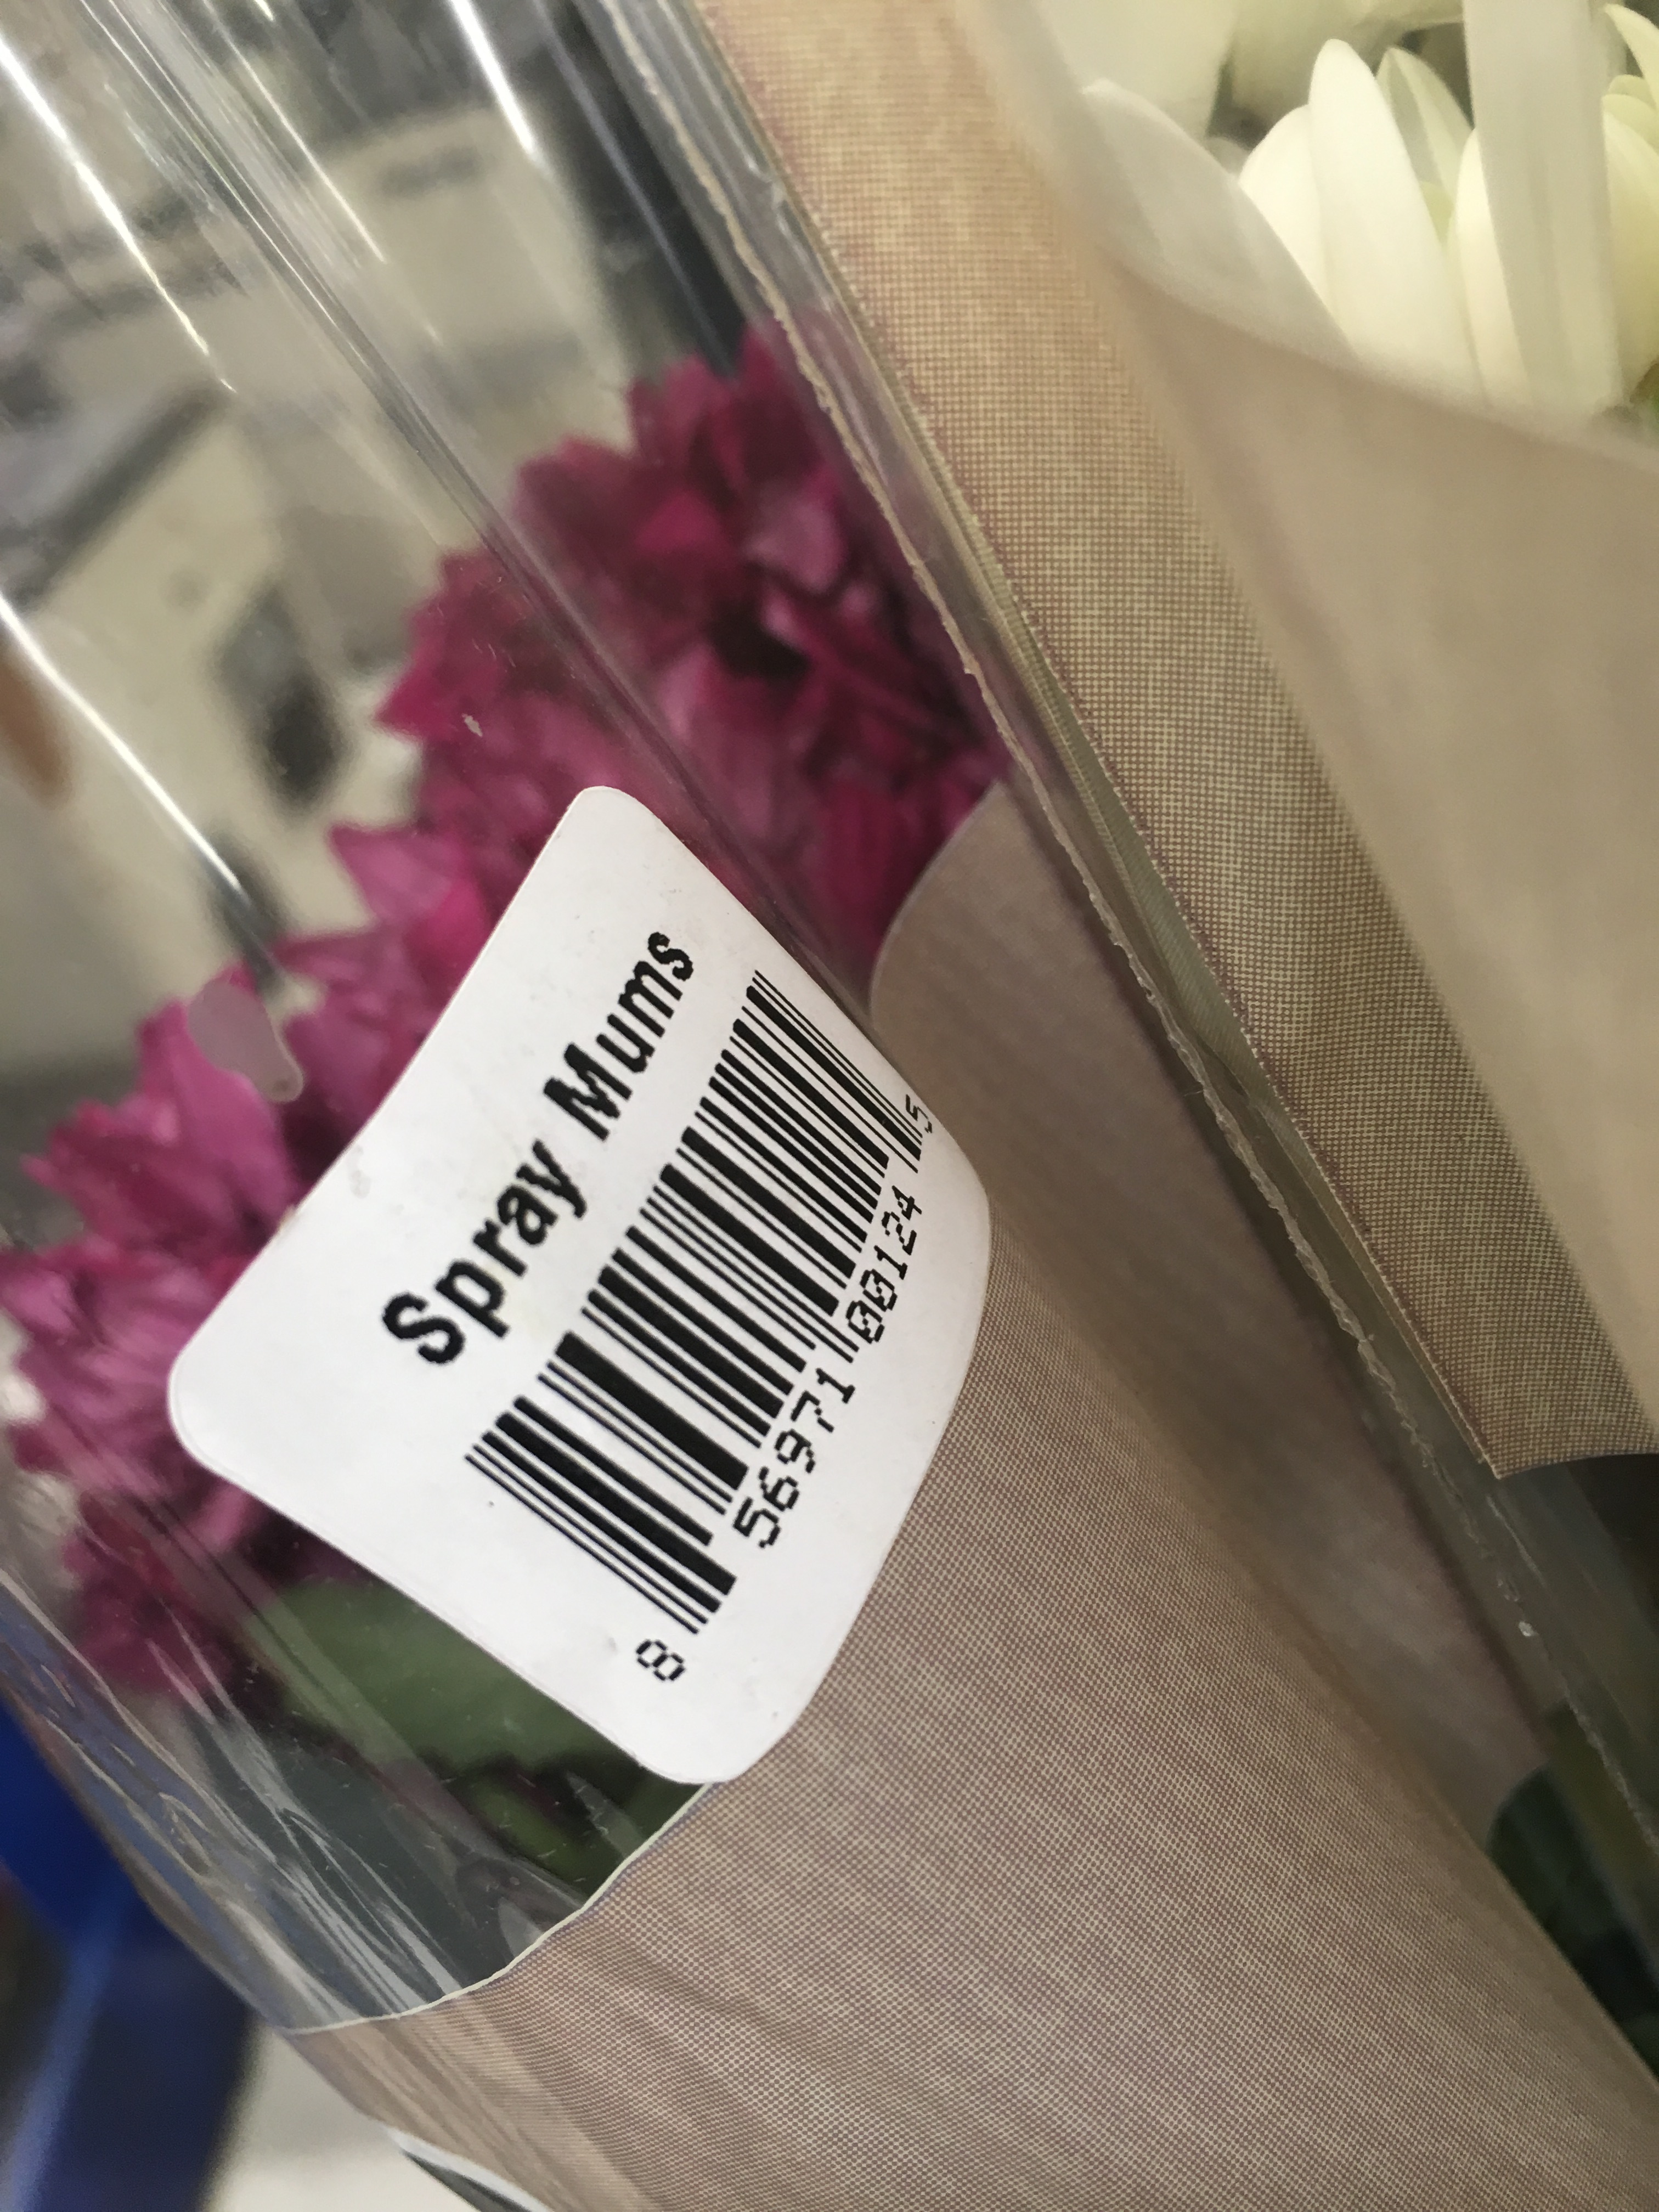
I decide on a couple of spray mums bouquets – one purple and one white.
So back at the condo I set up my crafting table with my supplies. I insert four votives into each square crate.
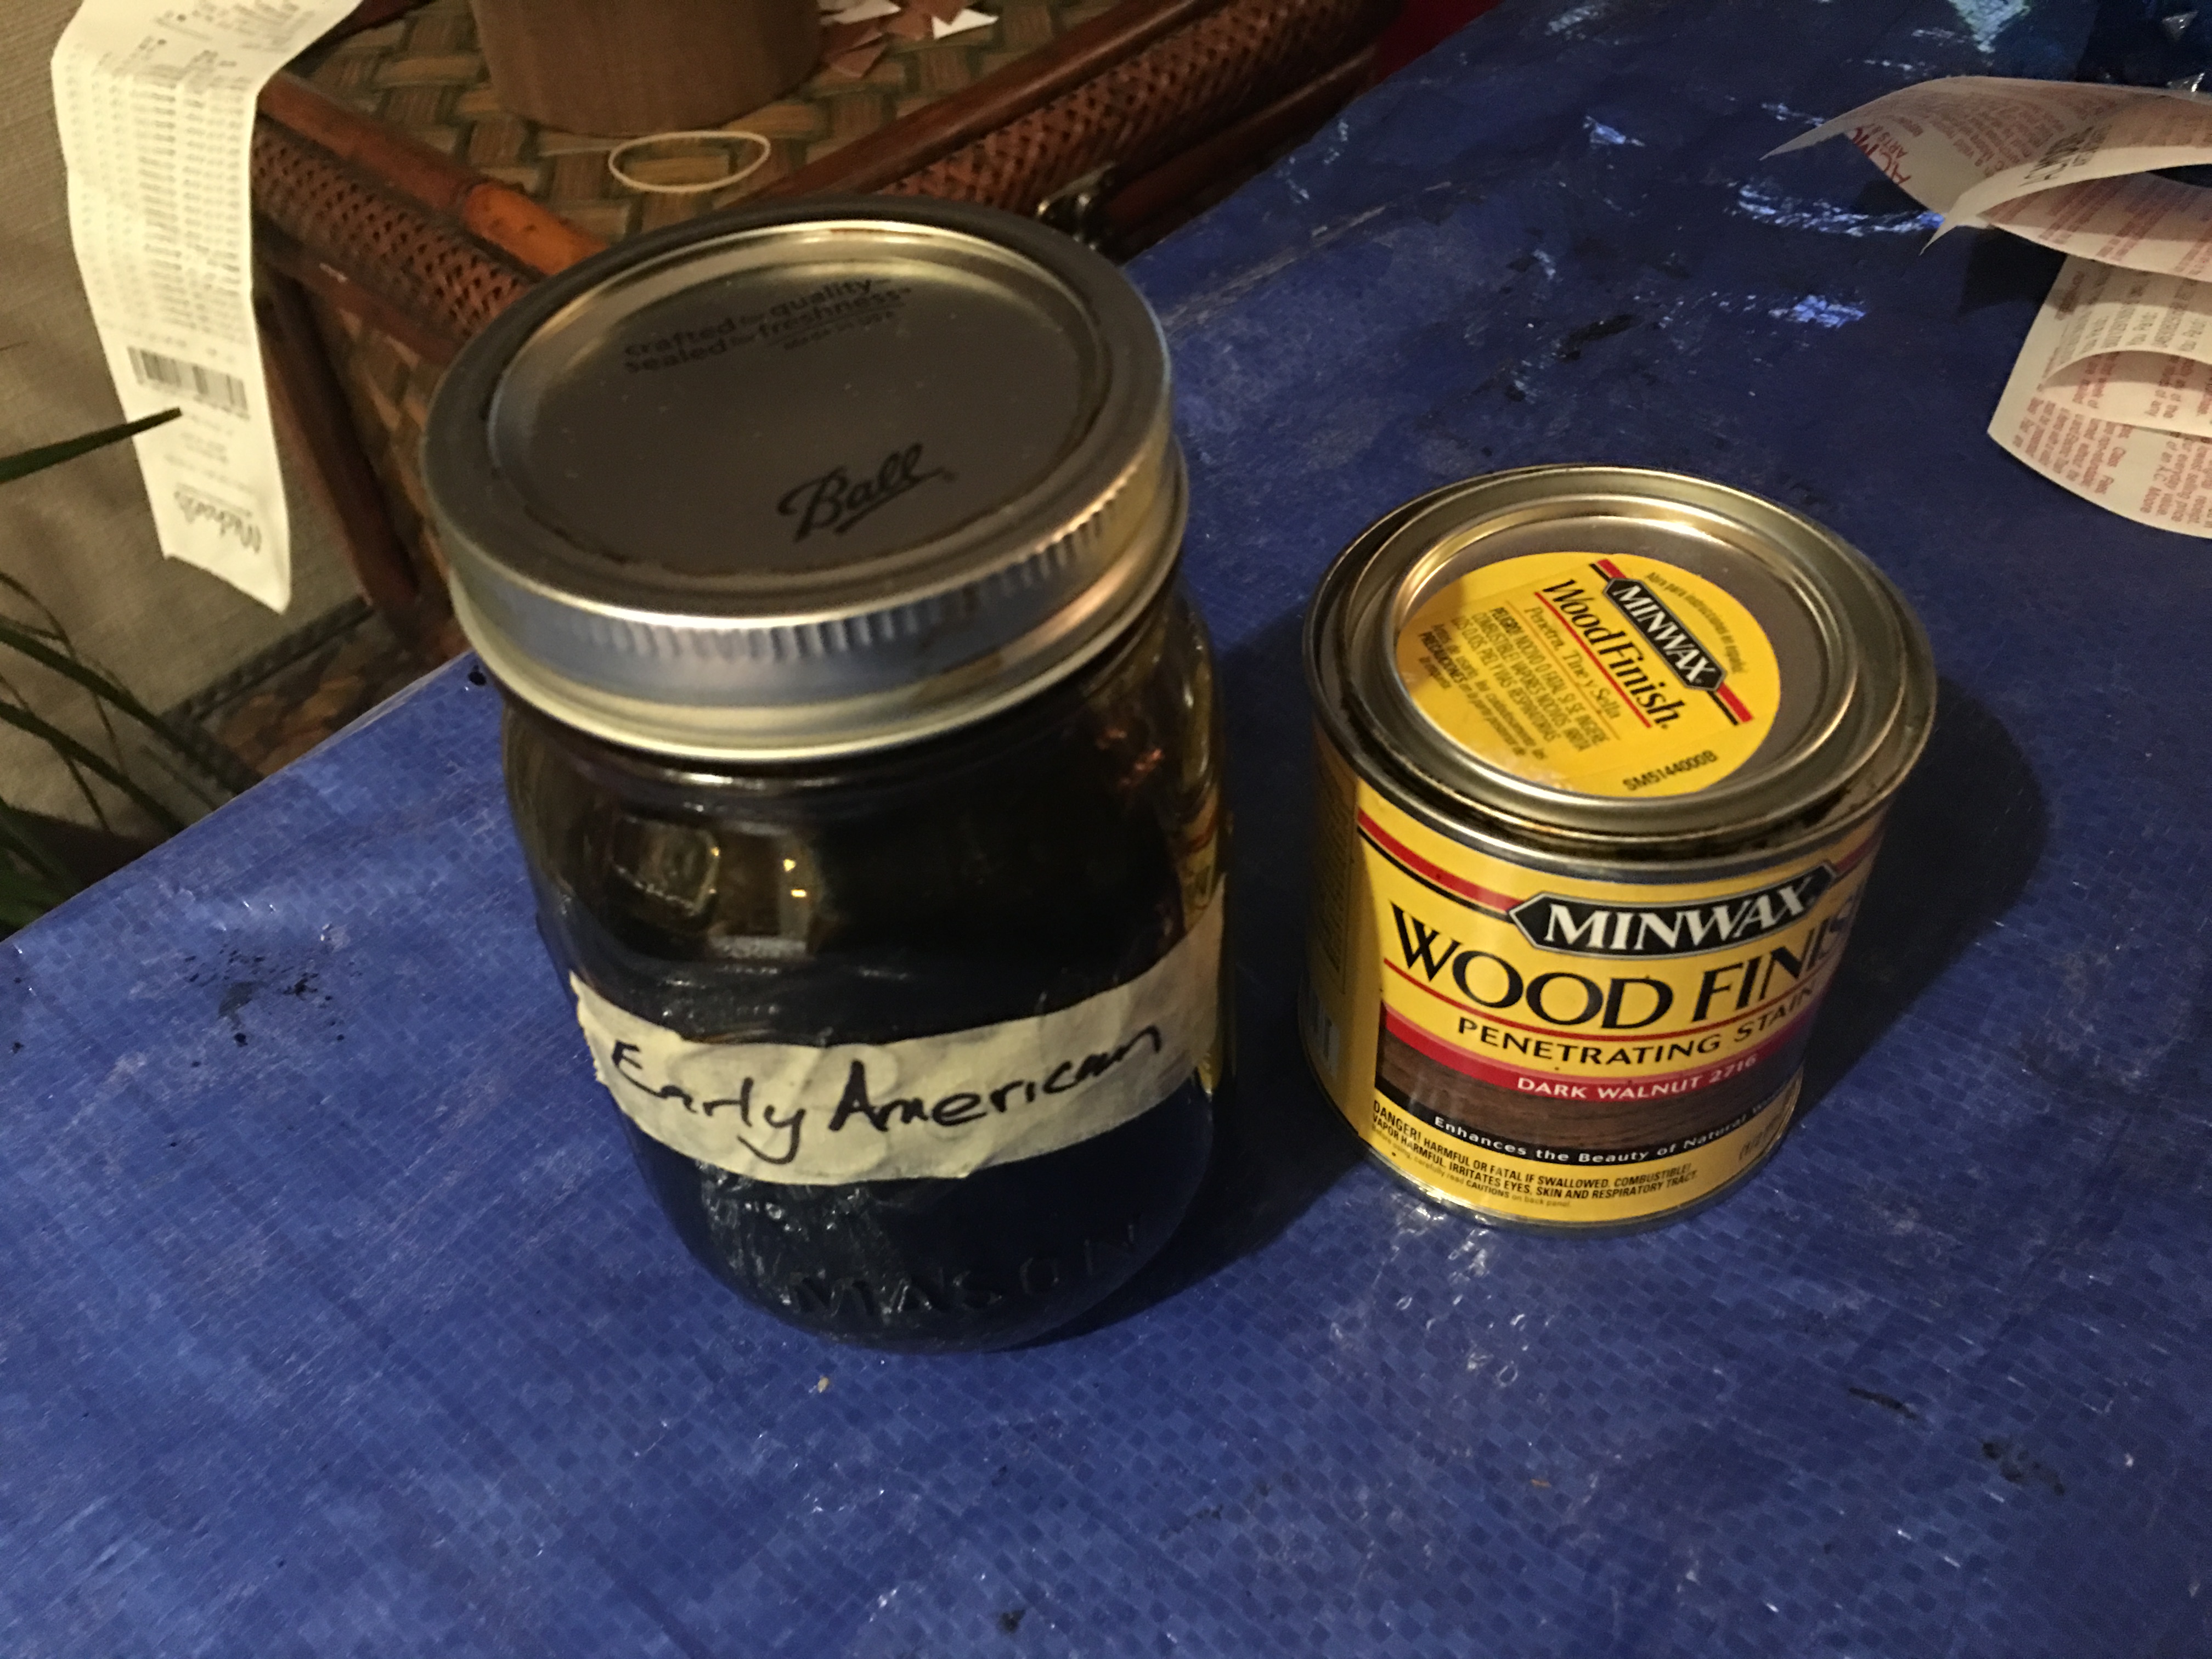
First step, decorate the crates. I decide to stain one crate with my favorite color – Early American. And the other with the darker Dark Walnut color.
While waiting for the stain to dry, I cut my flowers. I start with the white mums.
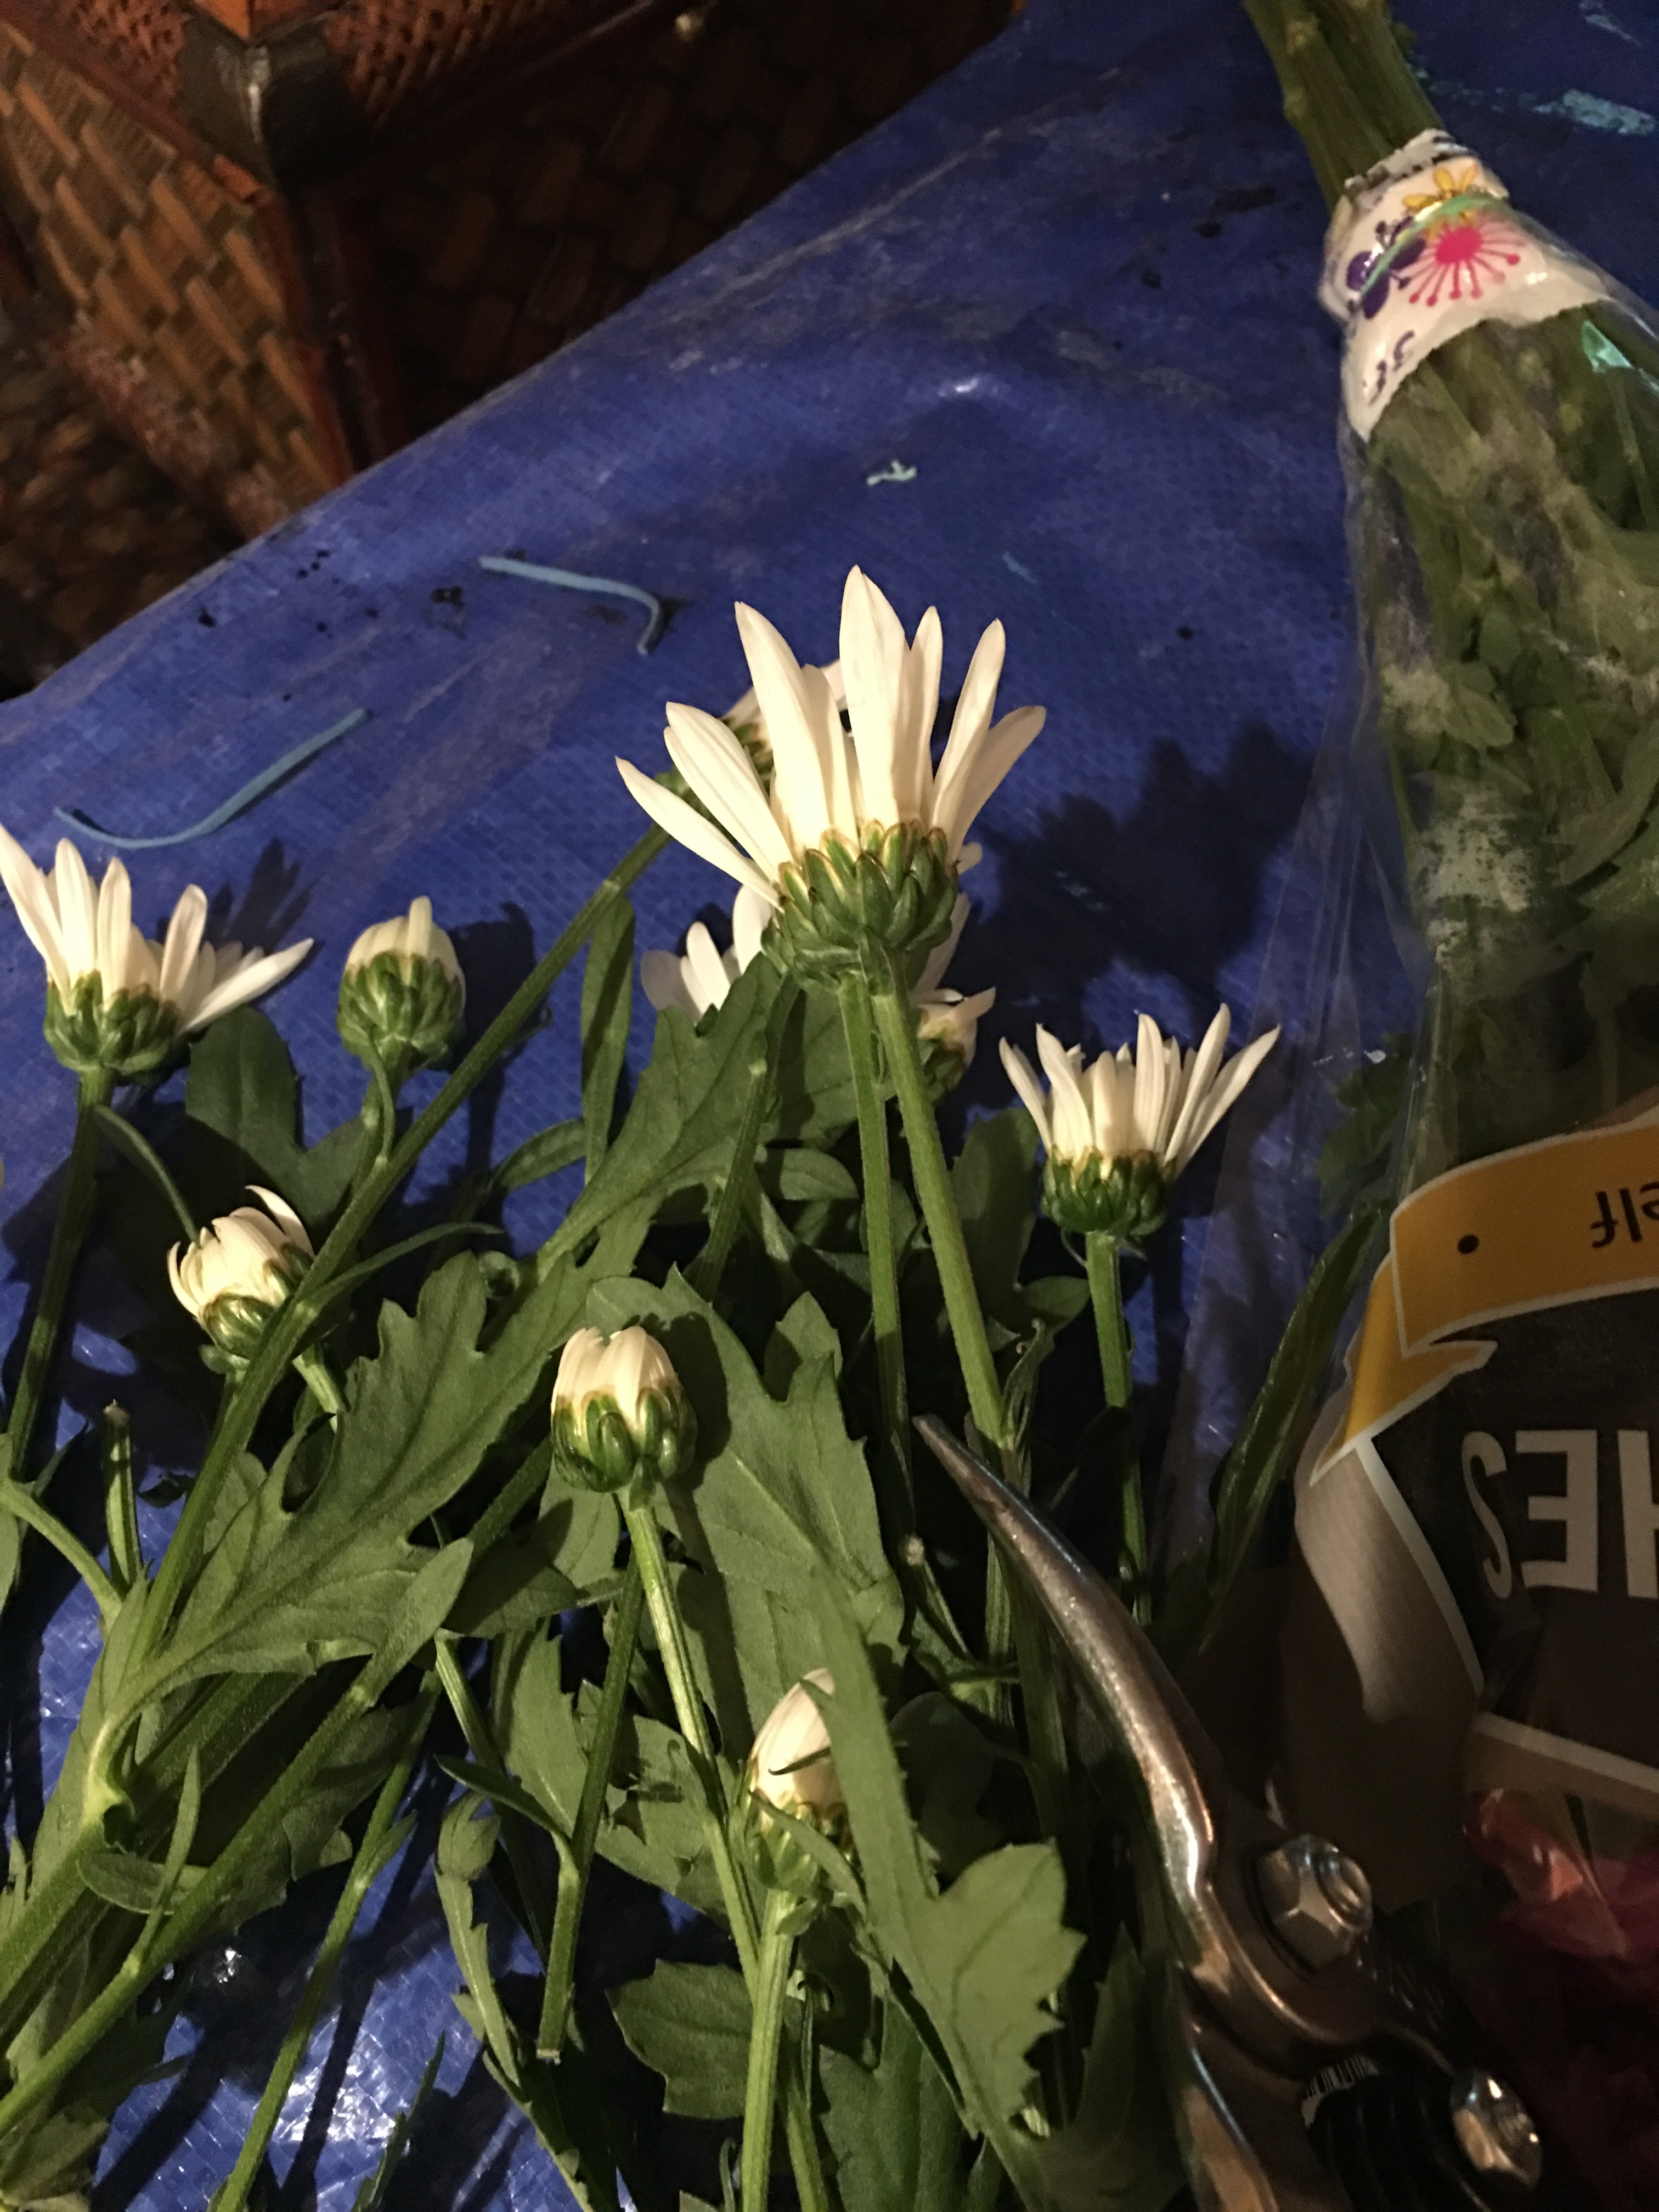
I cut each stem short enough to fit inside my little votives (half-filled with water). I add four mini flower vases with the mums to one of the crates.
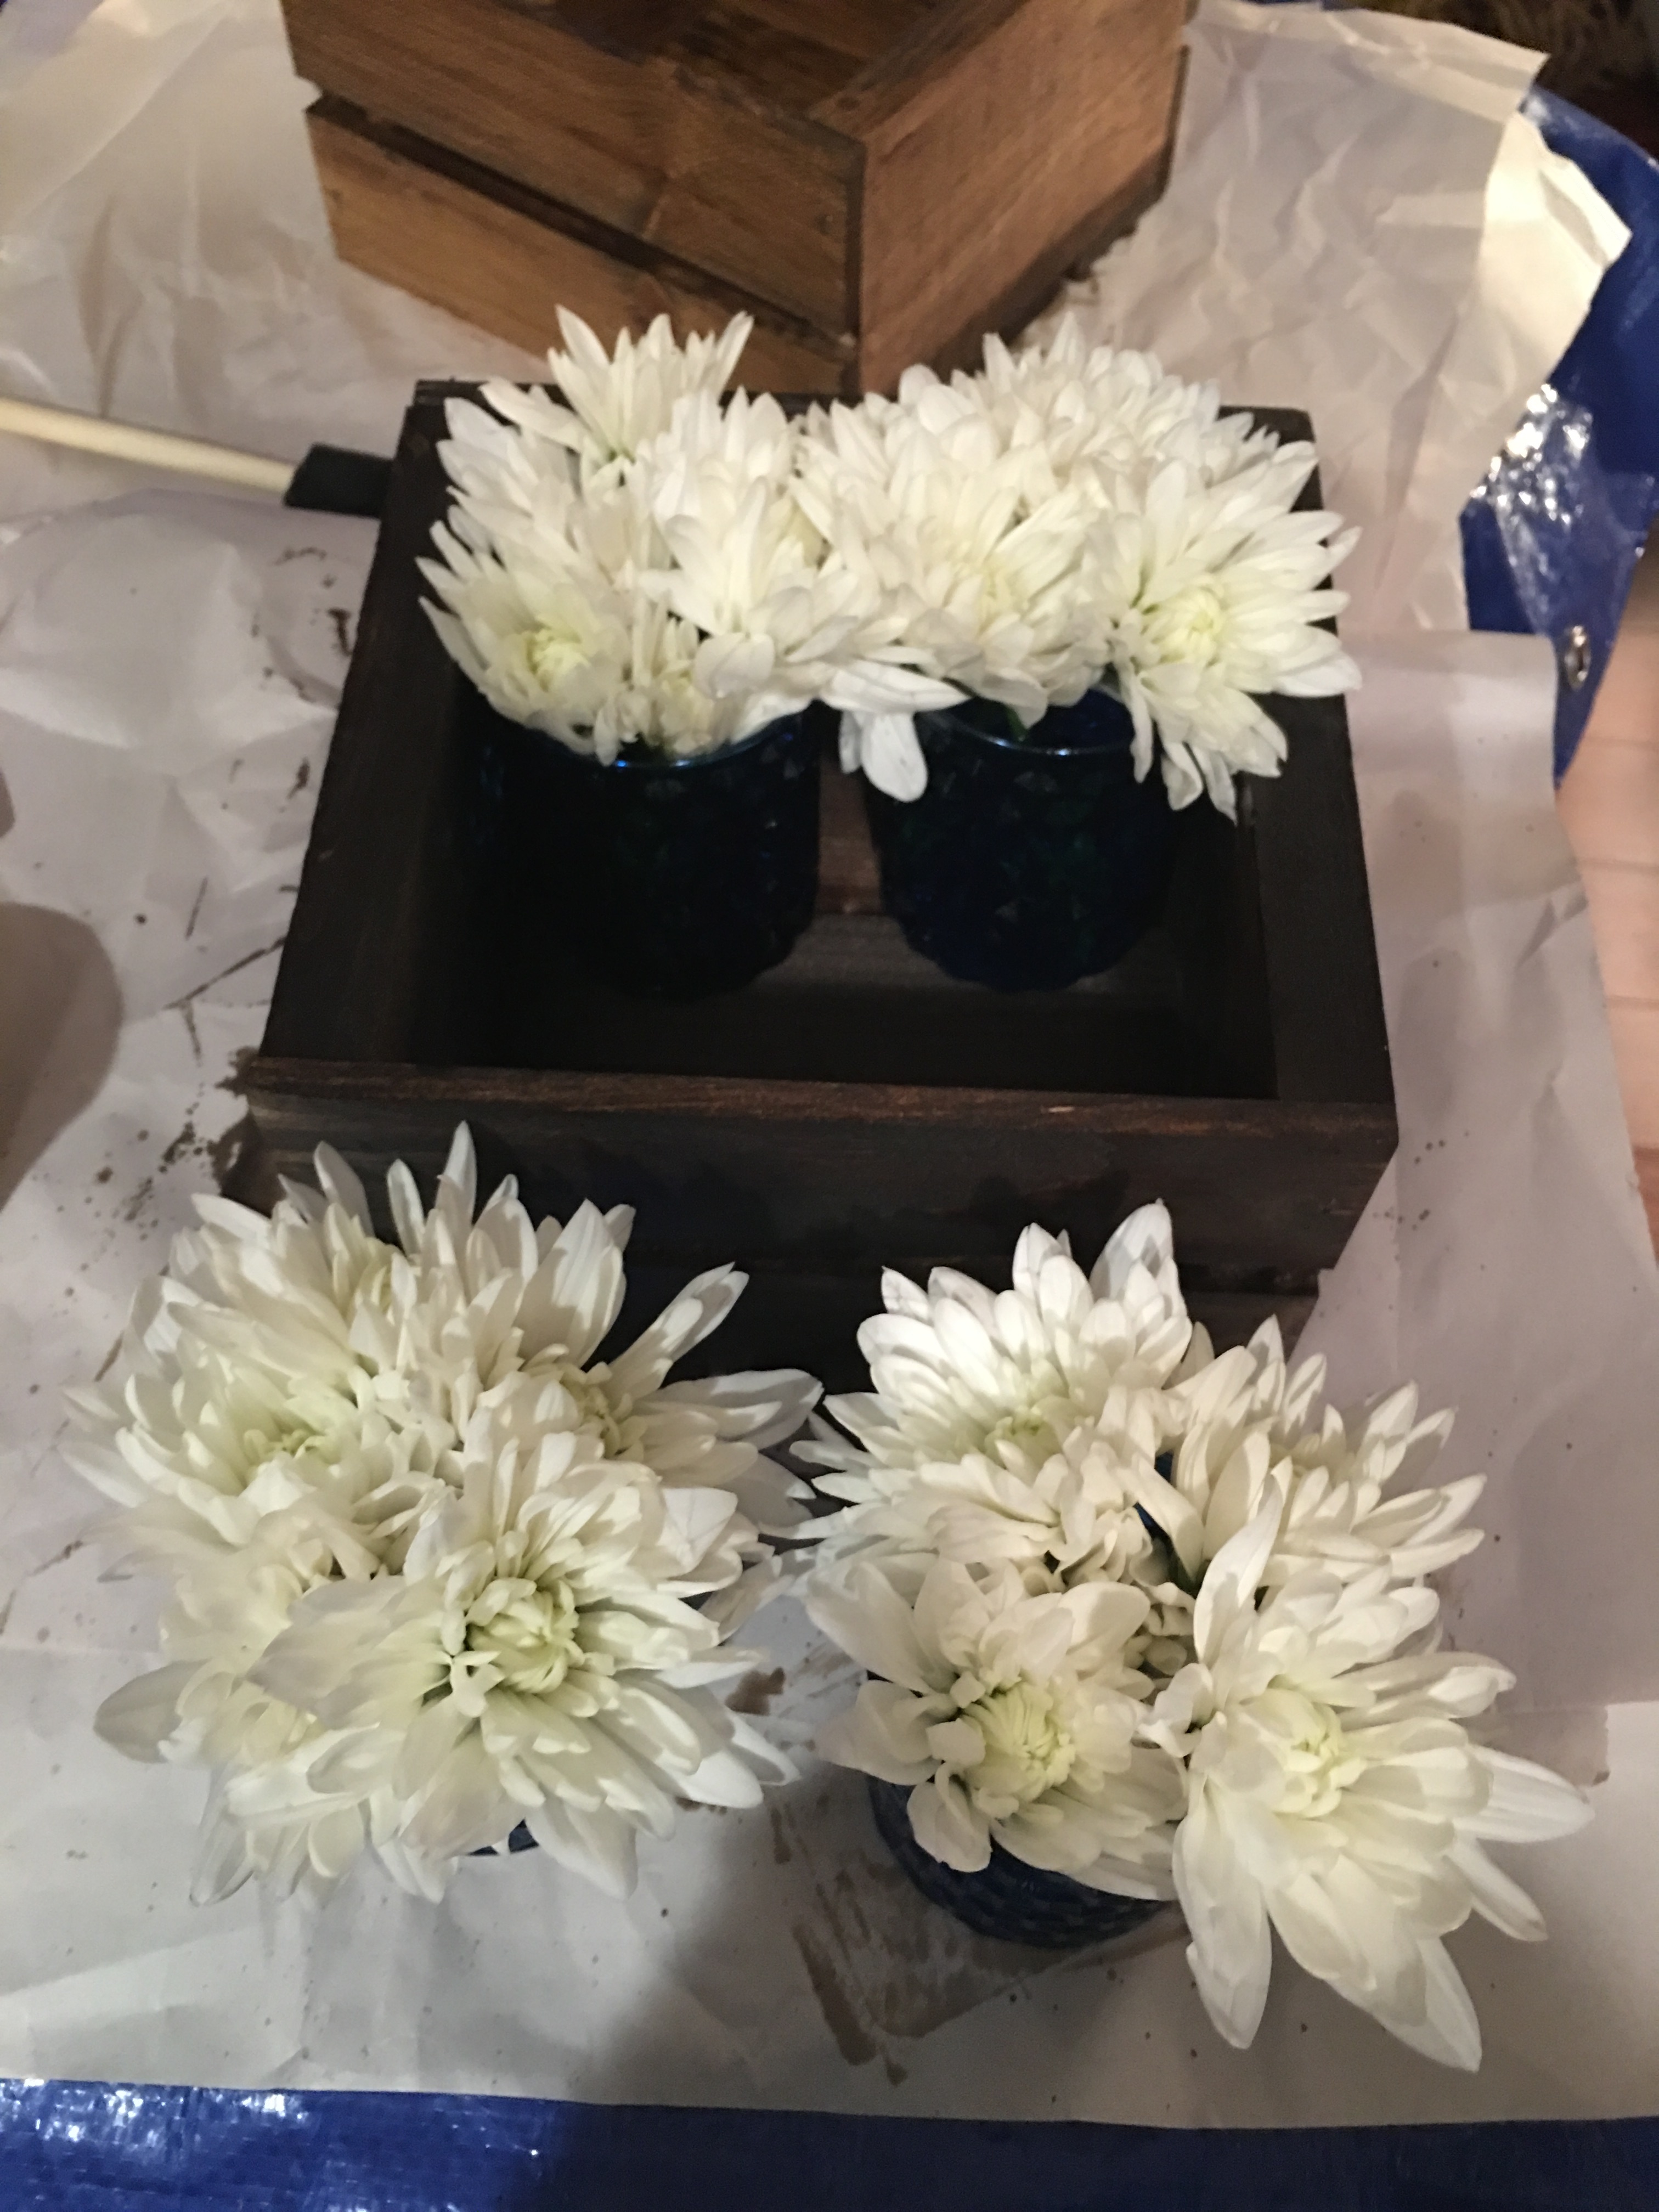
And here’s one flower crate. It looks lovely.
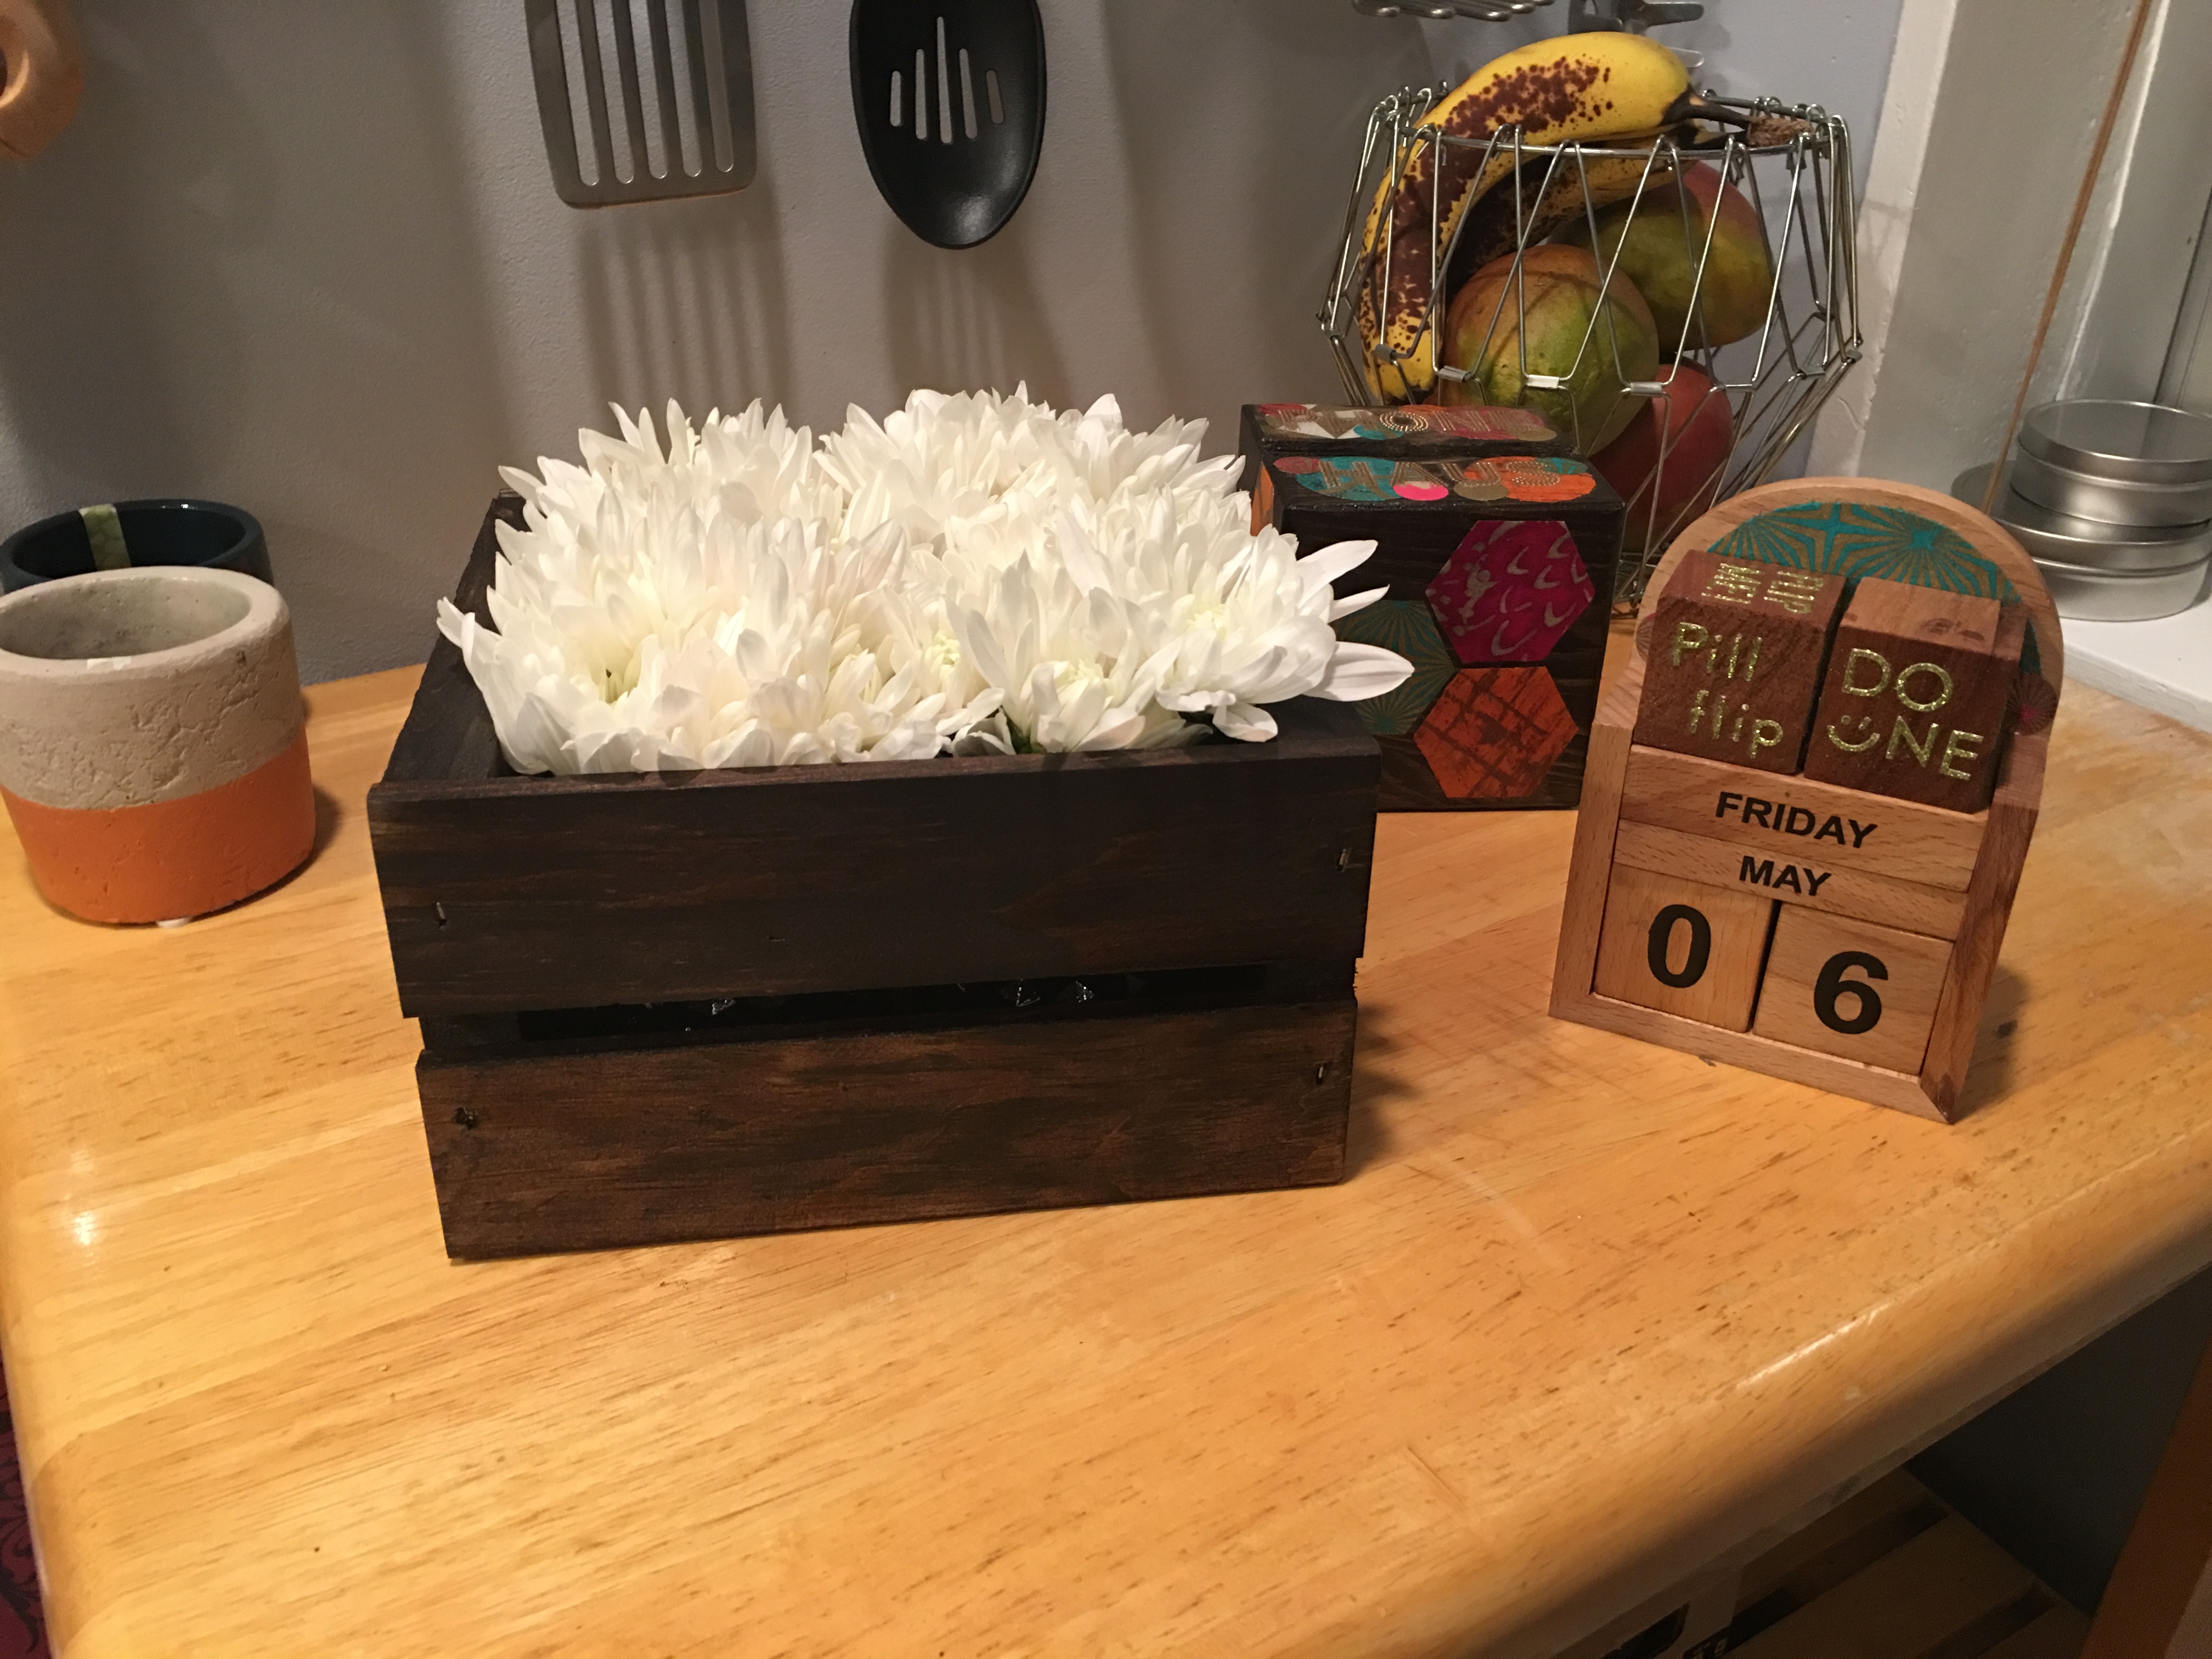
Here’s a view of the lovely bunches of white mums from above. Beautiful. Xenia will love this.
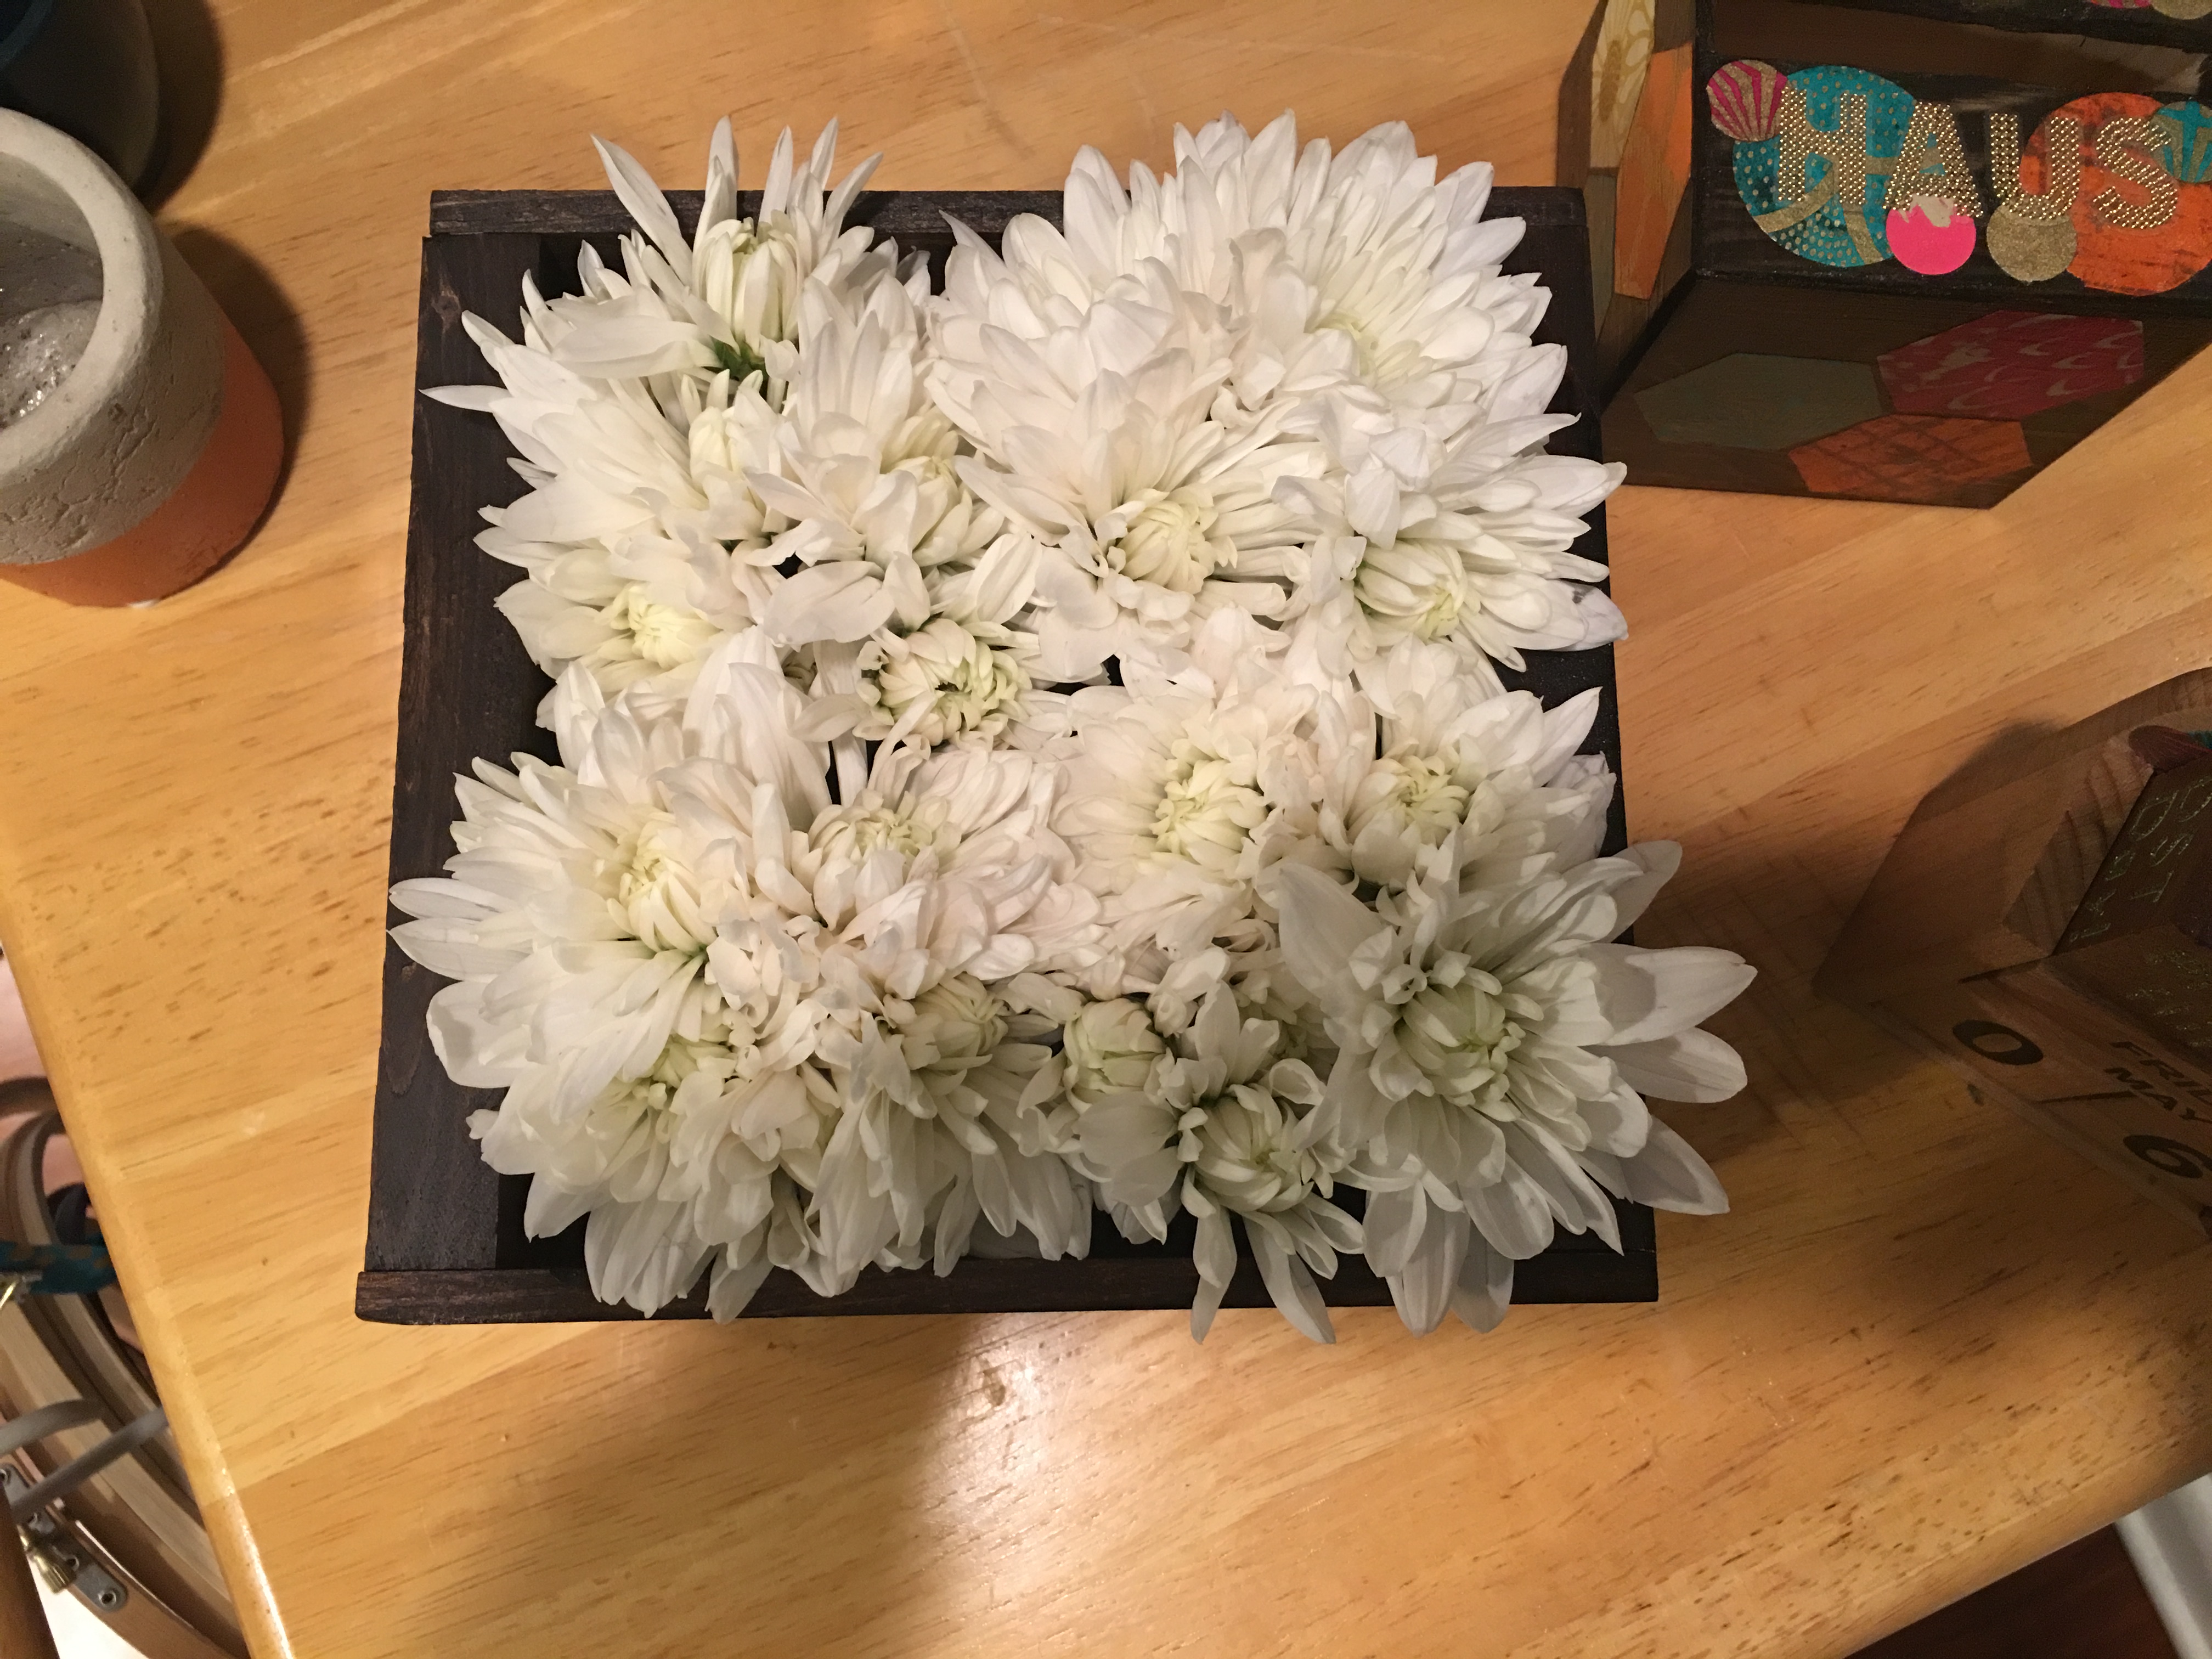
But there is more decorating to be done. So I allow the crates to dry overnight so that I can decorate them in the morning.
I decide to go with my decorative circles design, used for my phone cubes, my Block Dock and my Fee Fi Faux Fum wall mounted wood vase.
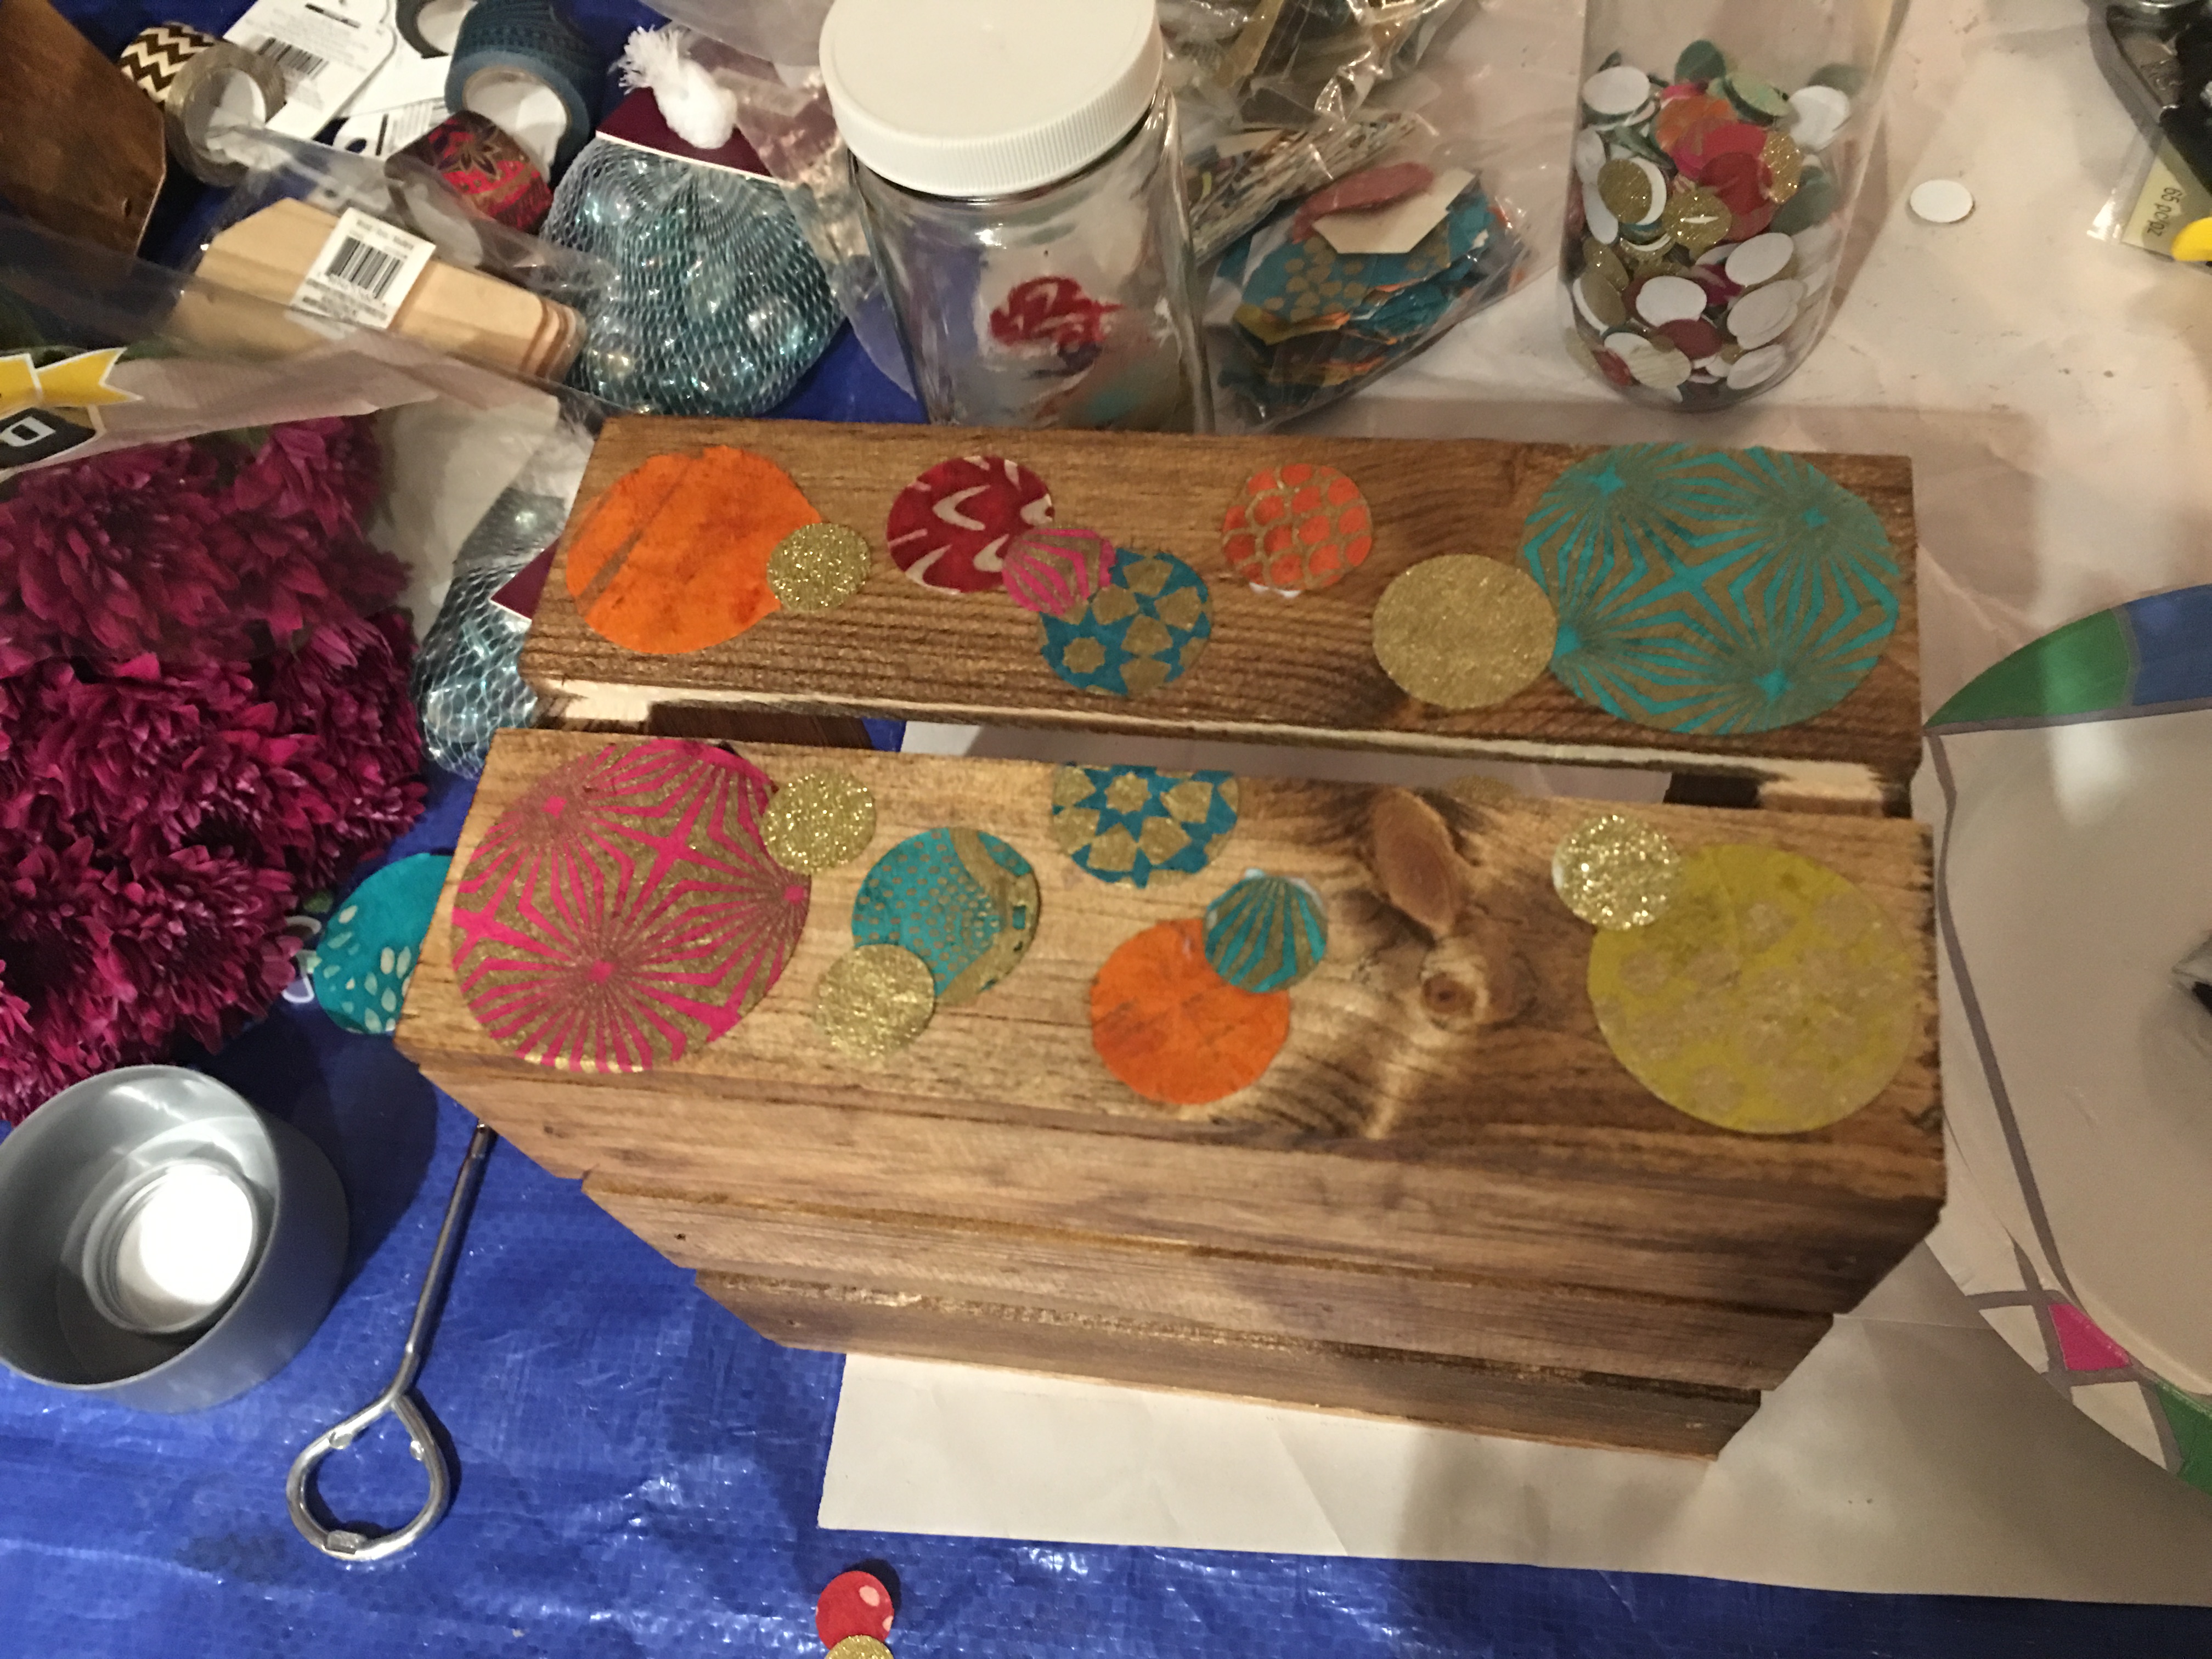
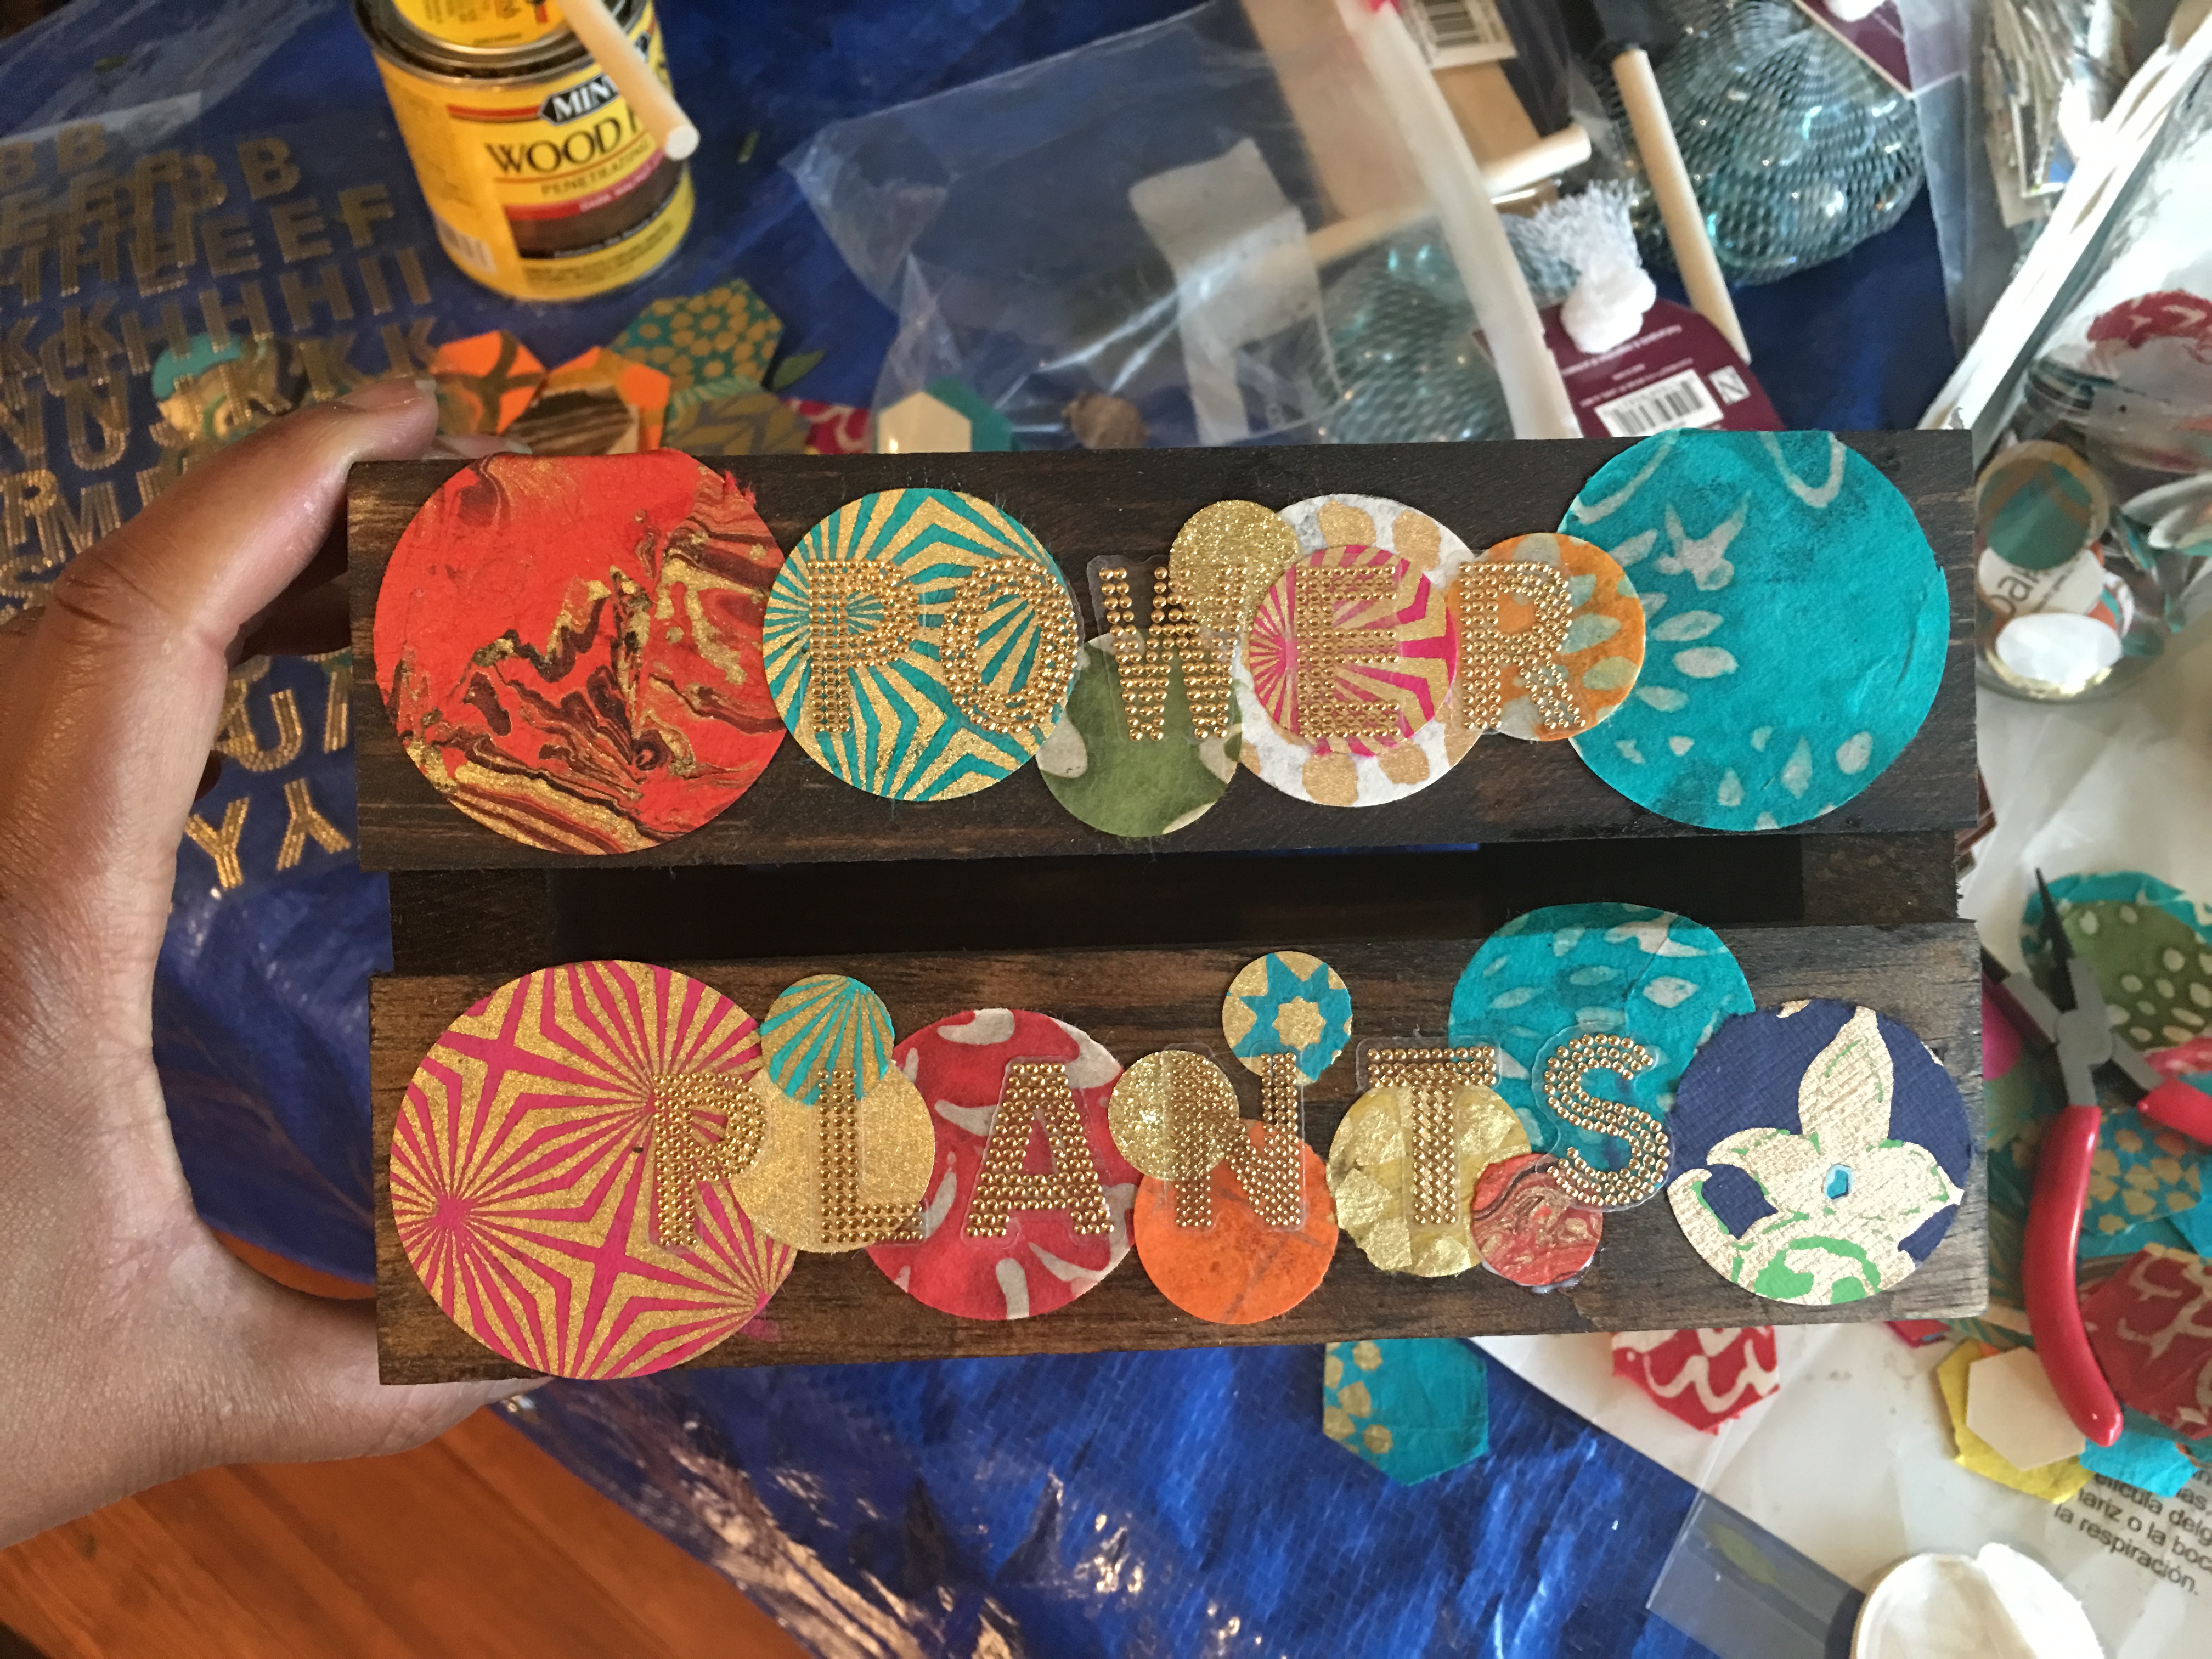
Once I decoupage circles of decorative paper to one side of the crate, I add labels for each box with gold foil embossed alphabet stickers. I labeled one wood crate “Floral Dock” and the other “Power Plants”.
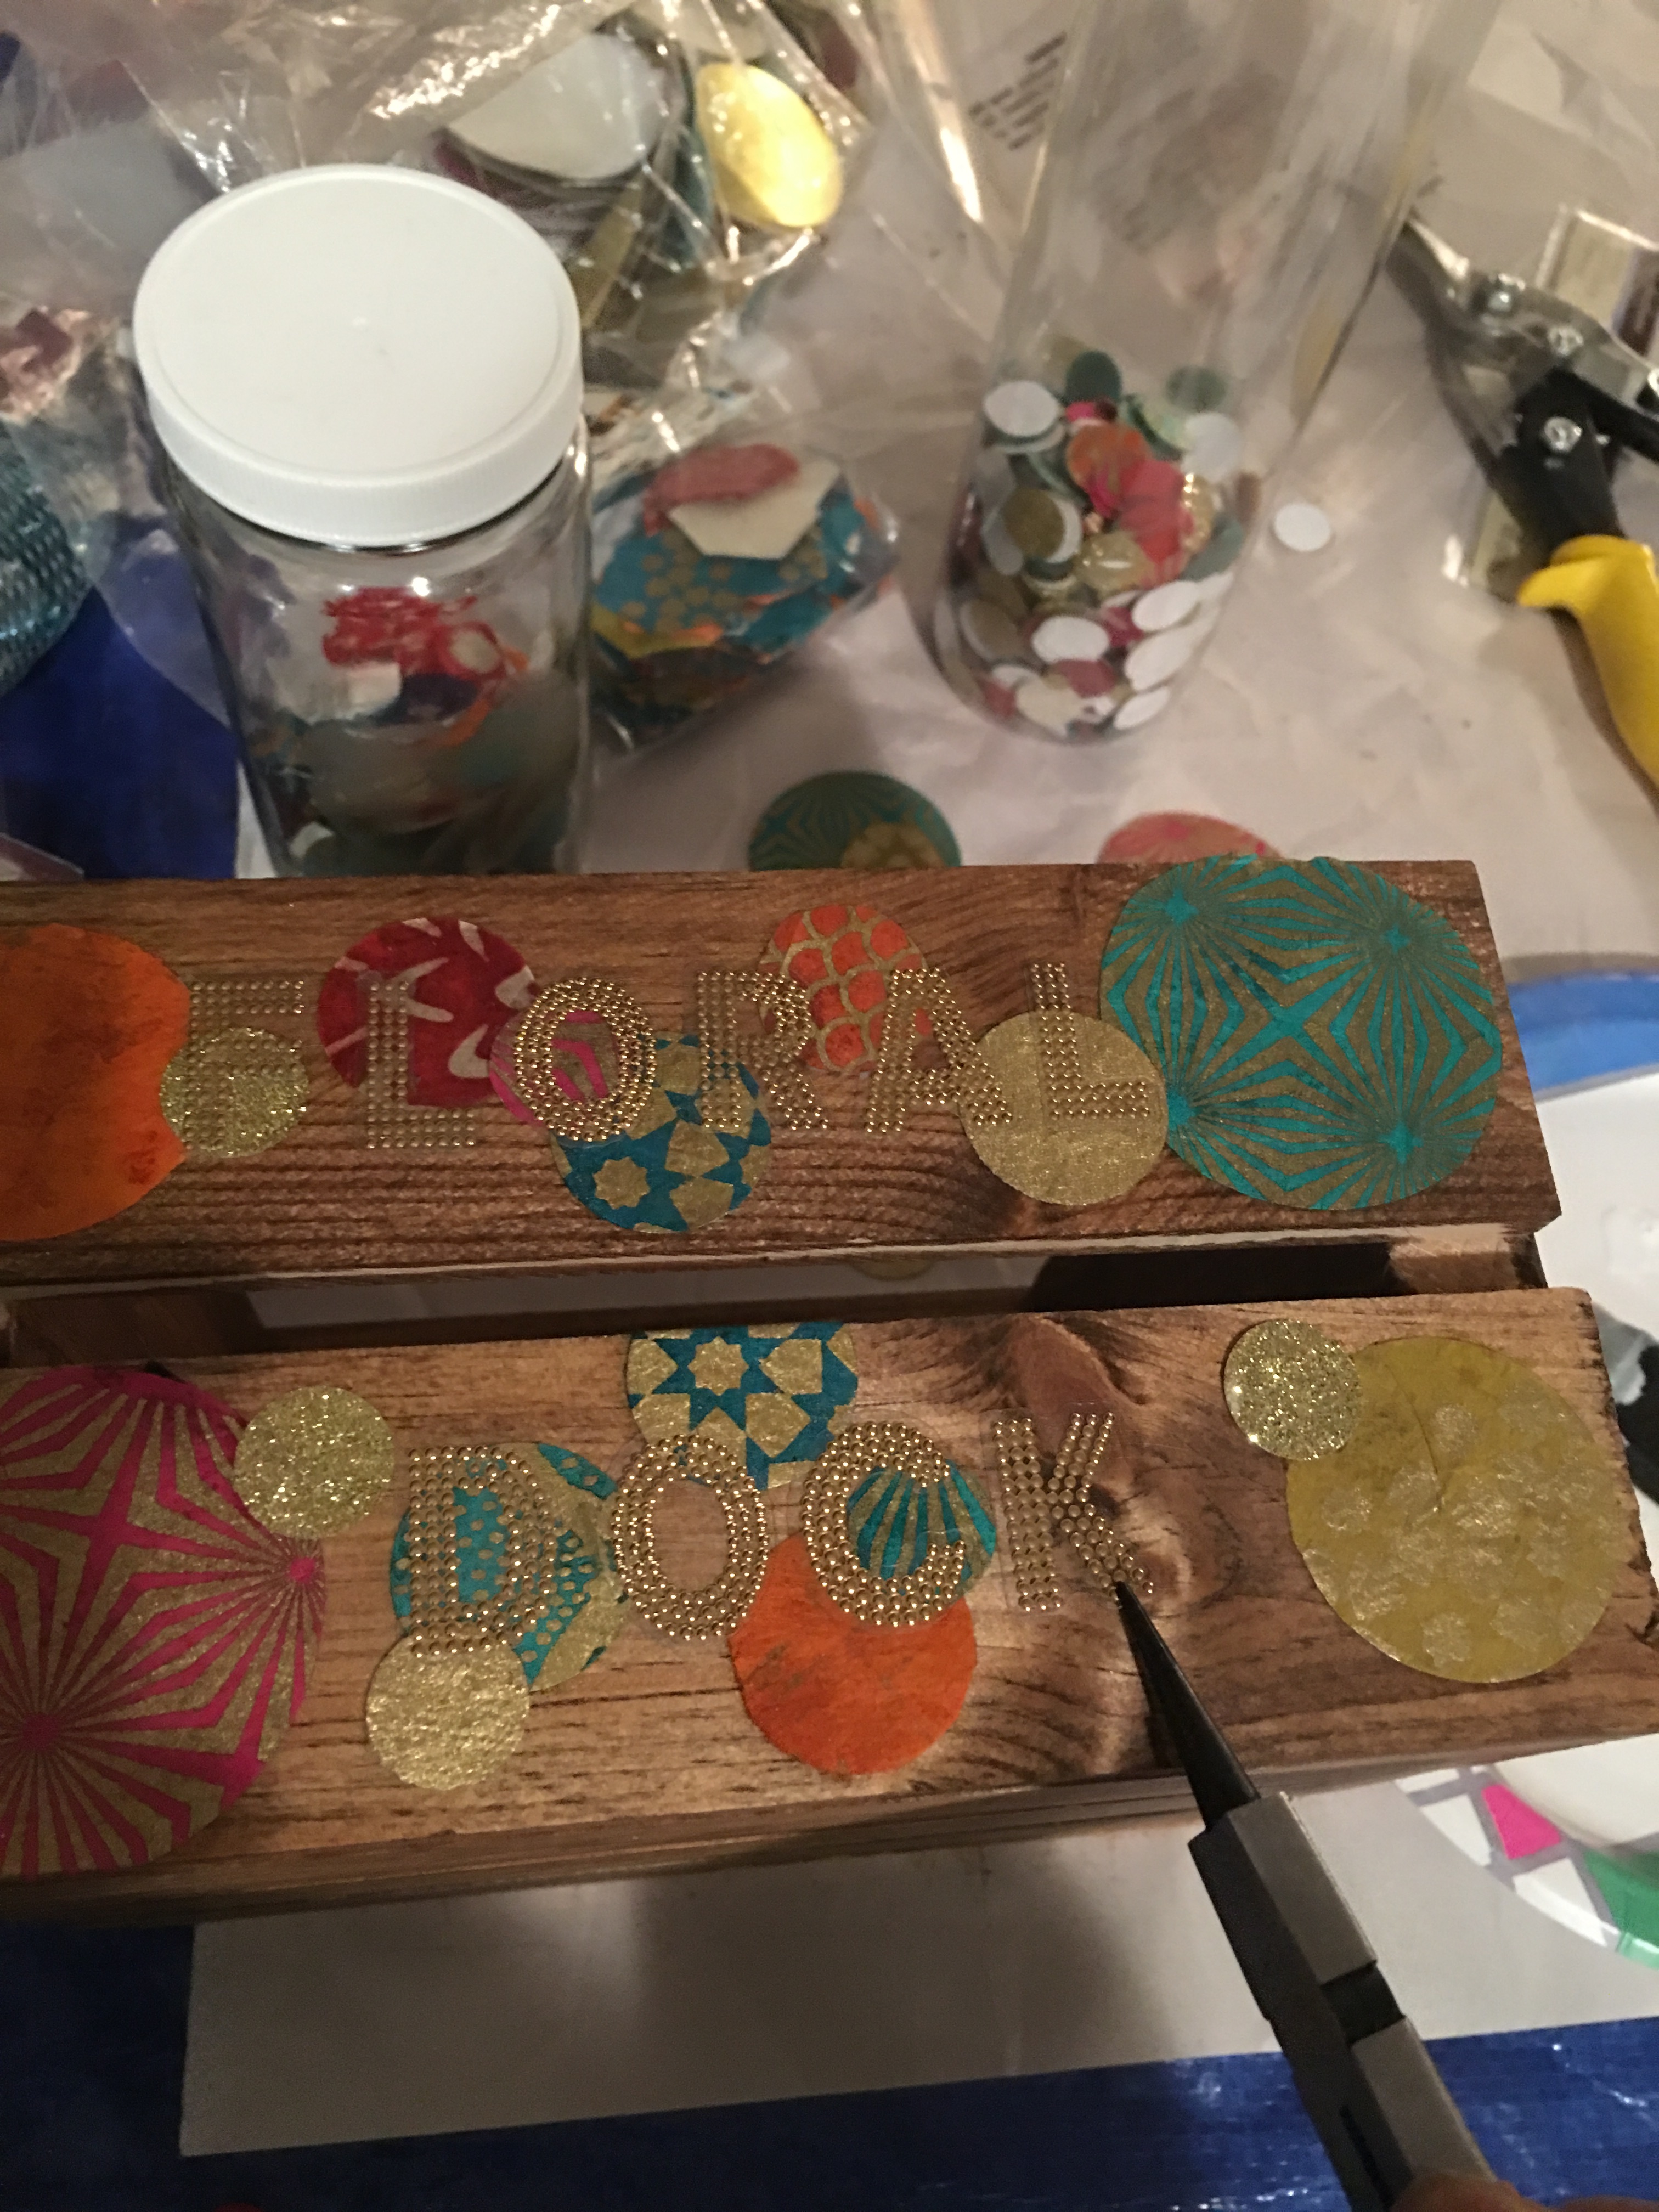
After adding the stickers, I seal the decorated wood with a coat of Mod Podge.
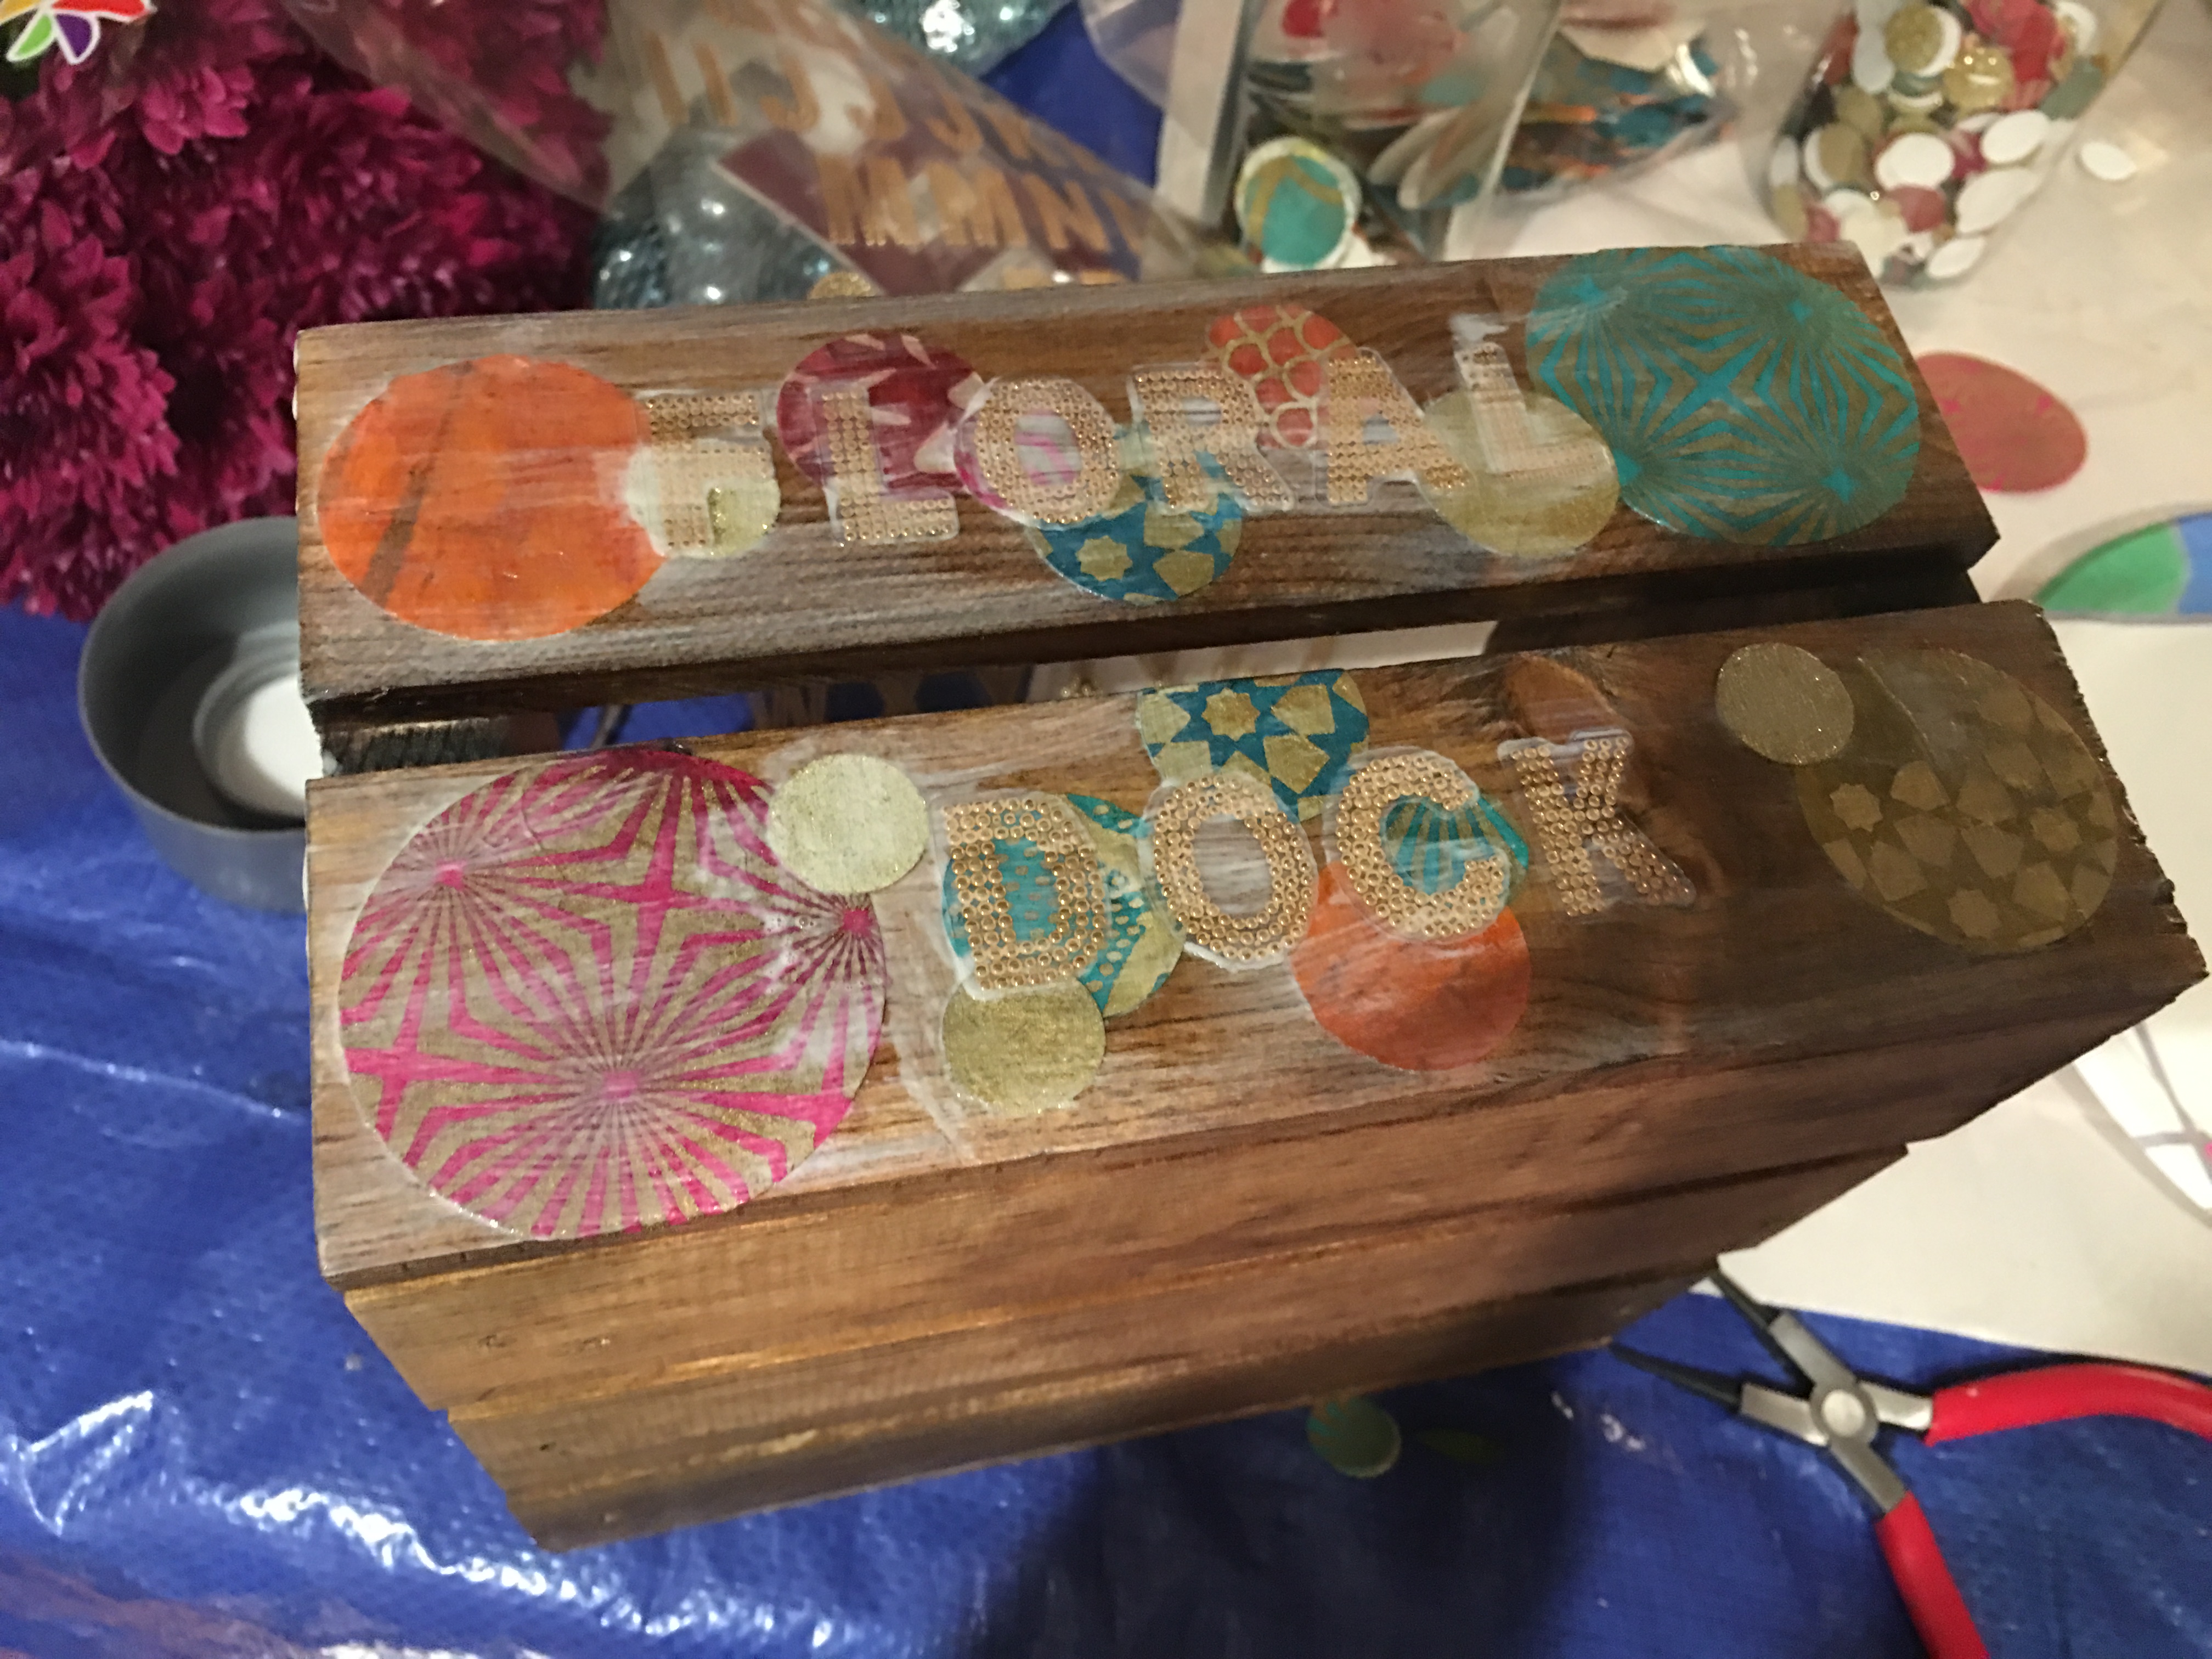
Floral Dock crate is ready to be filled.
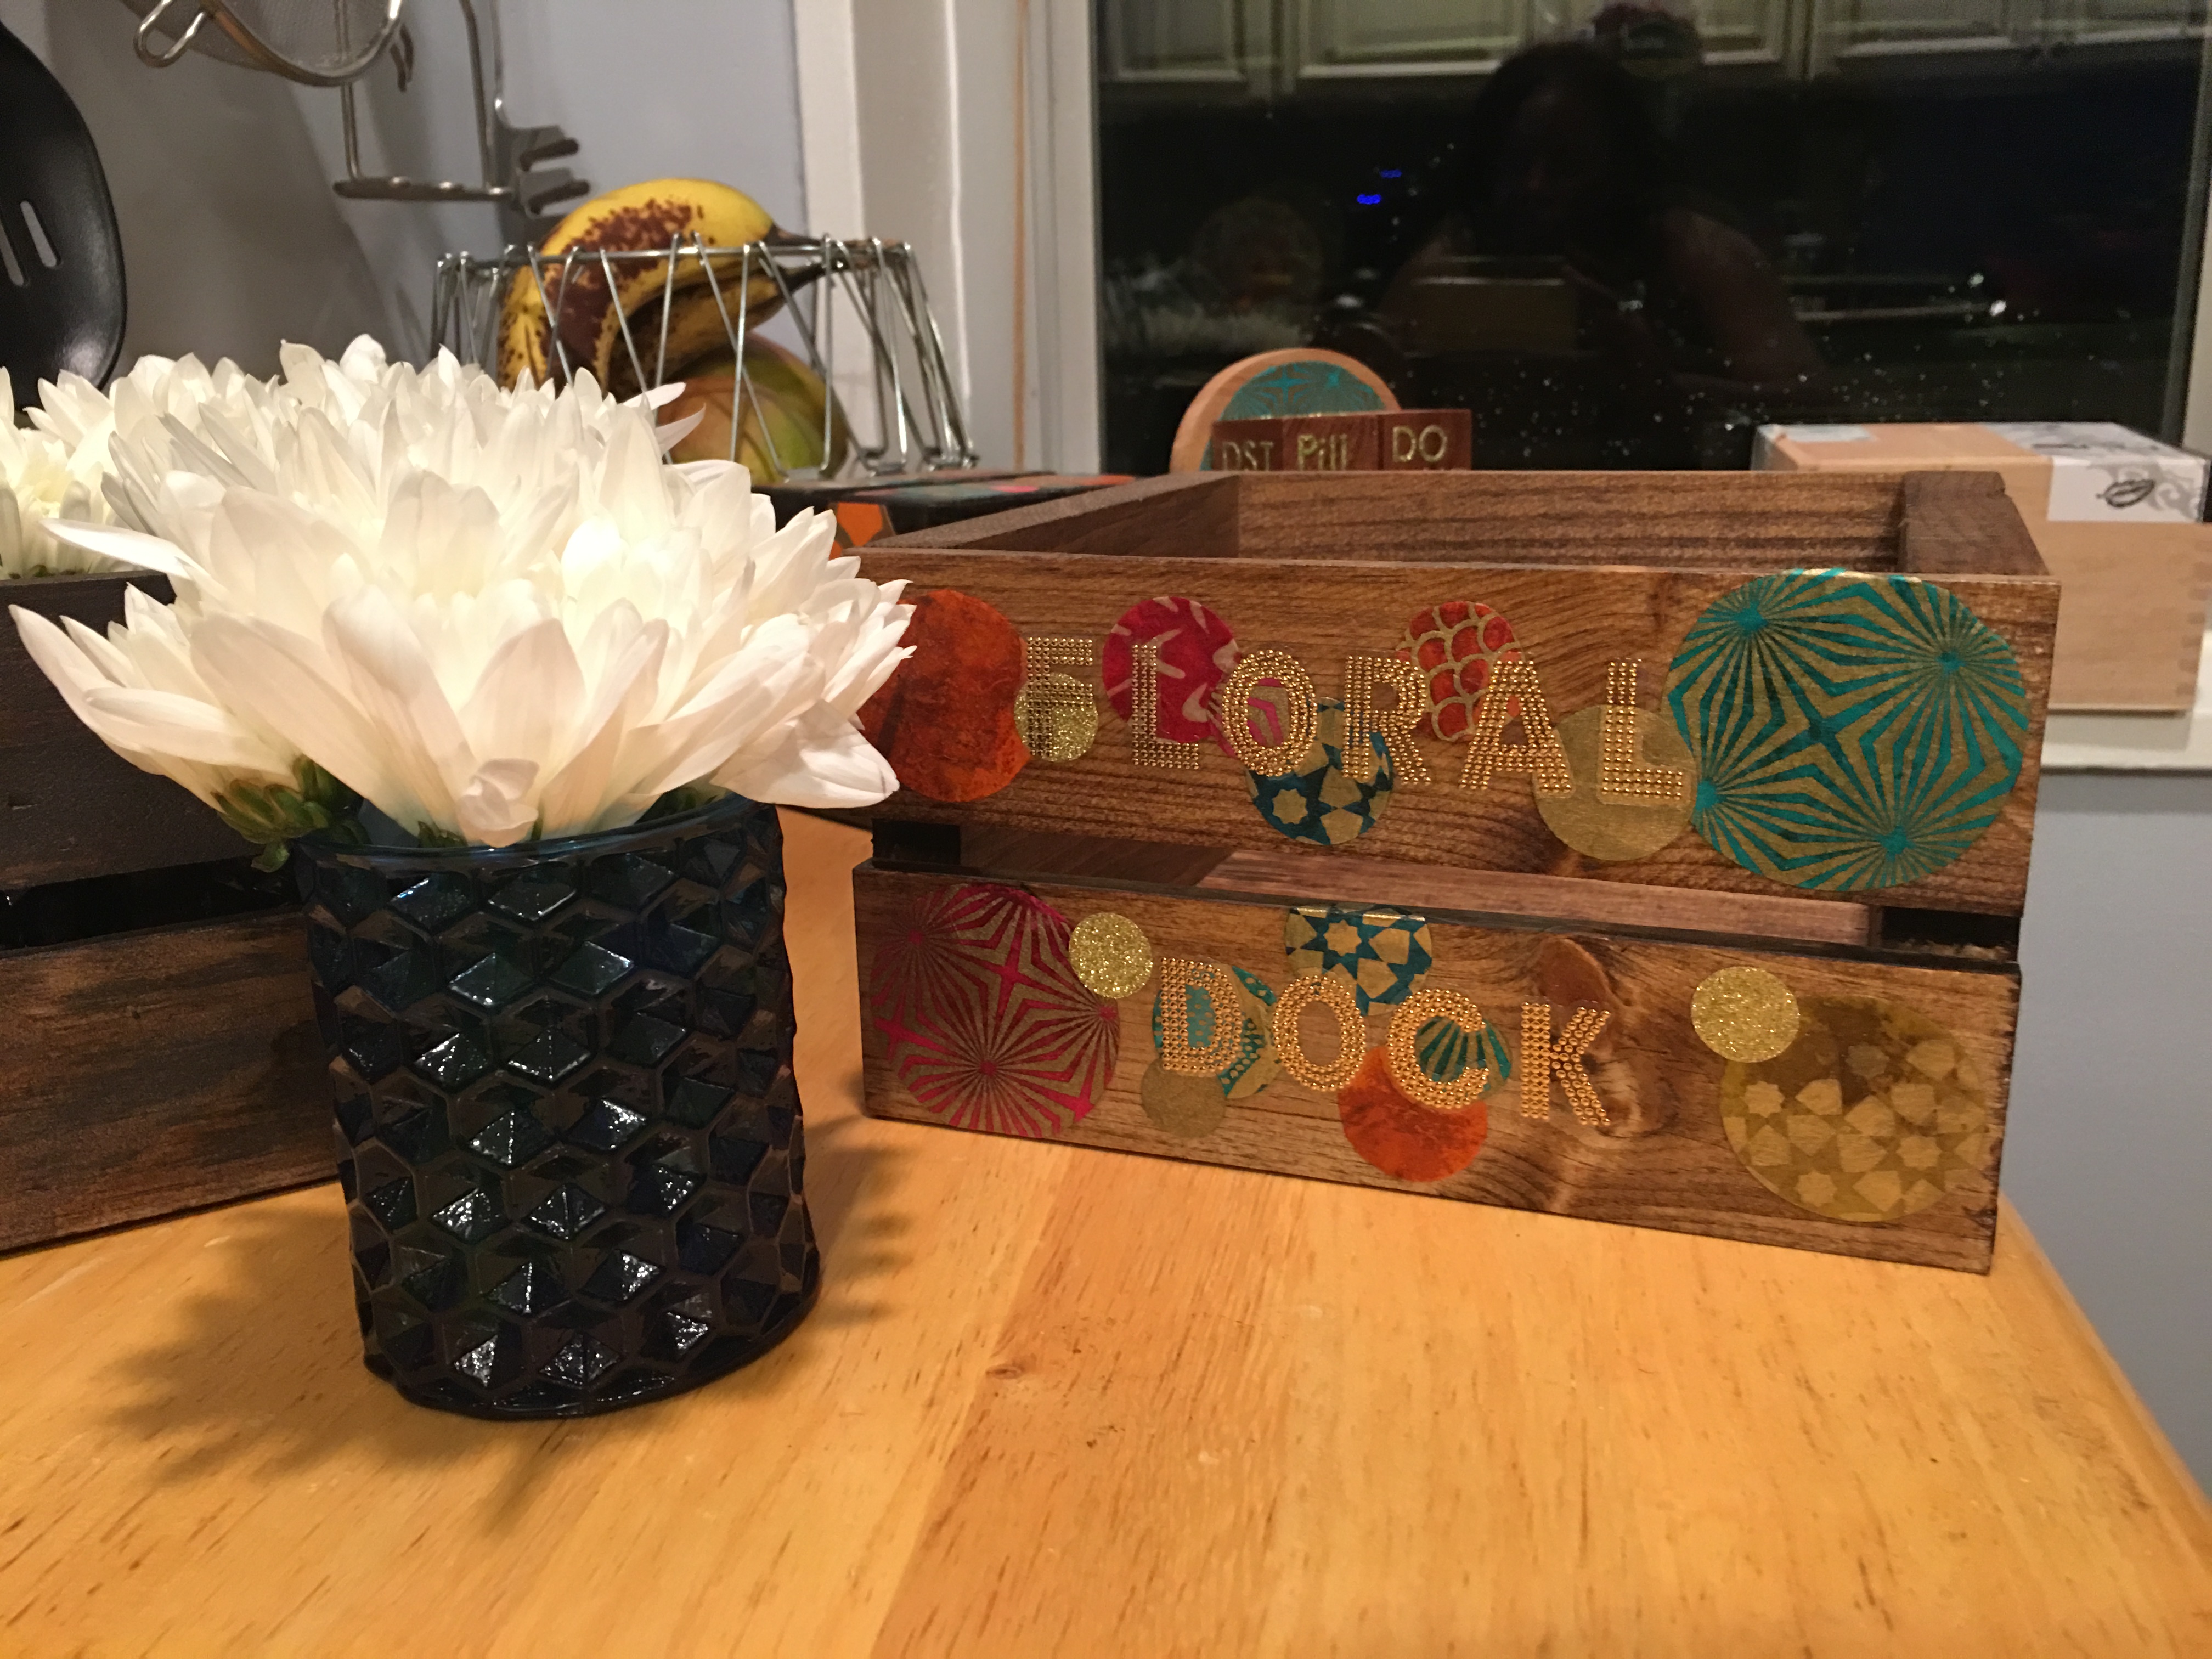
I add the four mini bouquets to the box.
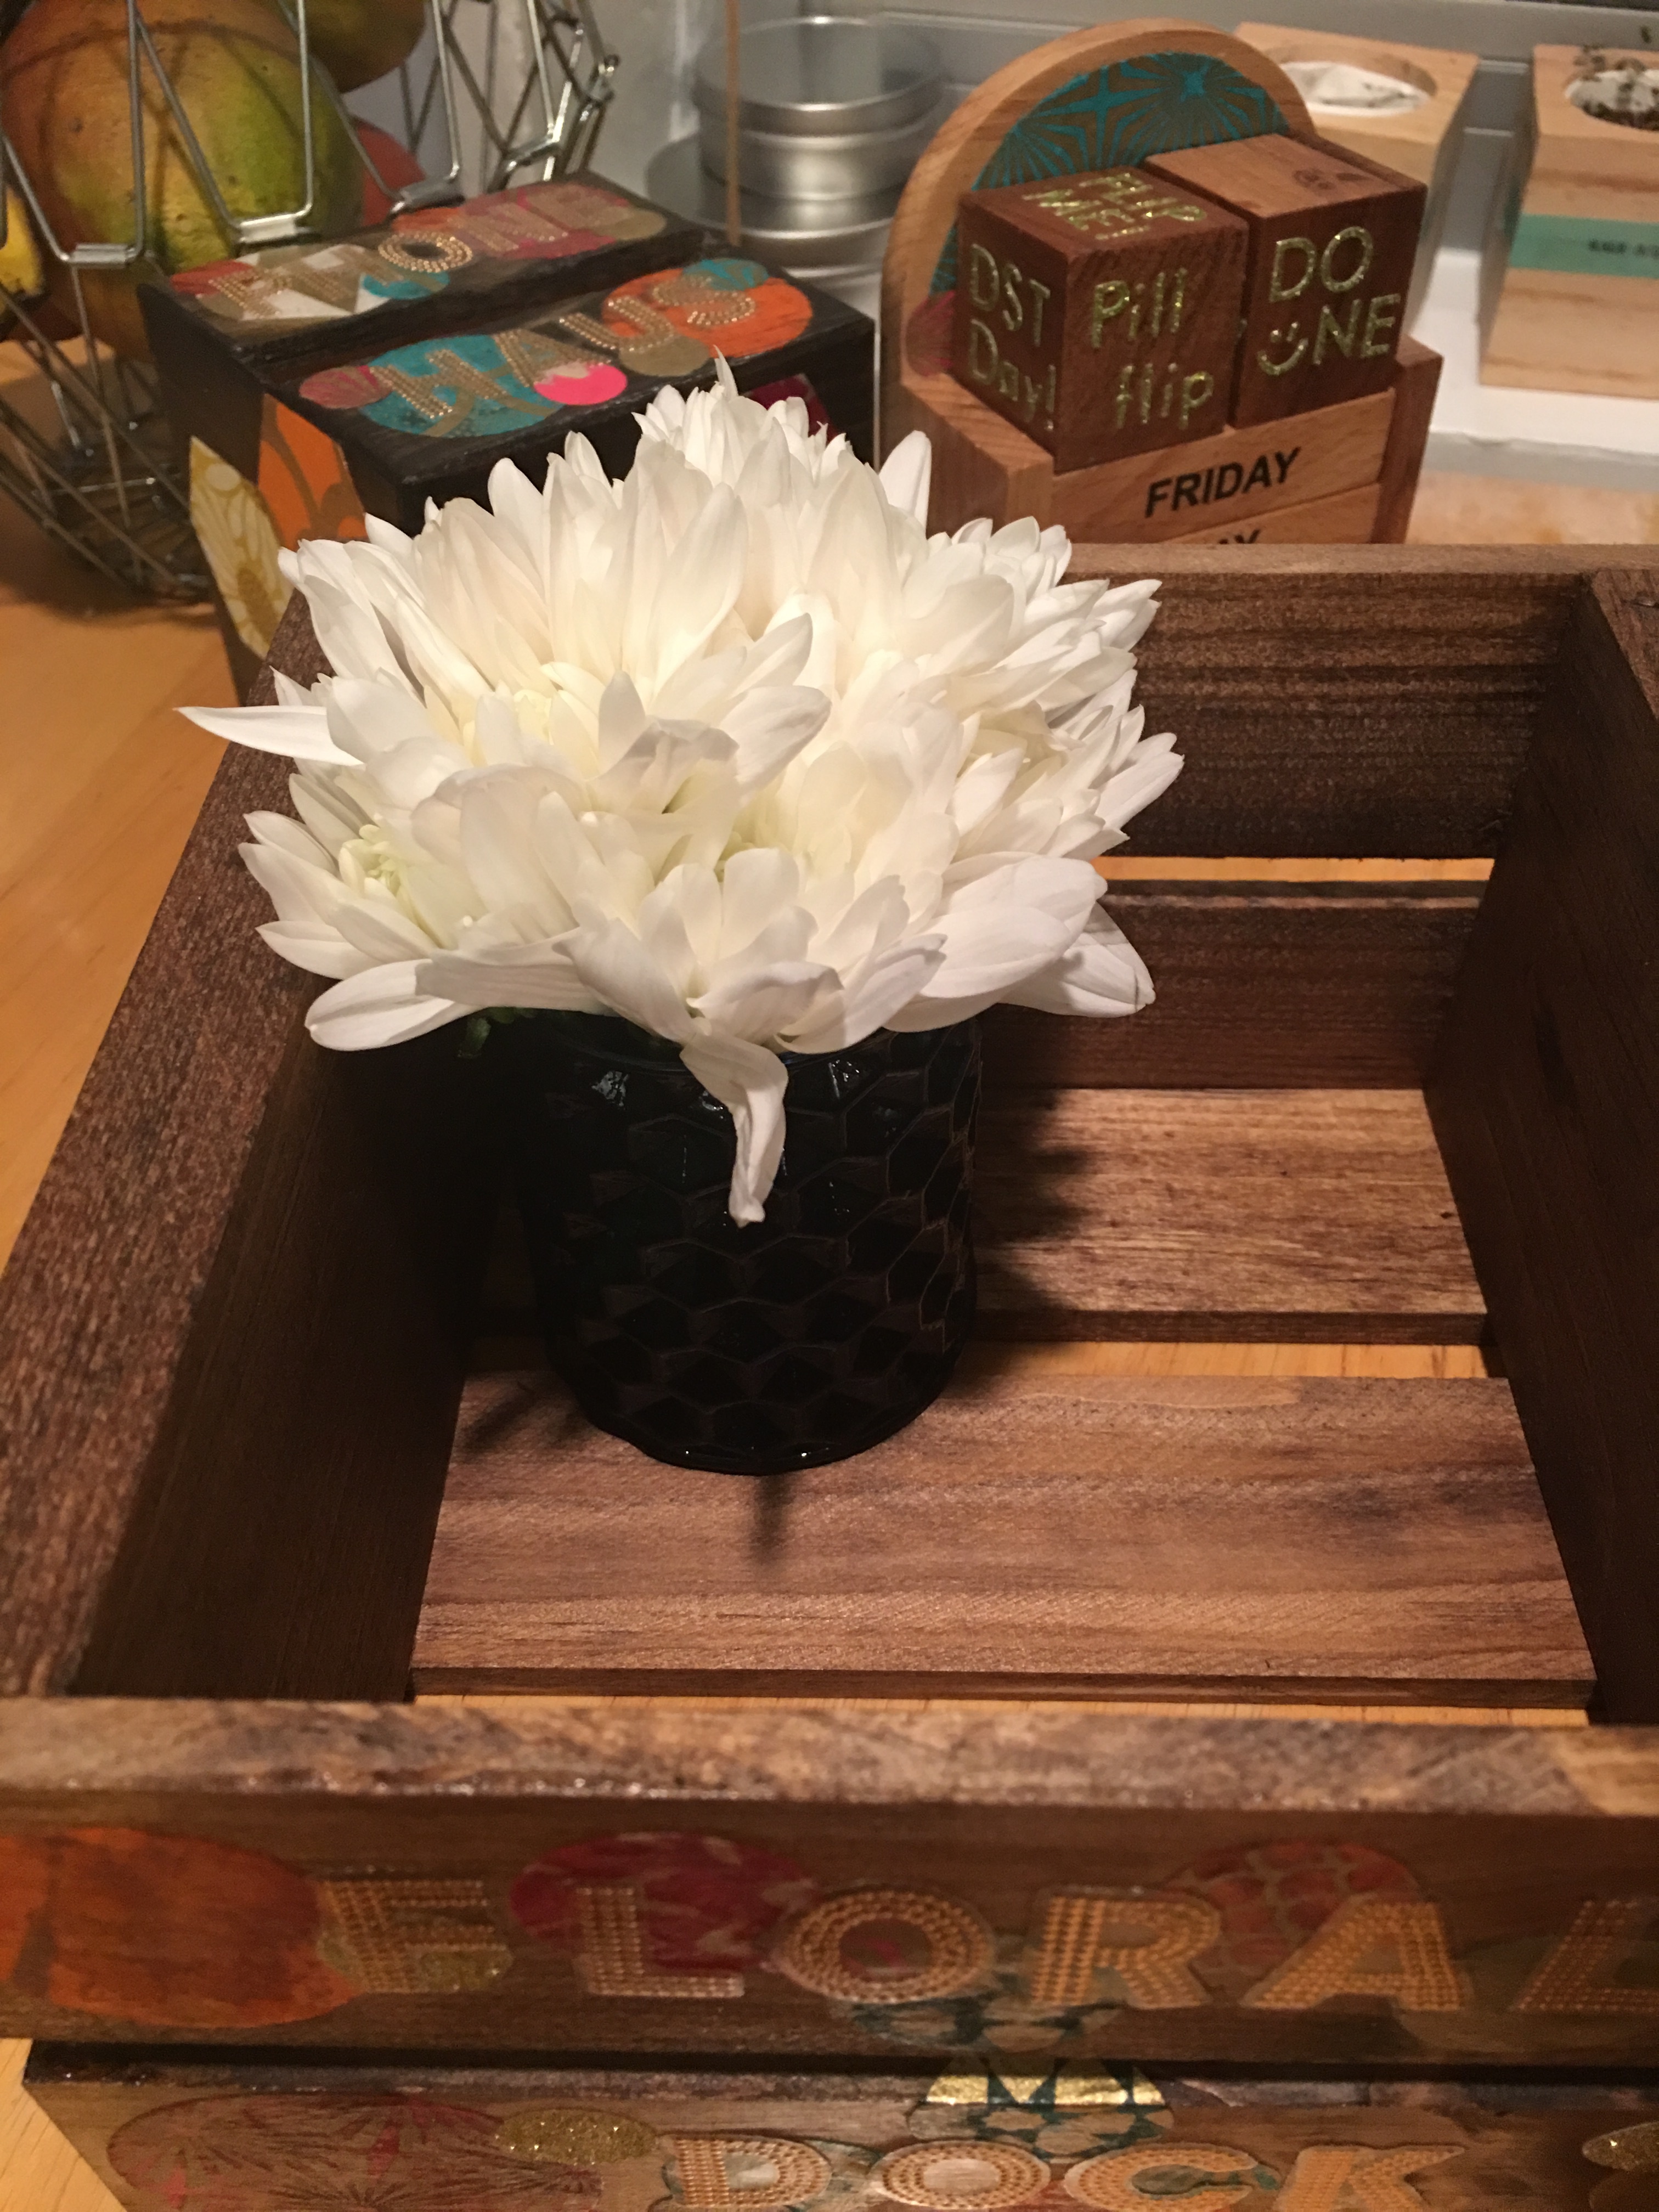
The flowers add the perfect touch to the beautifully decorated crate.
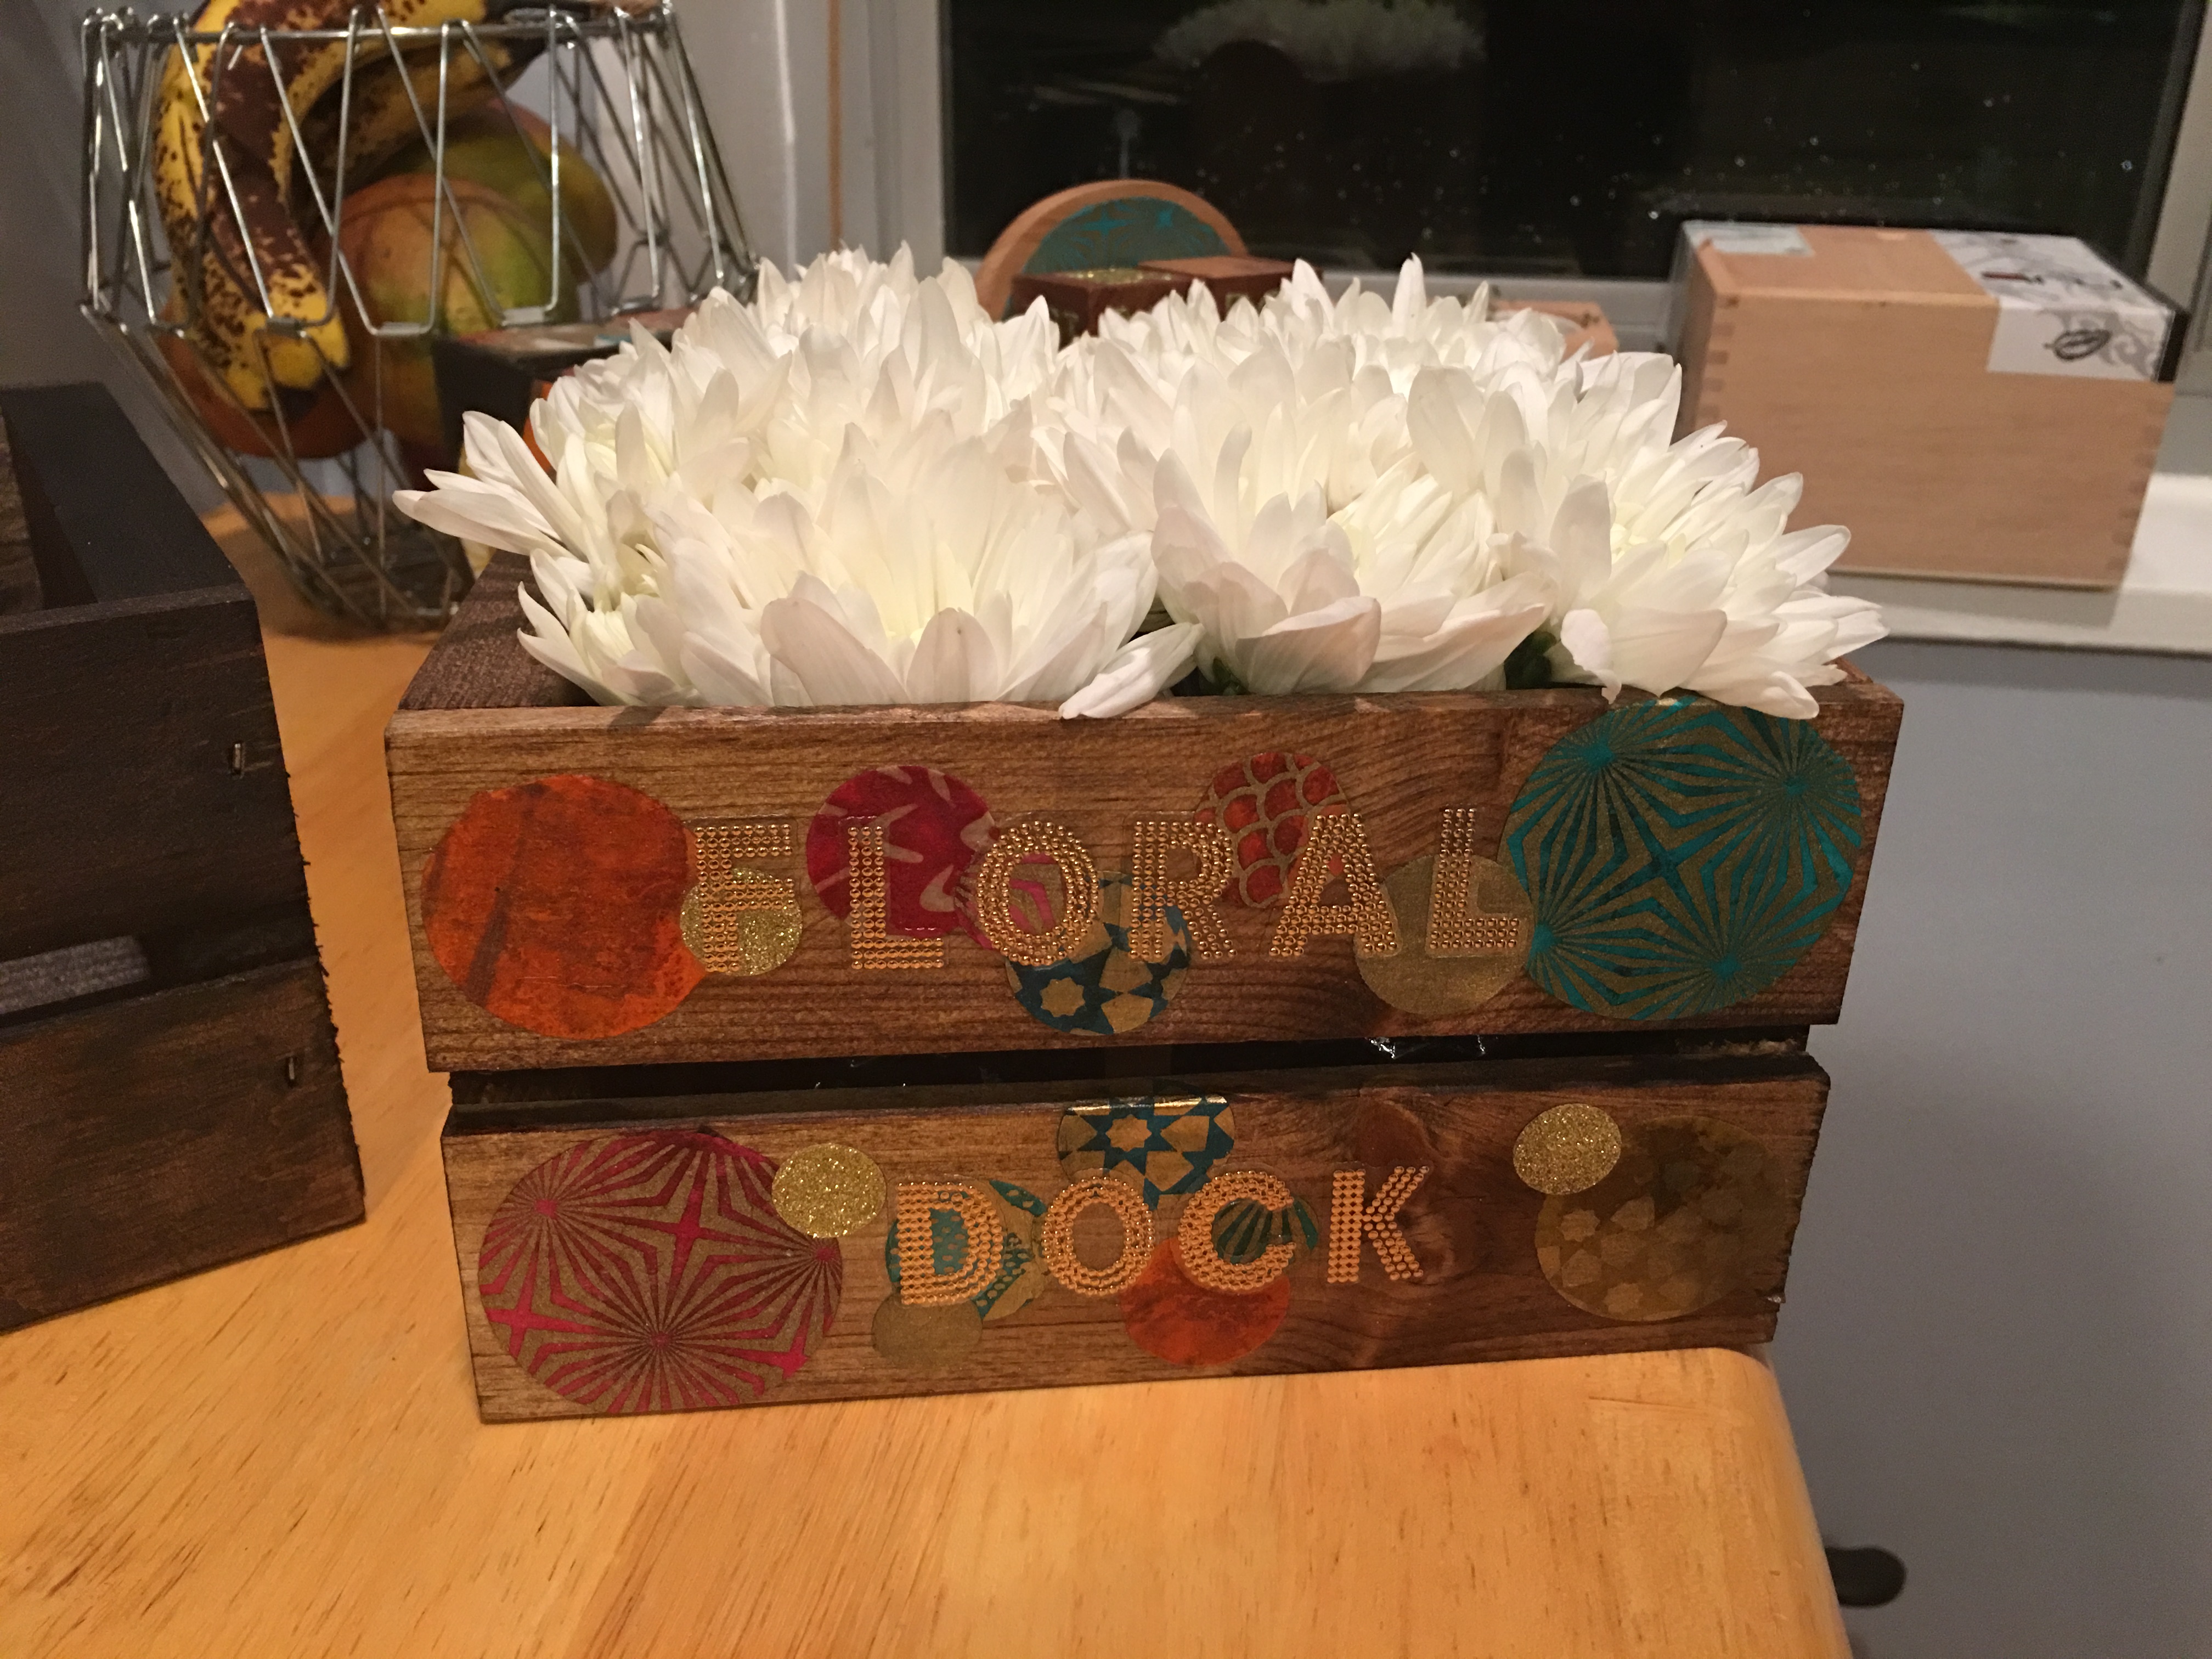
Overhead shot of the white mums in the lighter crate.
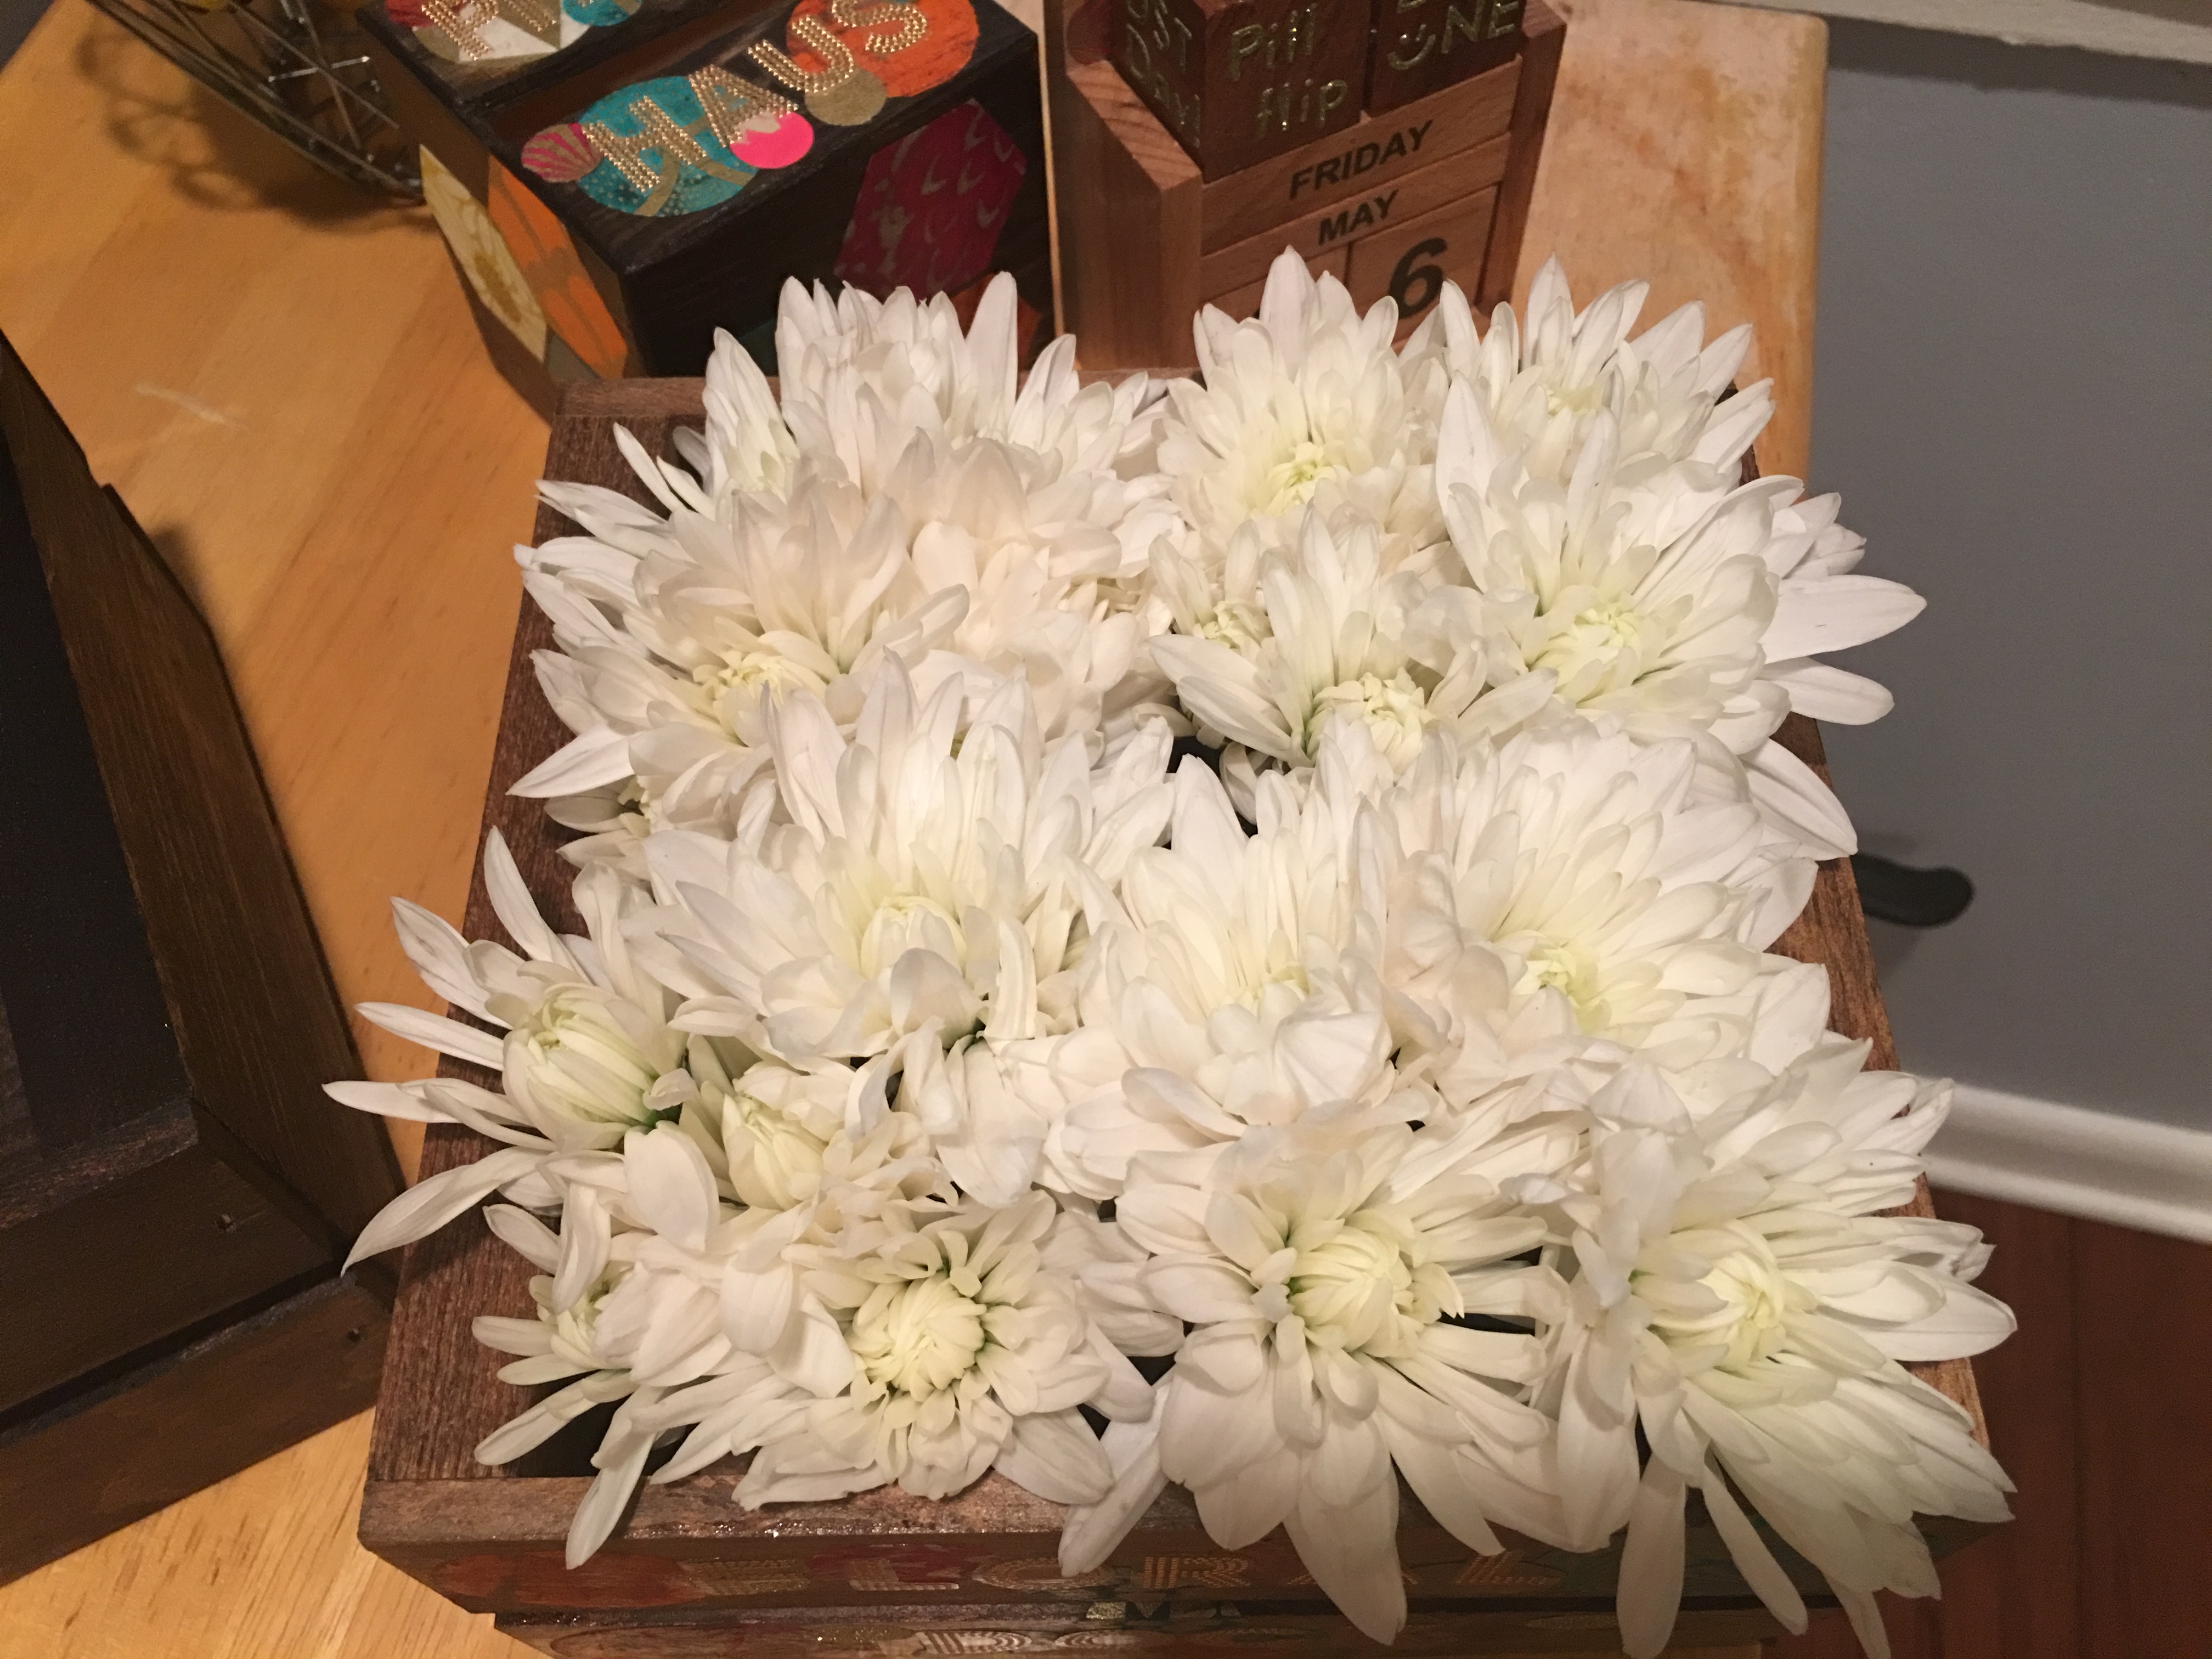
OK, Floral Dock is done.
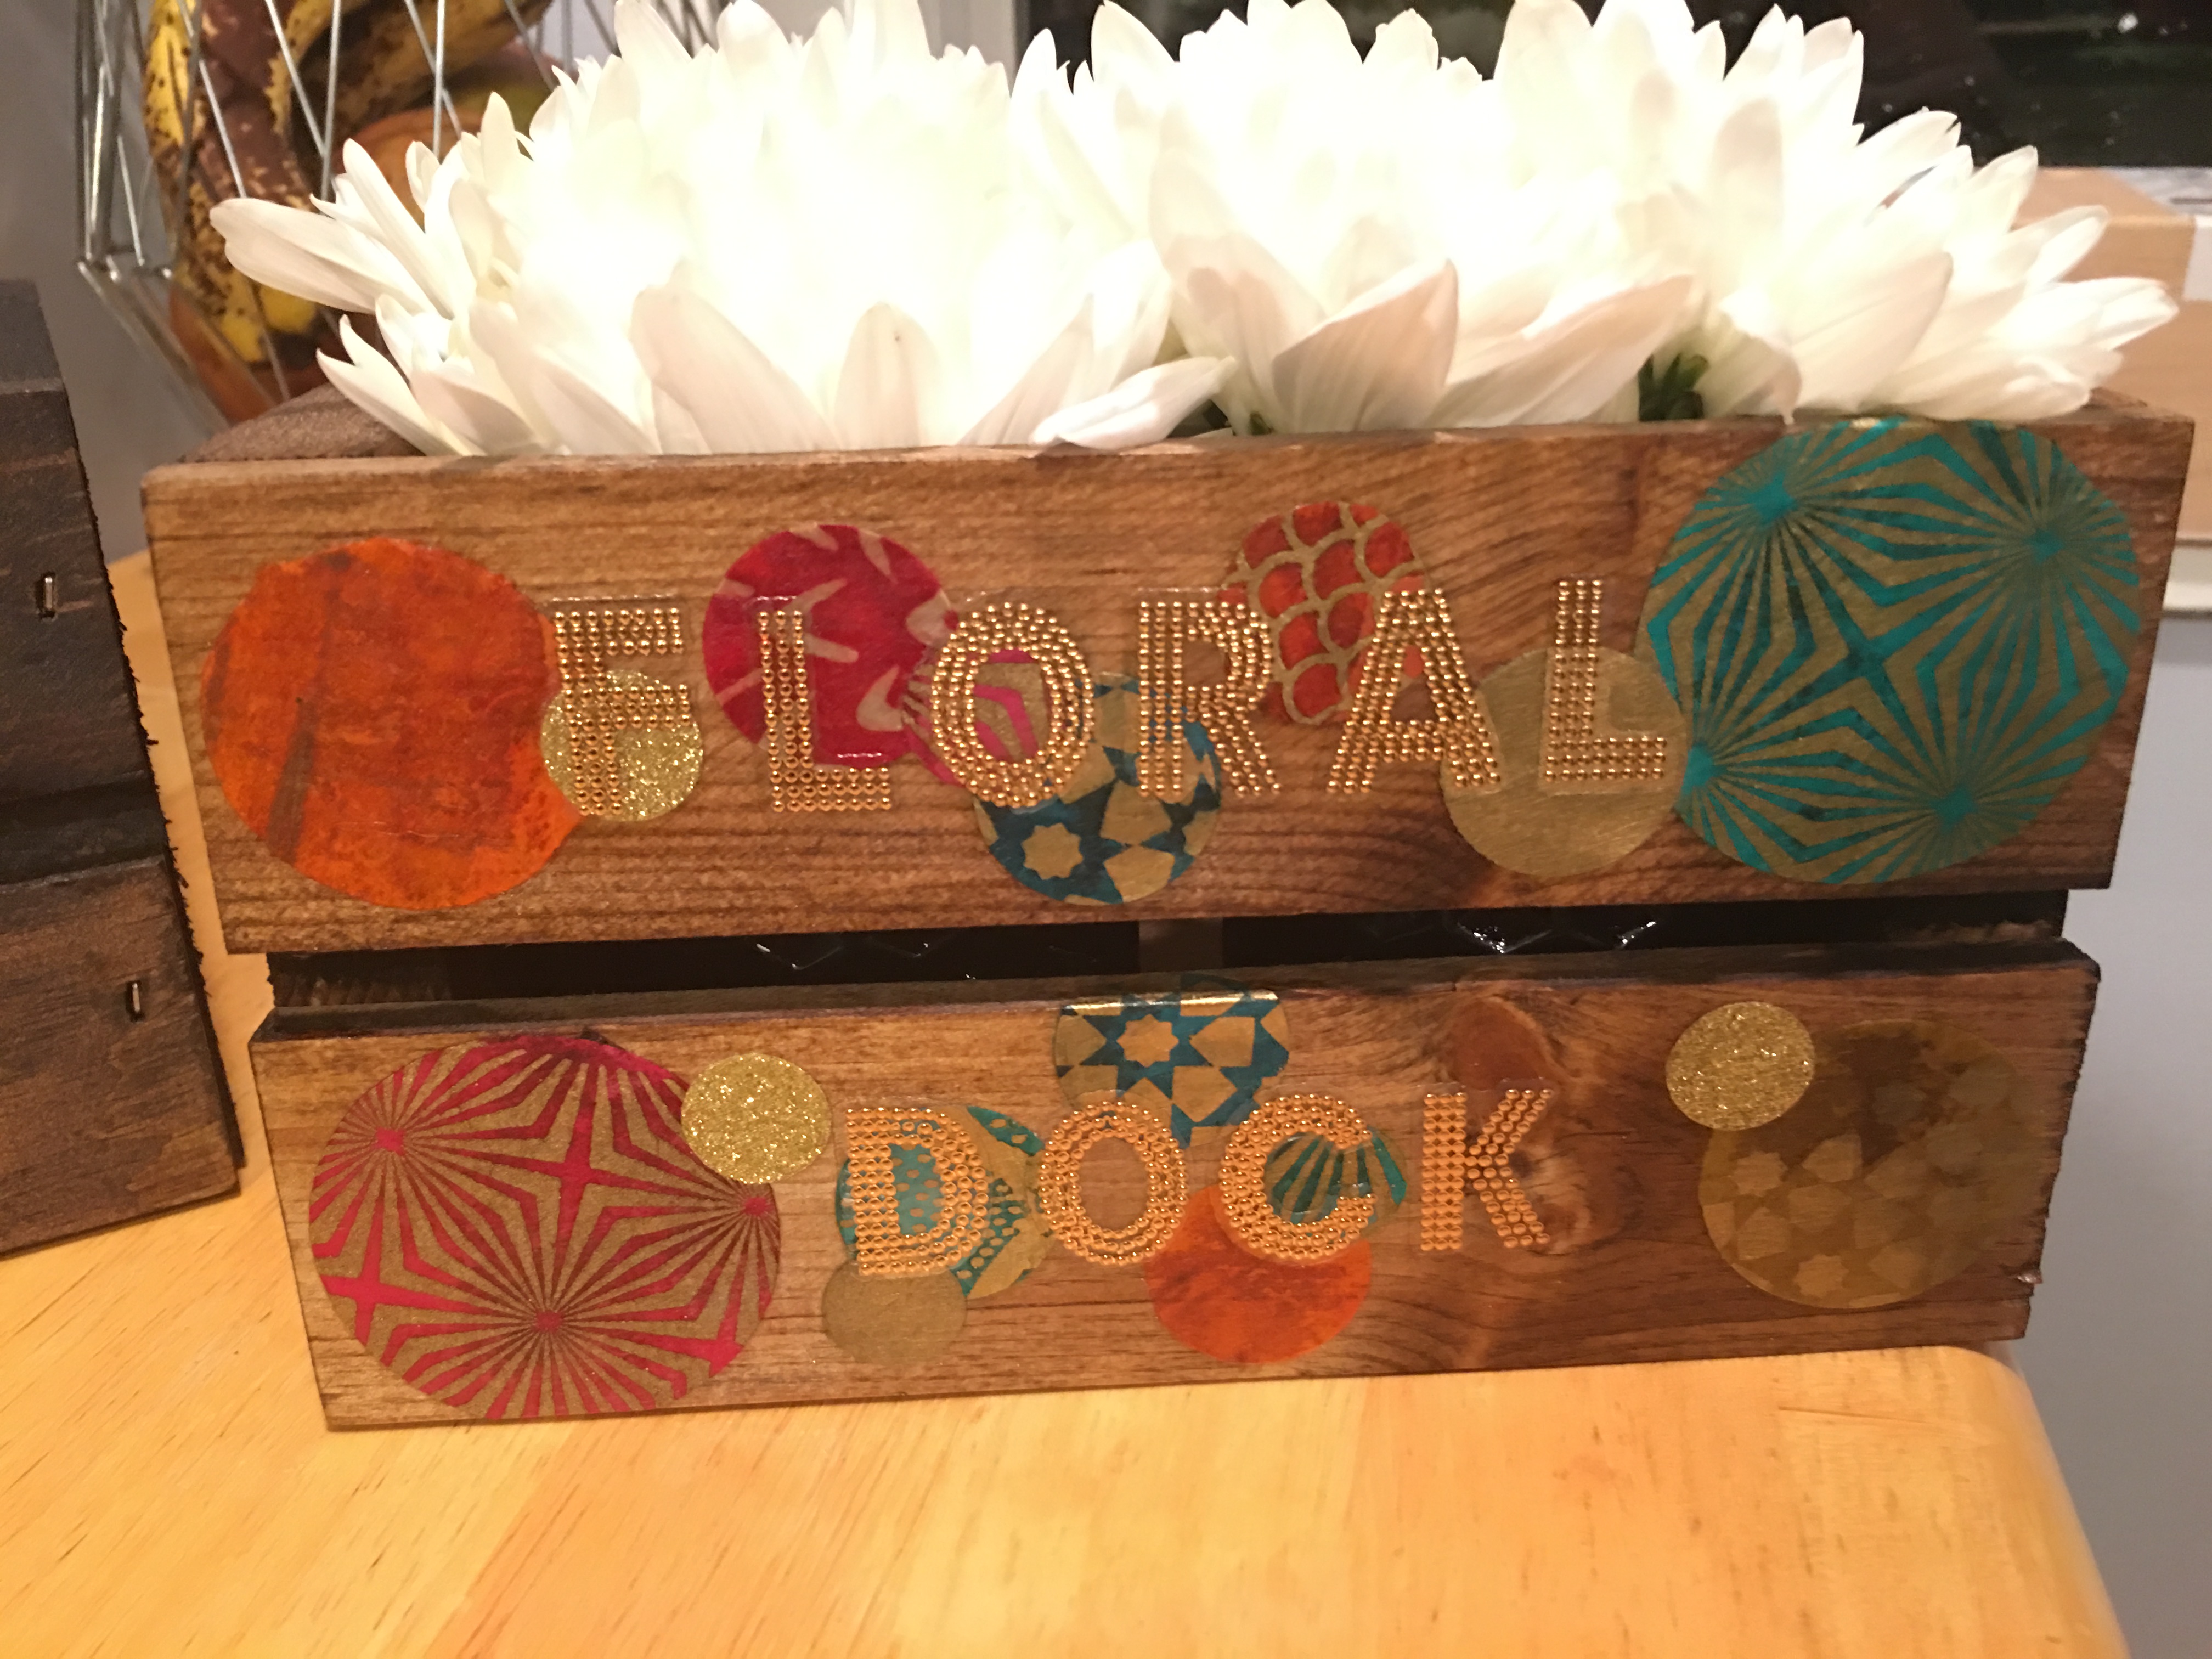
Time to fill the Power Plants crate.
After adding the water filled votives to the second crates…
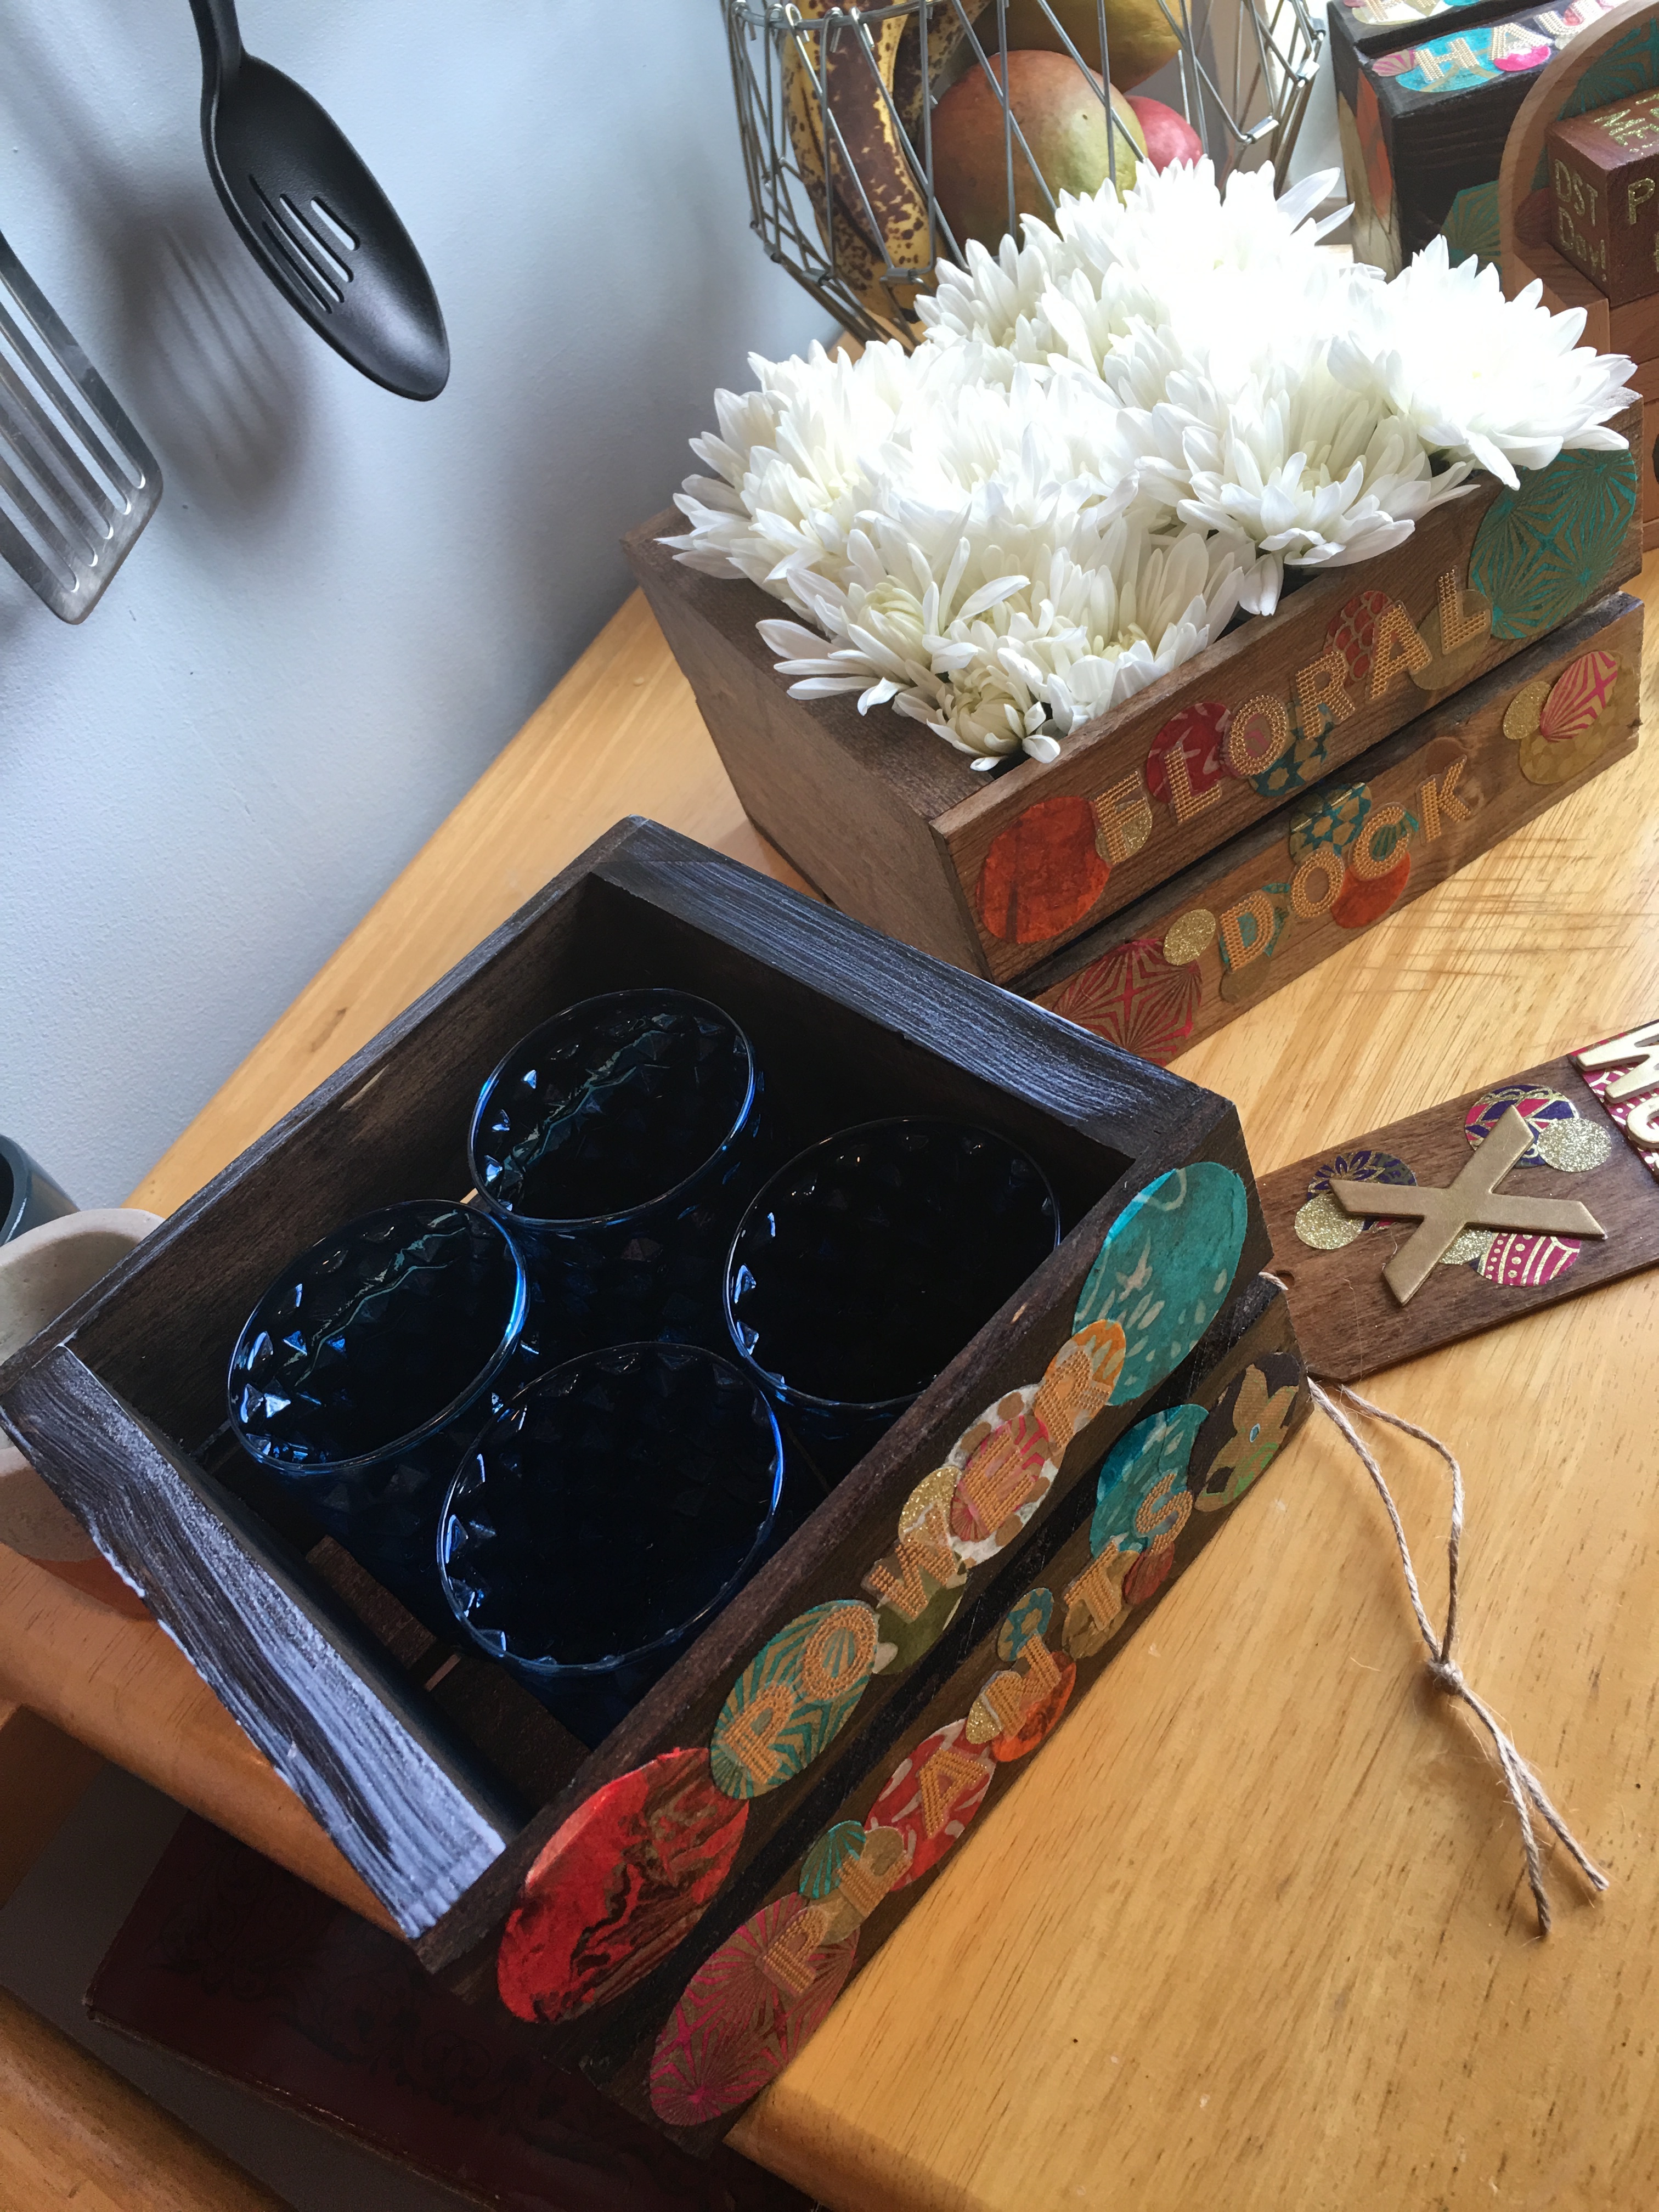
…I cut and added the purple spray mums to the votives.
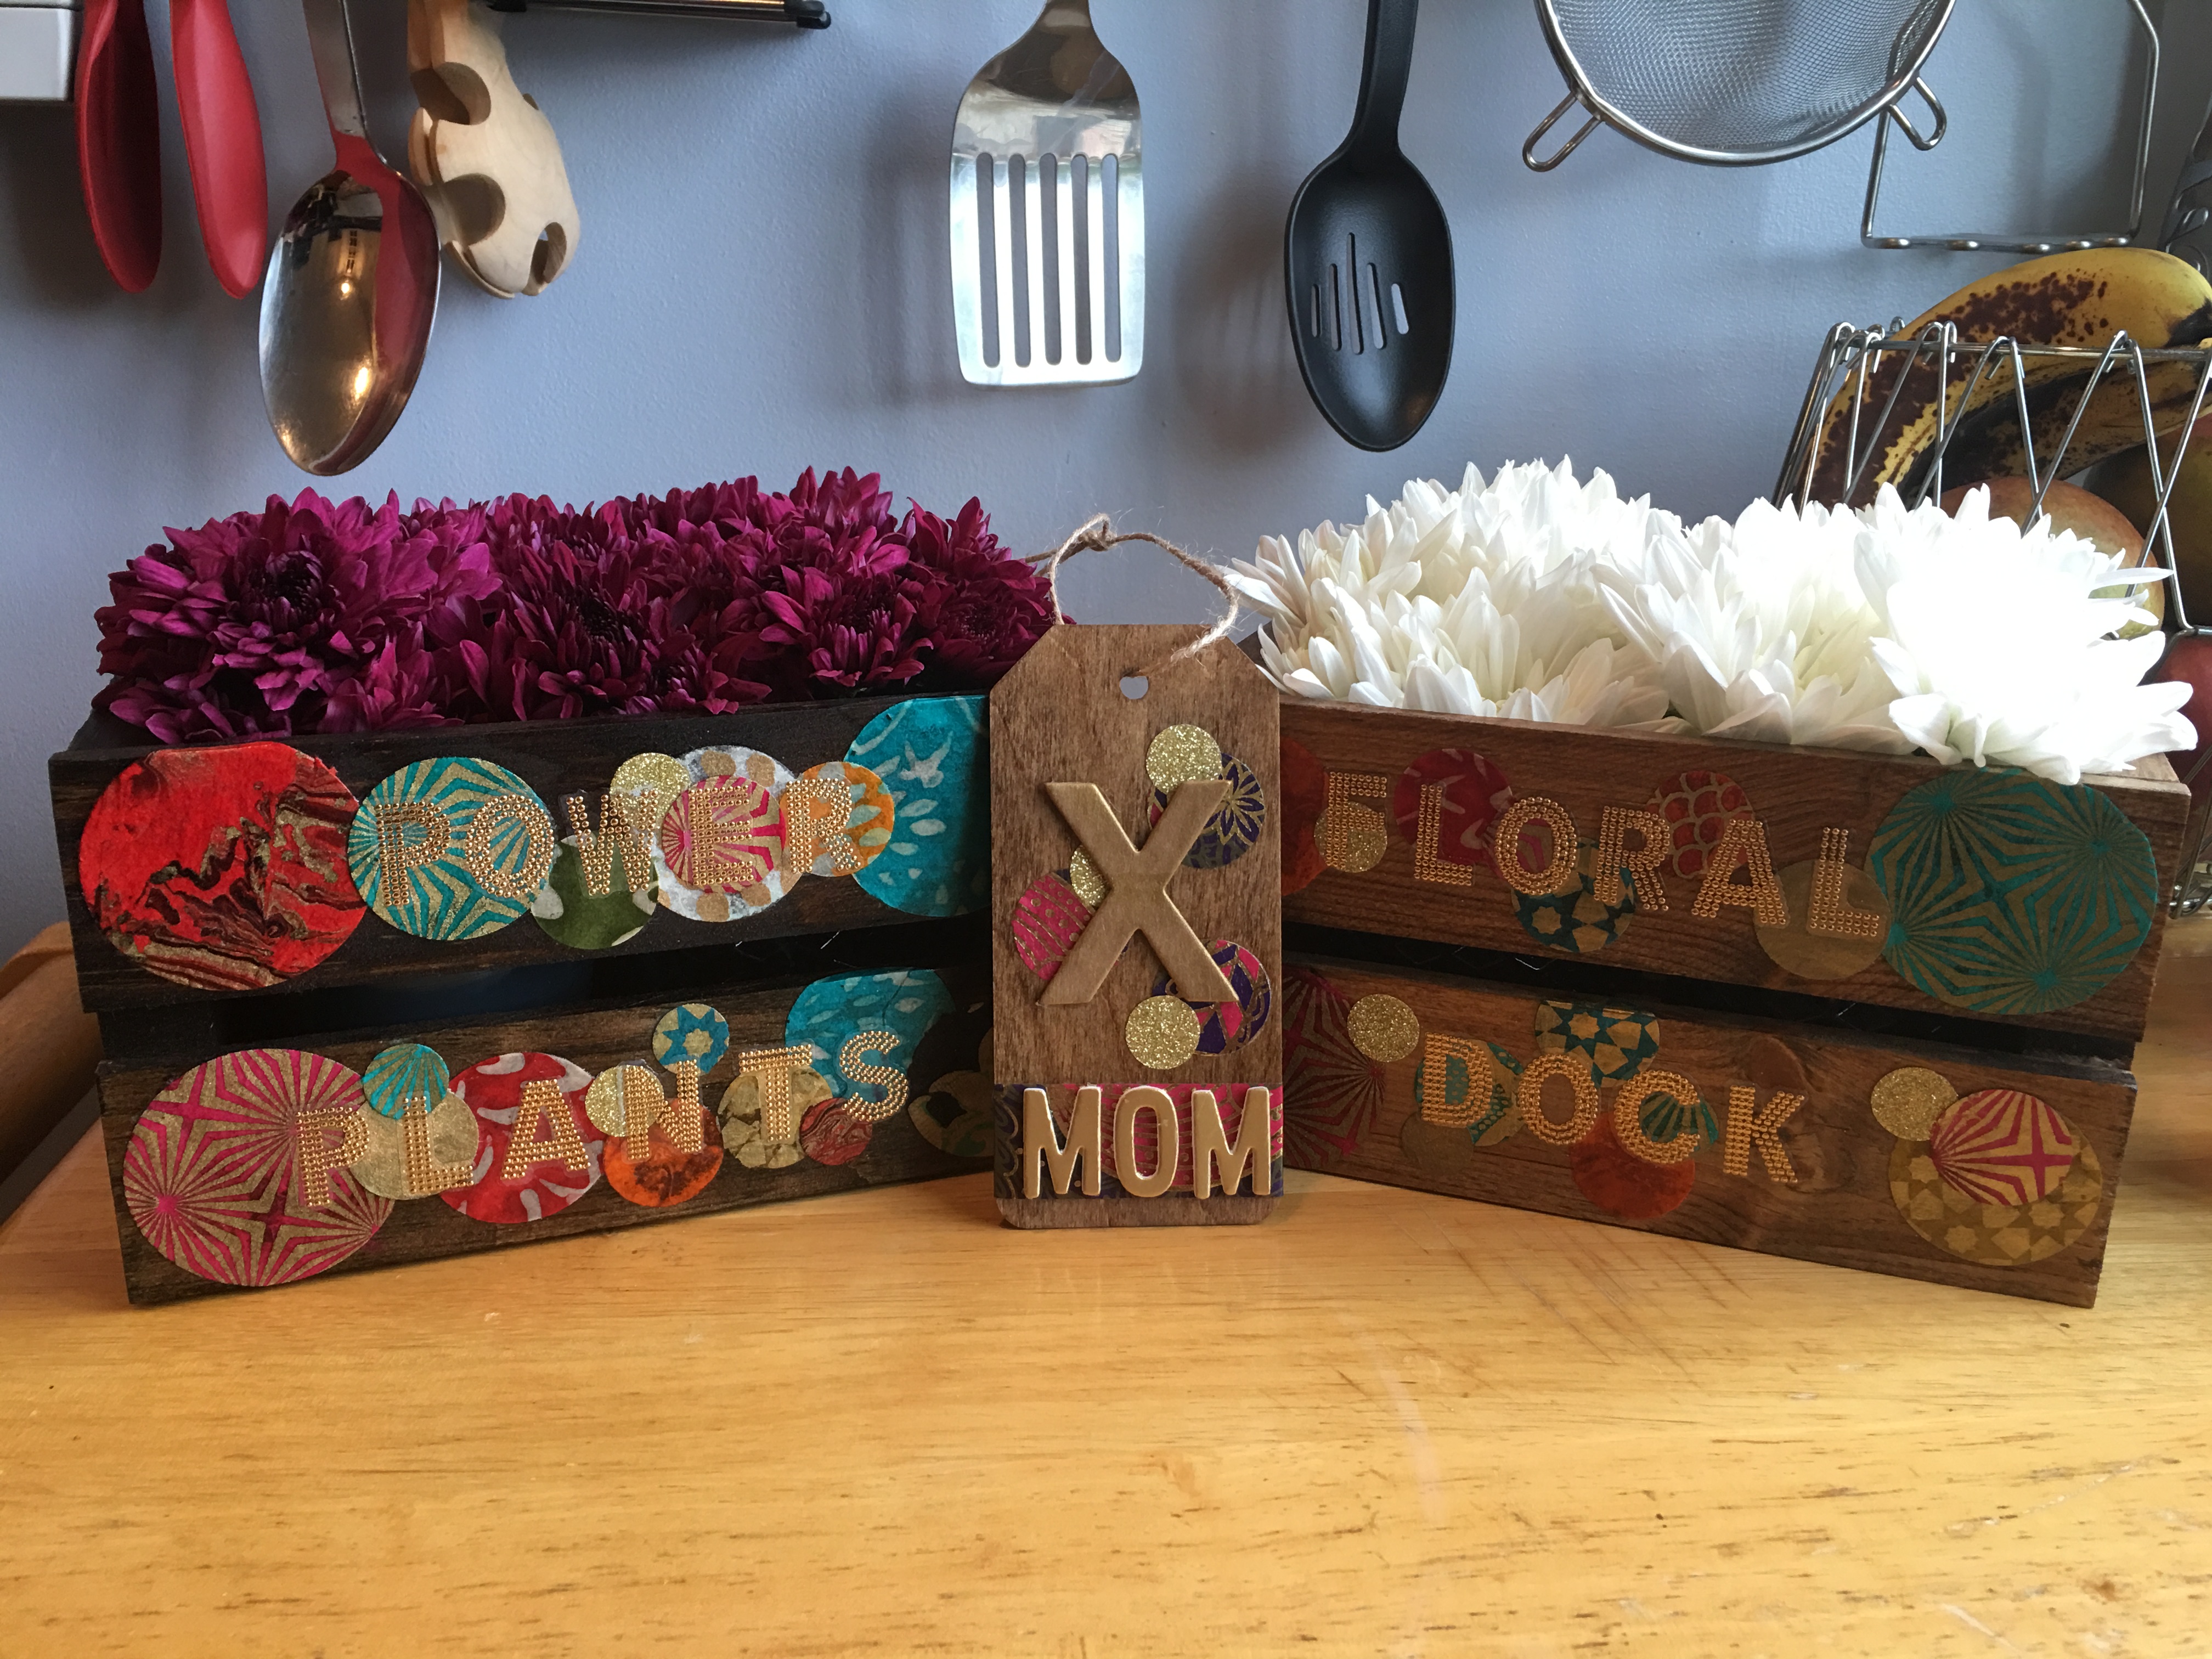
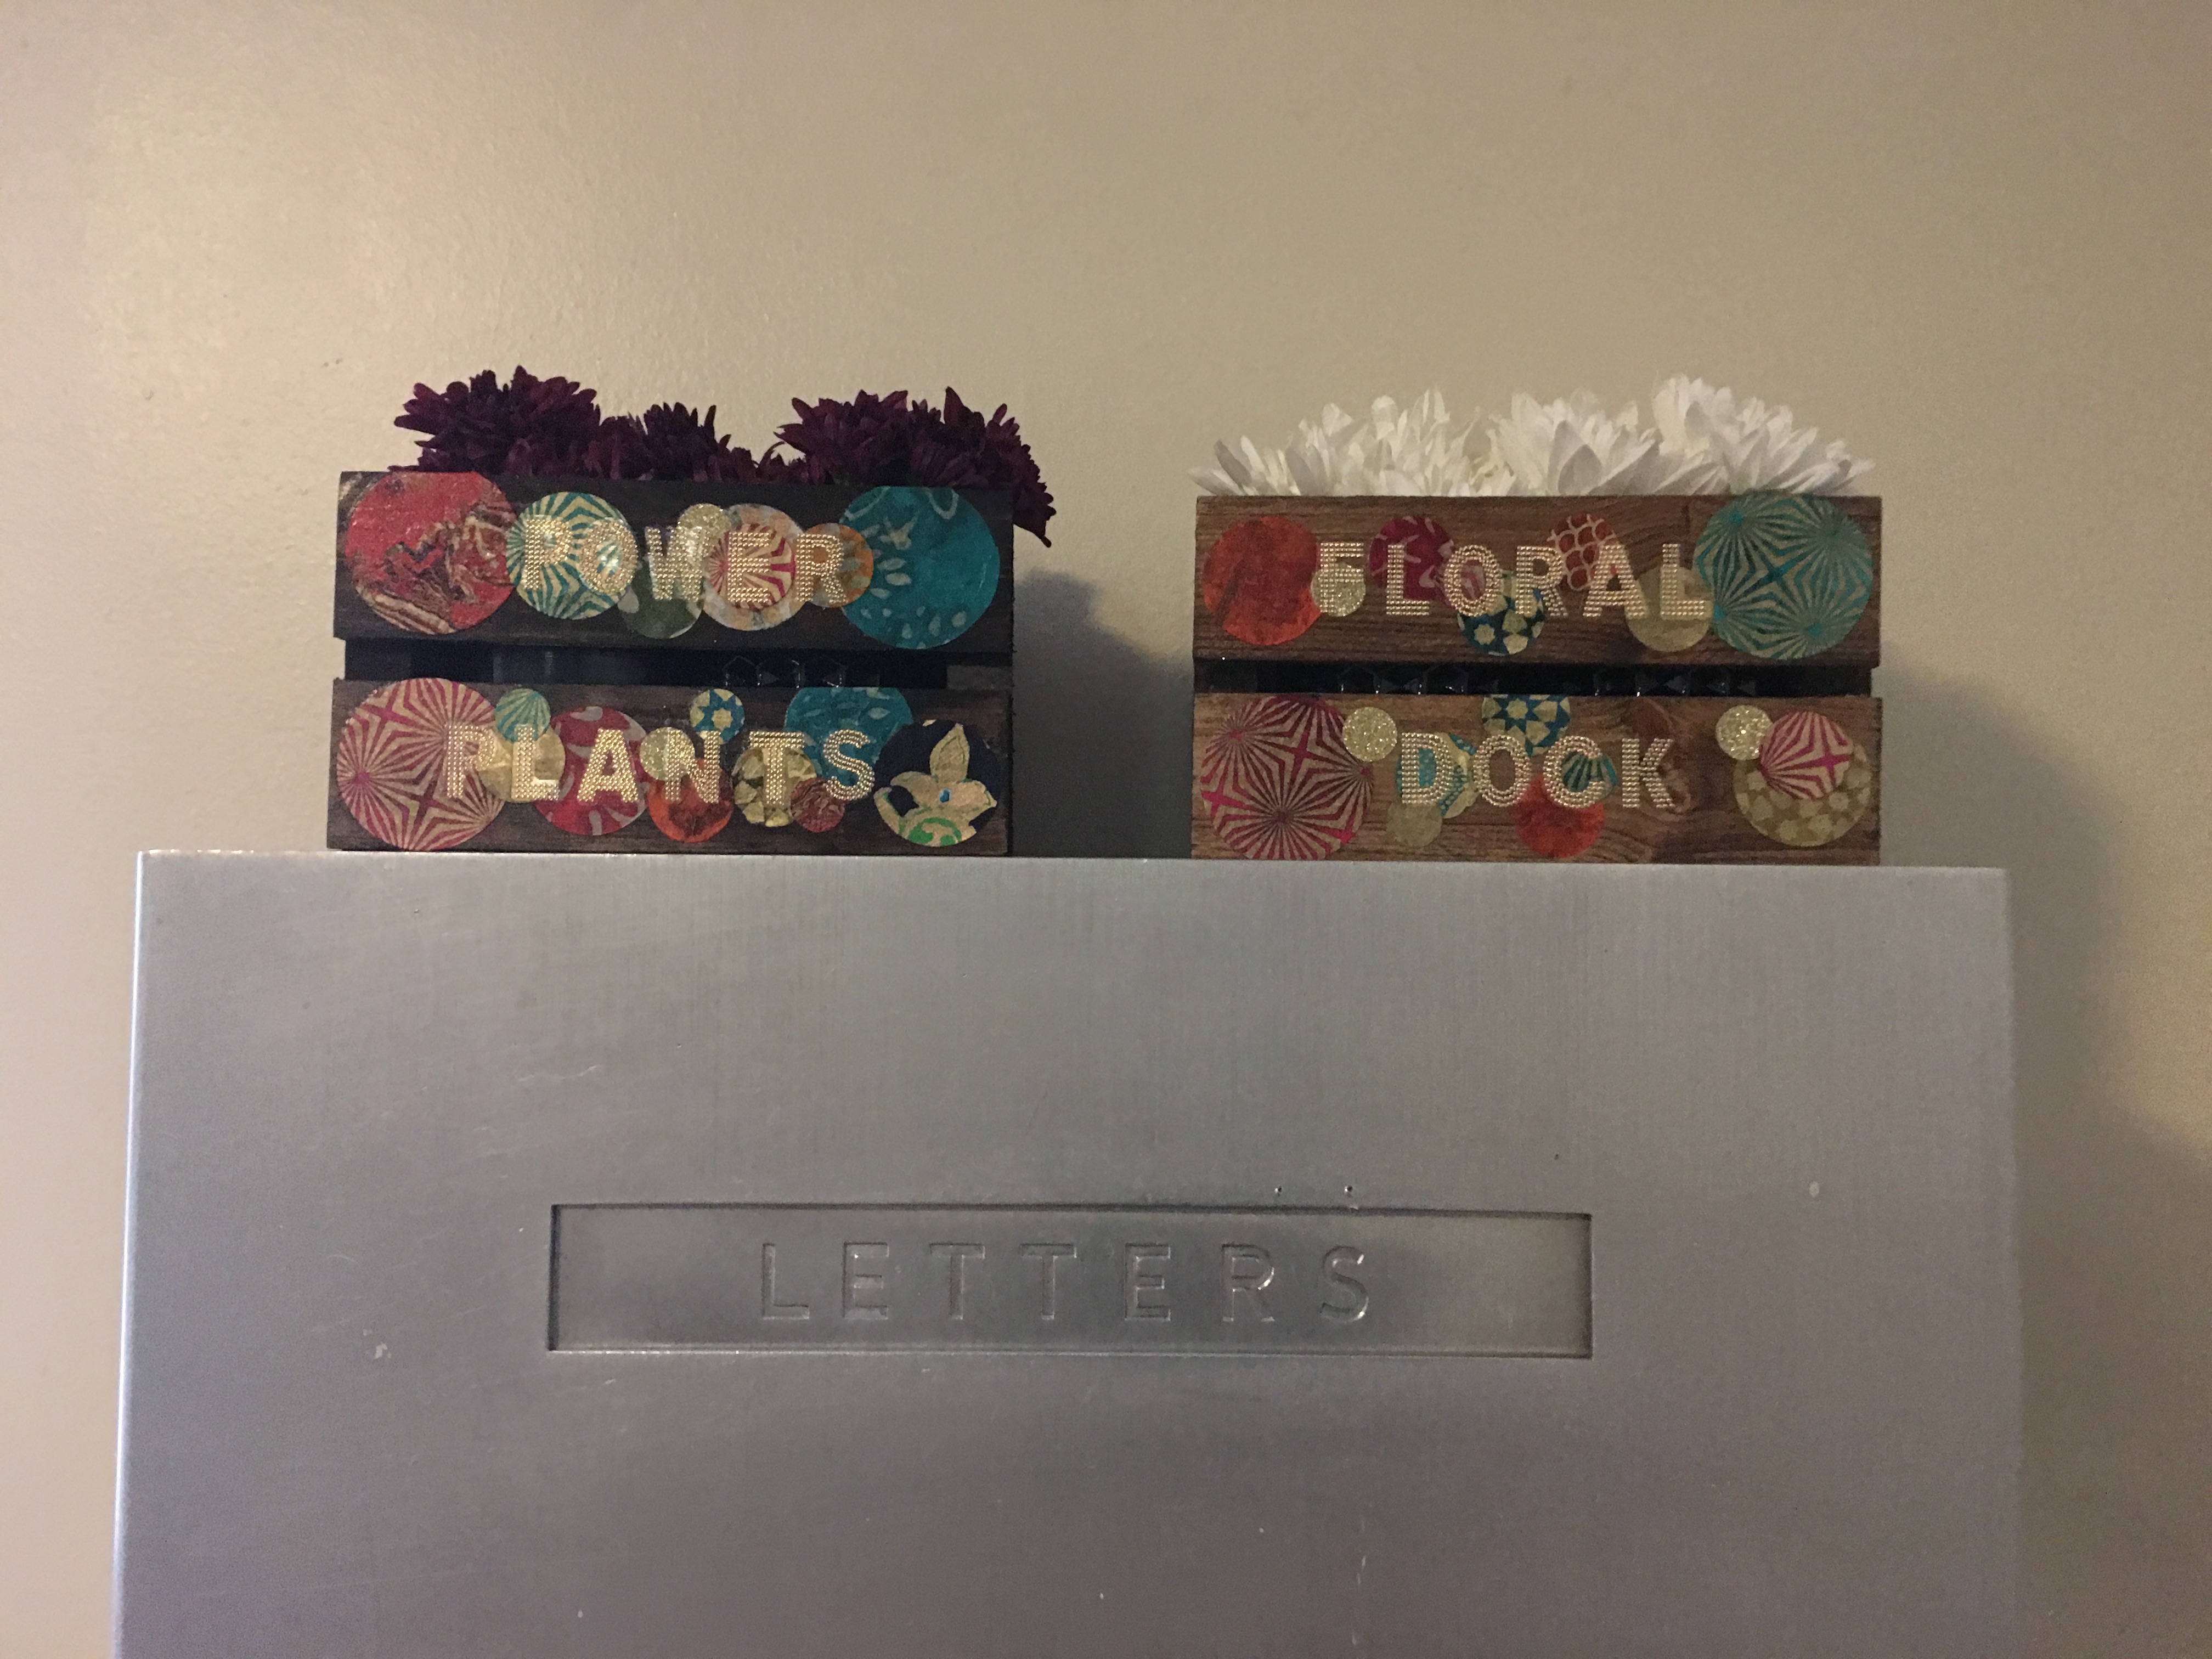
Both flower crates ready for transport up to NYC to mama. I placed them on top of the ground floor postal box so I can get them through the door and into the car.
Since I’m transporting the flower crates from Bethesda to Brooklyn (with the flowers and water in place), I placed them on the floor of the passenger side seat so that I can keep them upright.
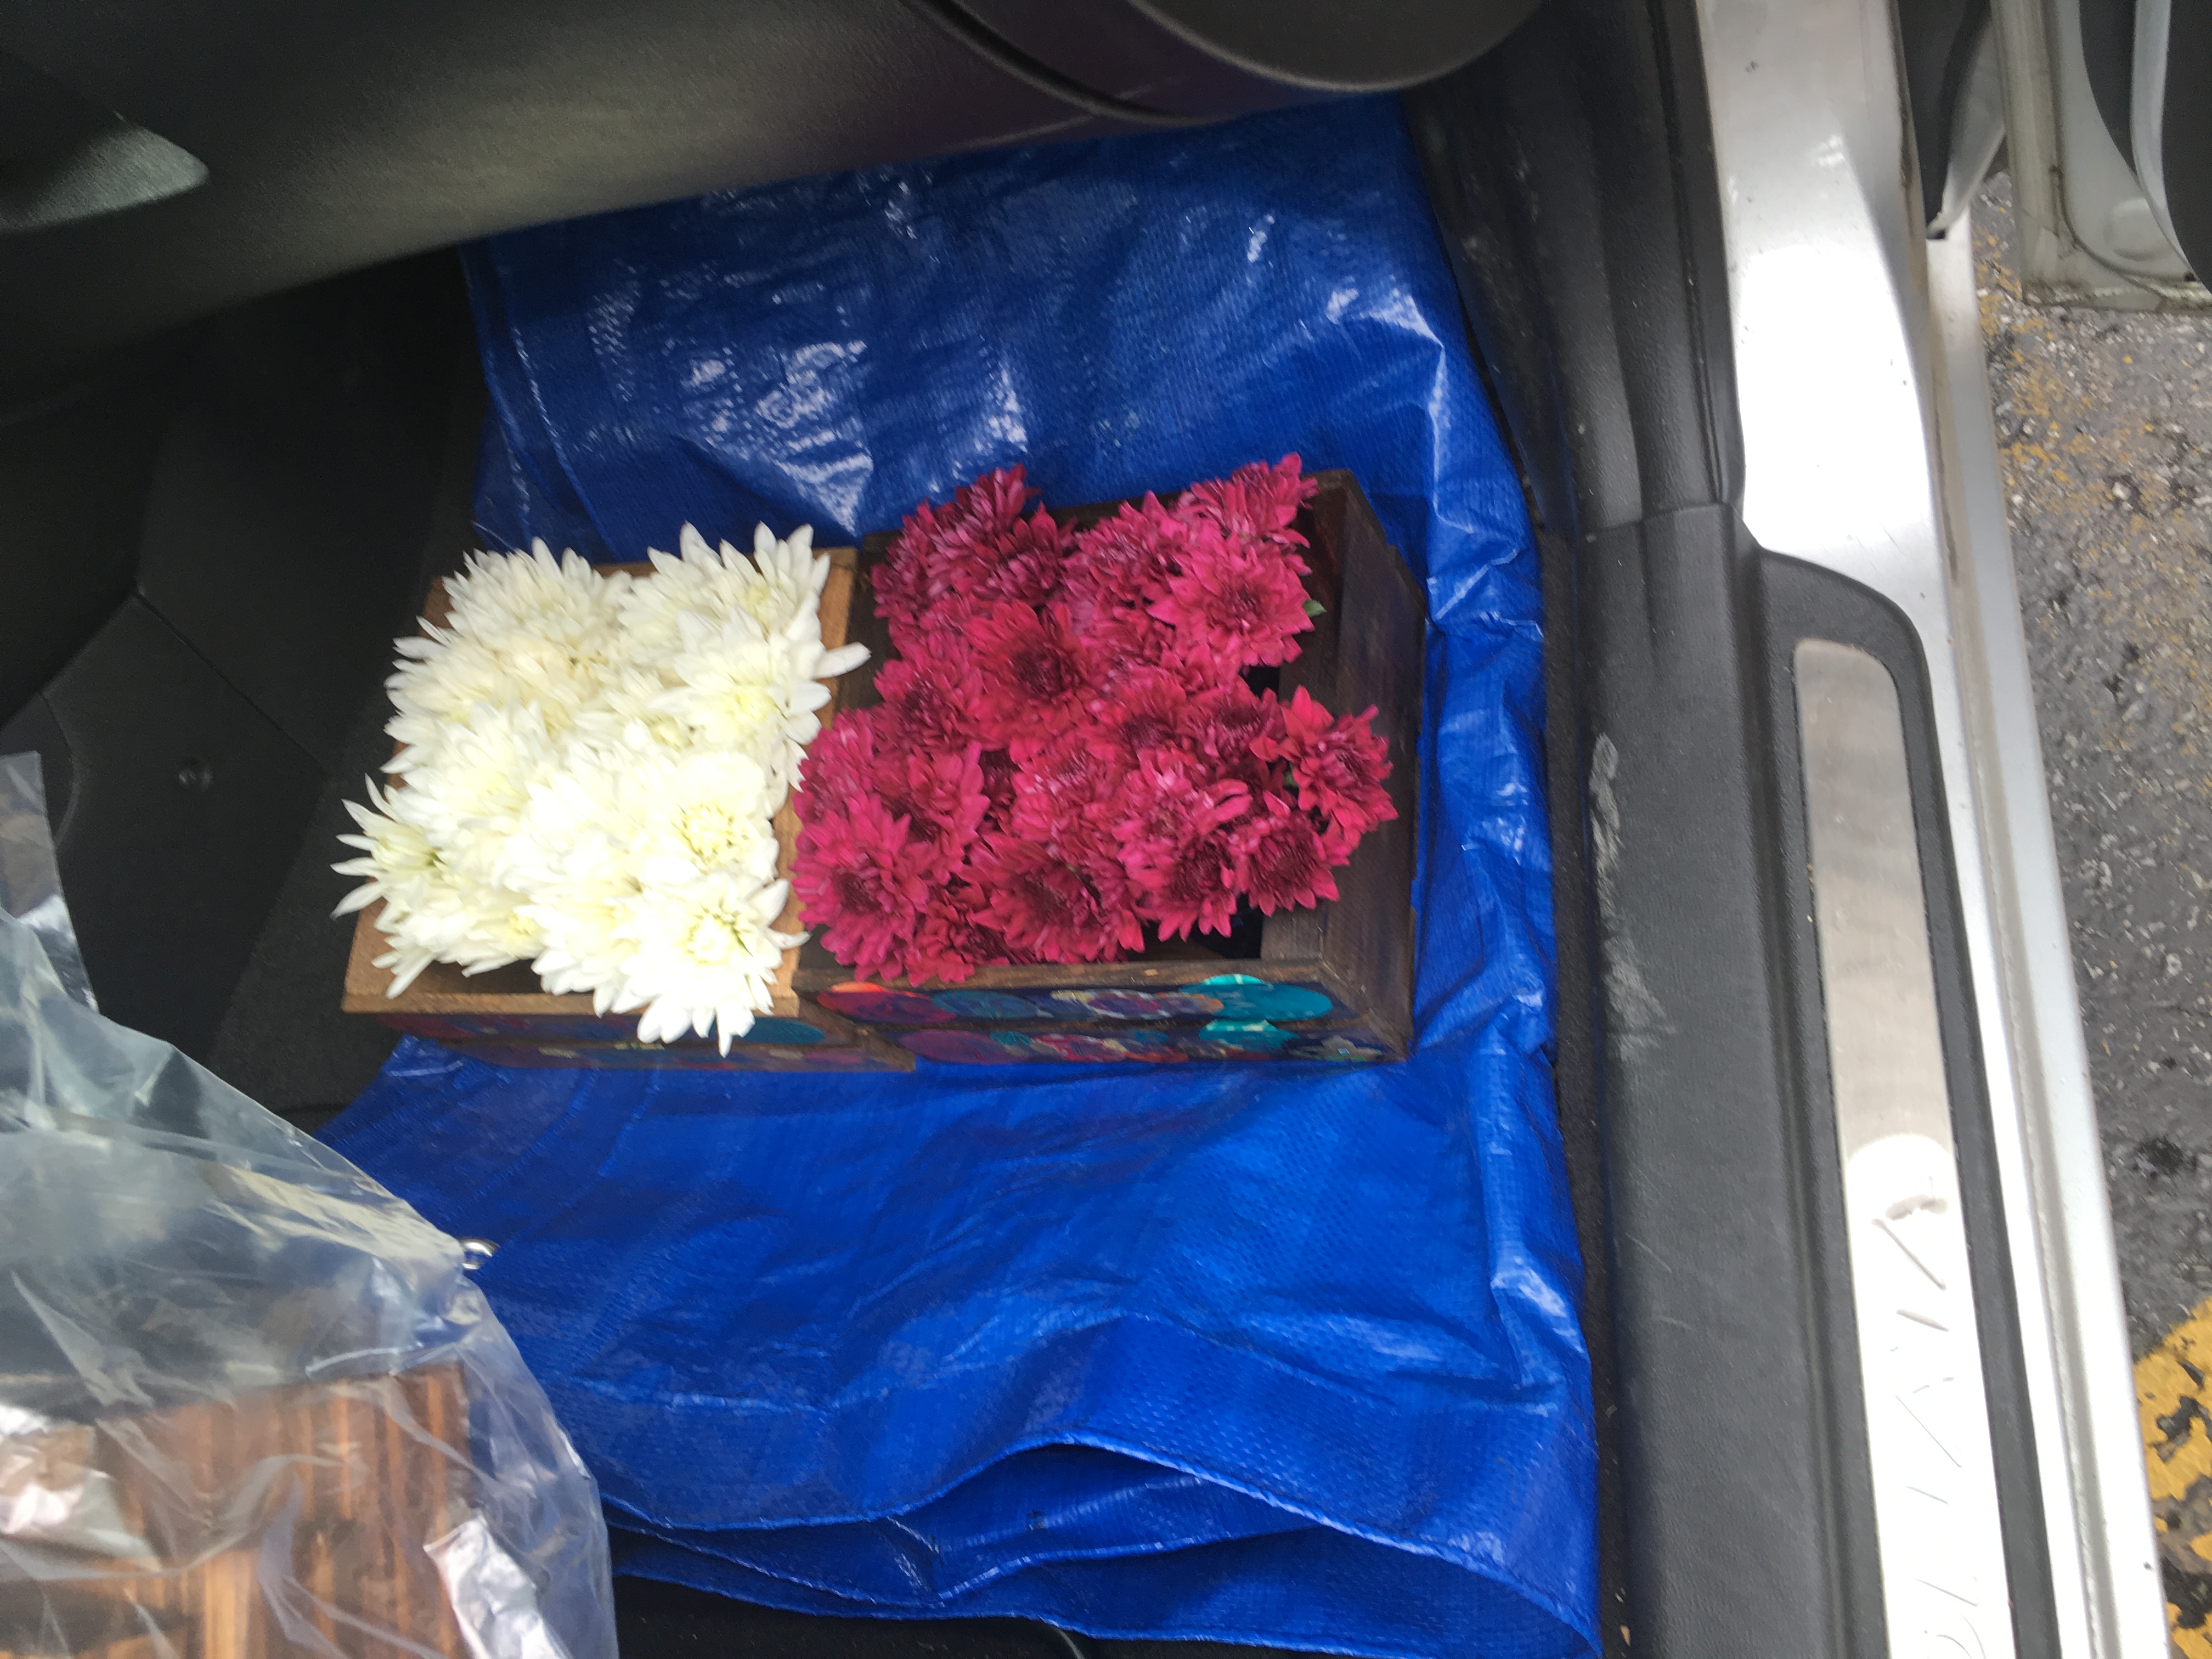
And kept an anxious eye trained on my little beauties while driving them up to see mama.
Really wish I got a snap of the look on her face when I greeted her with both flower boxes in my hand. It was truly priceless! Beaming, Xenia takes both her flower boxes and scurries inside to find a perfect place for them.
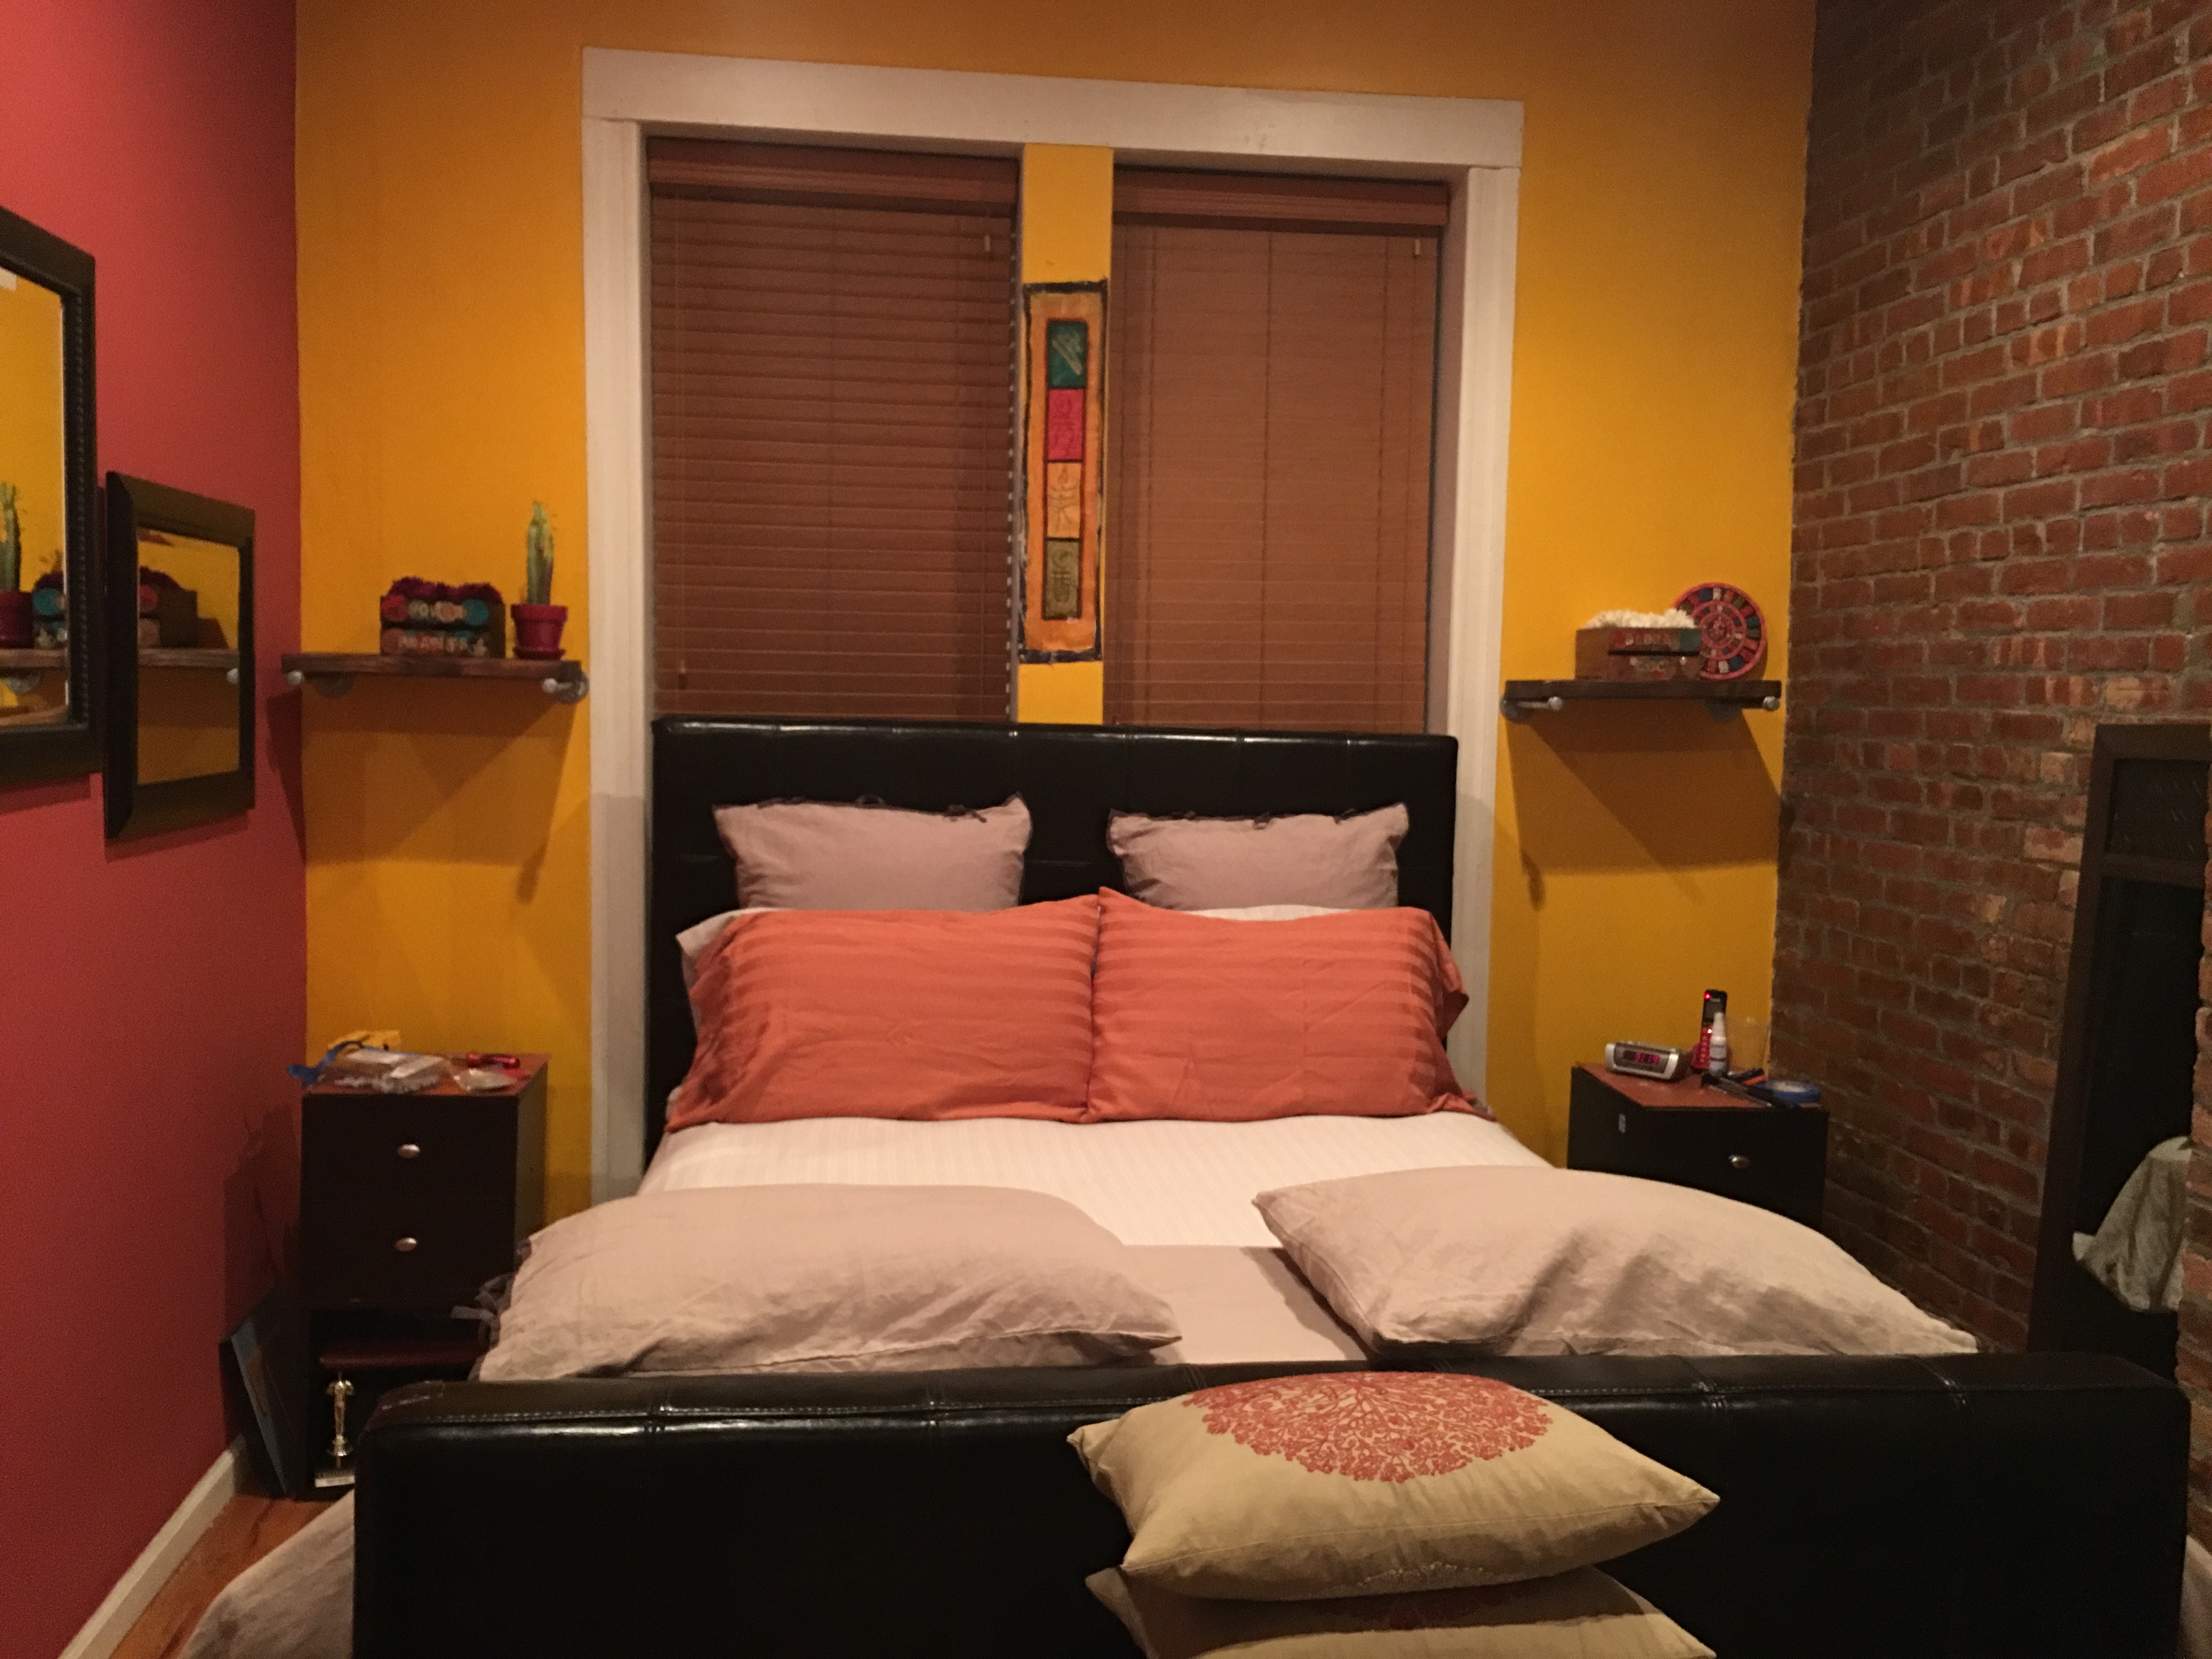
But after mounting the first two pipe and wood shelves in her bedroom, she chose to place them by her bedside. Power Plants on the left…
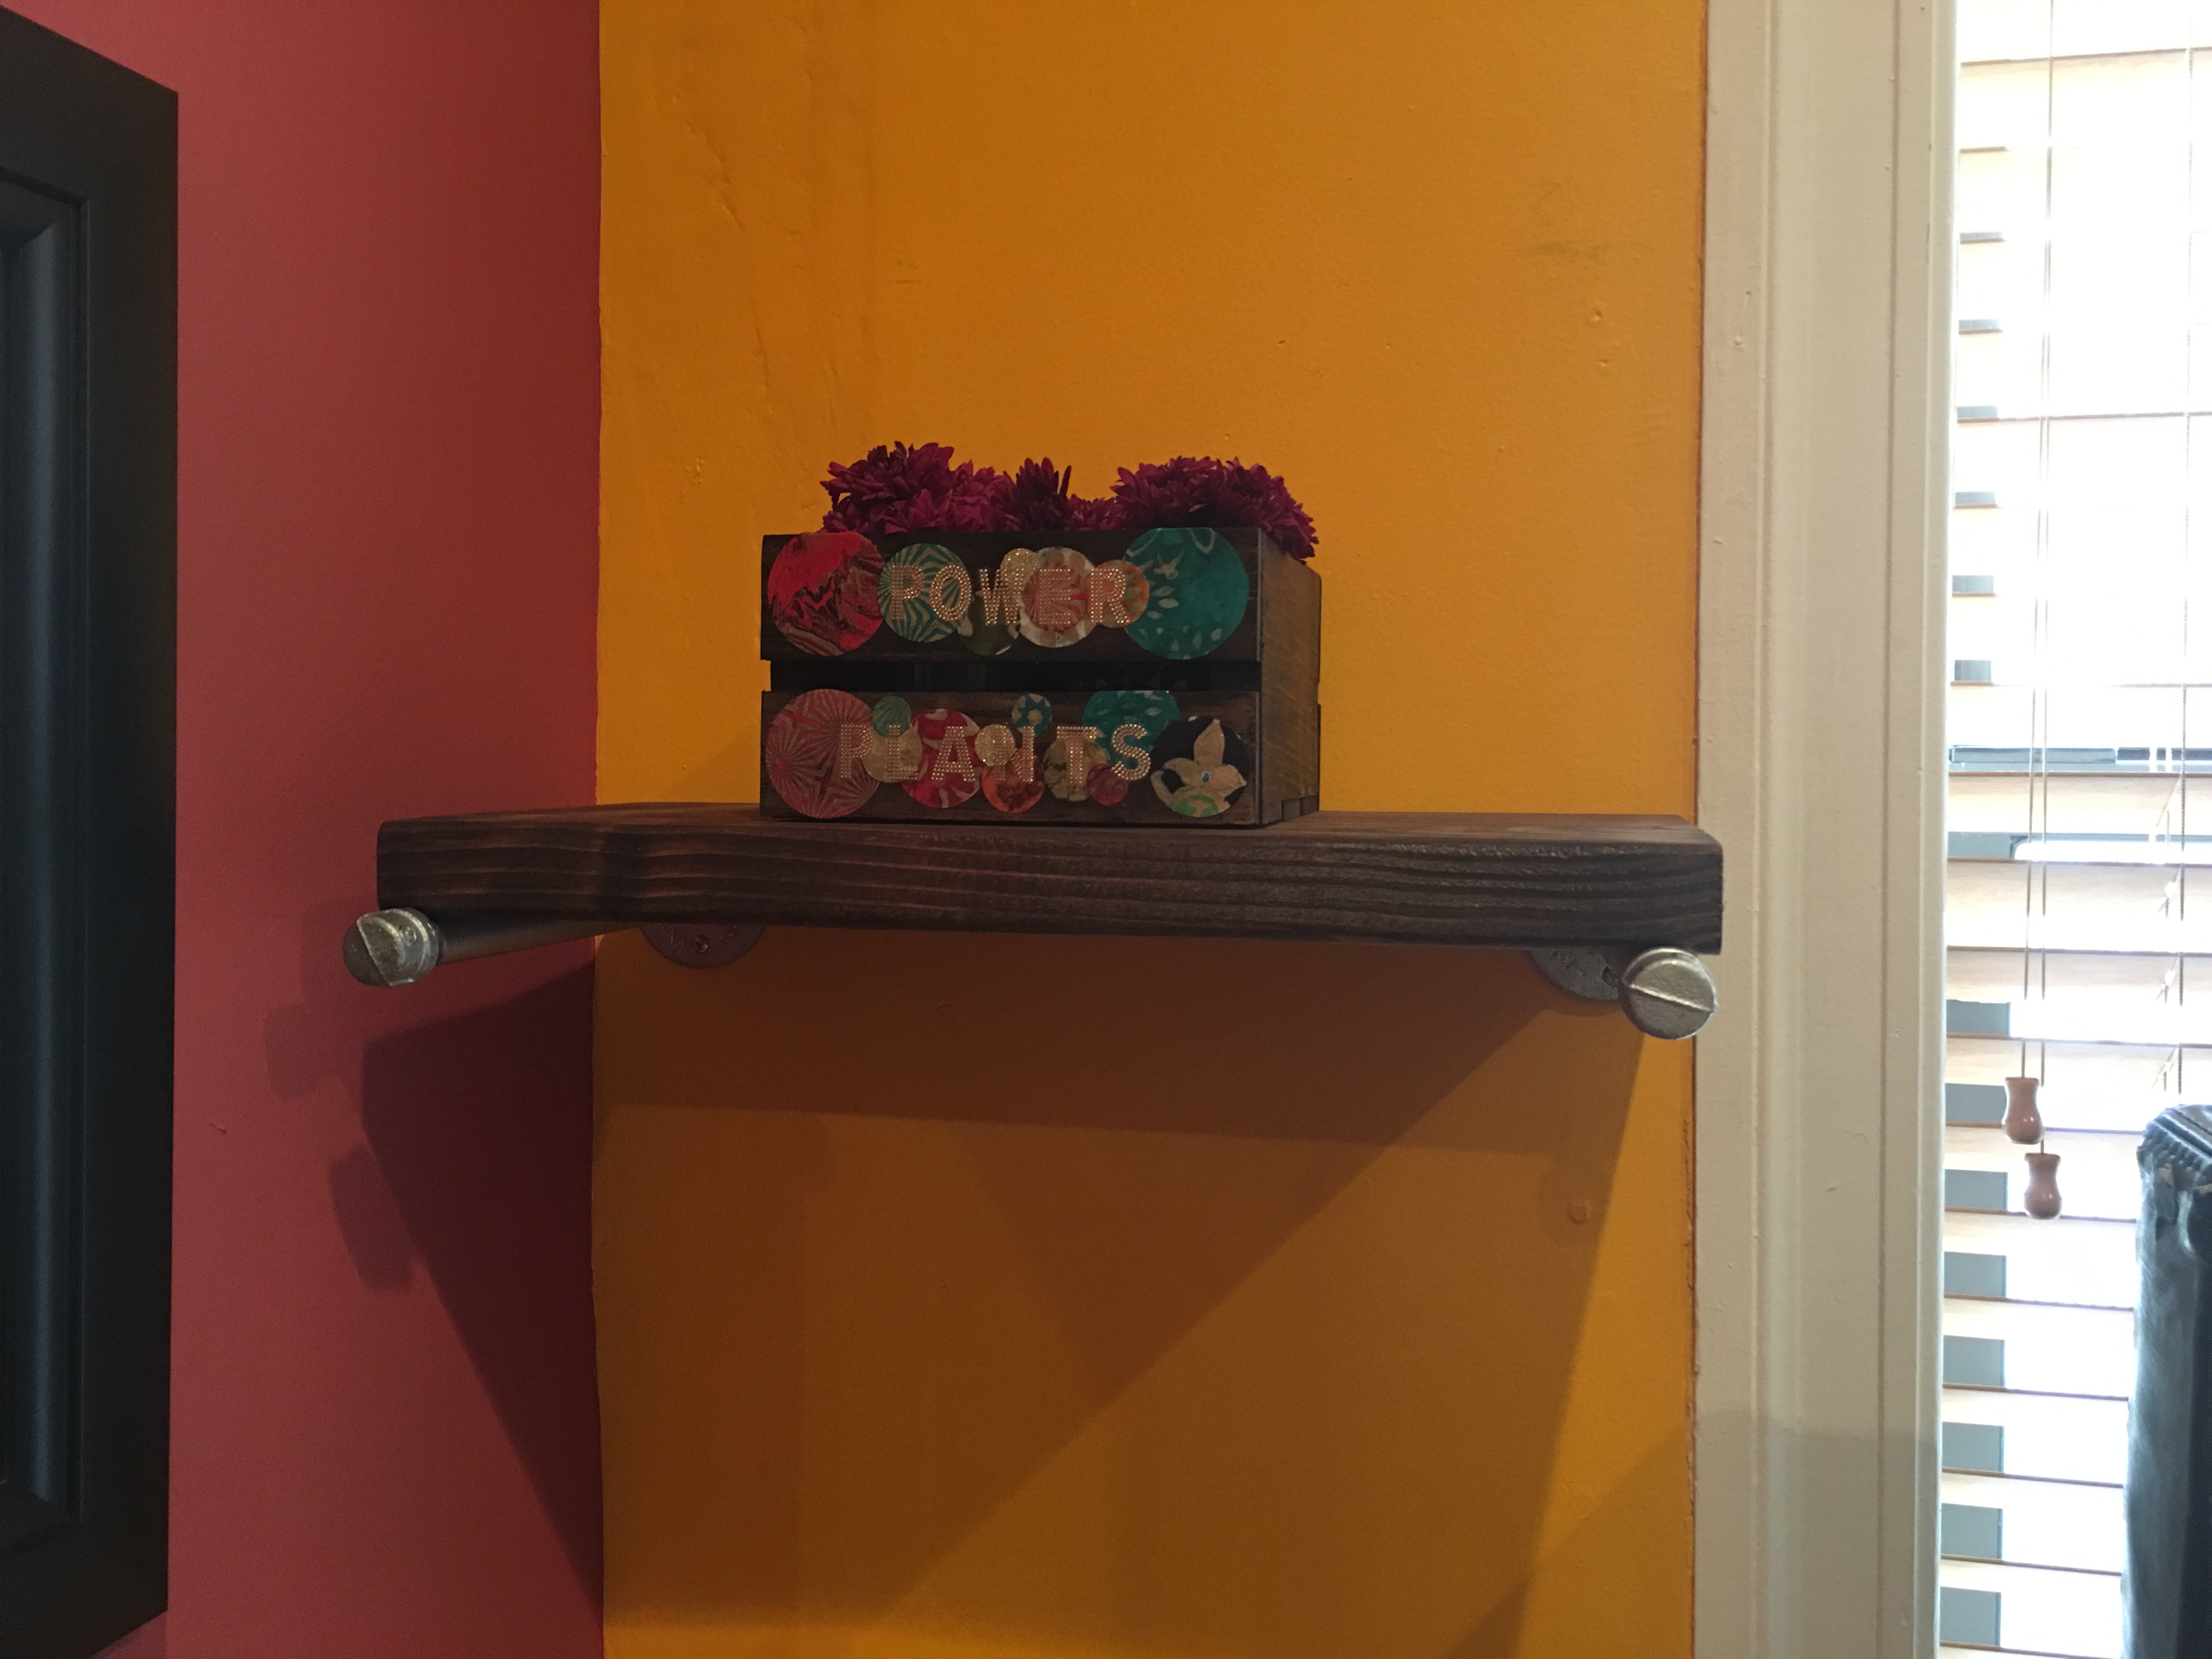
…Floral Dock on the right.
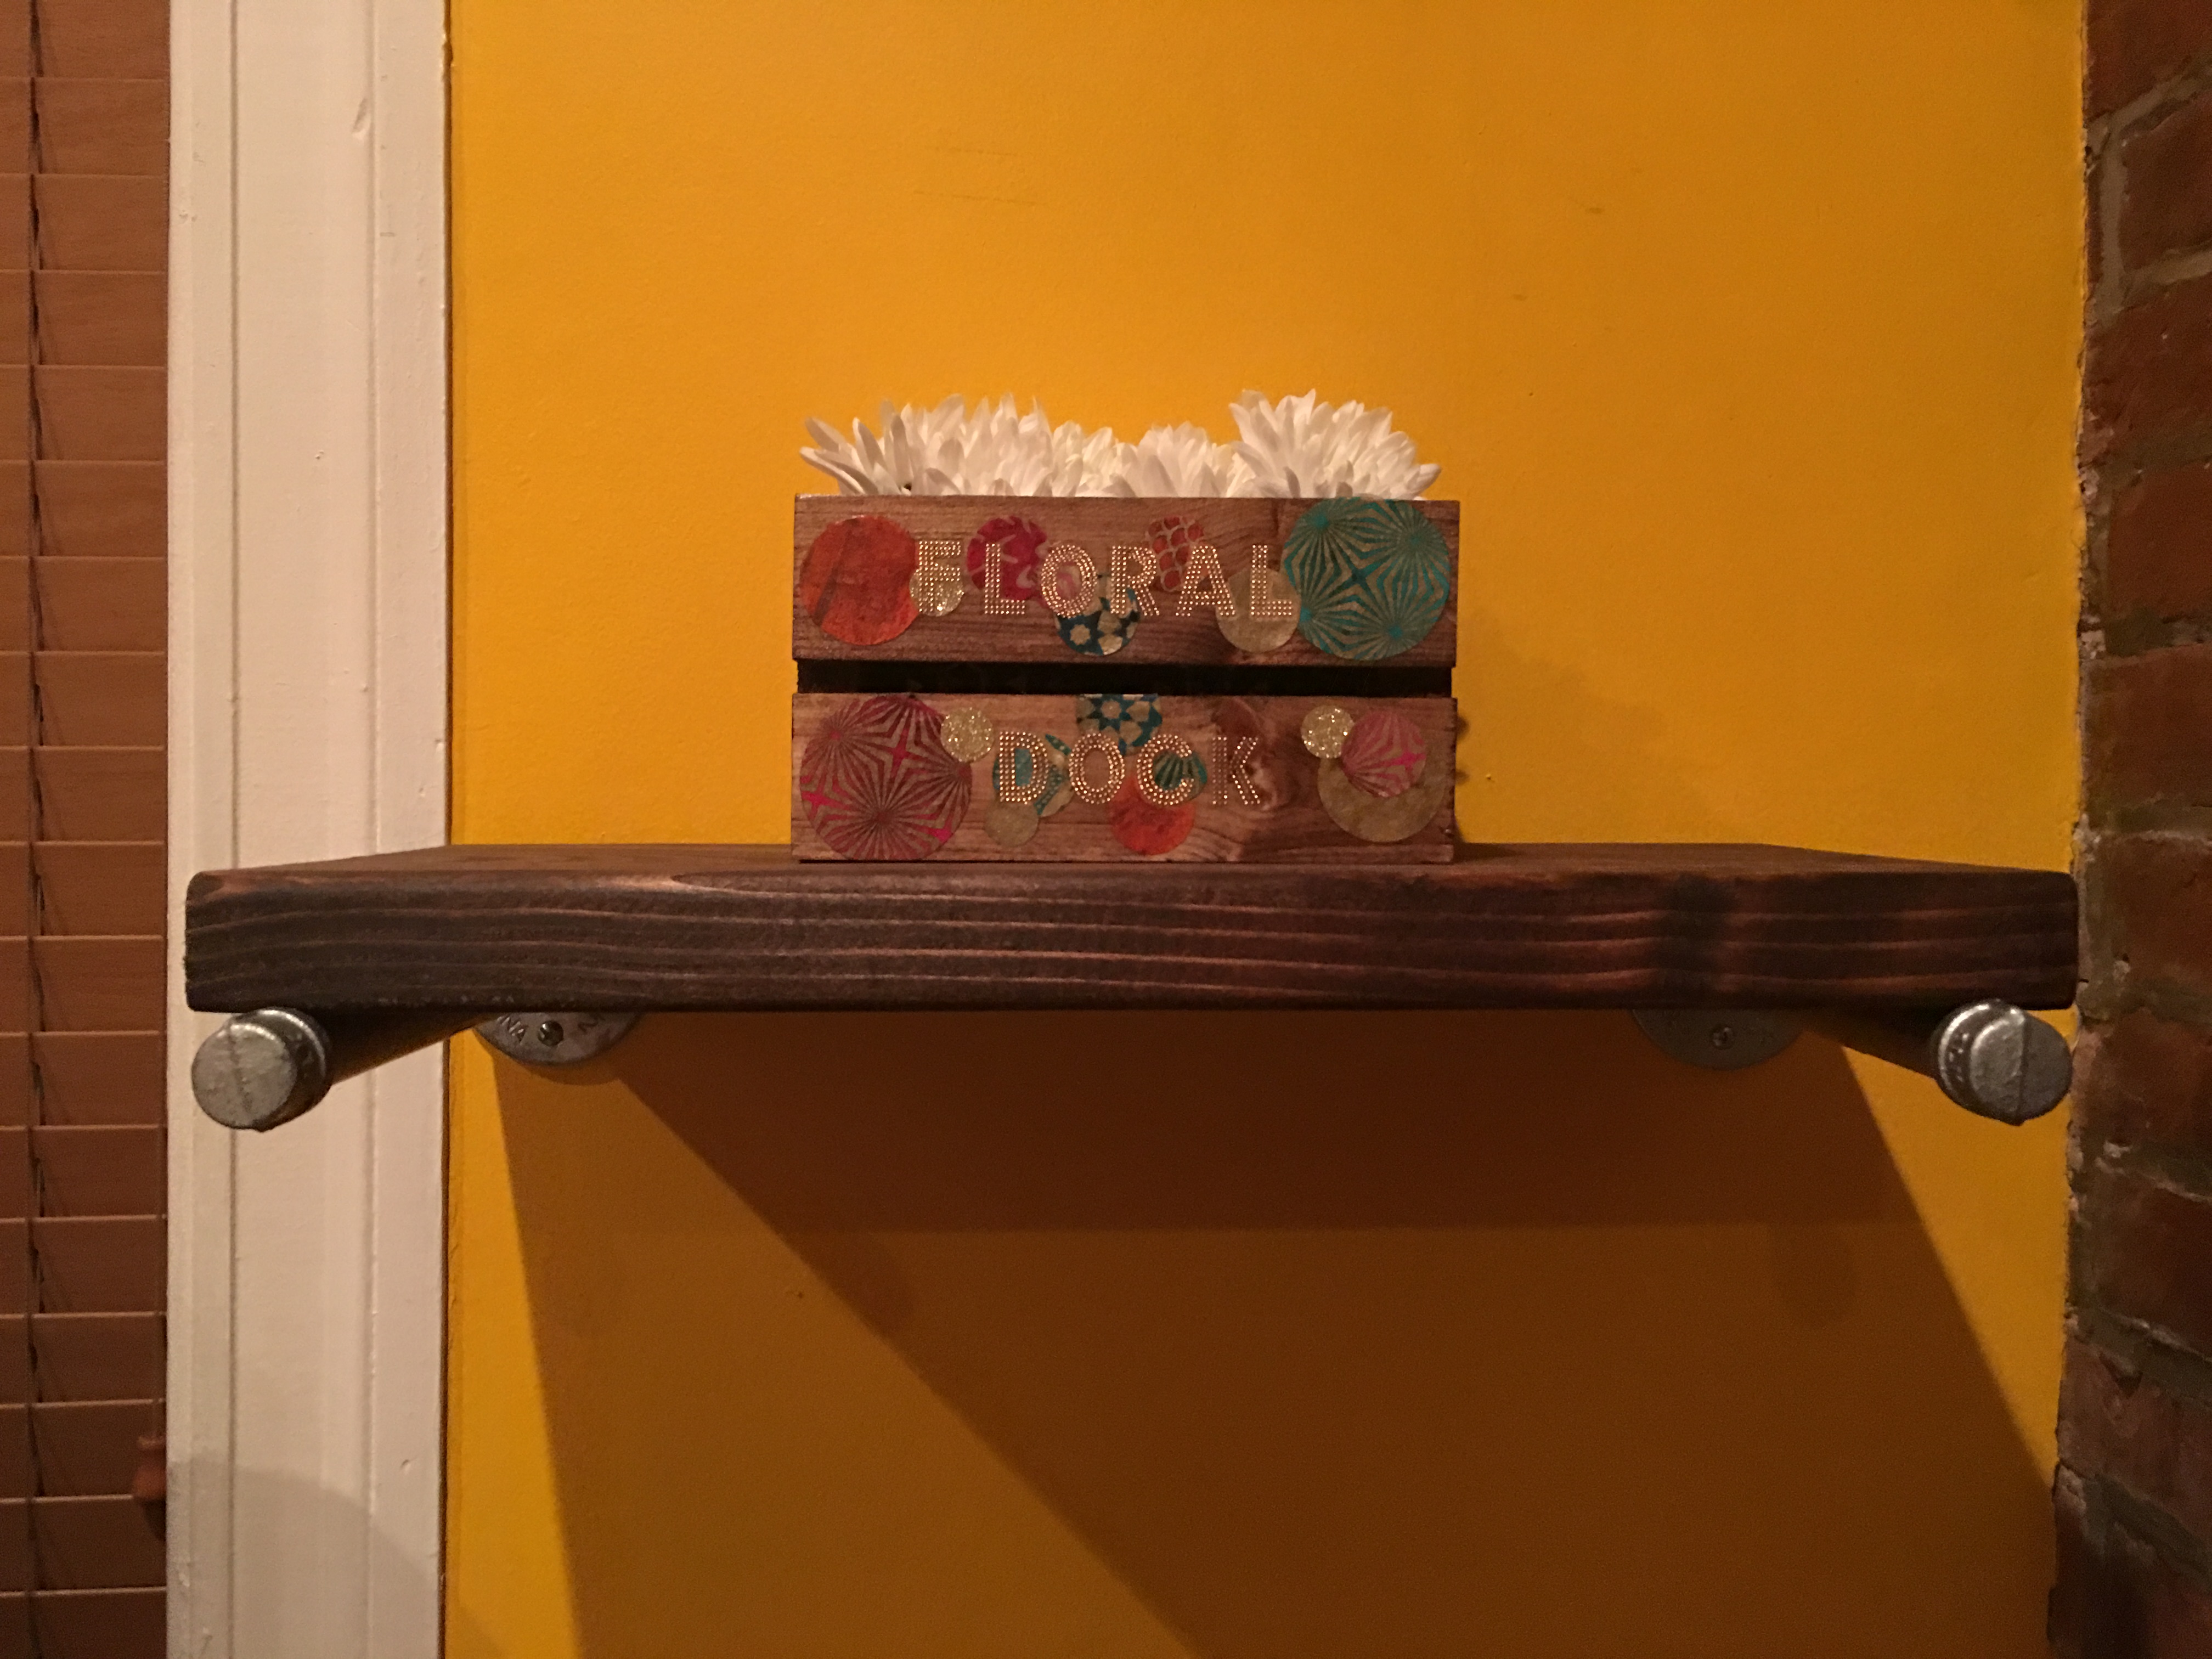
And here they are at Xenia’s…one on each side of her bedroom.
This was one of three projects I did for Mama this weekend! Happy Mothers Day! V-
