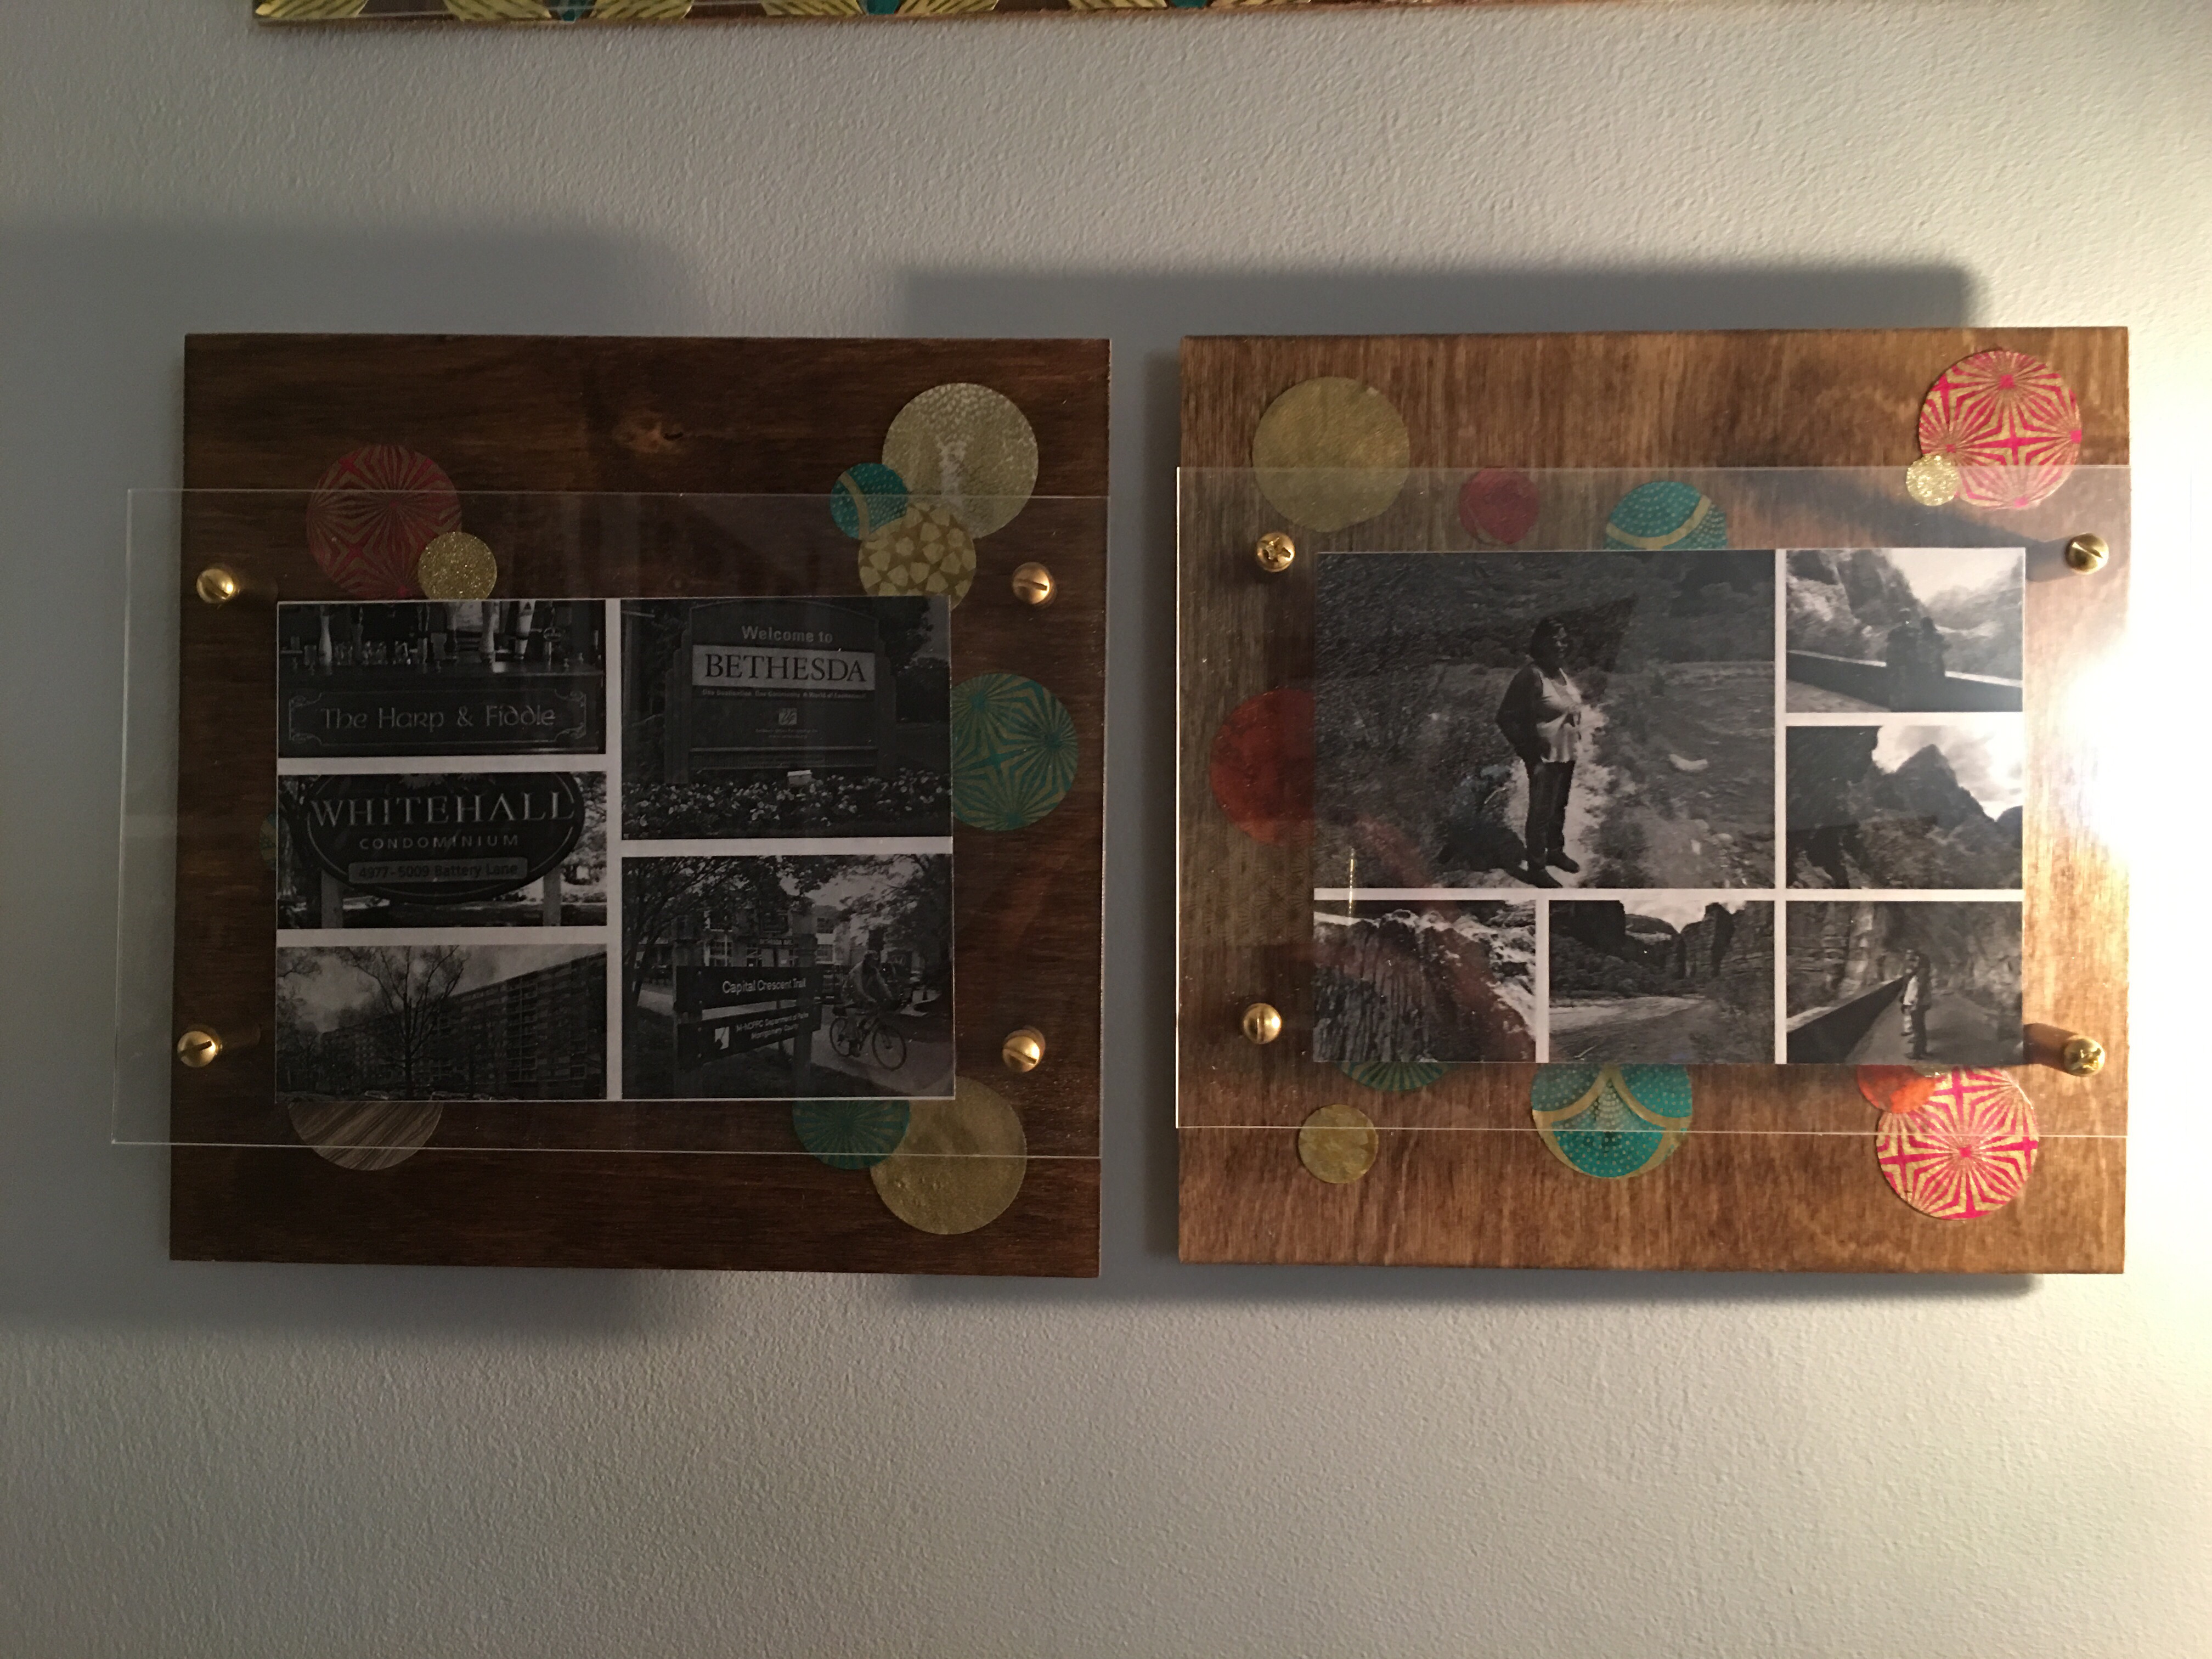
Decorated Wood floating frame squares
You may also like:
February 27, 2016: Last chance weekend before it’s back to work on Monday. Floating frames time. I’ve made a number of these in the condo for our kitchen, for the living room and for my mom’s Brooklyn apartment. Since I’ll have some crafting time on my hands while on vacation, figured I’d do a few more of these.
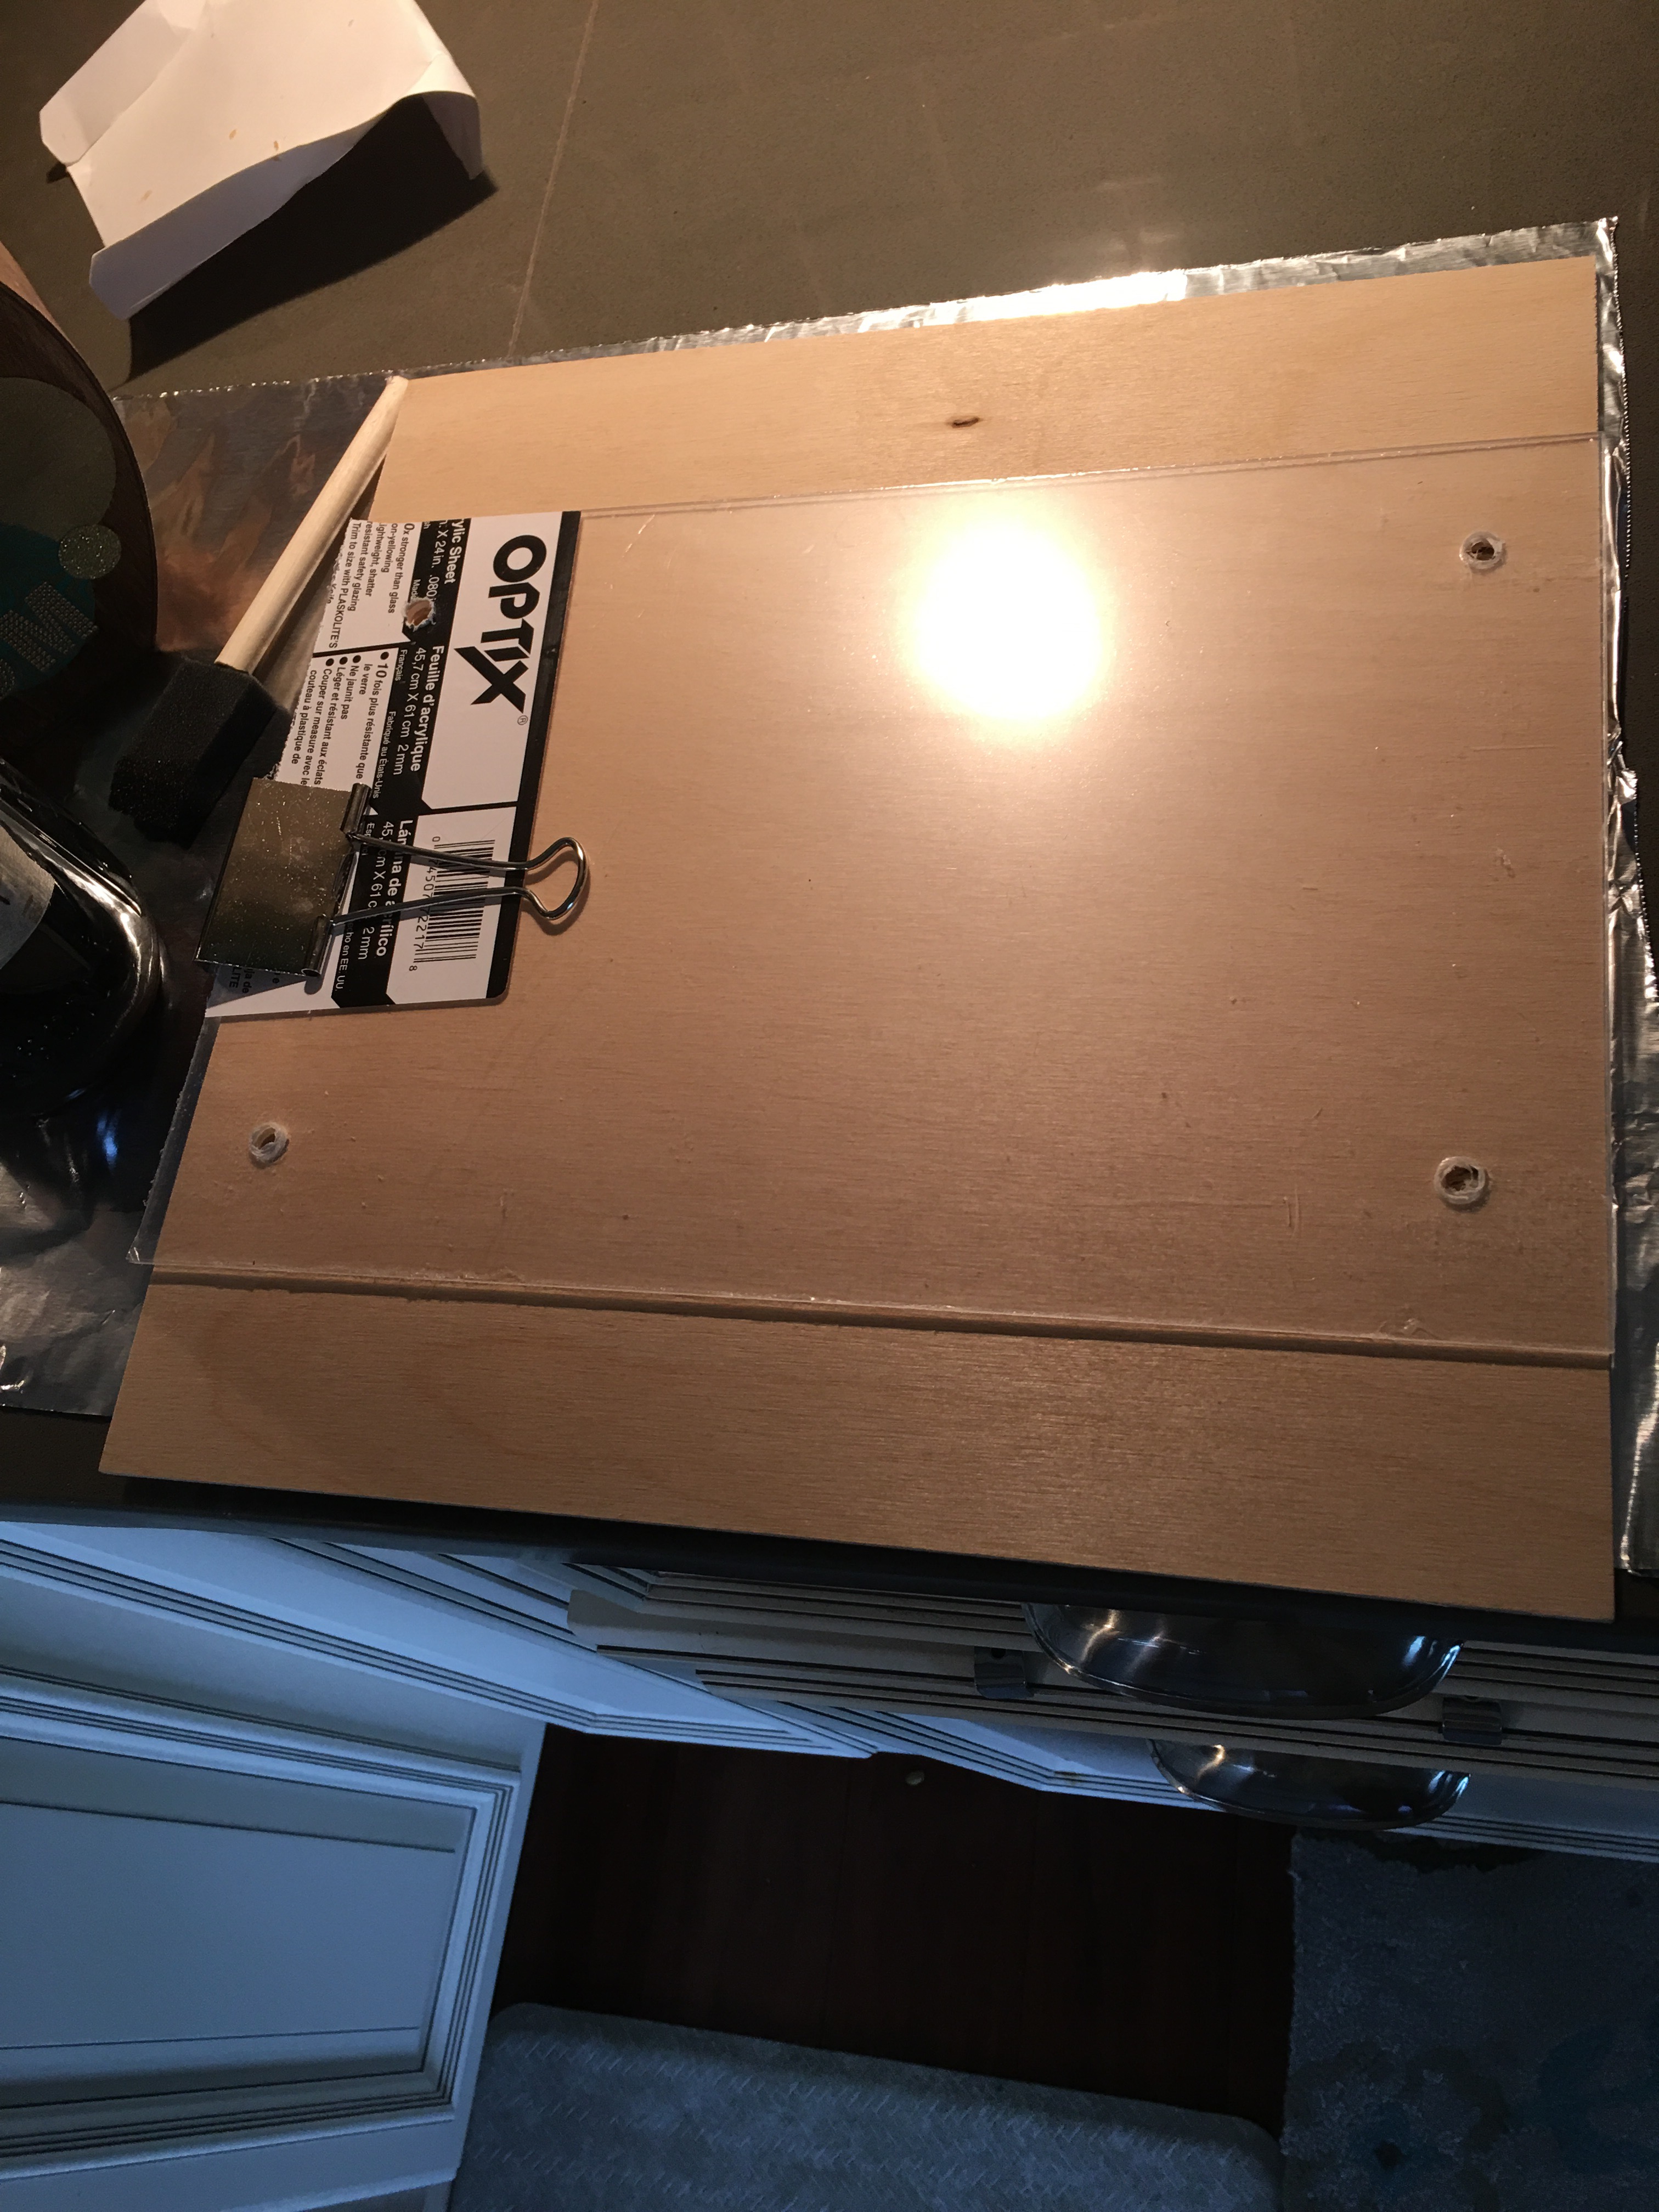
Below are the bare bones materials for this project…plywood and acrylic.
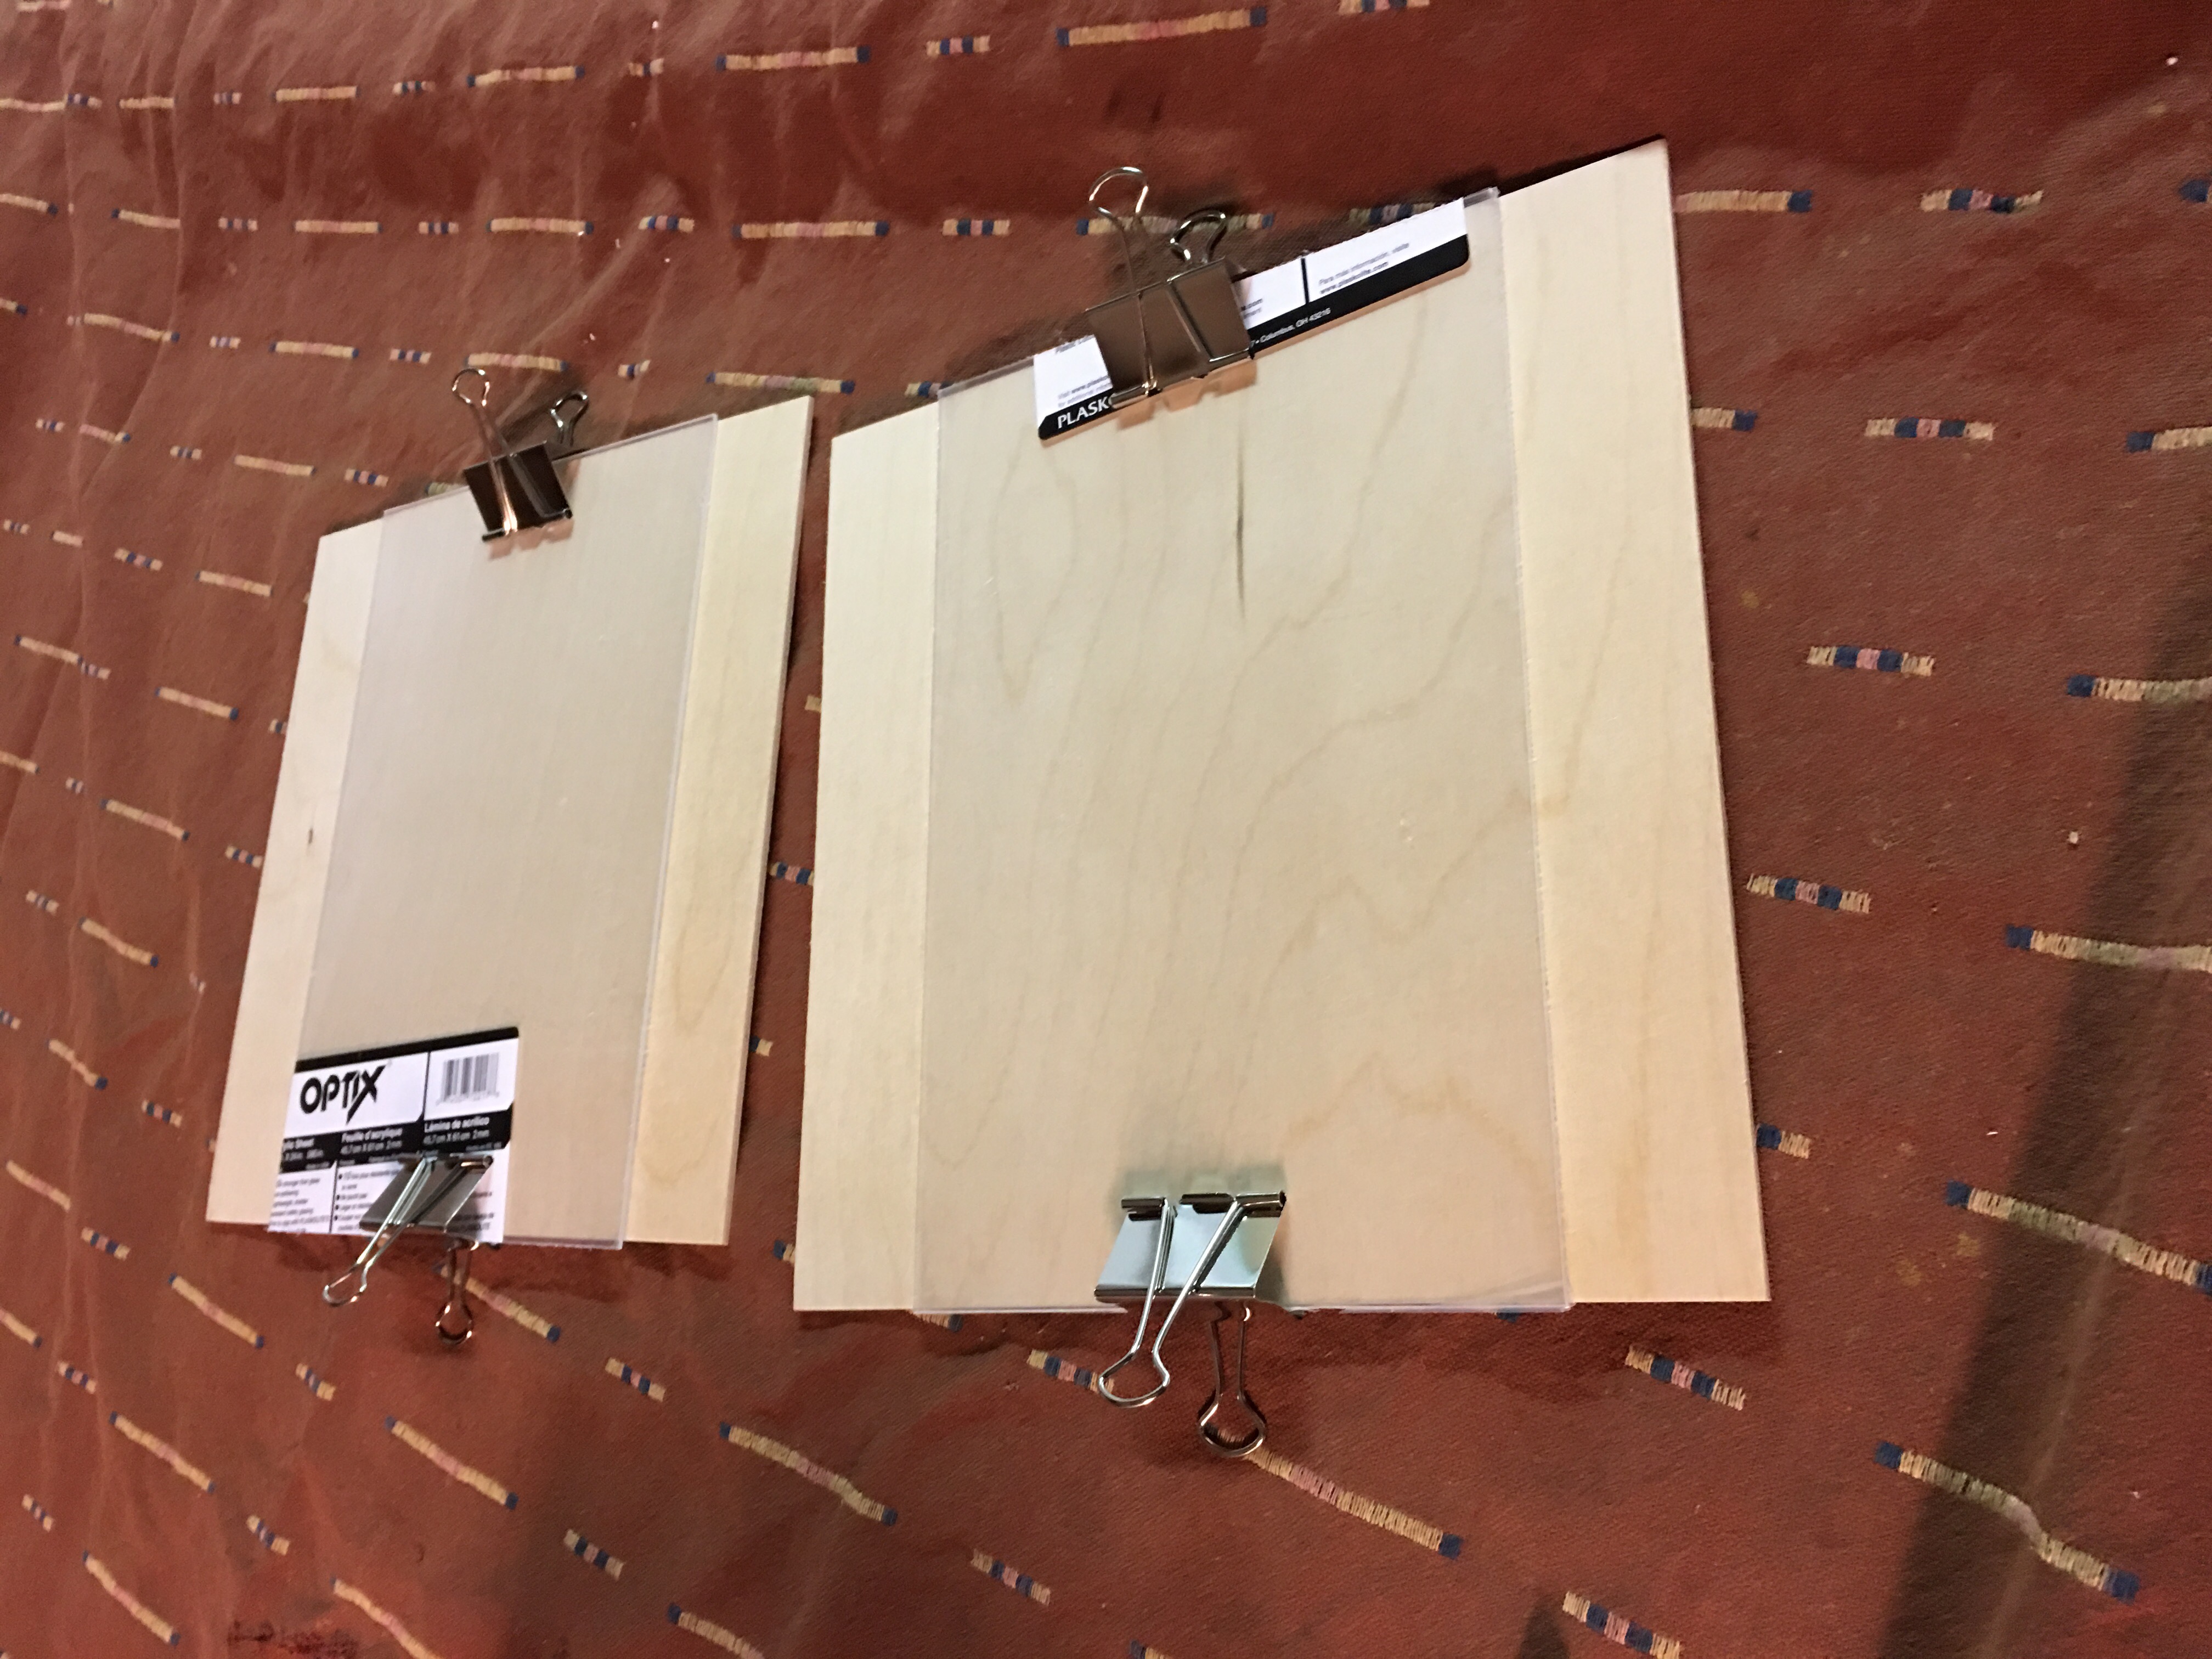
The binder clips were just being used to clip each piece together to prepare for the drill press. I drill four holes through the acrylic and the plywood – one in each corner – to create a floating frame.
To make the frames, here is the project materials list:
- 12 x 12″ 1/4 inch thick plywood pieces (I used the pre-sanded craft plywood pieces that I picked up from the local art store).
- Acrylic 8 x 12″ pieces (I use Optix .08 inch acrylic 18 x 24″ sheets and have them cut into pieces at Lowes).
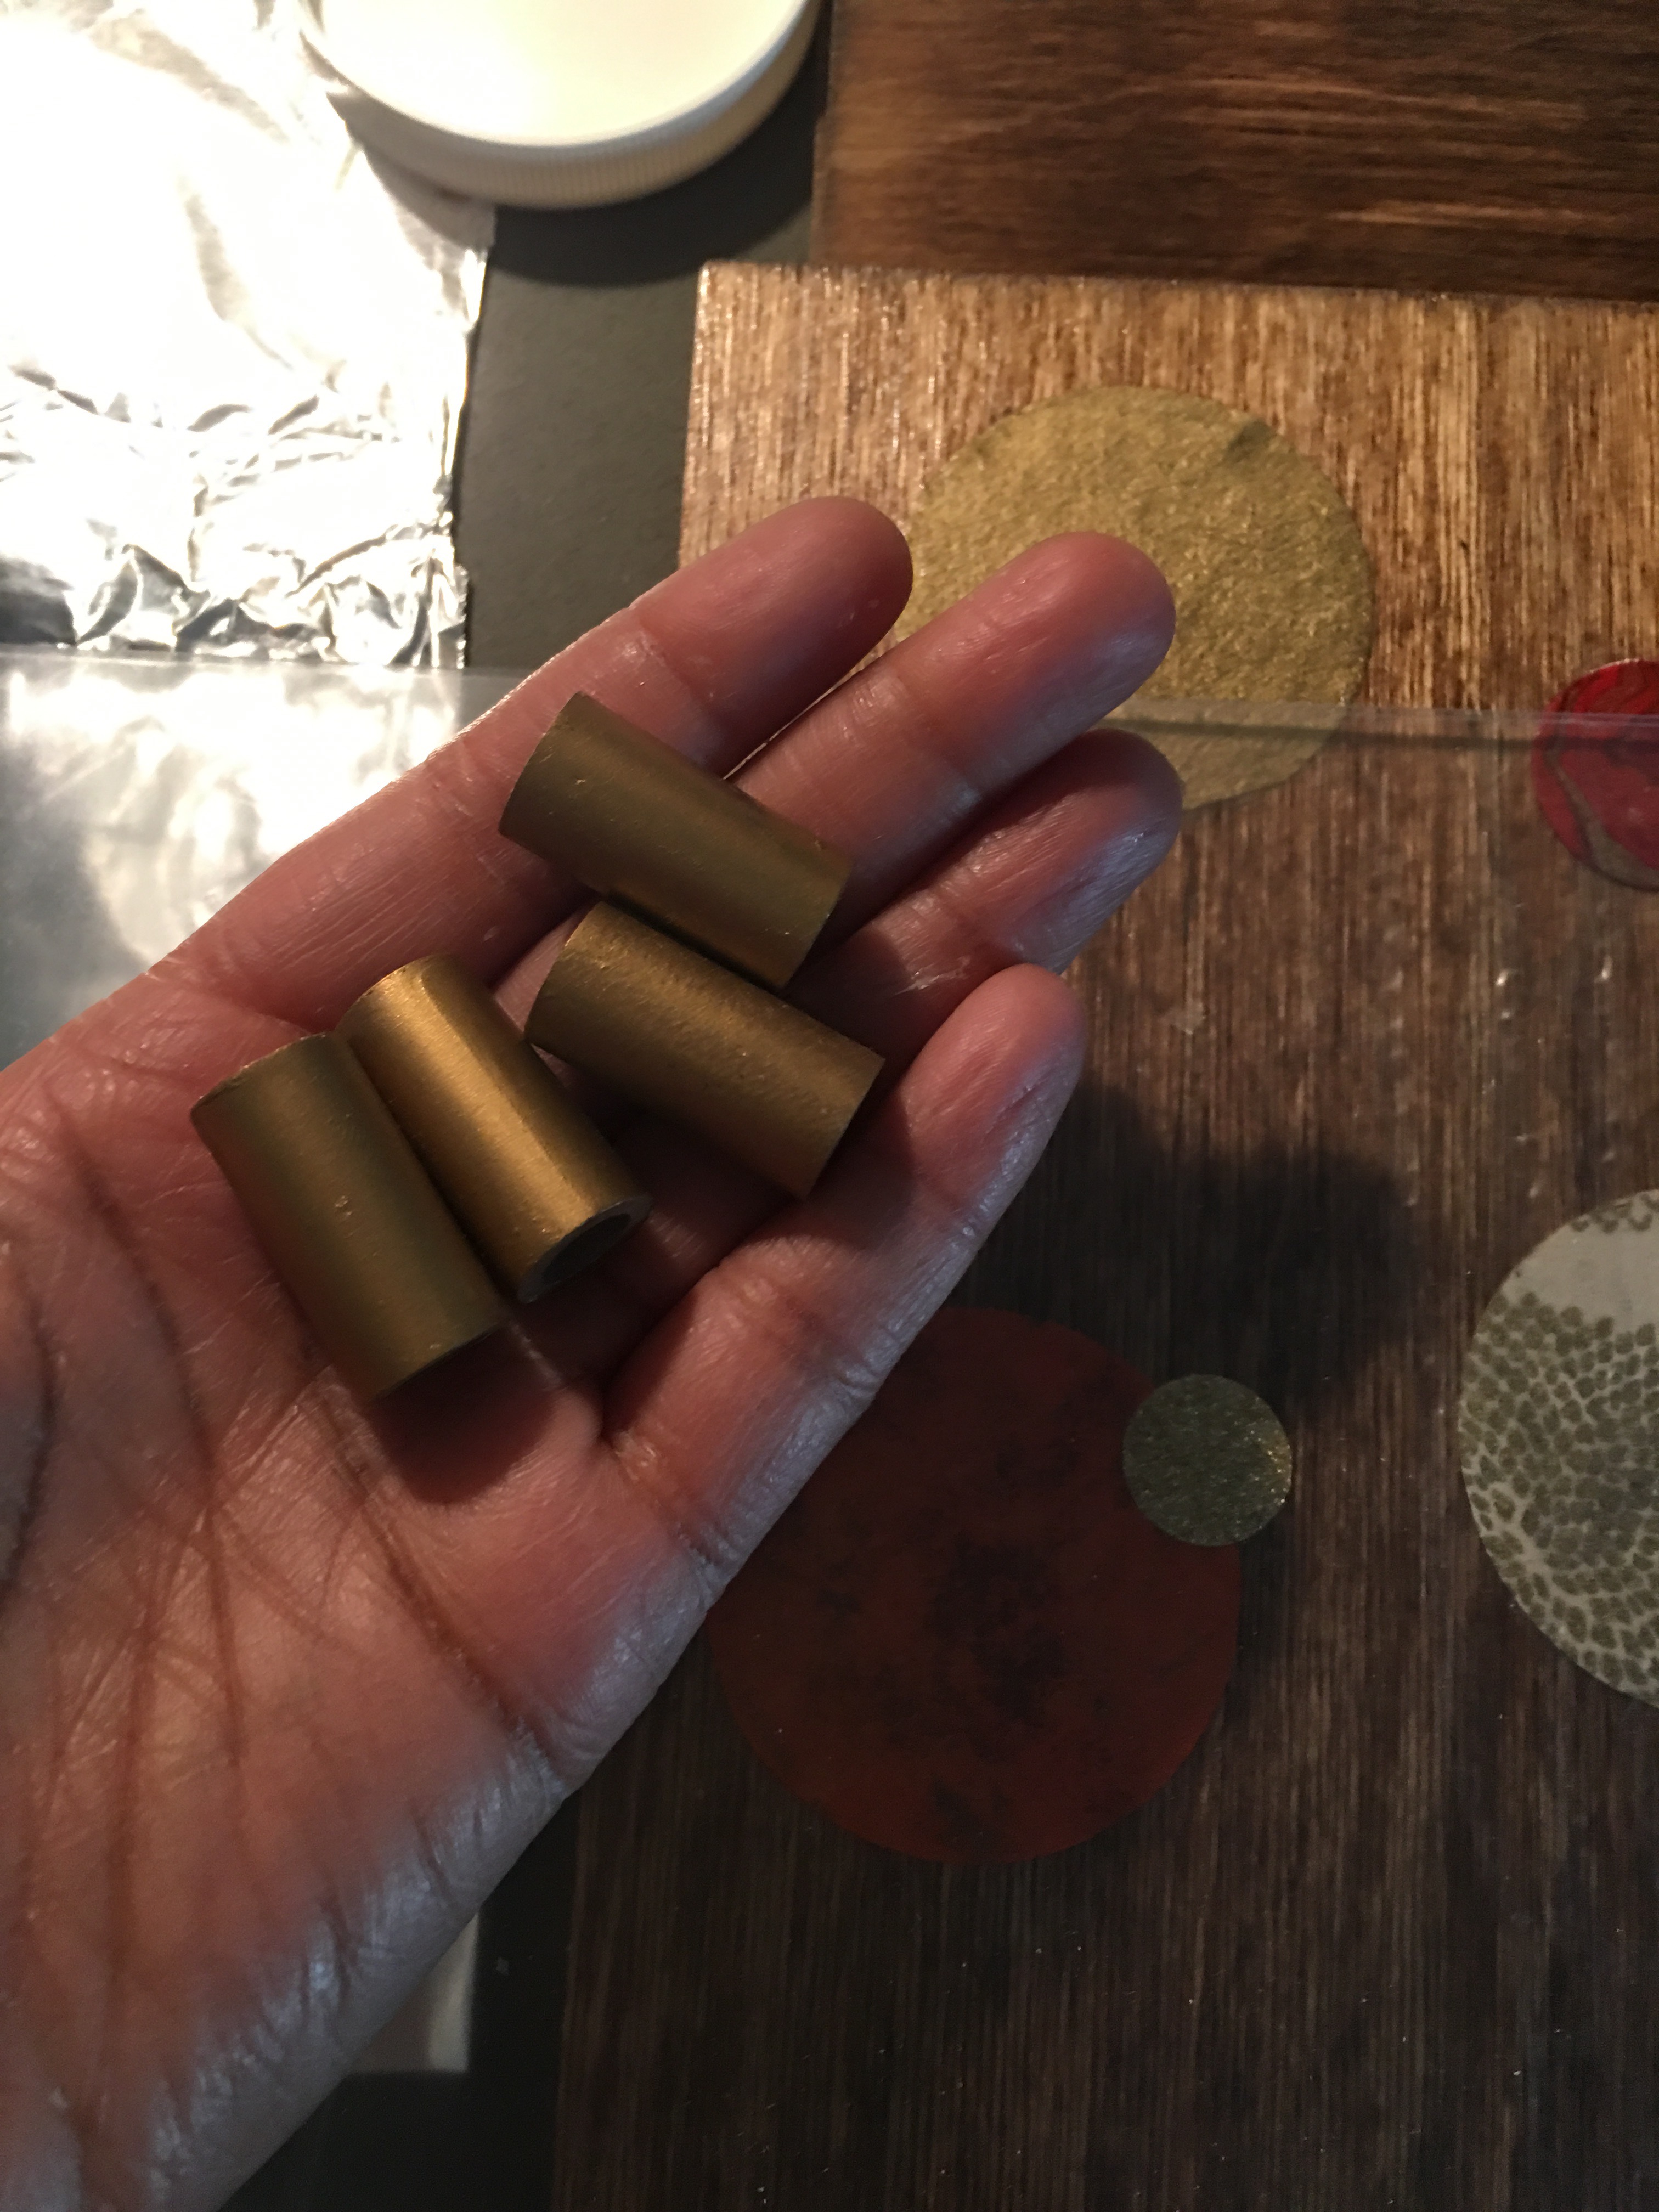
- Plastic 1″ nylon spacers (.257 hole diameter, four per frame).
- Rub and Buff gold leaf metallic wax finish (for “painting” the nylon spacers).
- Wood stain for the plywood.
- 1.25 inch machine screws (size #20 or 1/4 diameter – four per frame).
- Screw nuts (size #20, four per frame).
- 1x1x4″ piece of scrap wood (to use as a back mount support piece).
- Command strips (four per frame for affixing two connected strips for mounting).
- Hot glue gun (for gluing on the back wood piece and Command strips).
- A display photo or picture.
I pre-drilled these 12 x 12 plywood panels early this month and took them with me to the lake for staining and decorating.
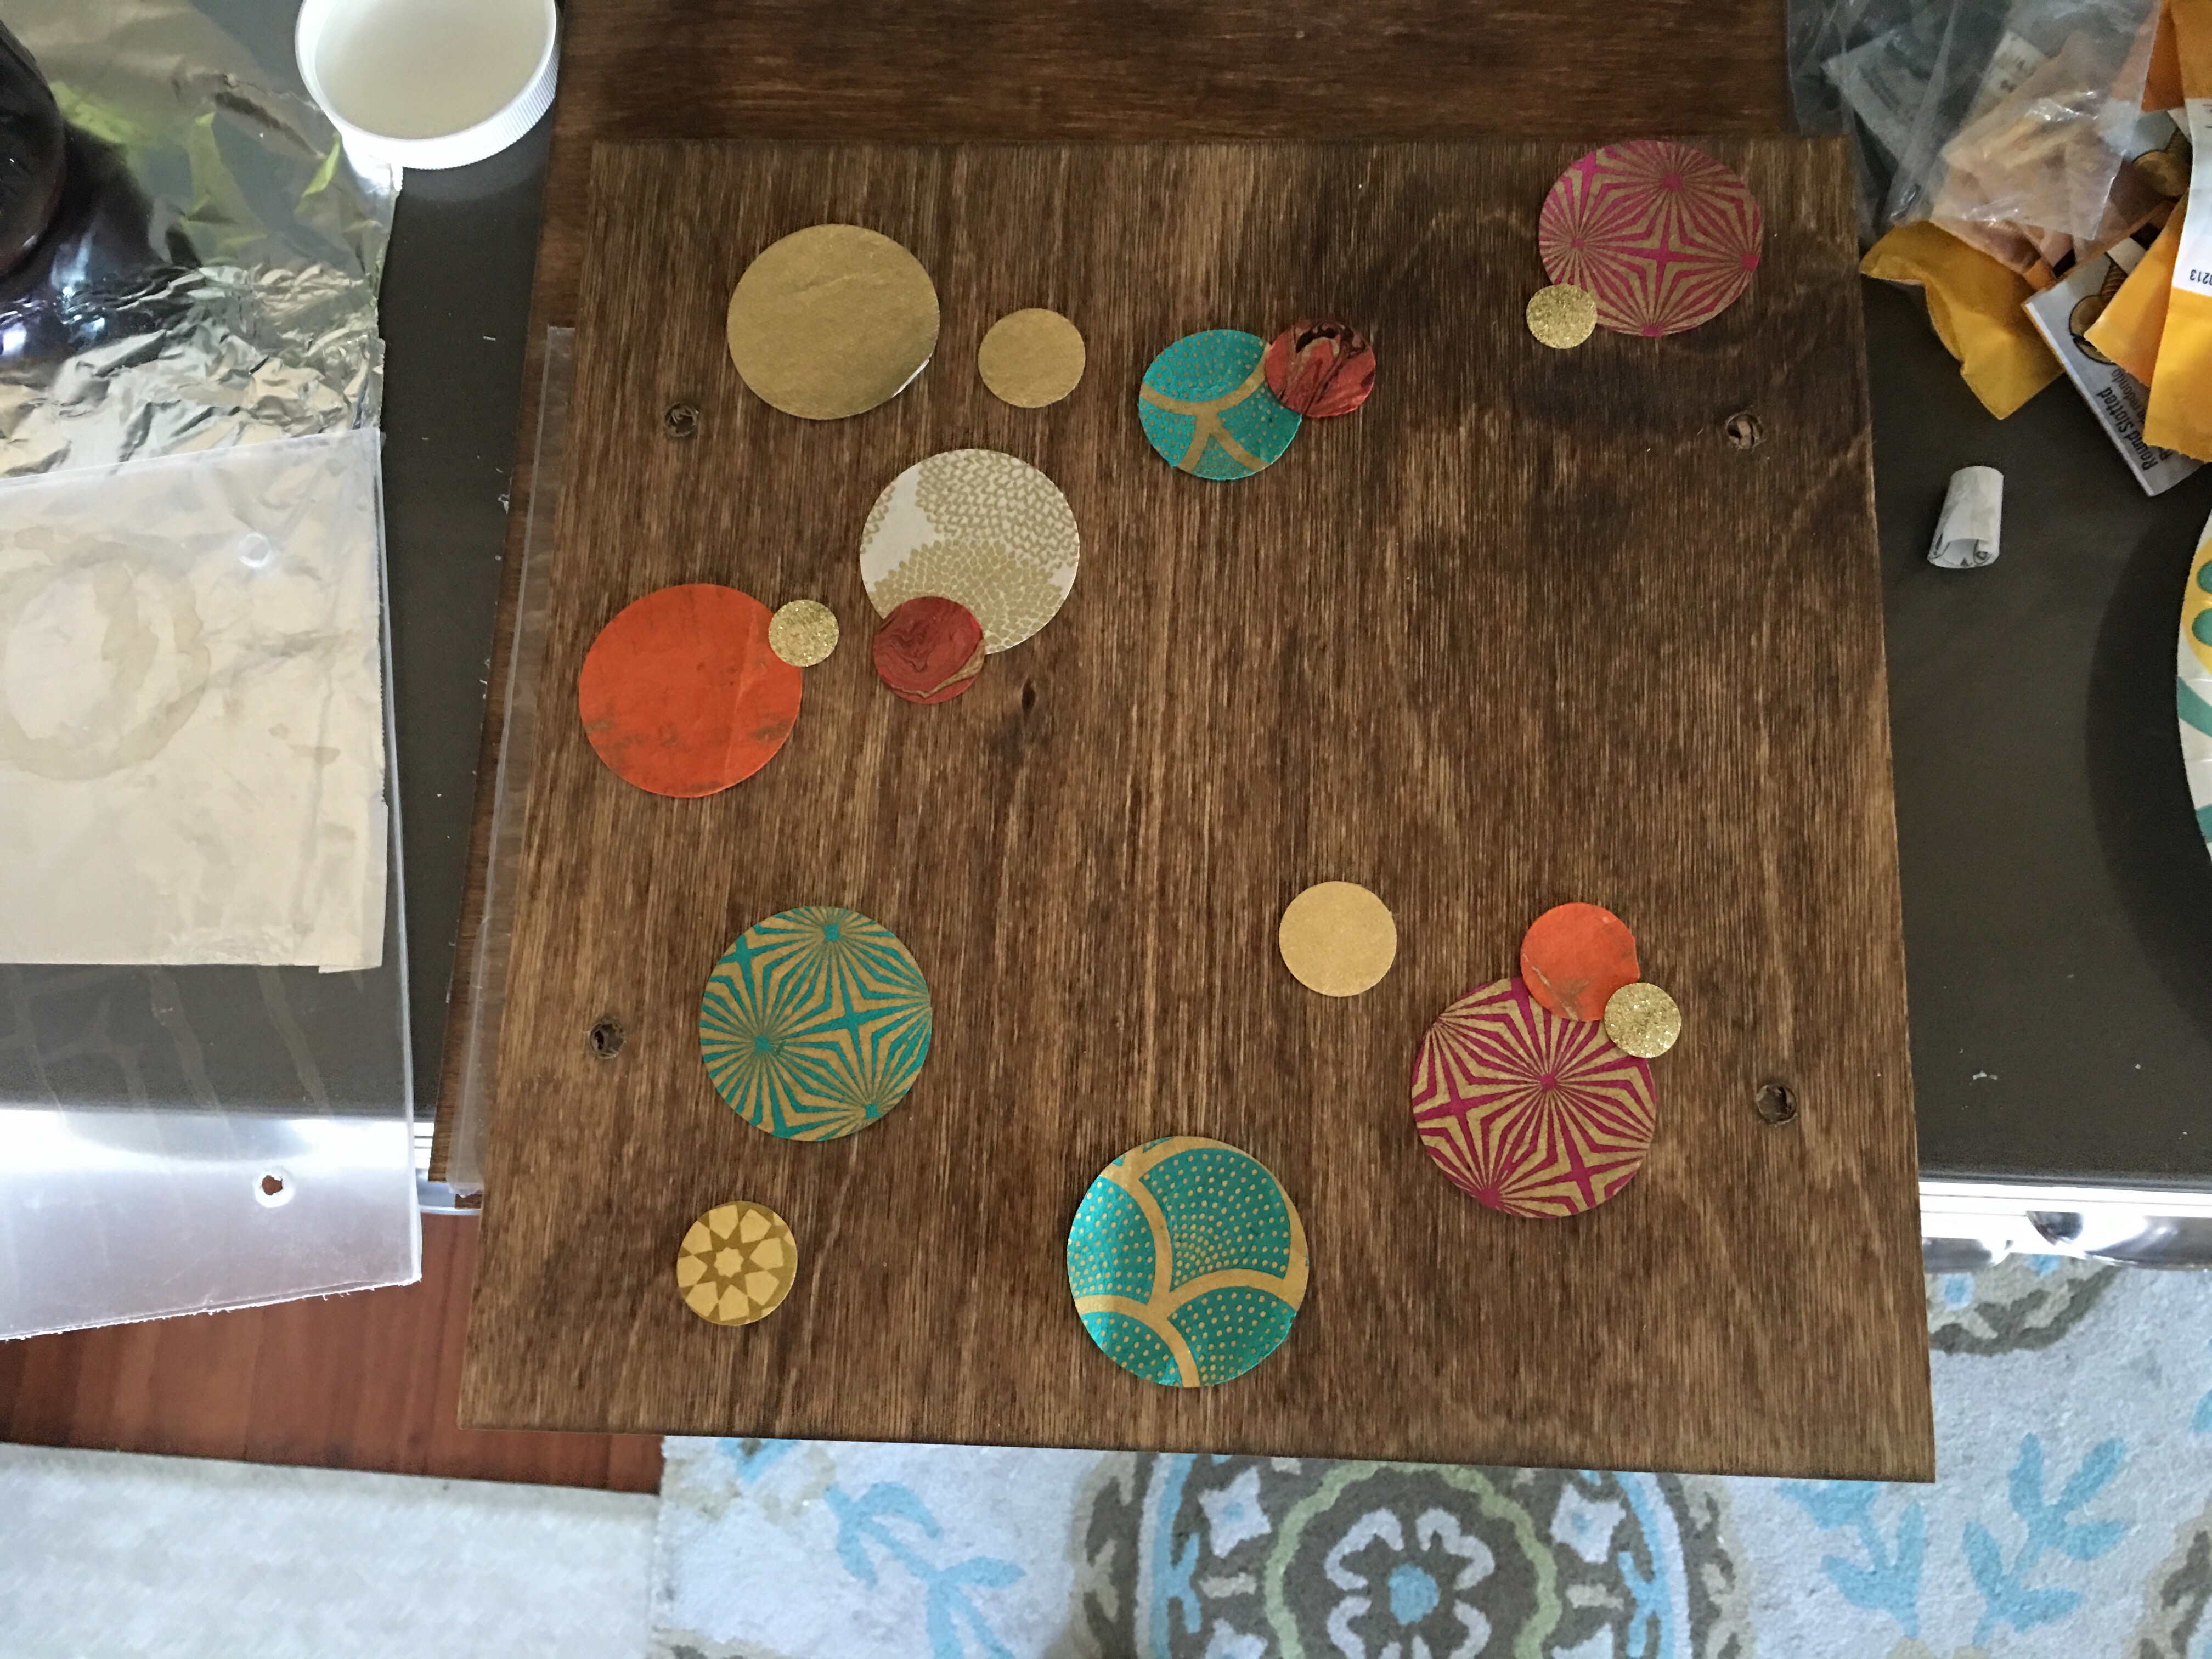
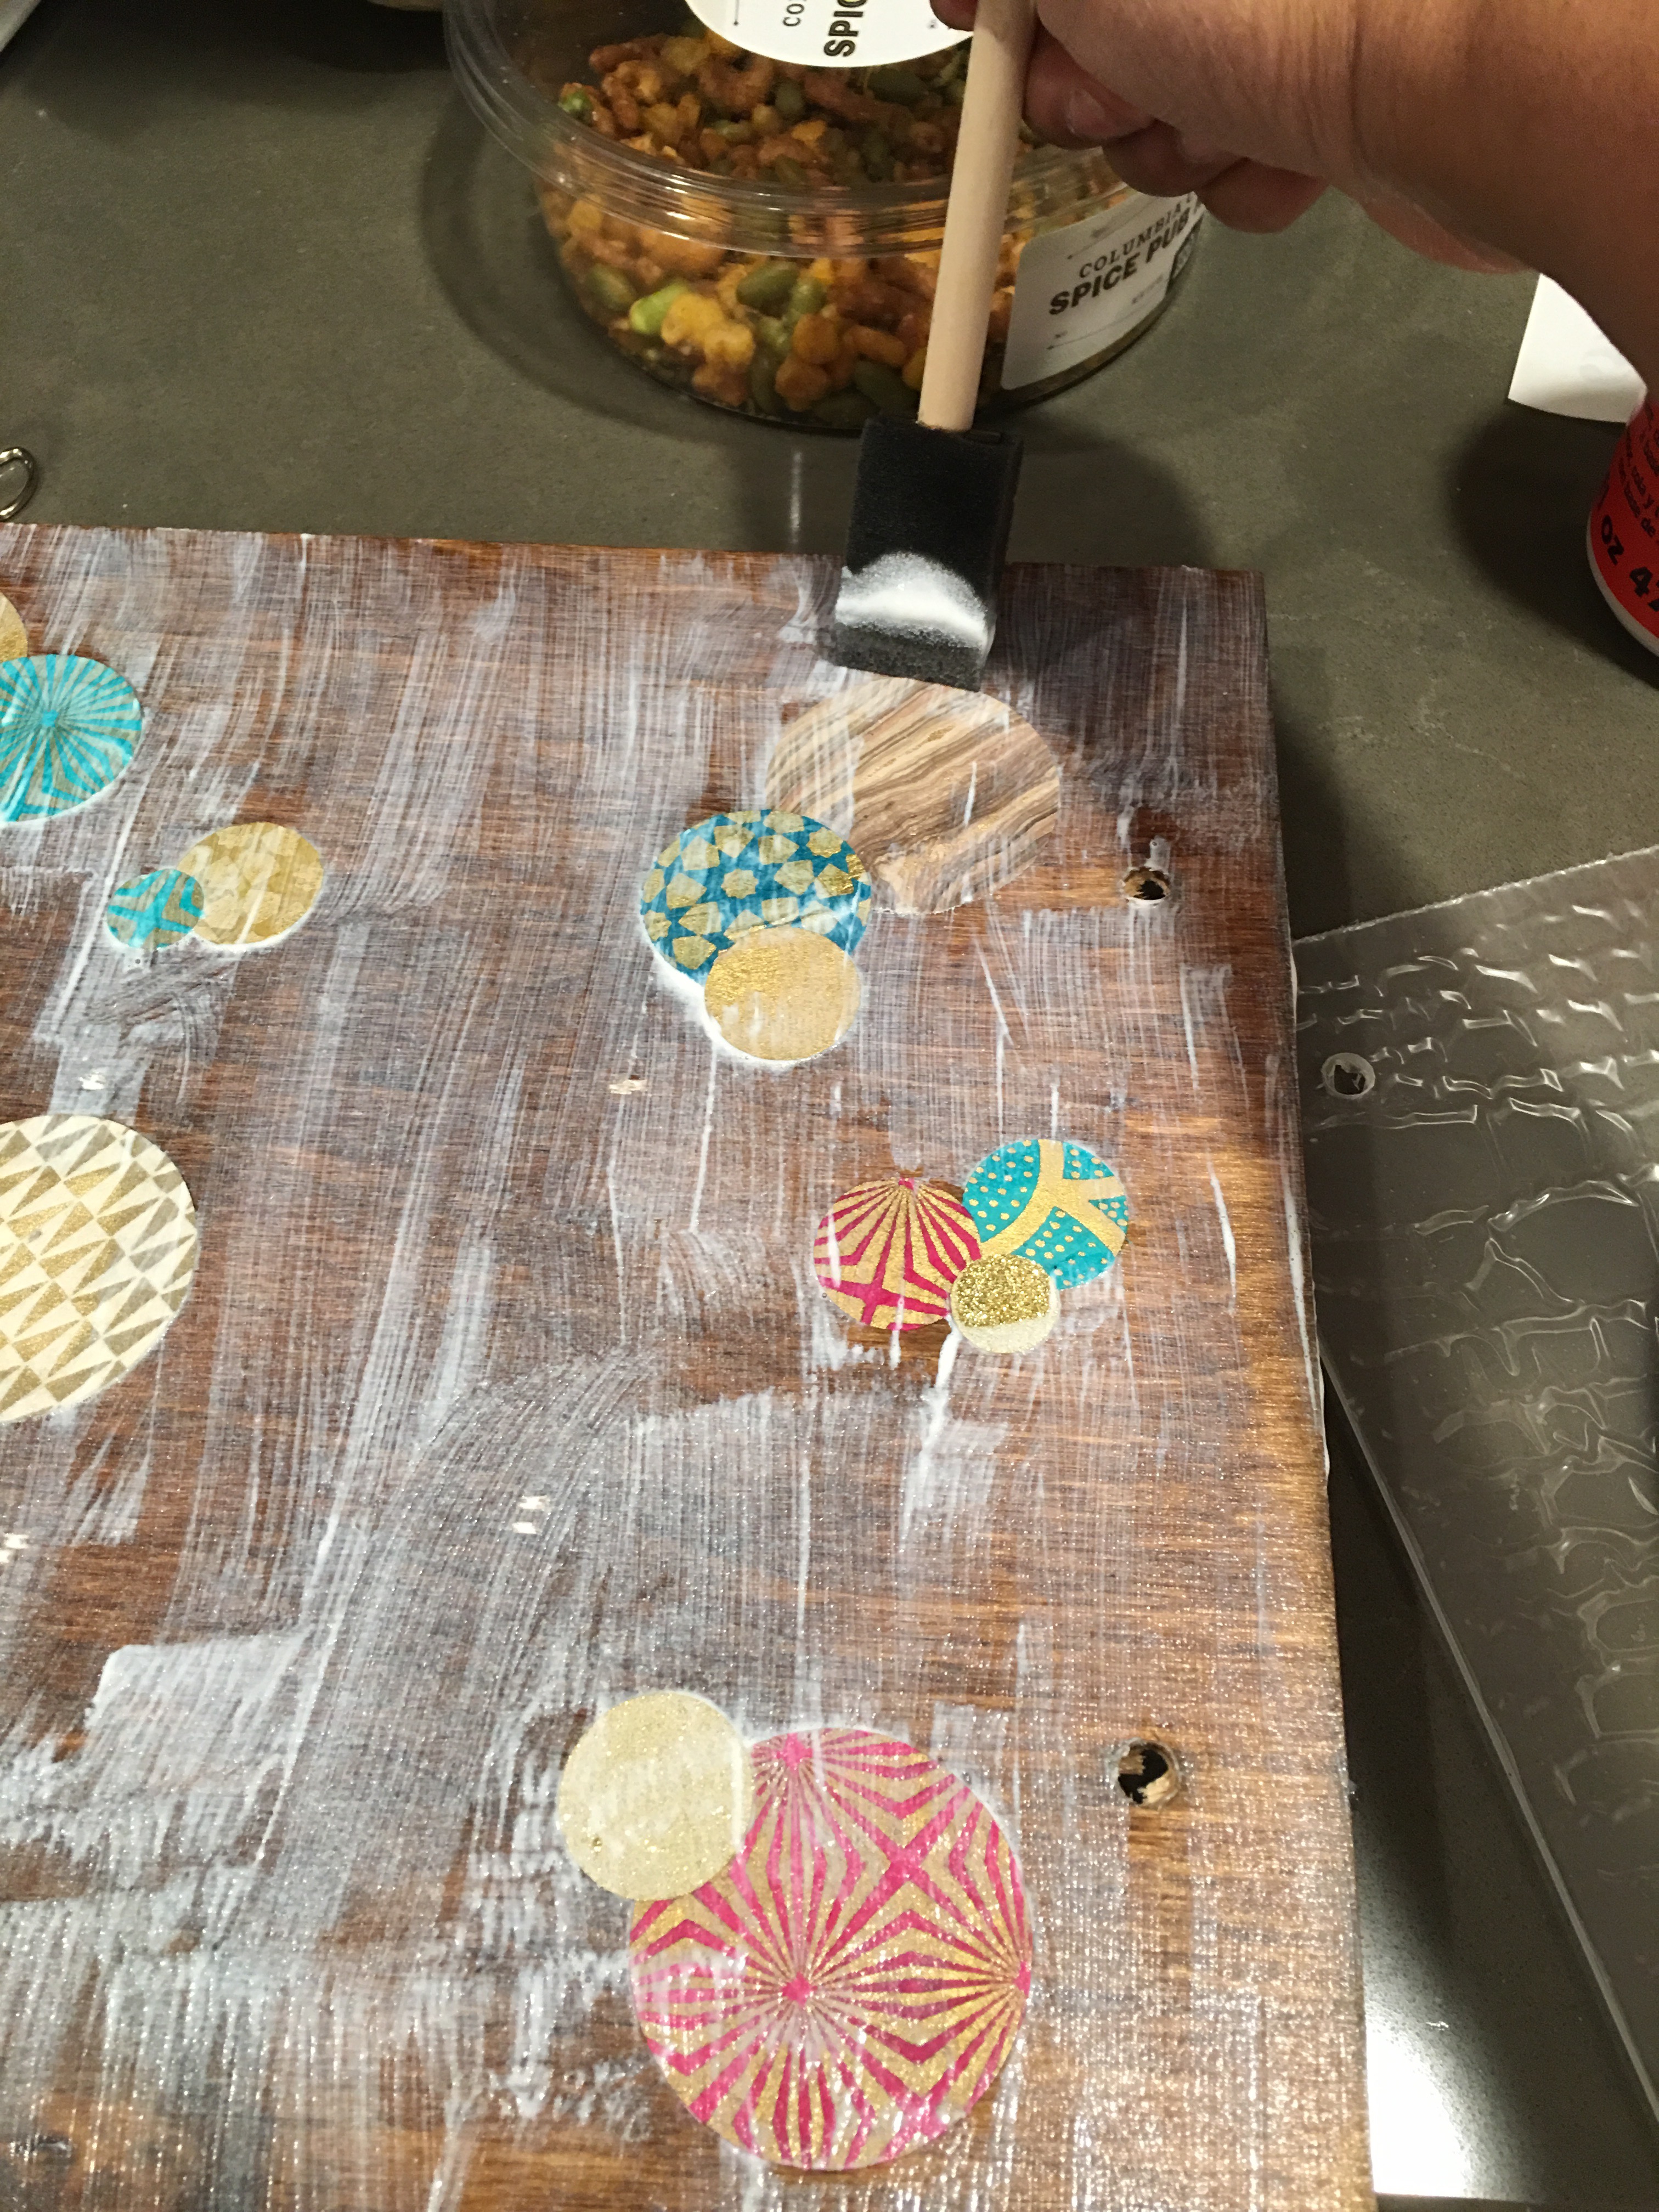
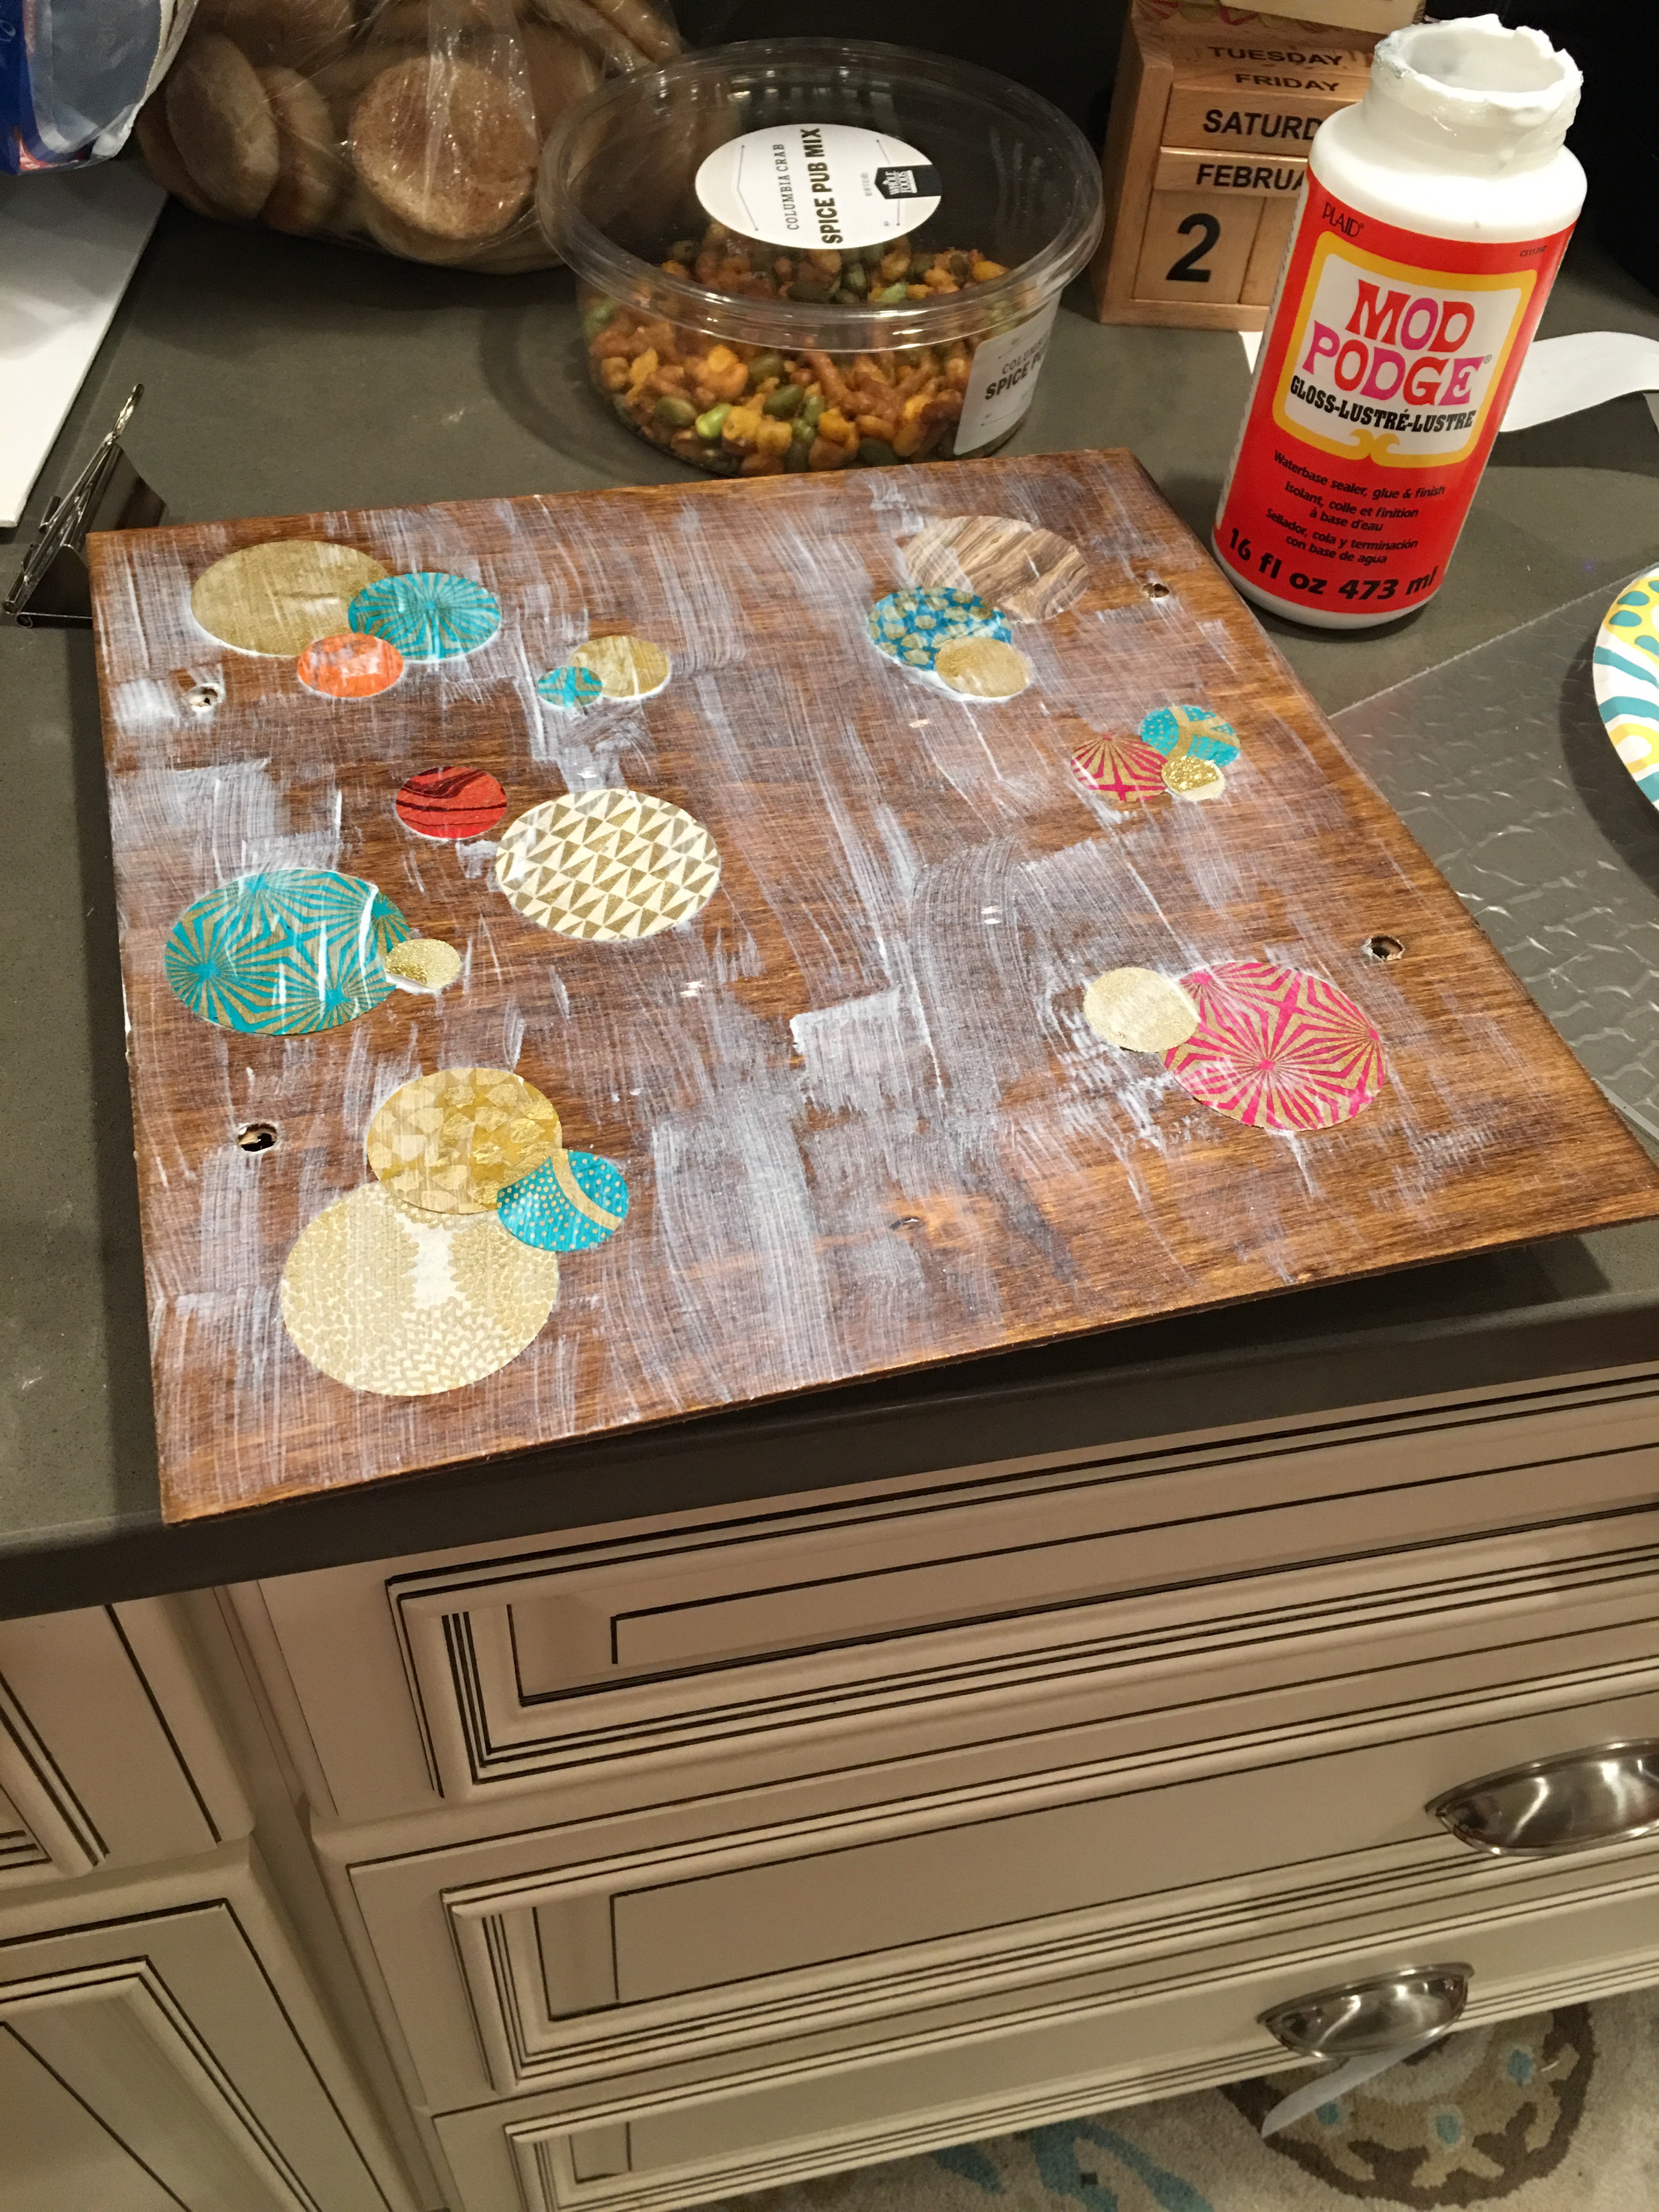
I didn’t quite get around to working with these panels while at the lake, so today, I’m staining the wood (with Early American Minwax wood stain). And I’m decorating the wood with paper decoupage (my favorite – circle punch-outs of decorative papers from Paper Source, Blick Art and Plaza Art).
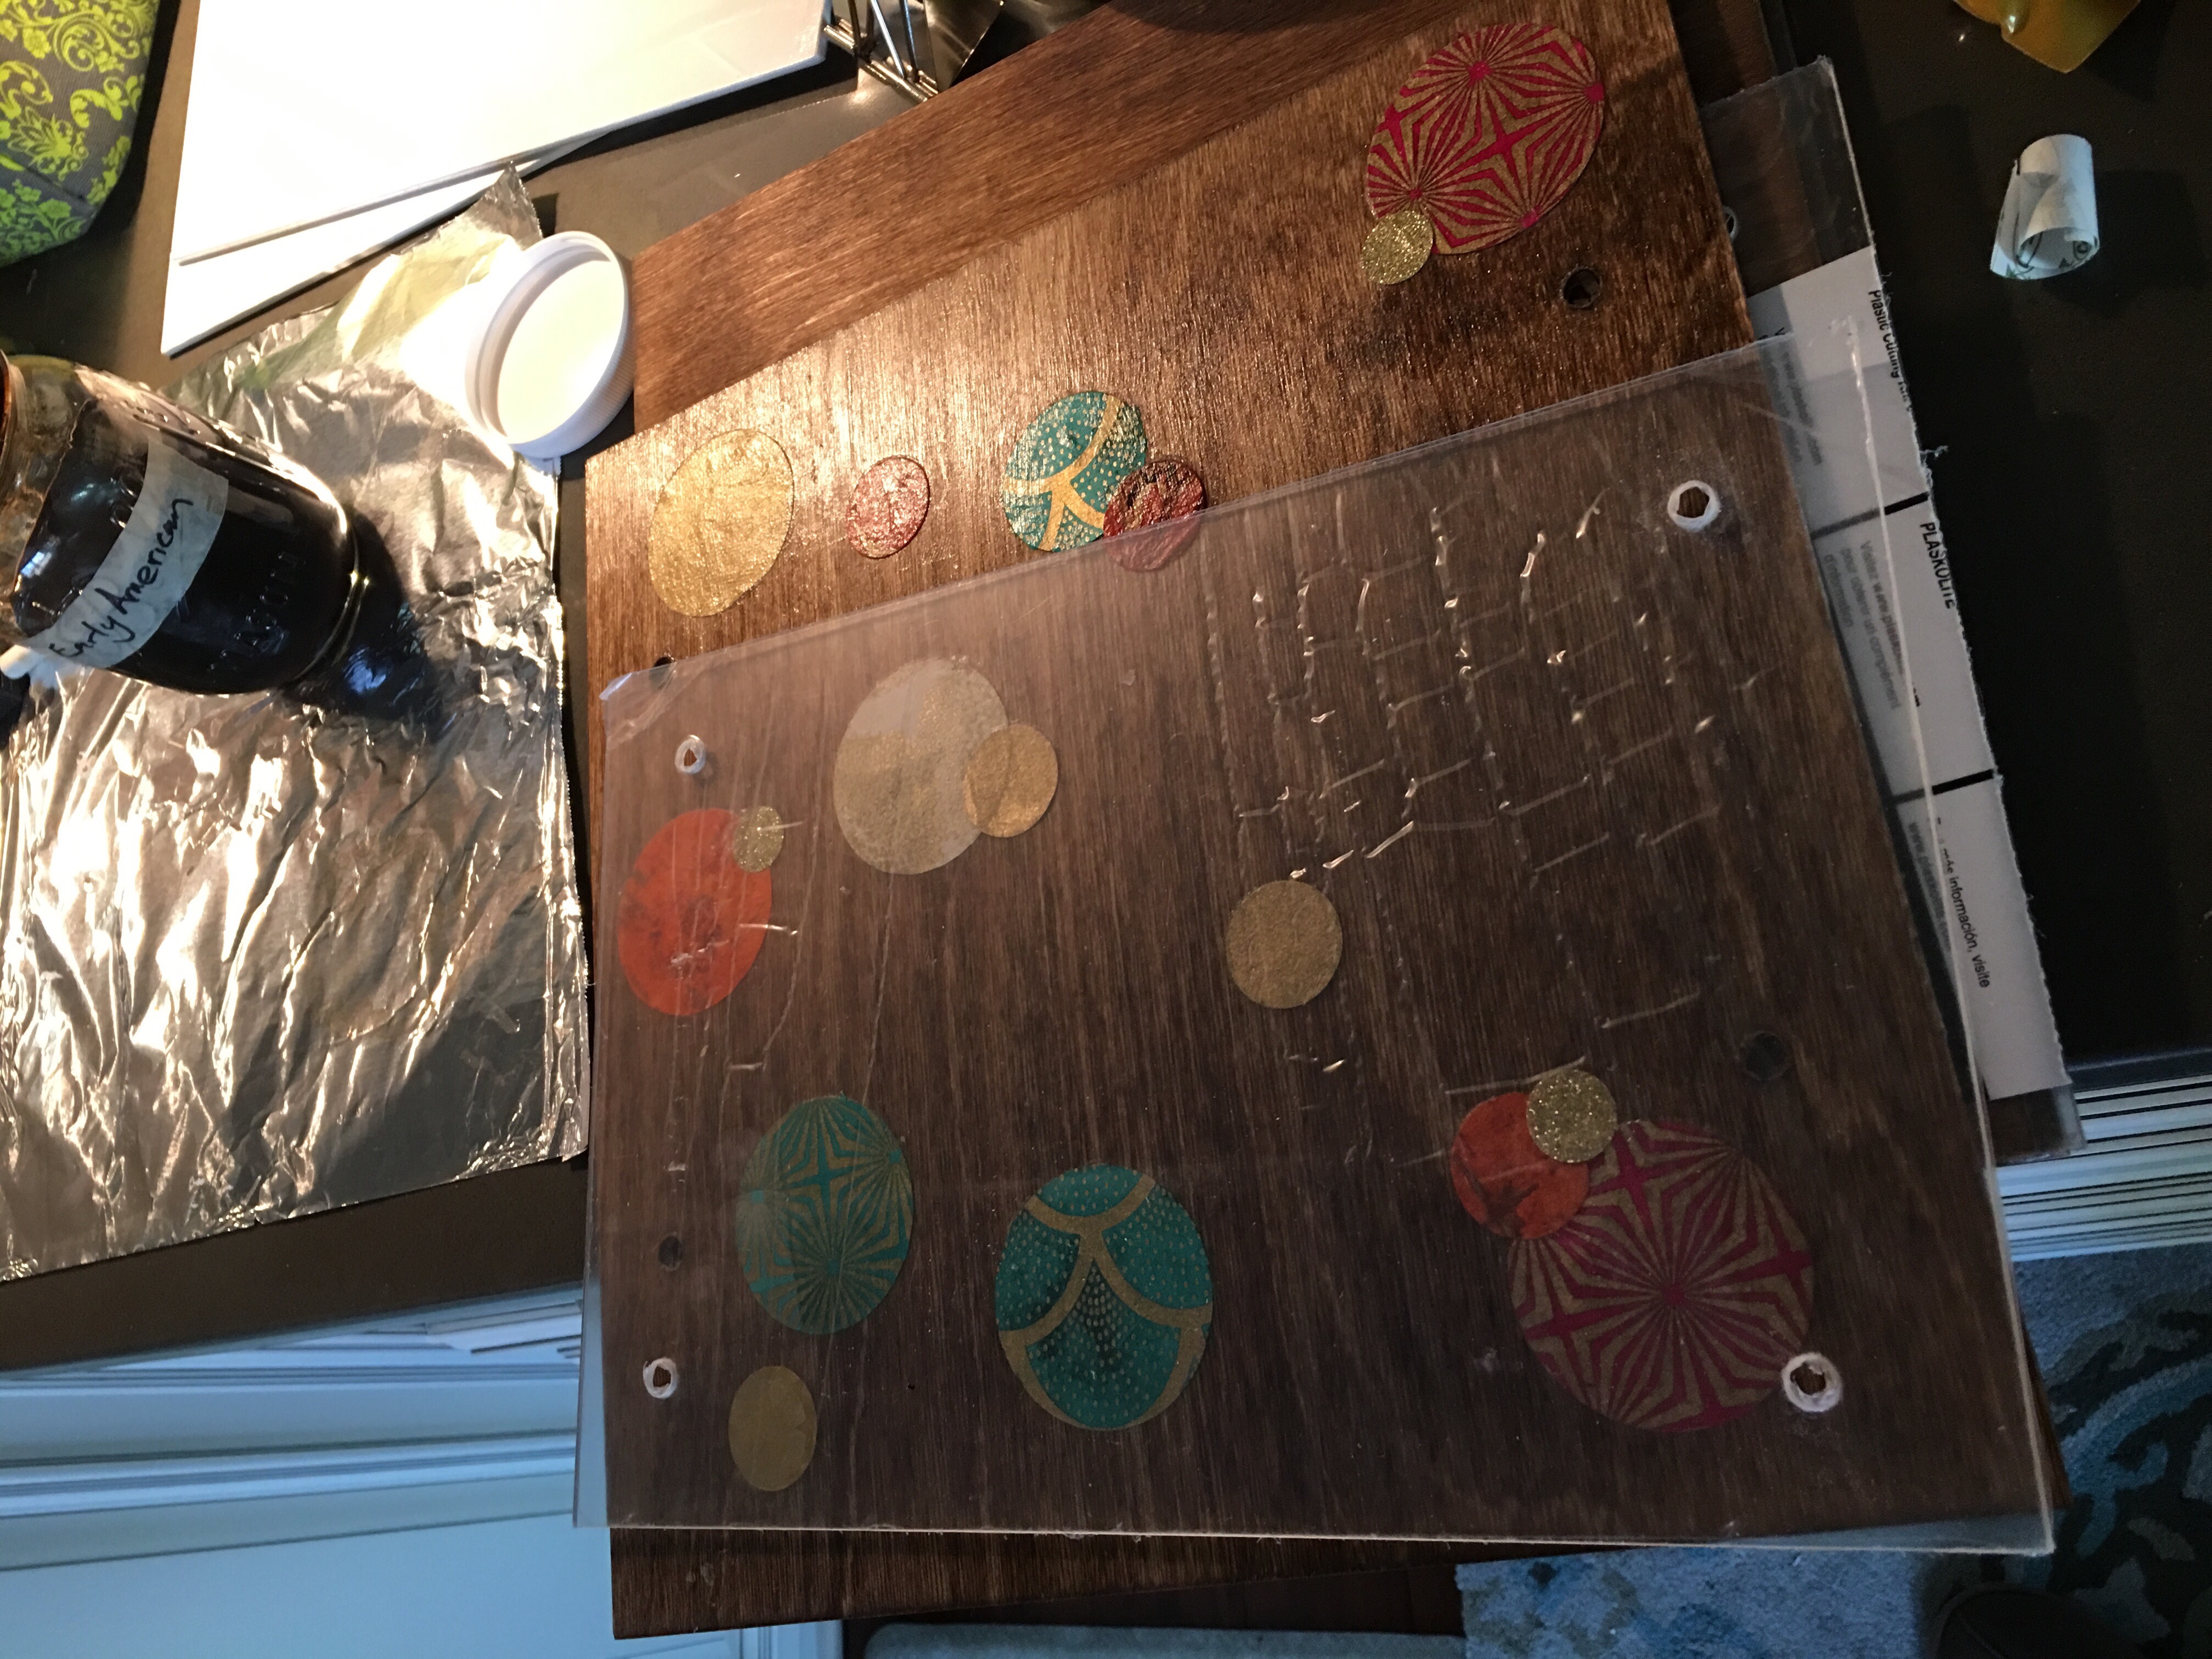
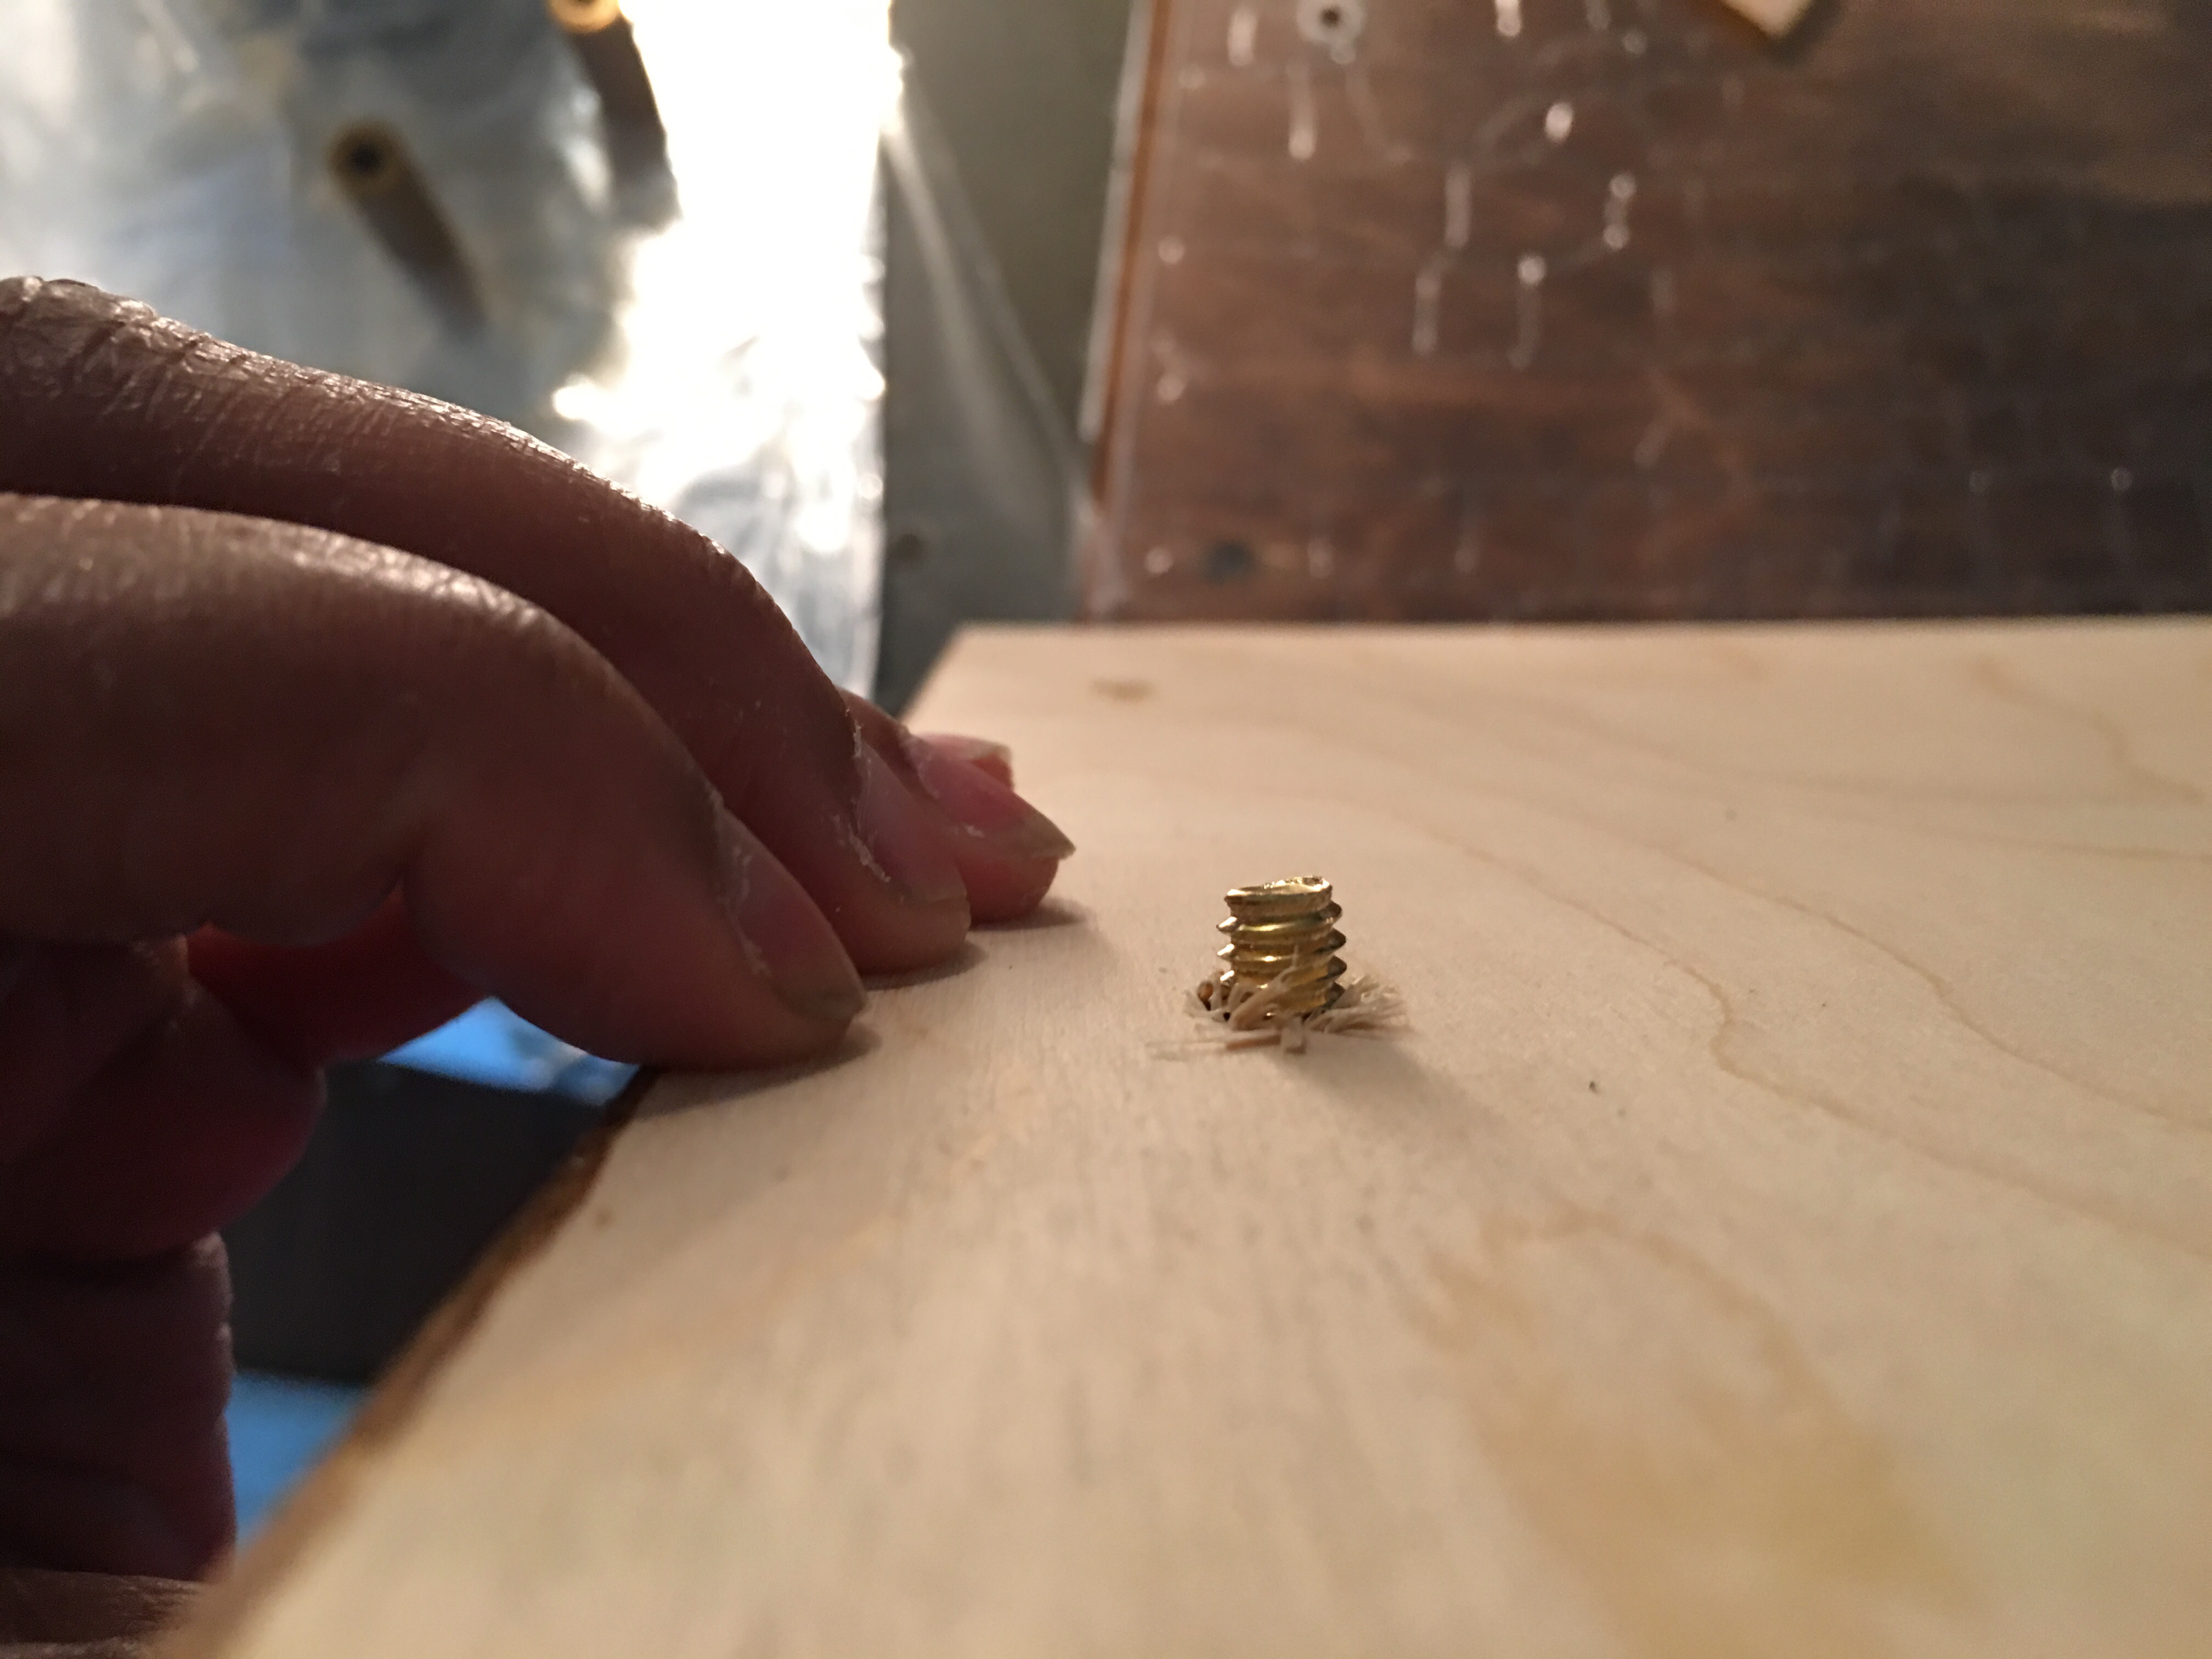
To add the floating acrylic display panel, I use four nylon 1 inch spacers that I covered in gold leaf using Rub and Buff.
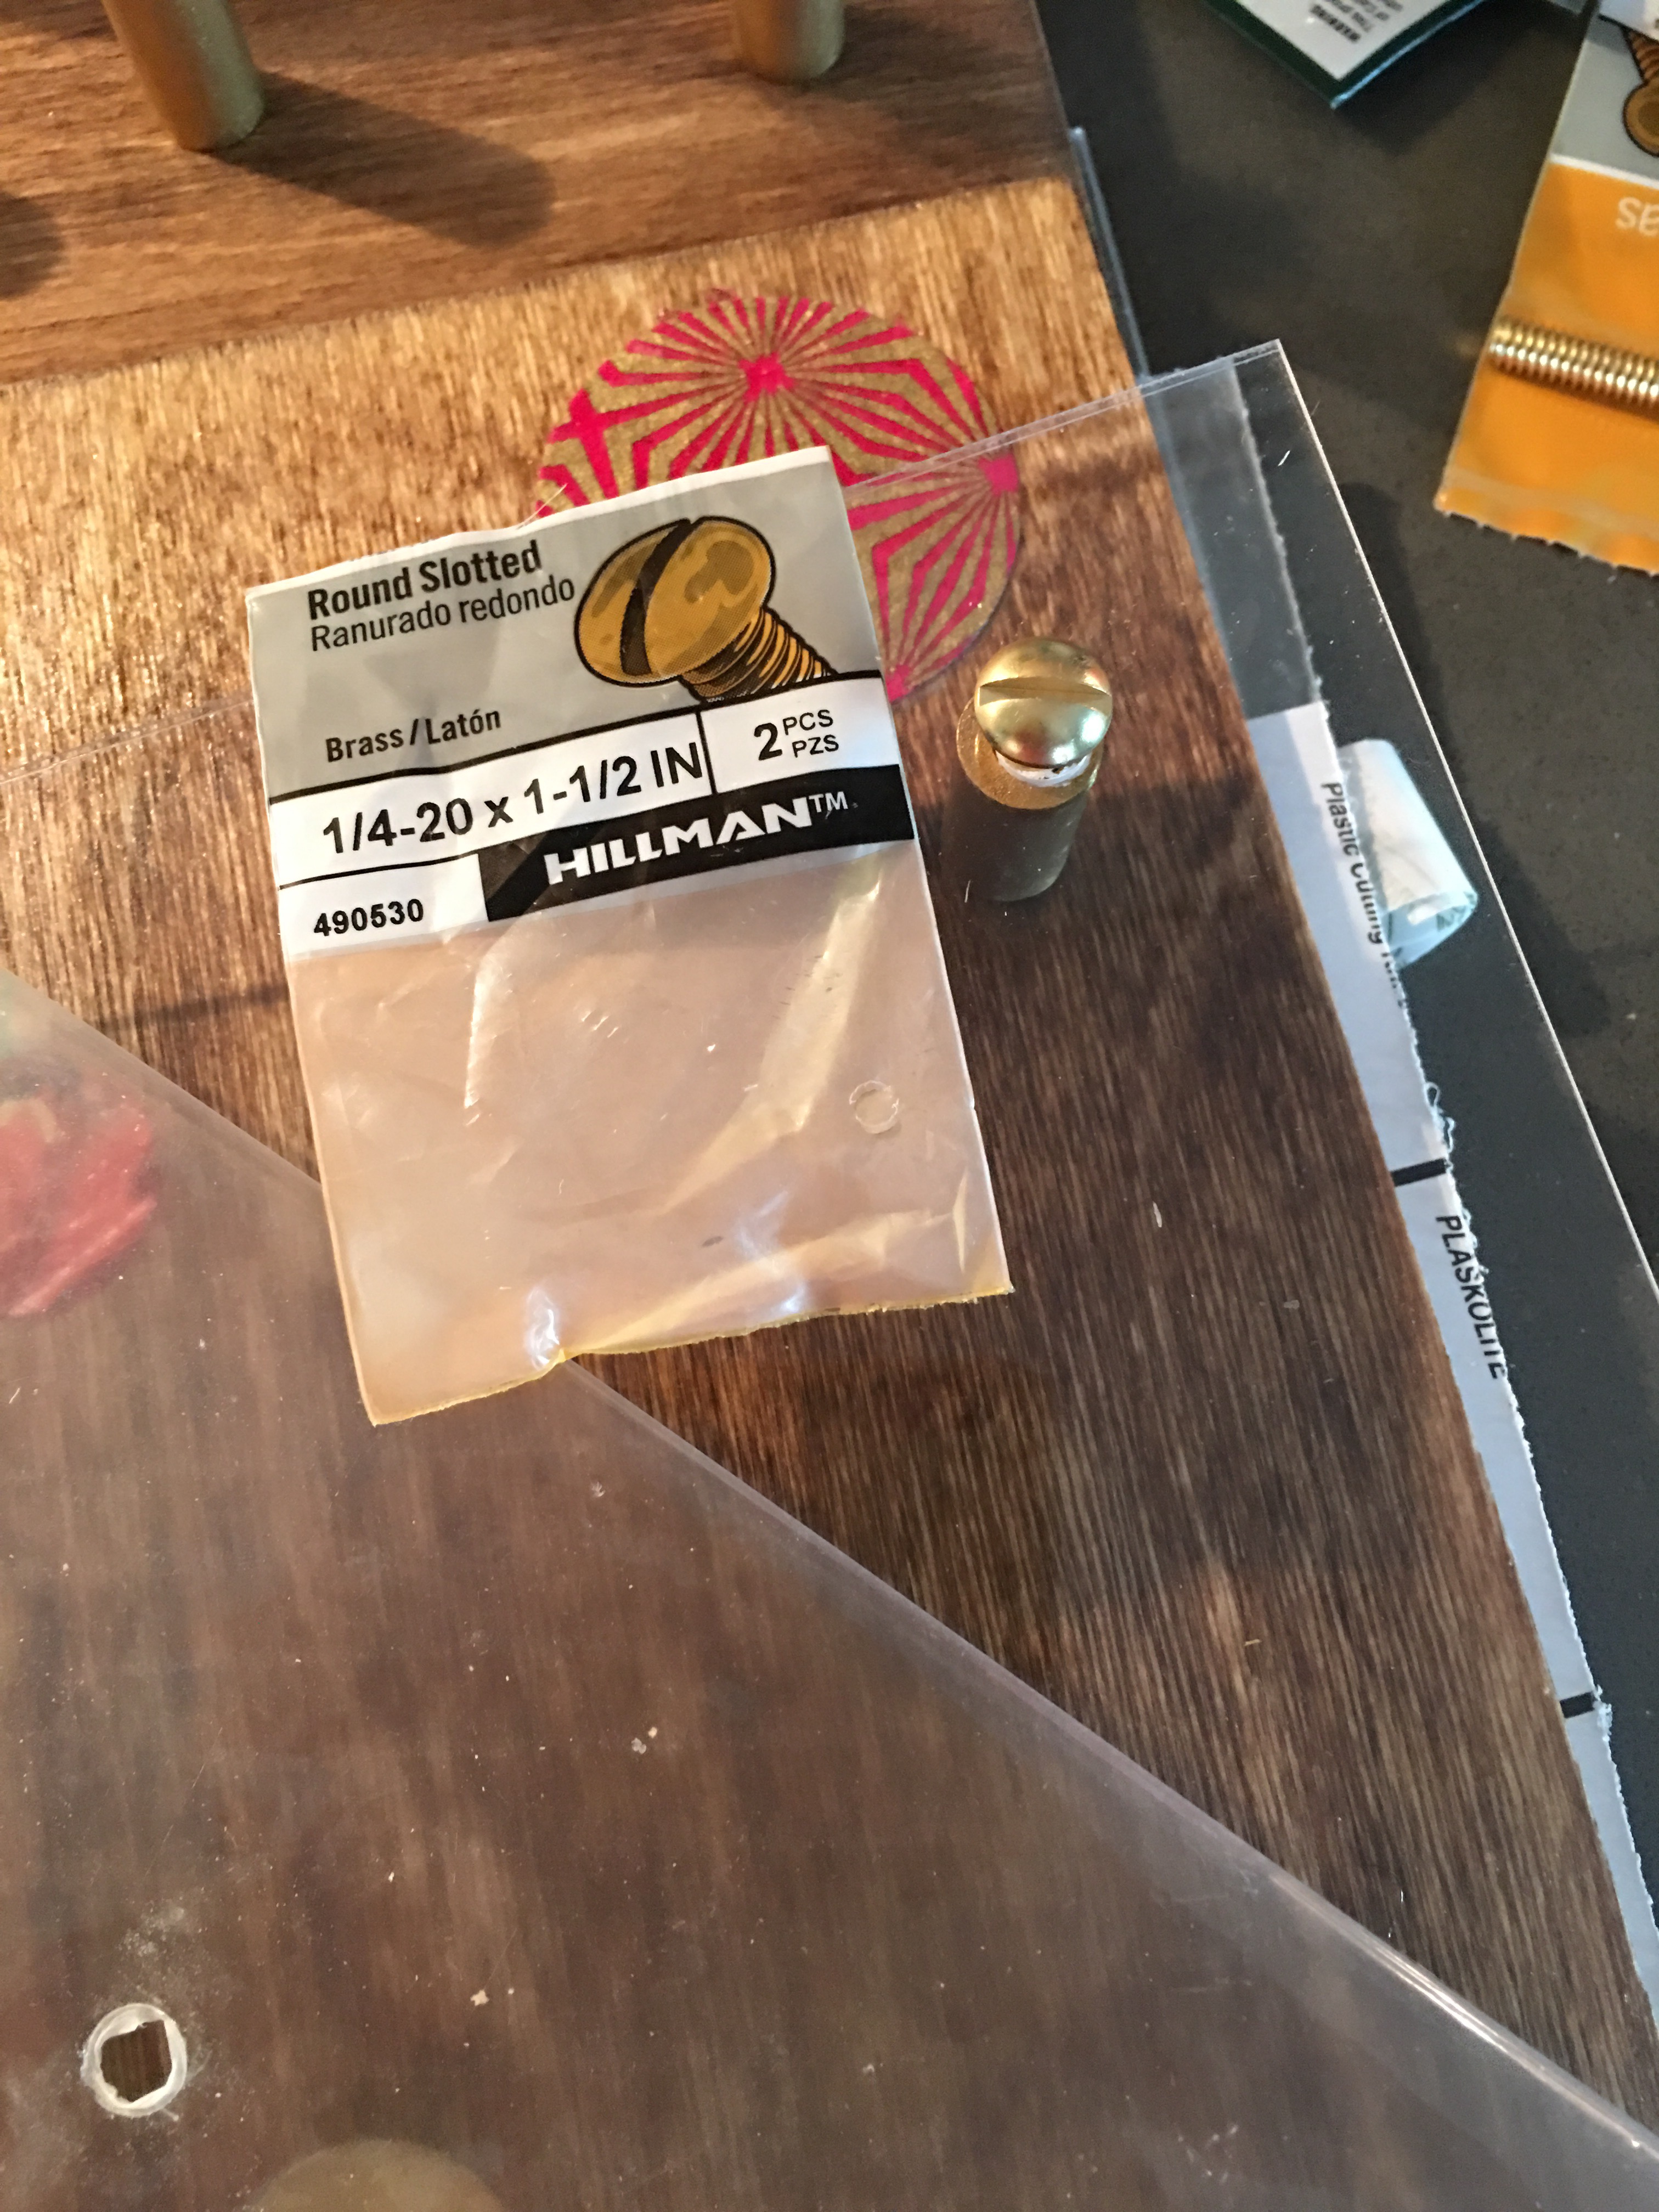
For these spacers, I chose the brass 1/4 (#20) machine screws (1 and 1/2 inch length).
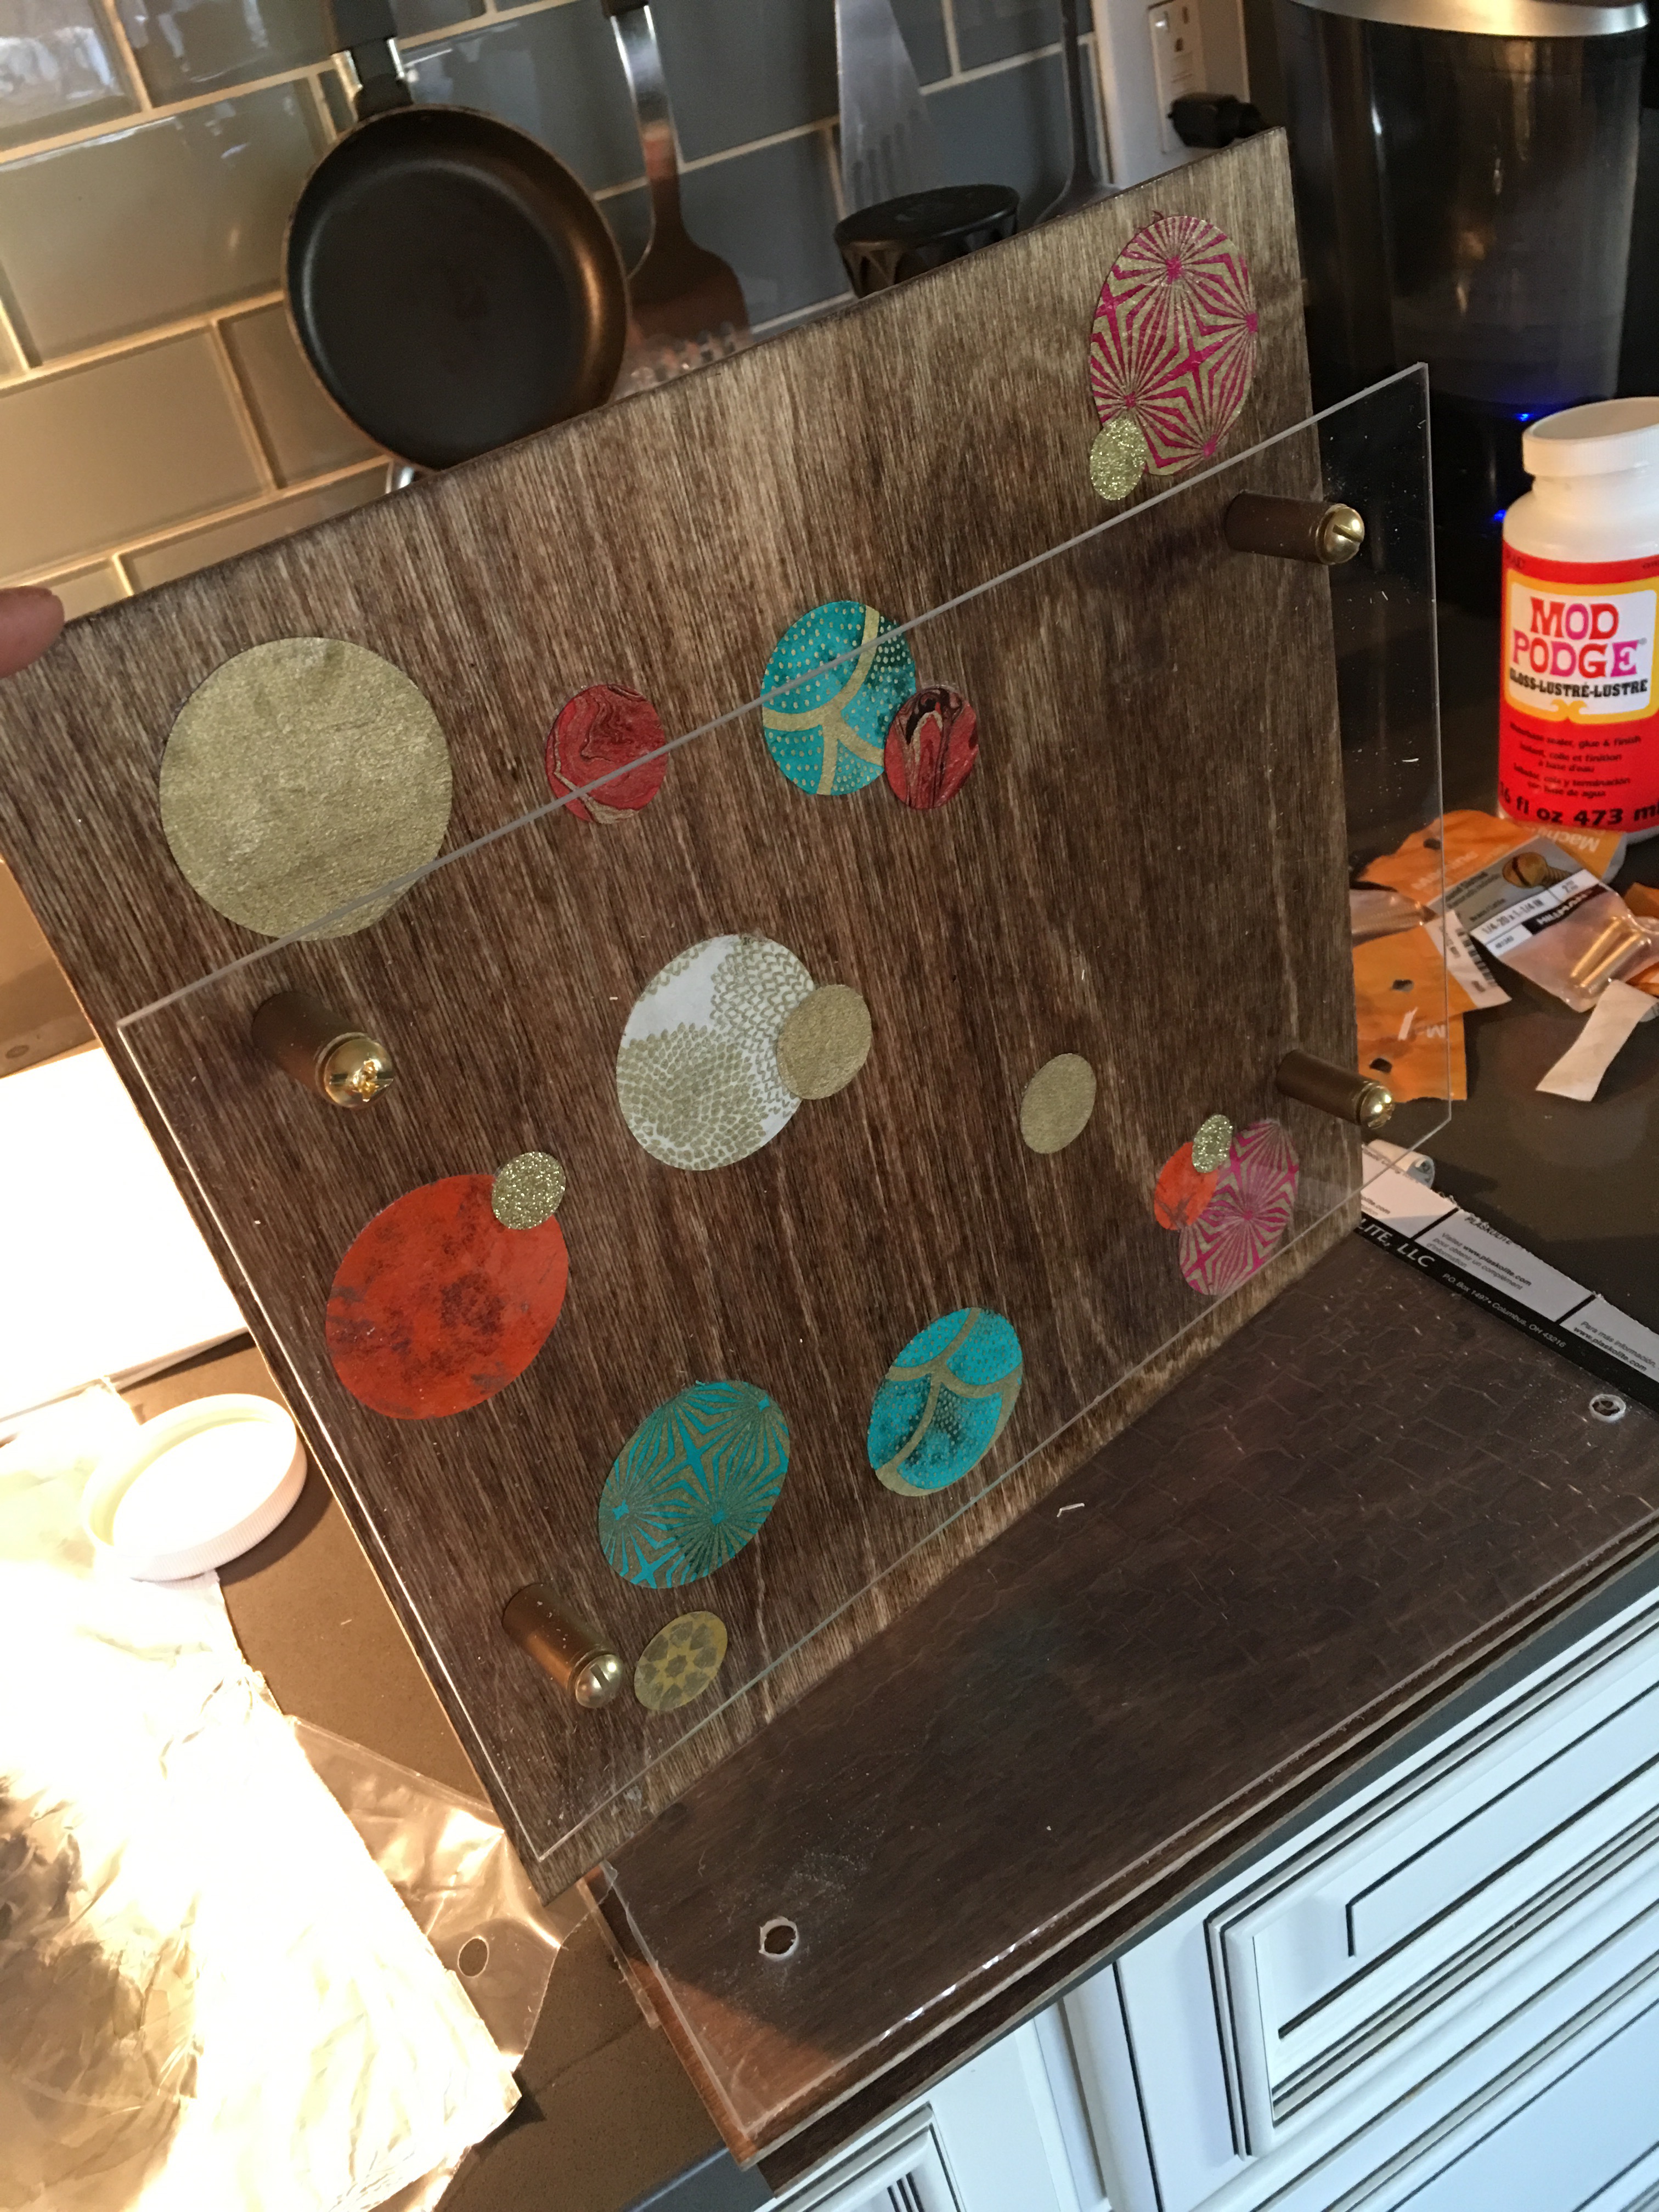
You place the spacer over the drilled hole at each corner. Place the pre-drilled acrylic panel over the spacers. And then thread the machine screw through each hole to attach them together.
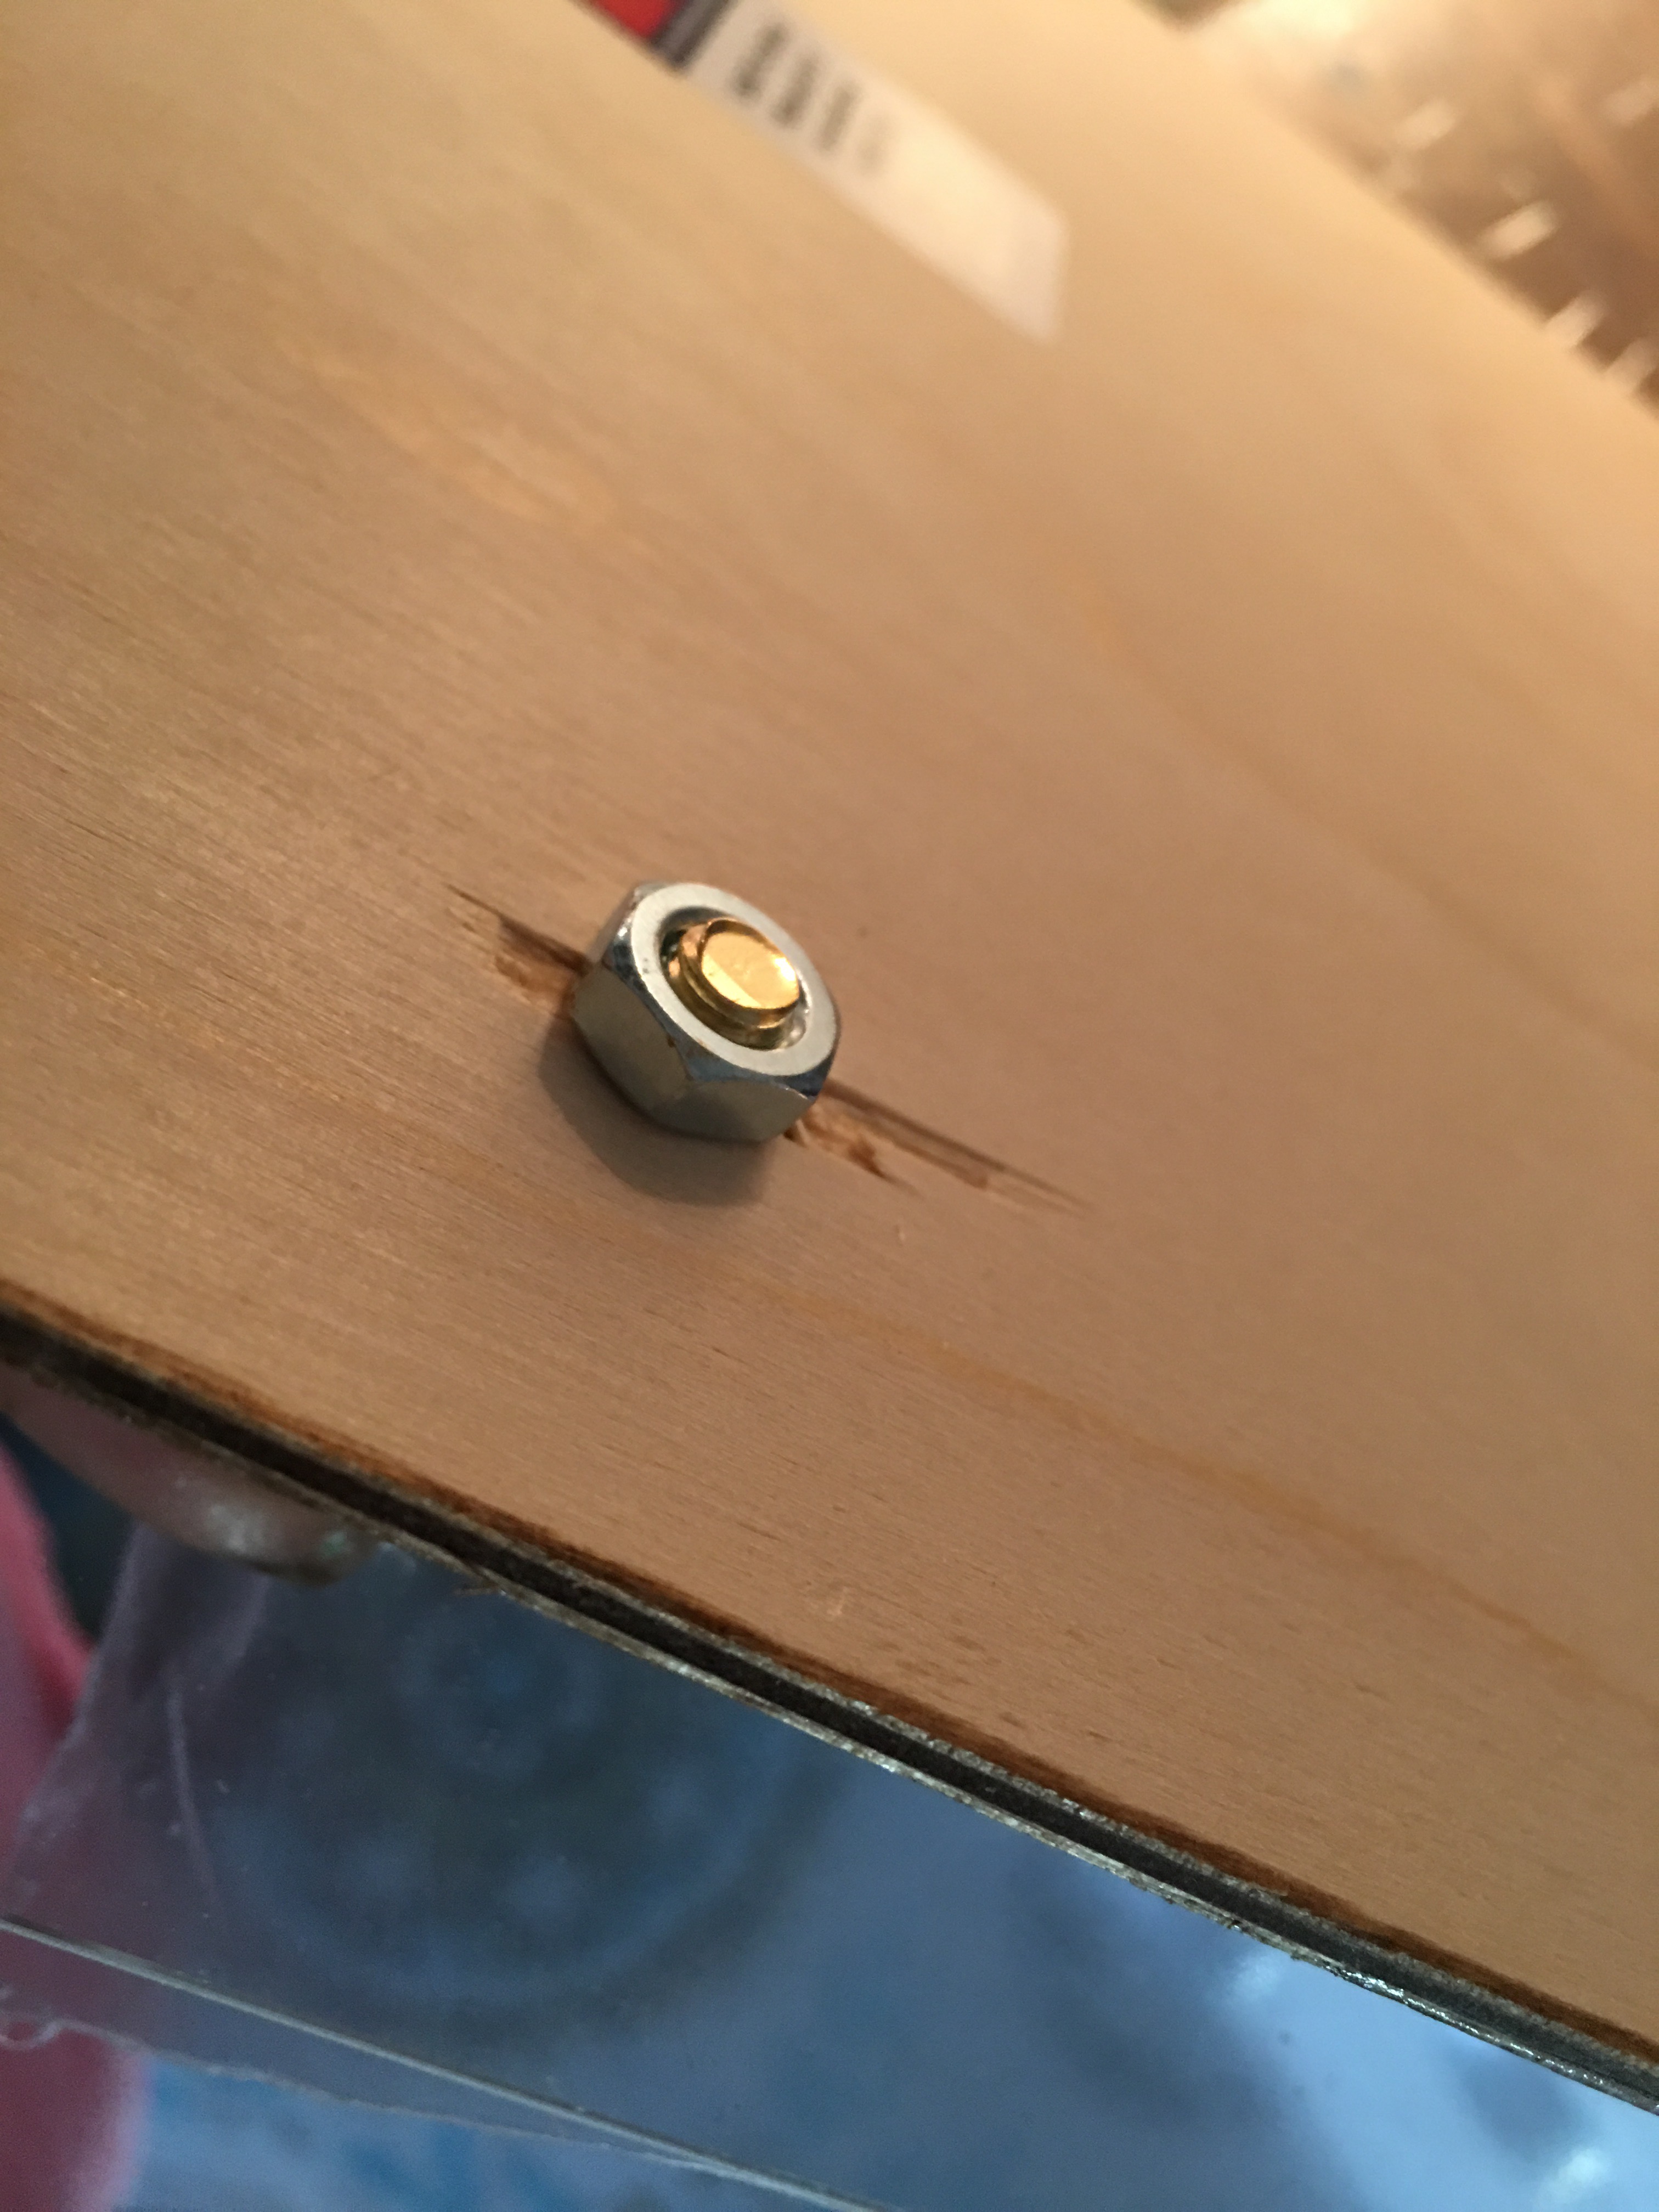
And #20 size nut secures the screw at the back of the wood board.
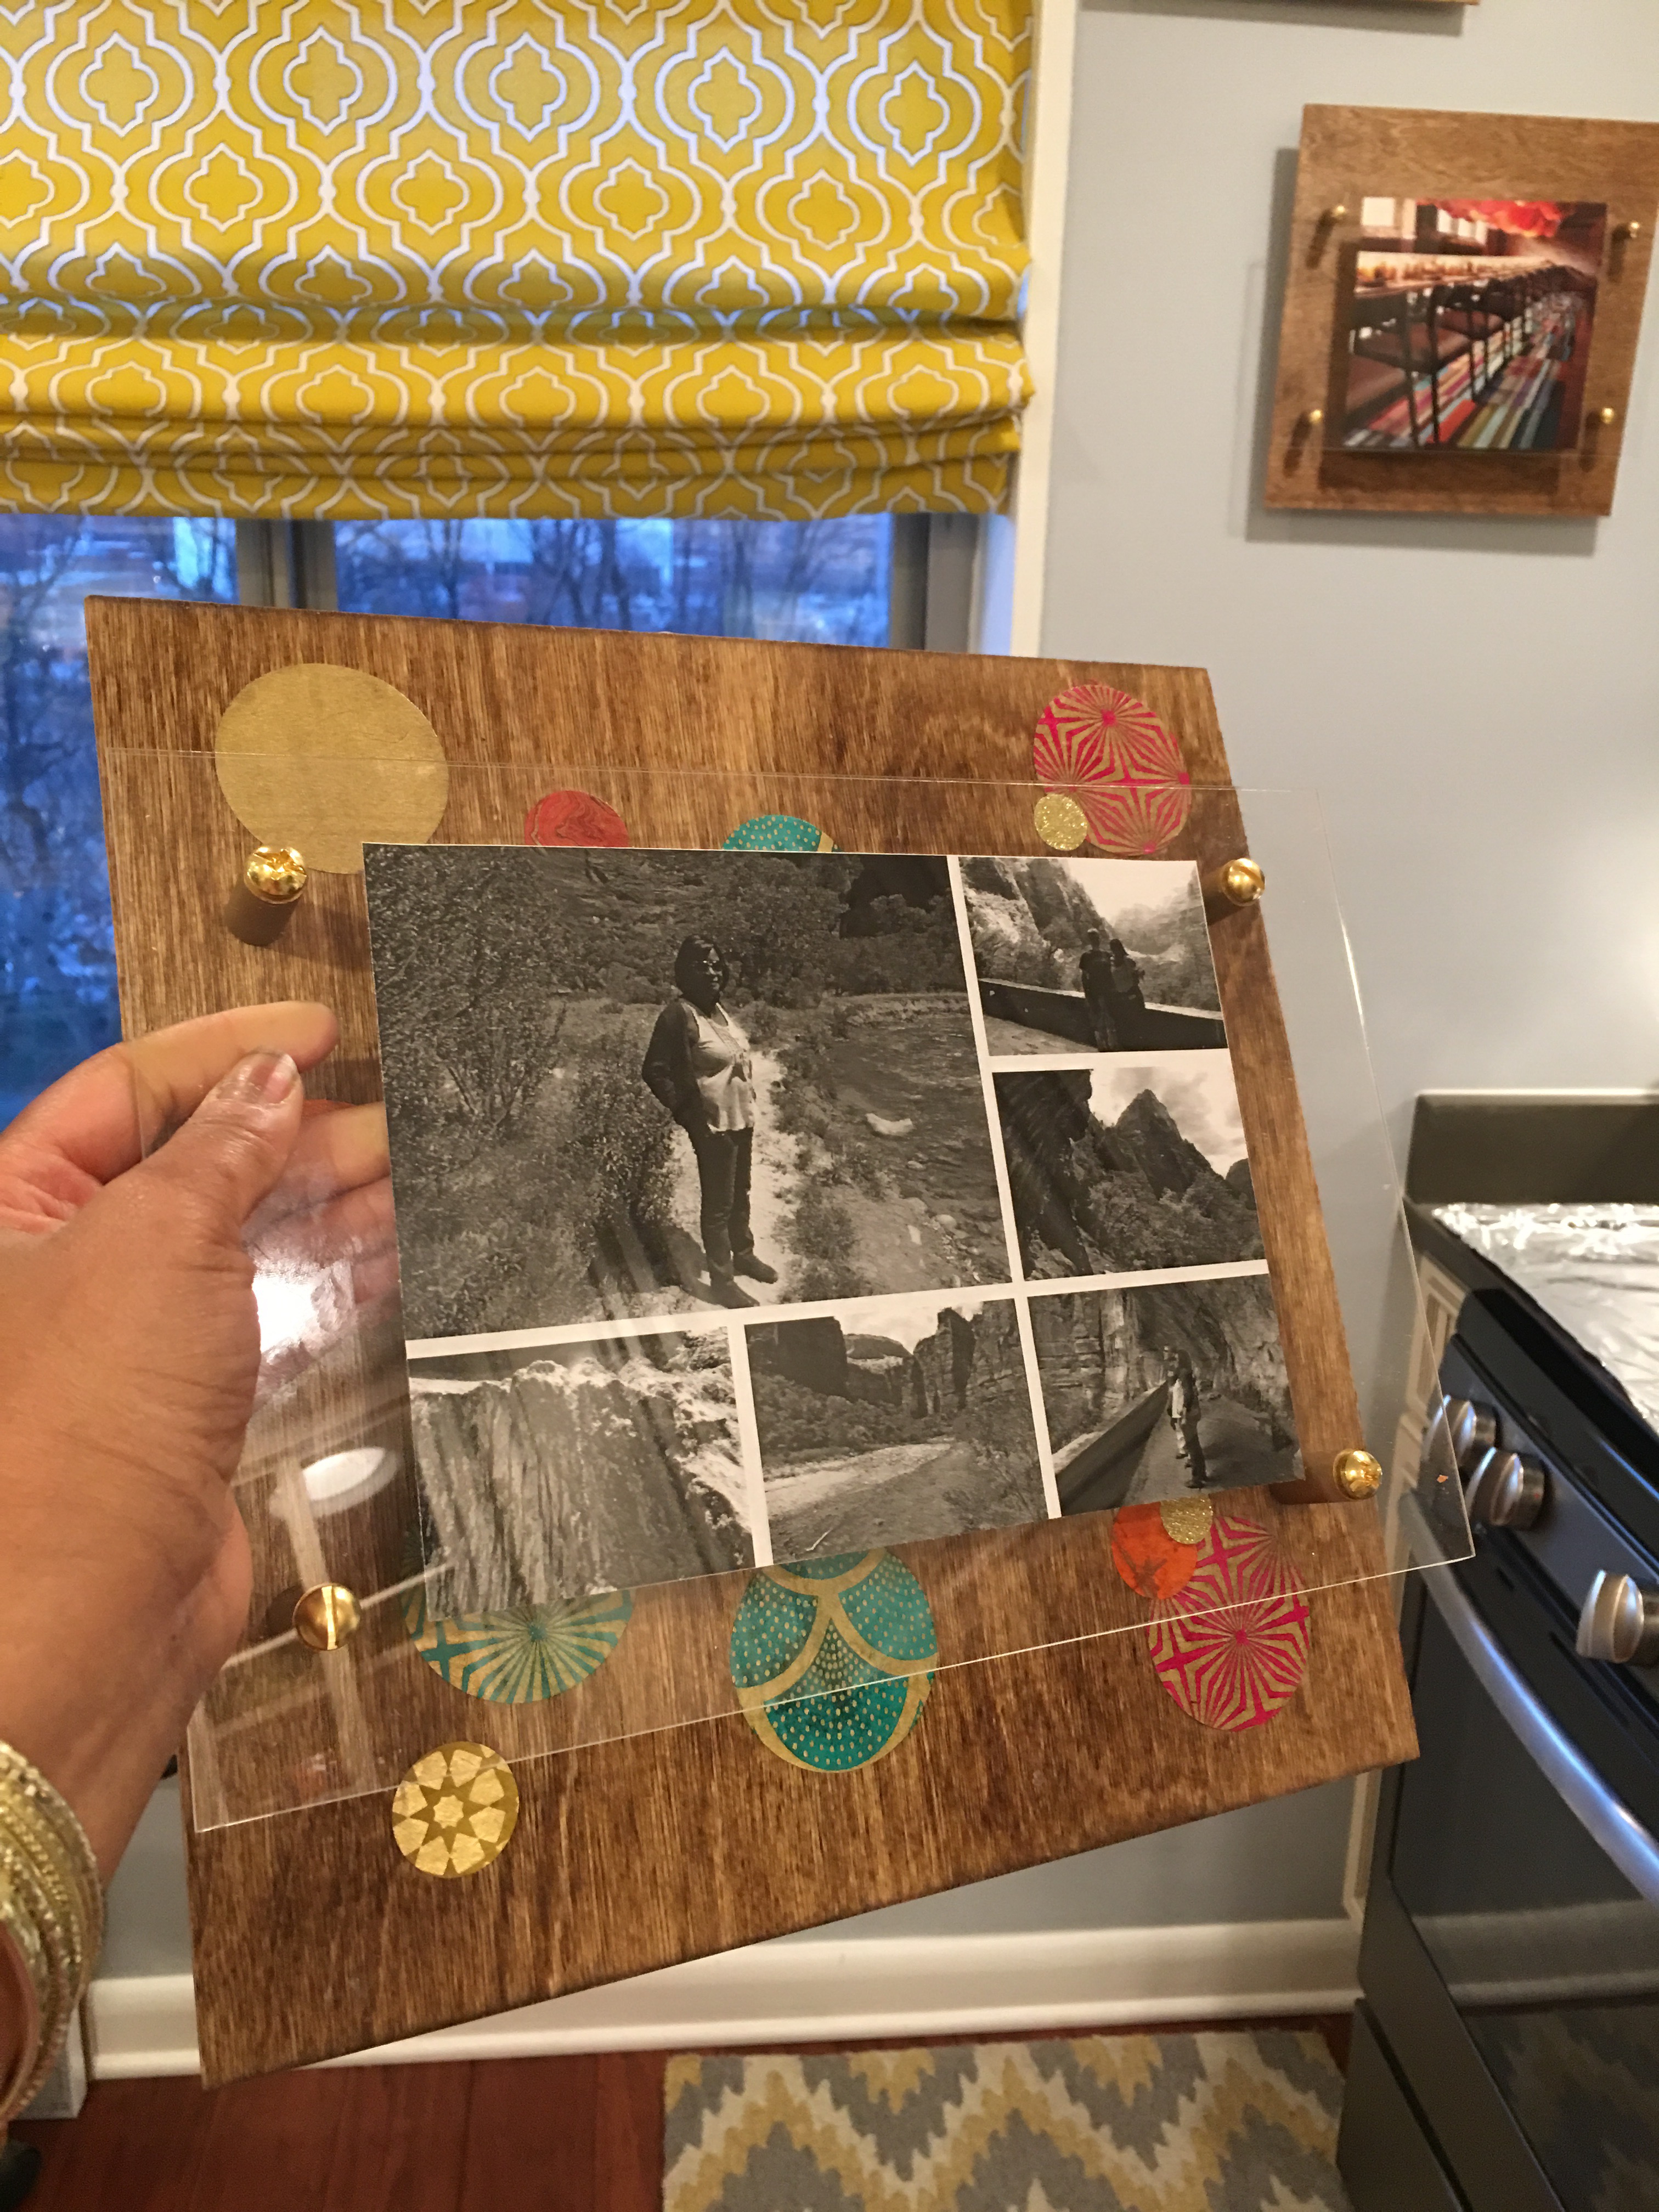
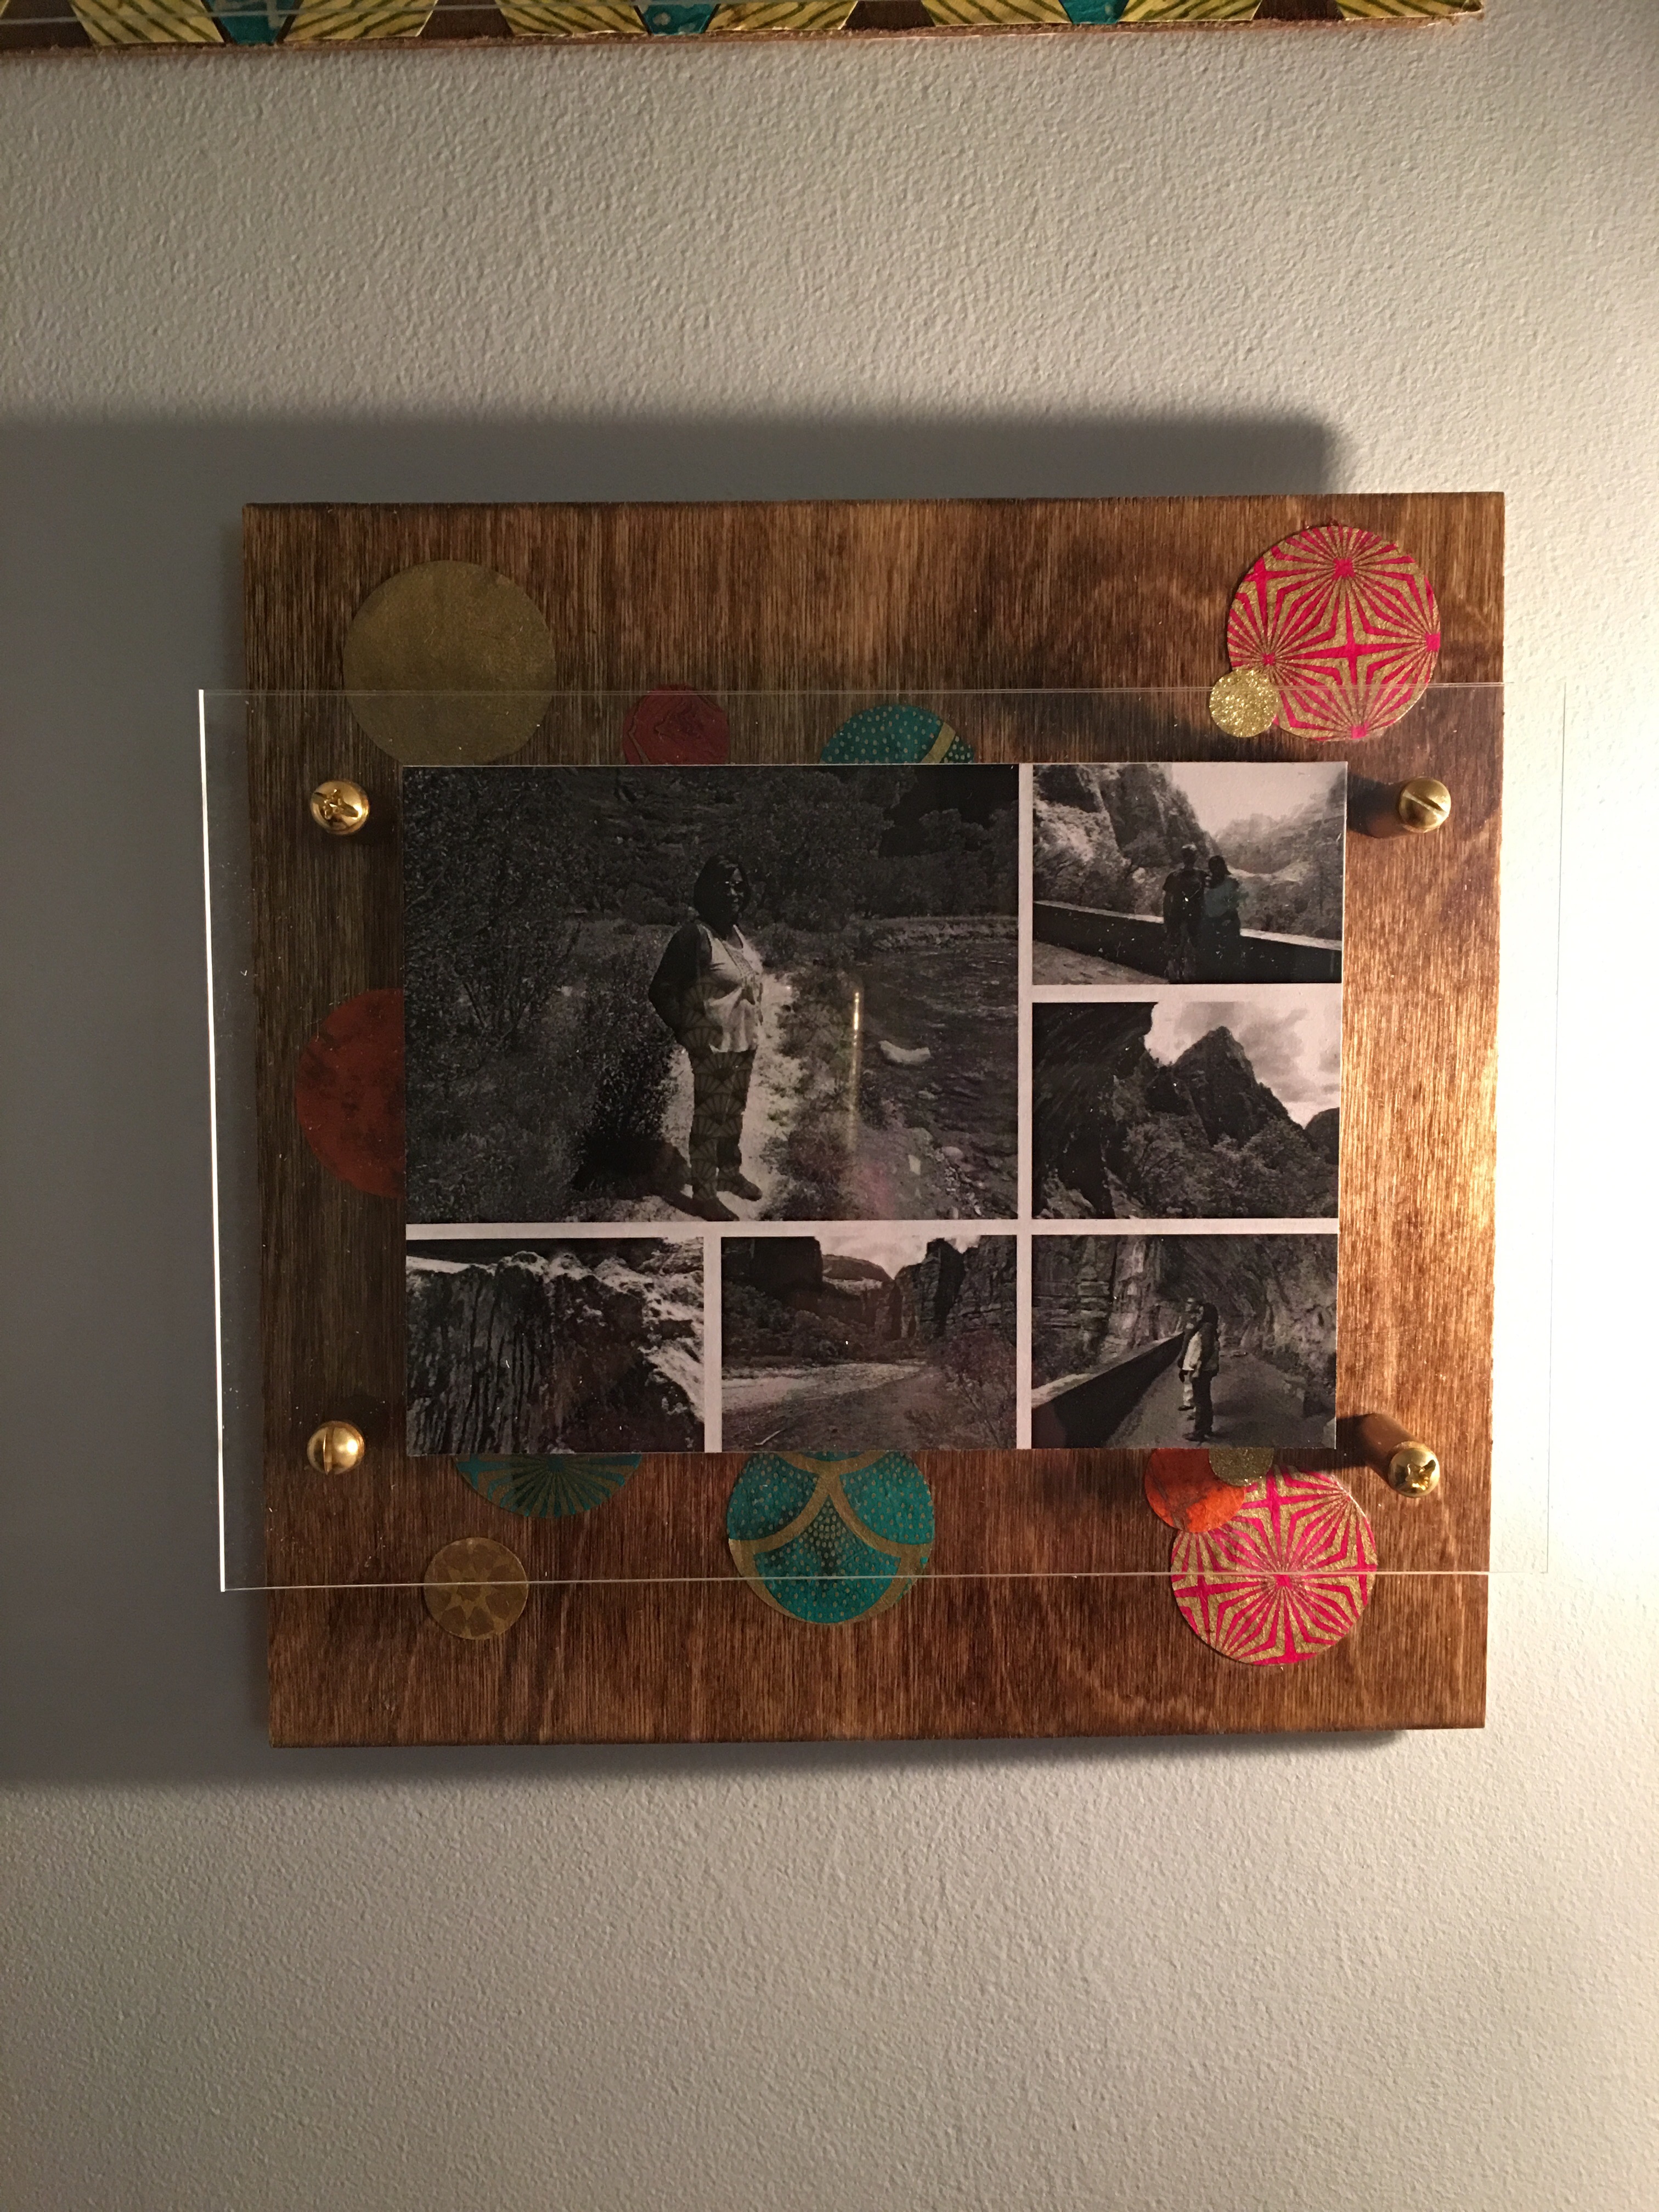
So here’s the completed floating wood frame. This will go in the bedroom (Bruce’s side of the bed).
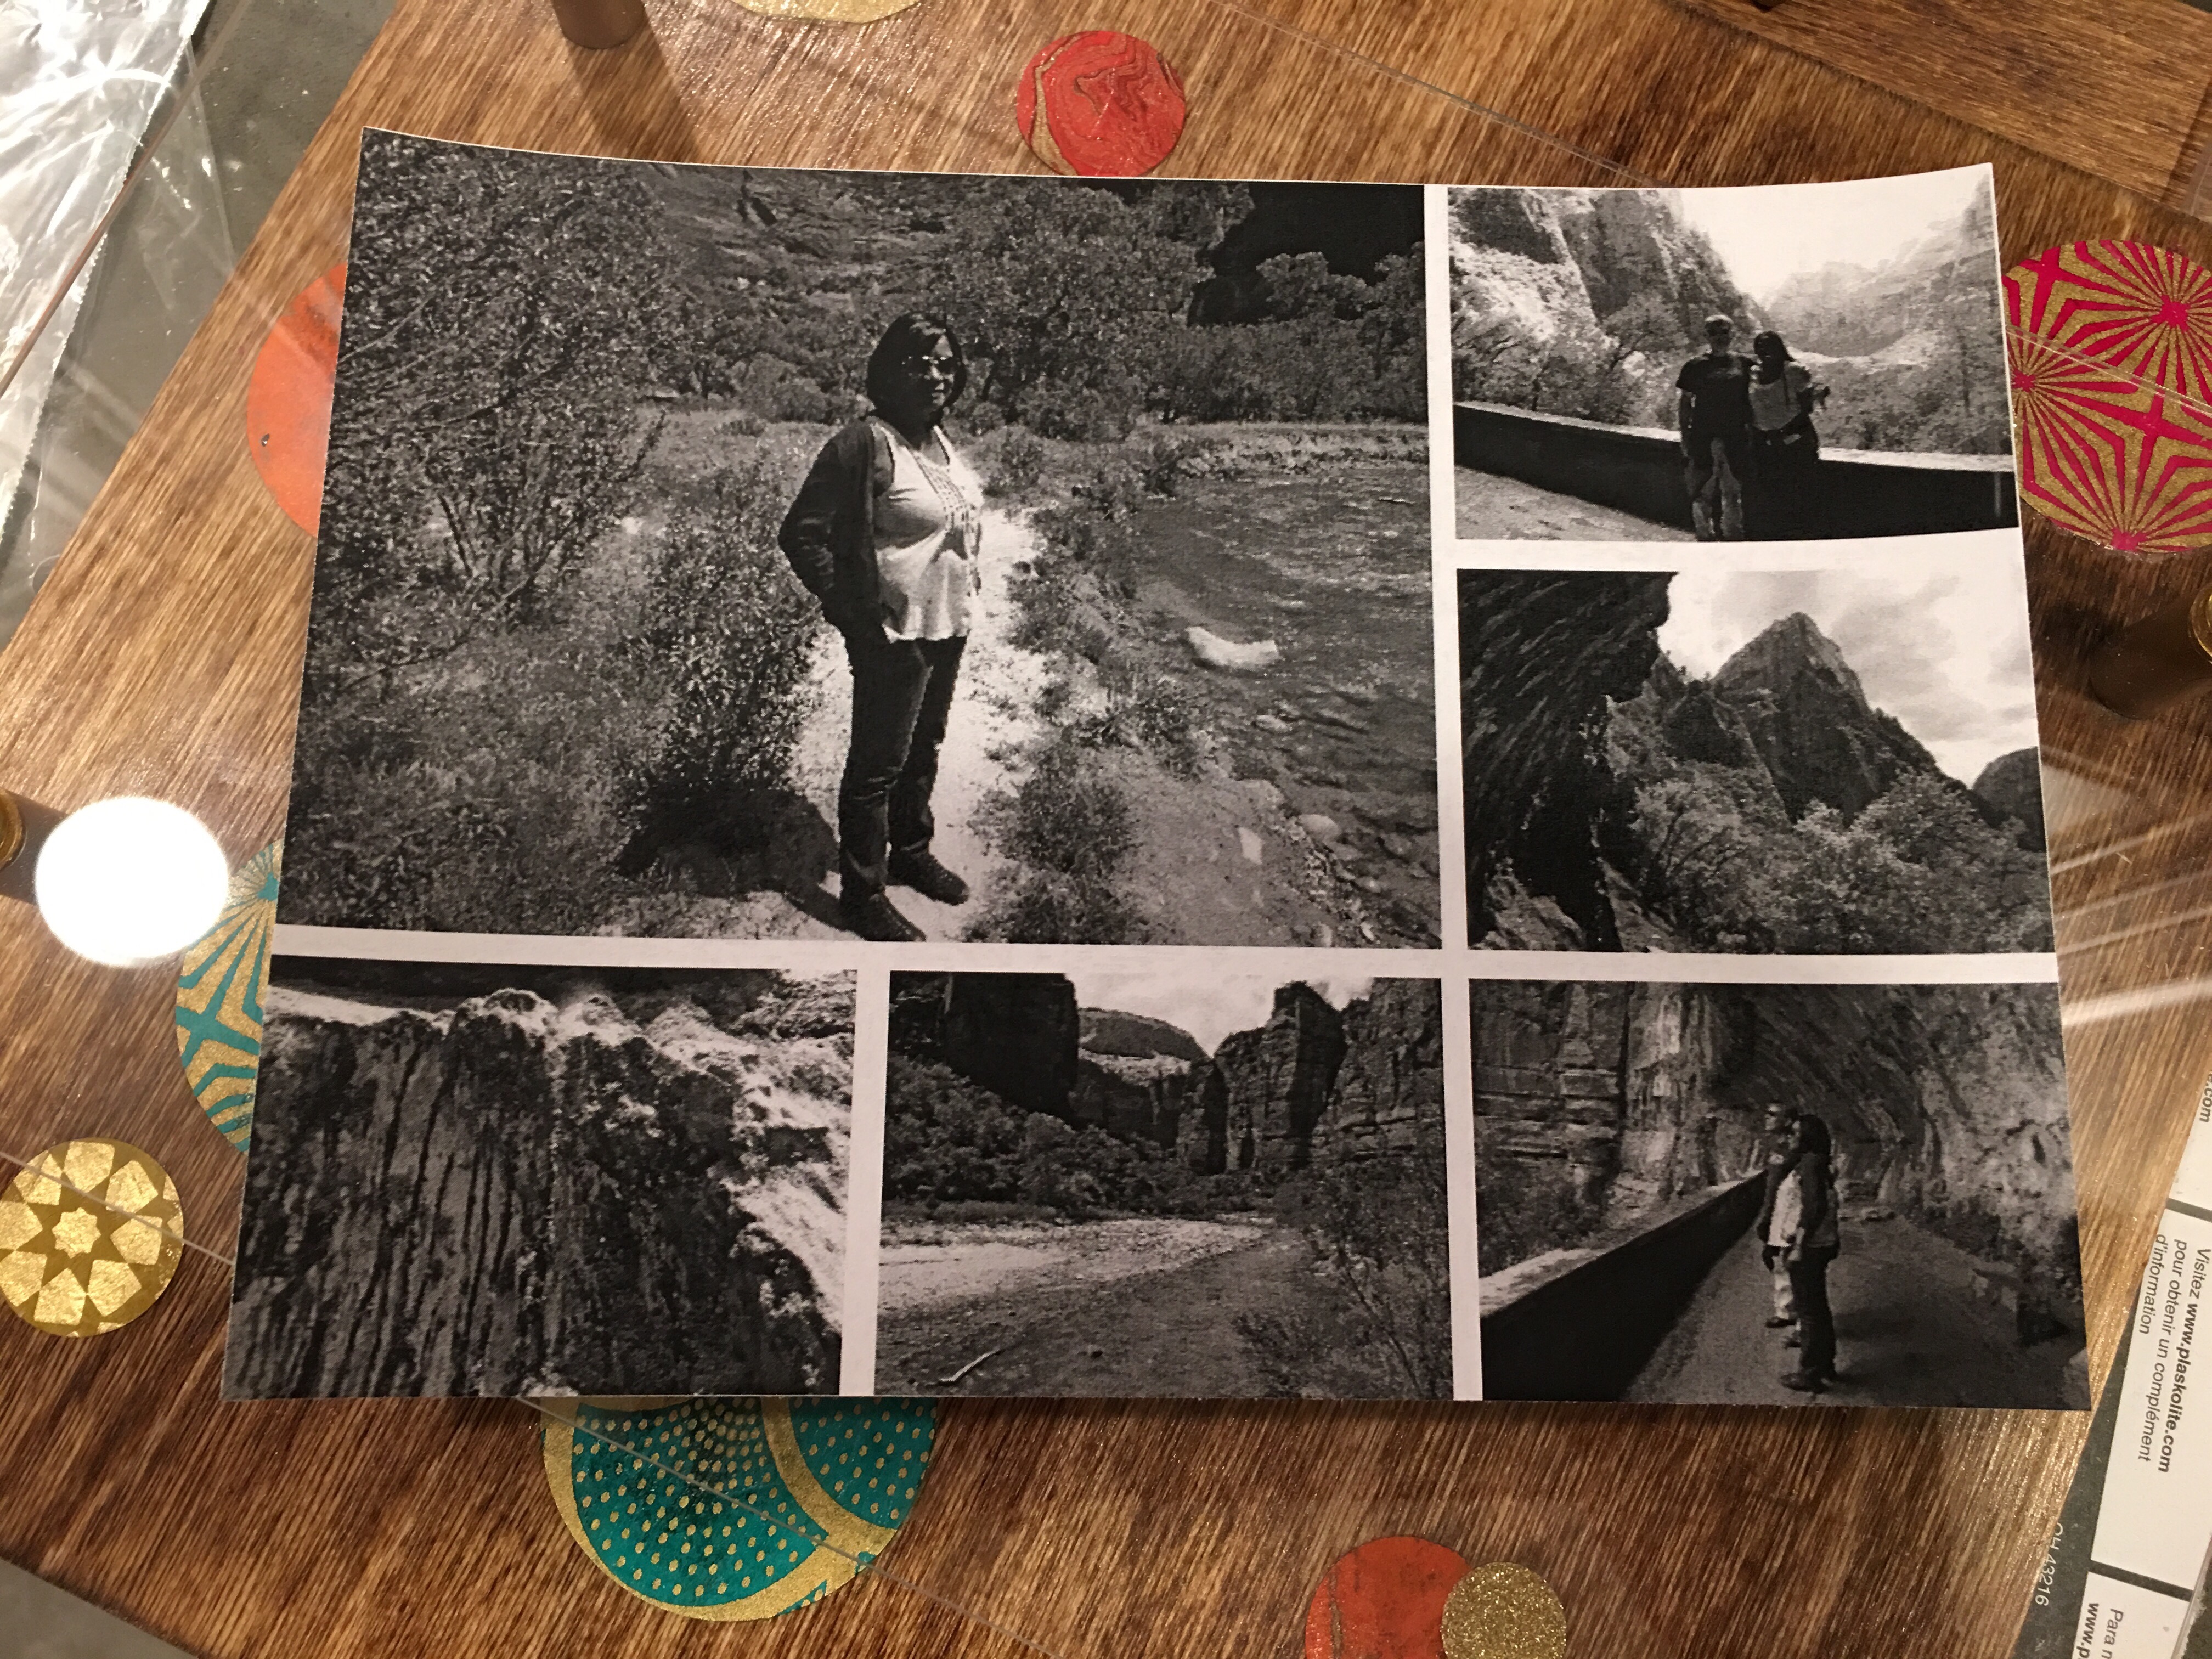
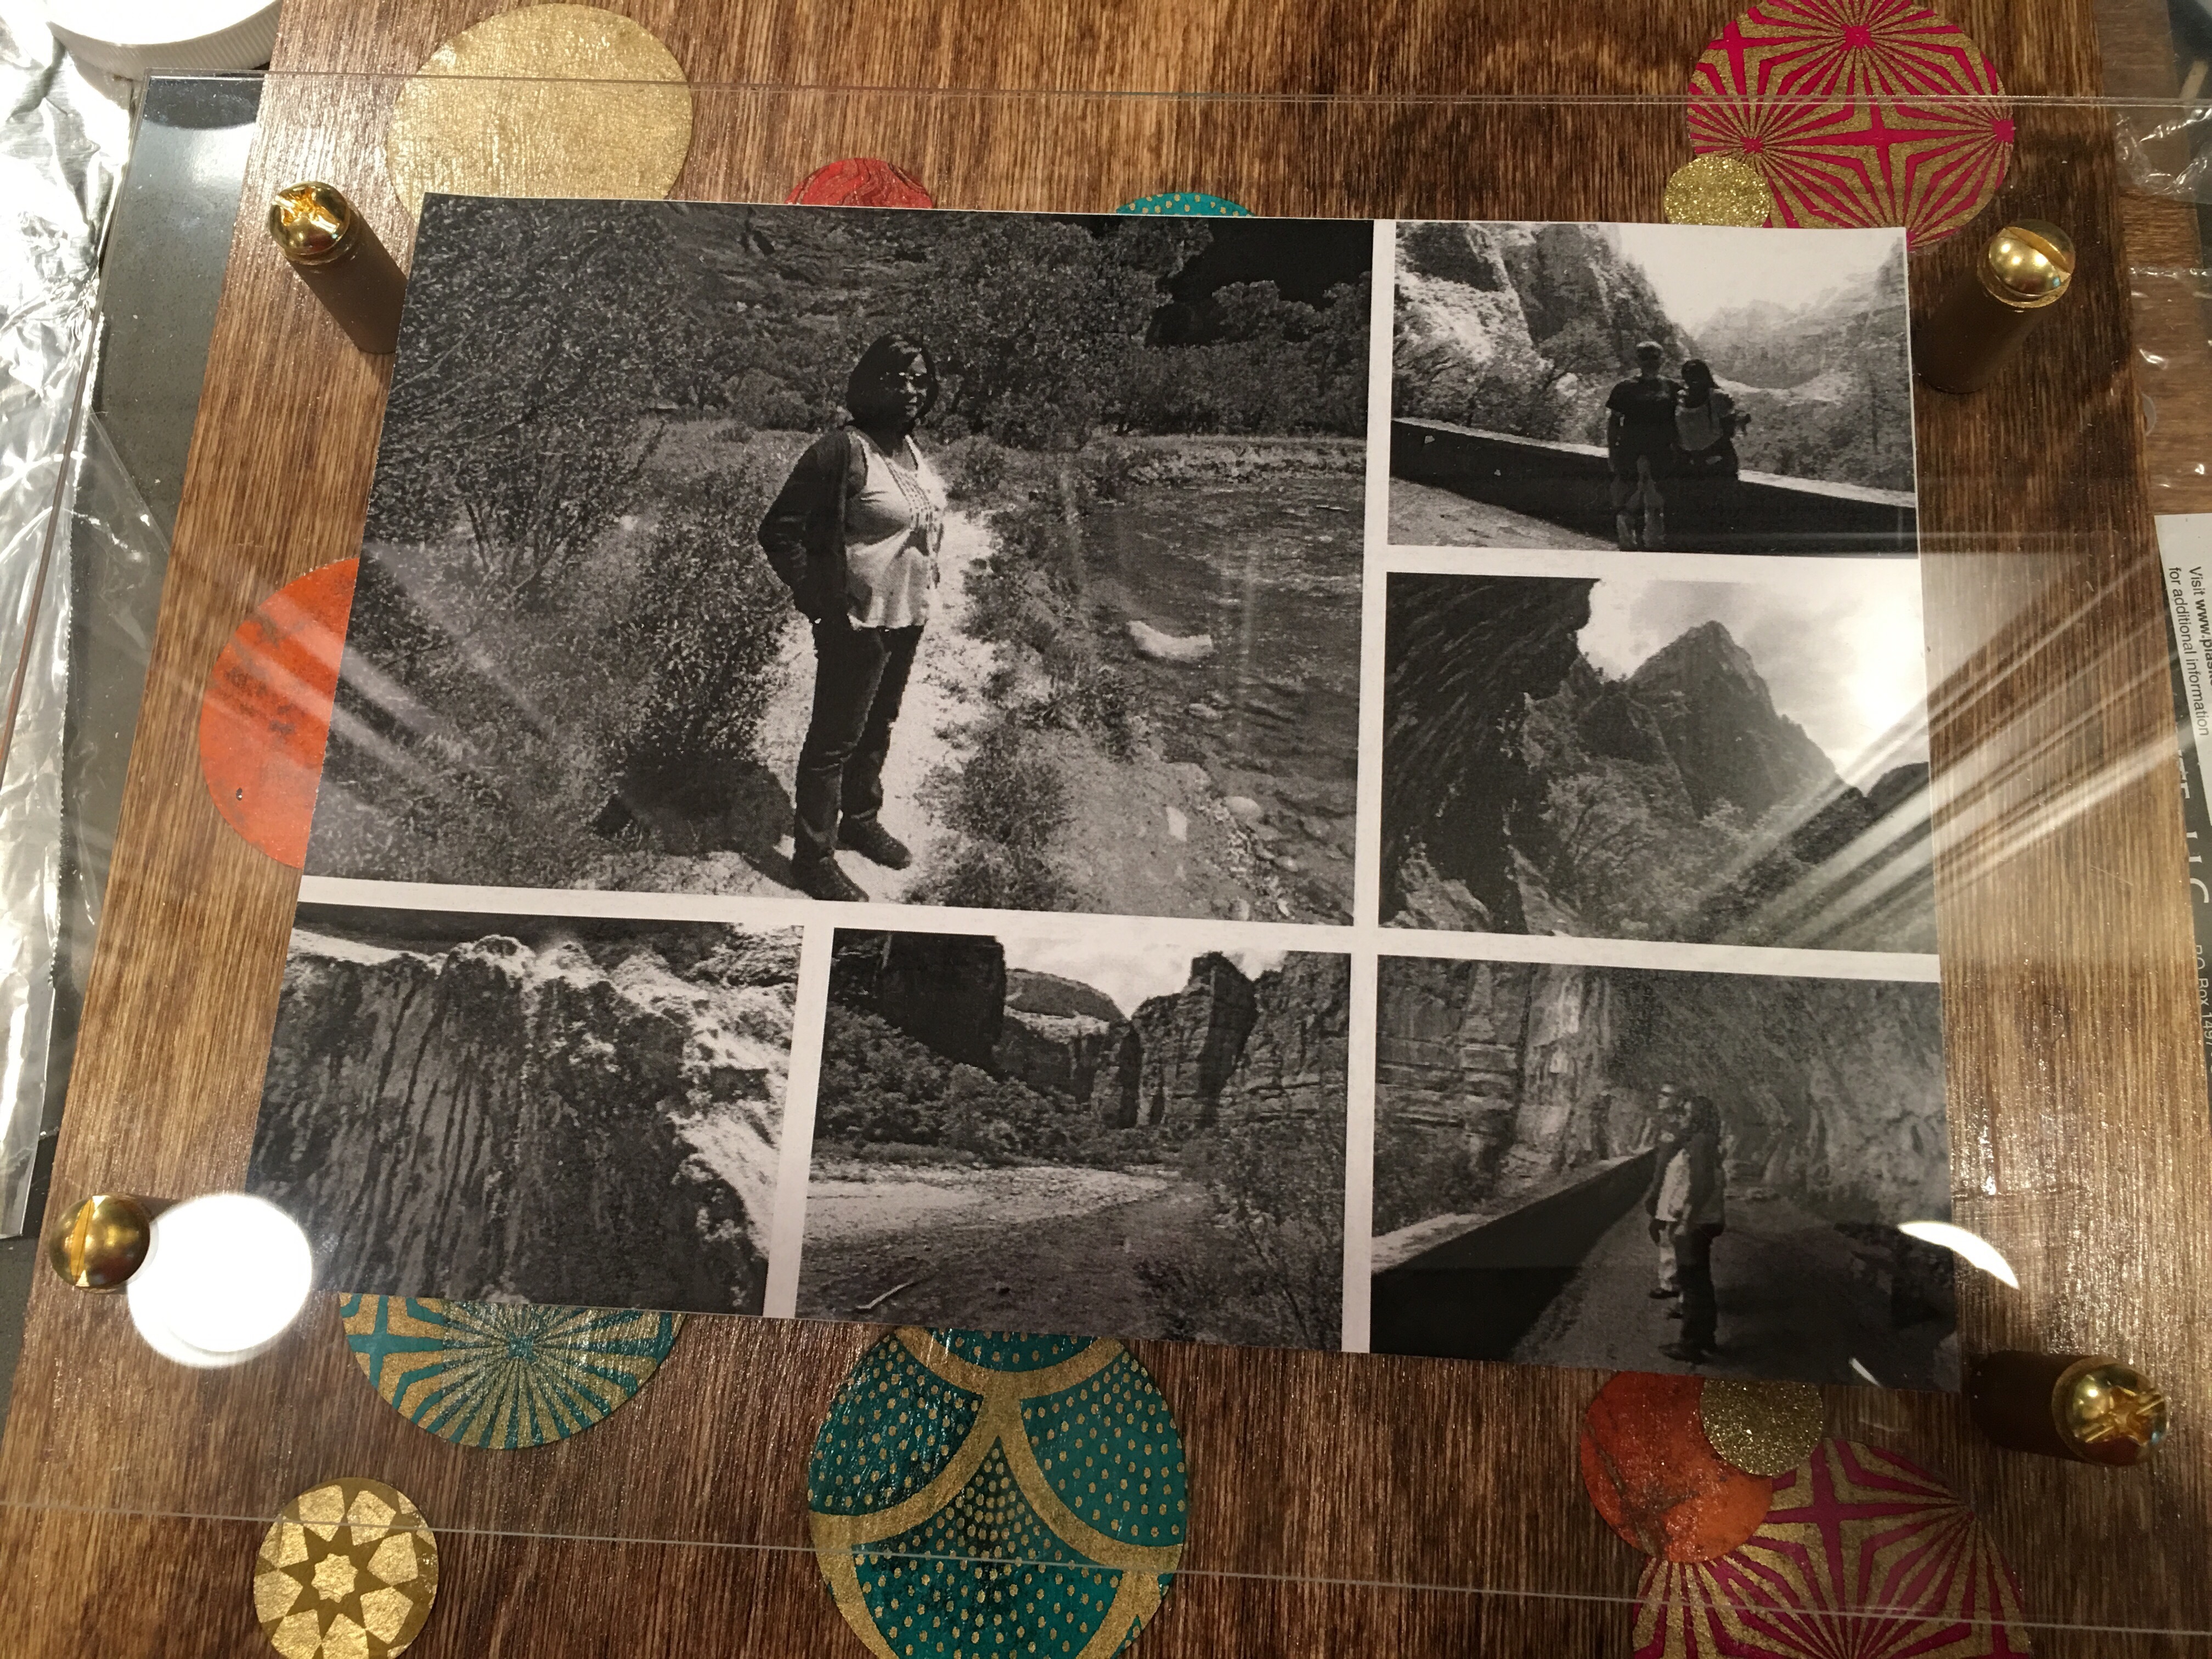
We now need a great picture to display. I decided to use a handful of images from our Utah trip (that we took with my mom, Xenia last year). I used Photocollage.com to create a picture collage of six pictures for free (using one of their pre-defined collage templates).

I saved my collage as a new image file and printed it using Bruce’s black and white laser jet printer.
I added the printed photo collage to the frame by sliding it beneath the acrylic panel. Because its such lightweight paper, it automatically clings to the acrylic without needing tape or magnets to hold it in place.
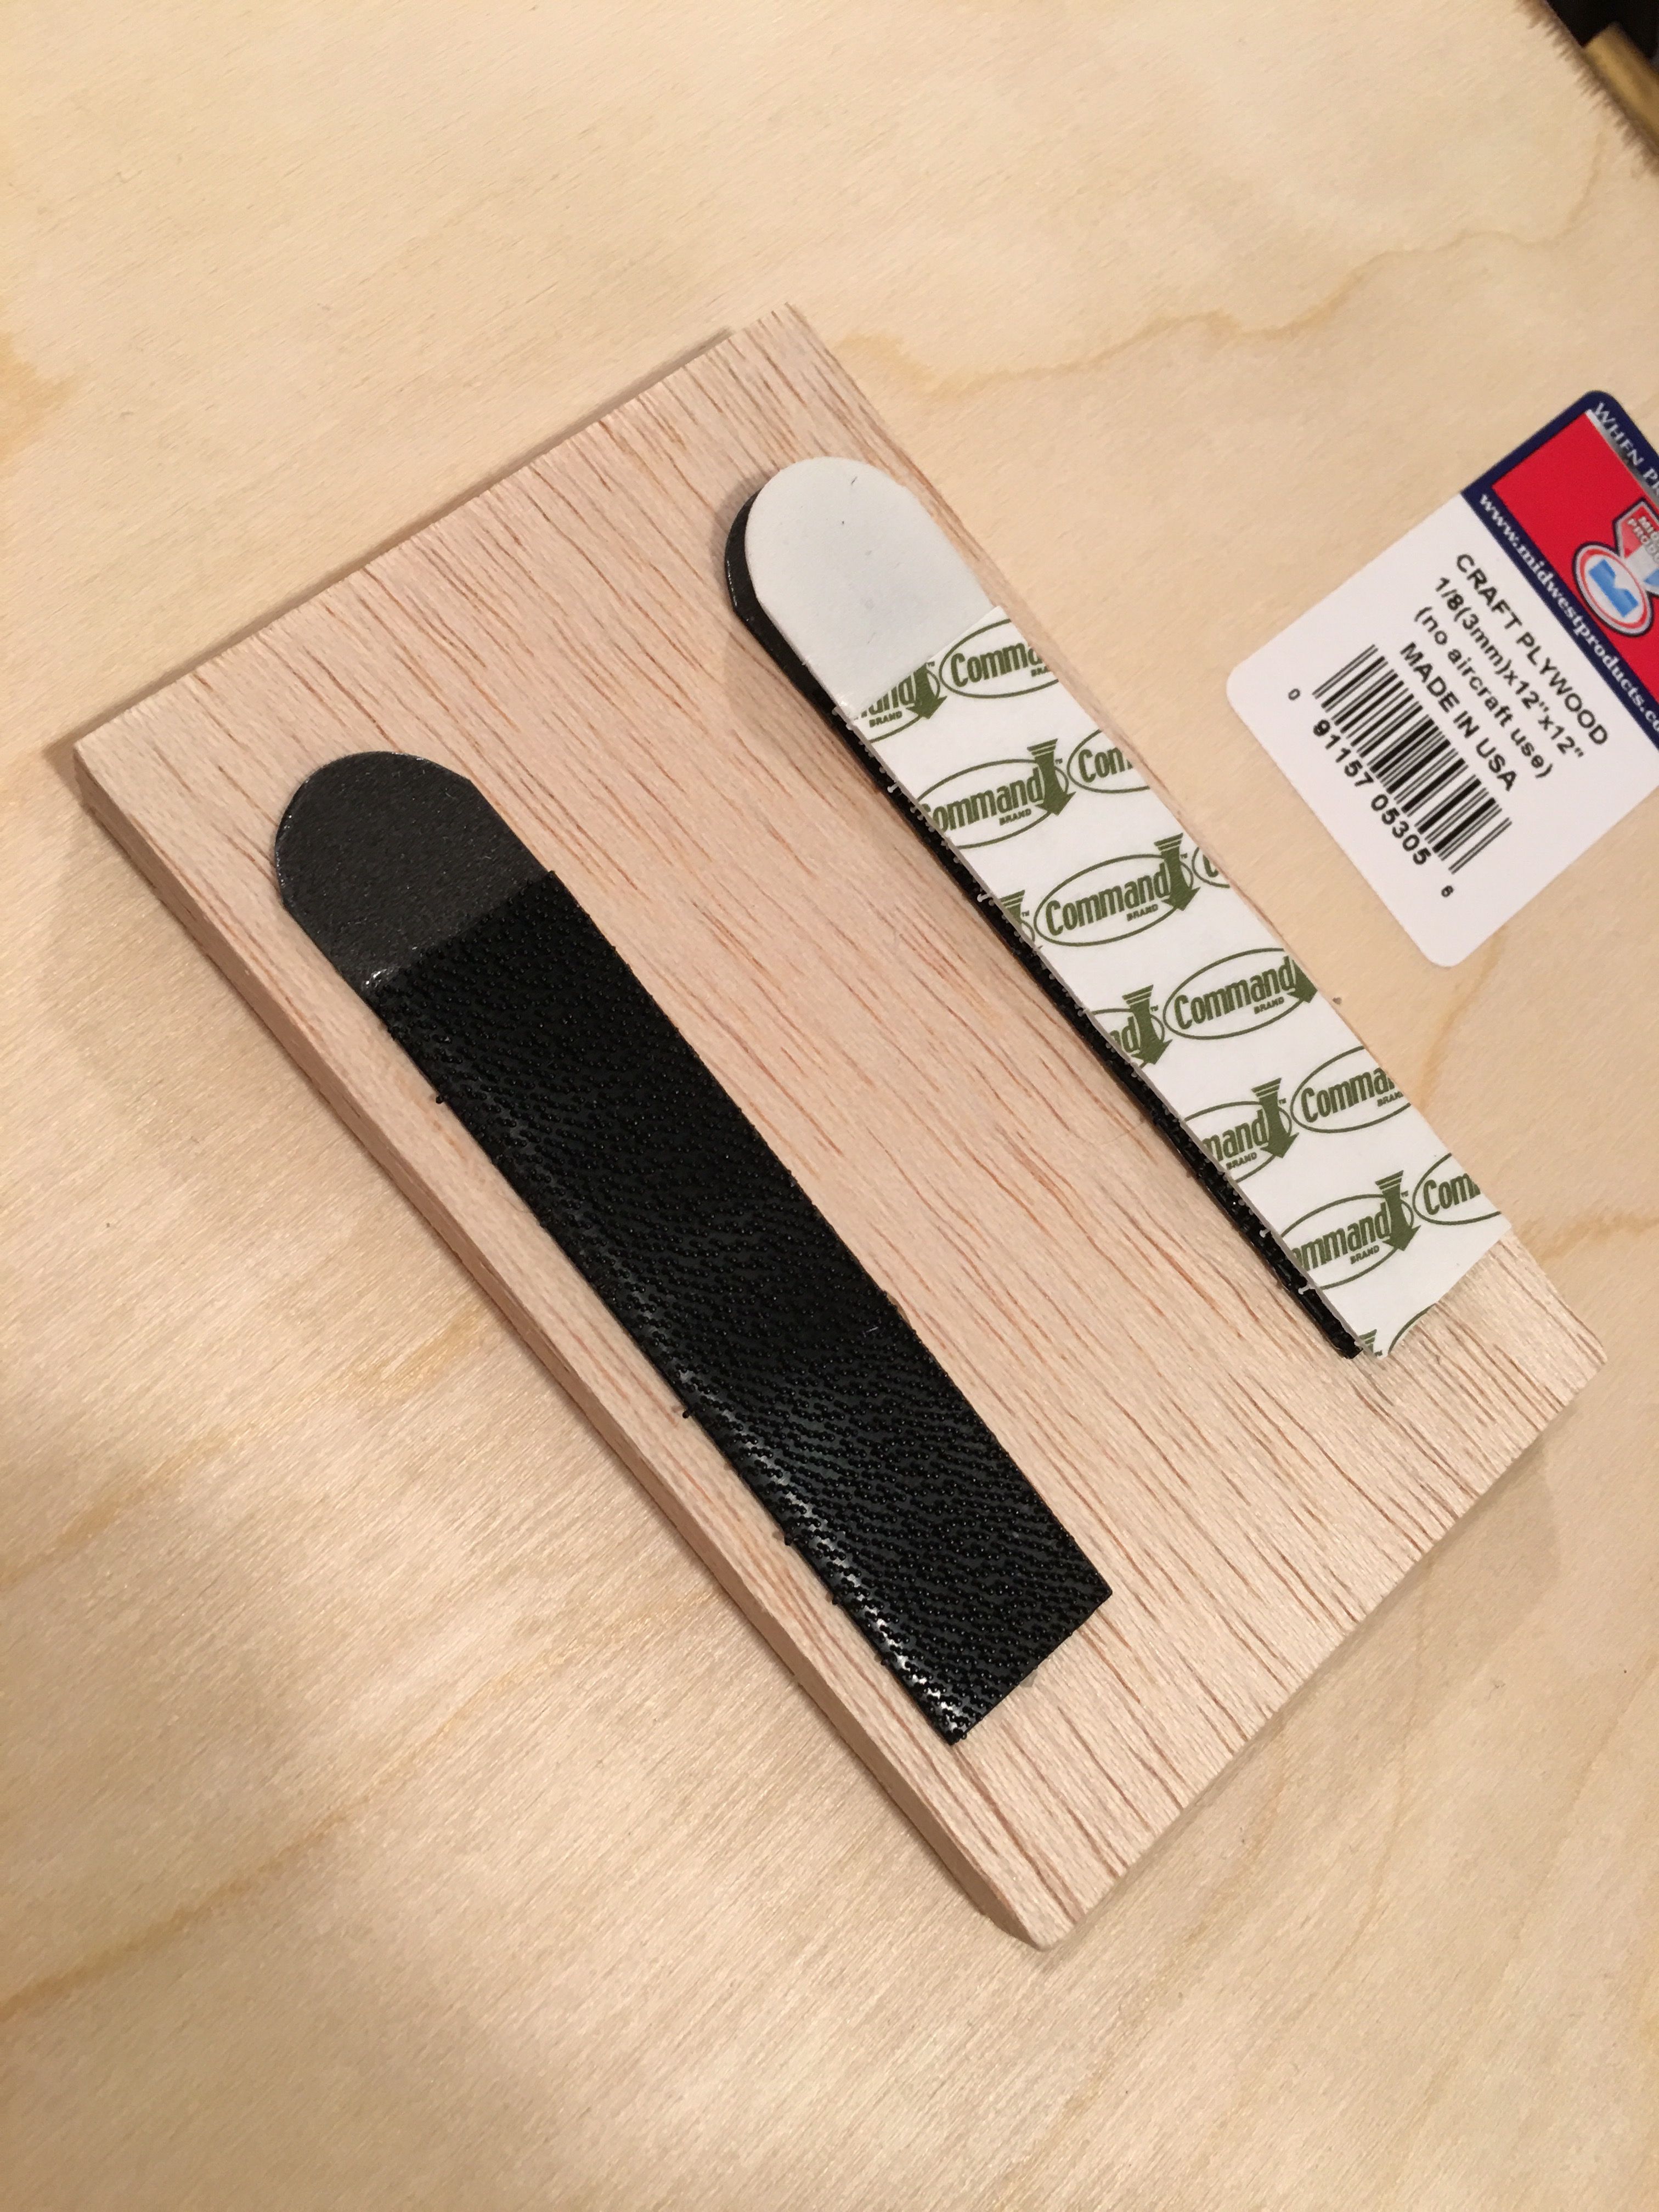
I added a piece of scrap wood on the back with hot glue so that the frame can be mounted to the wall with Command strips. The scrap wood is needed as a spacer between the wood panel and the wall because of the exit screws and nuts on the back.
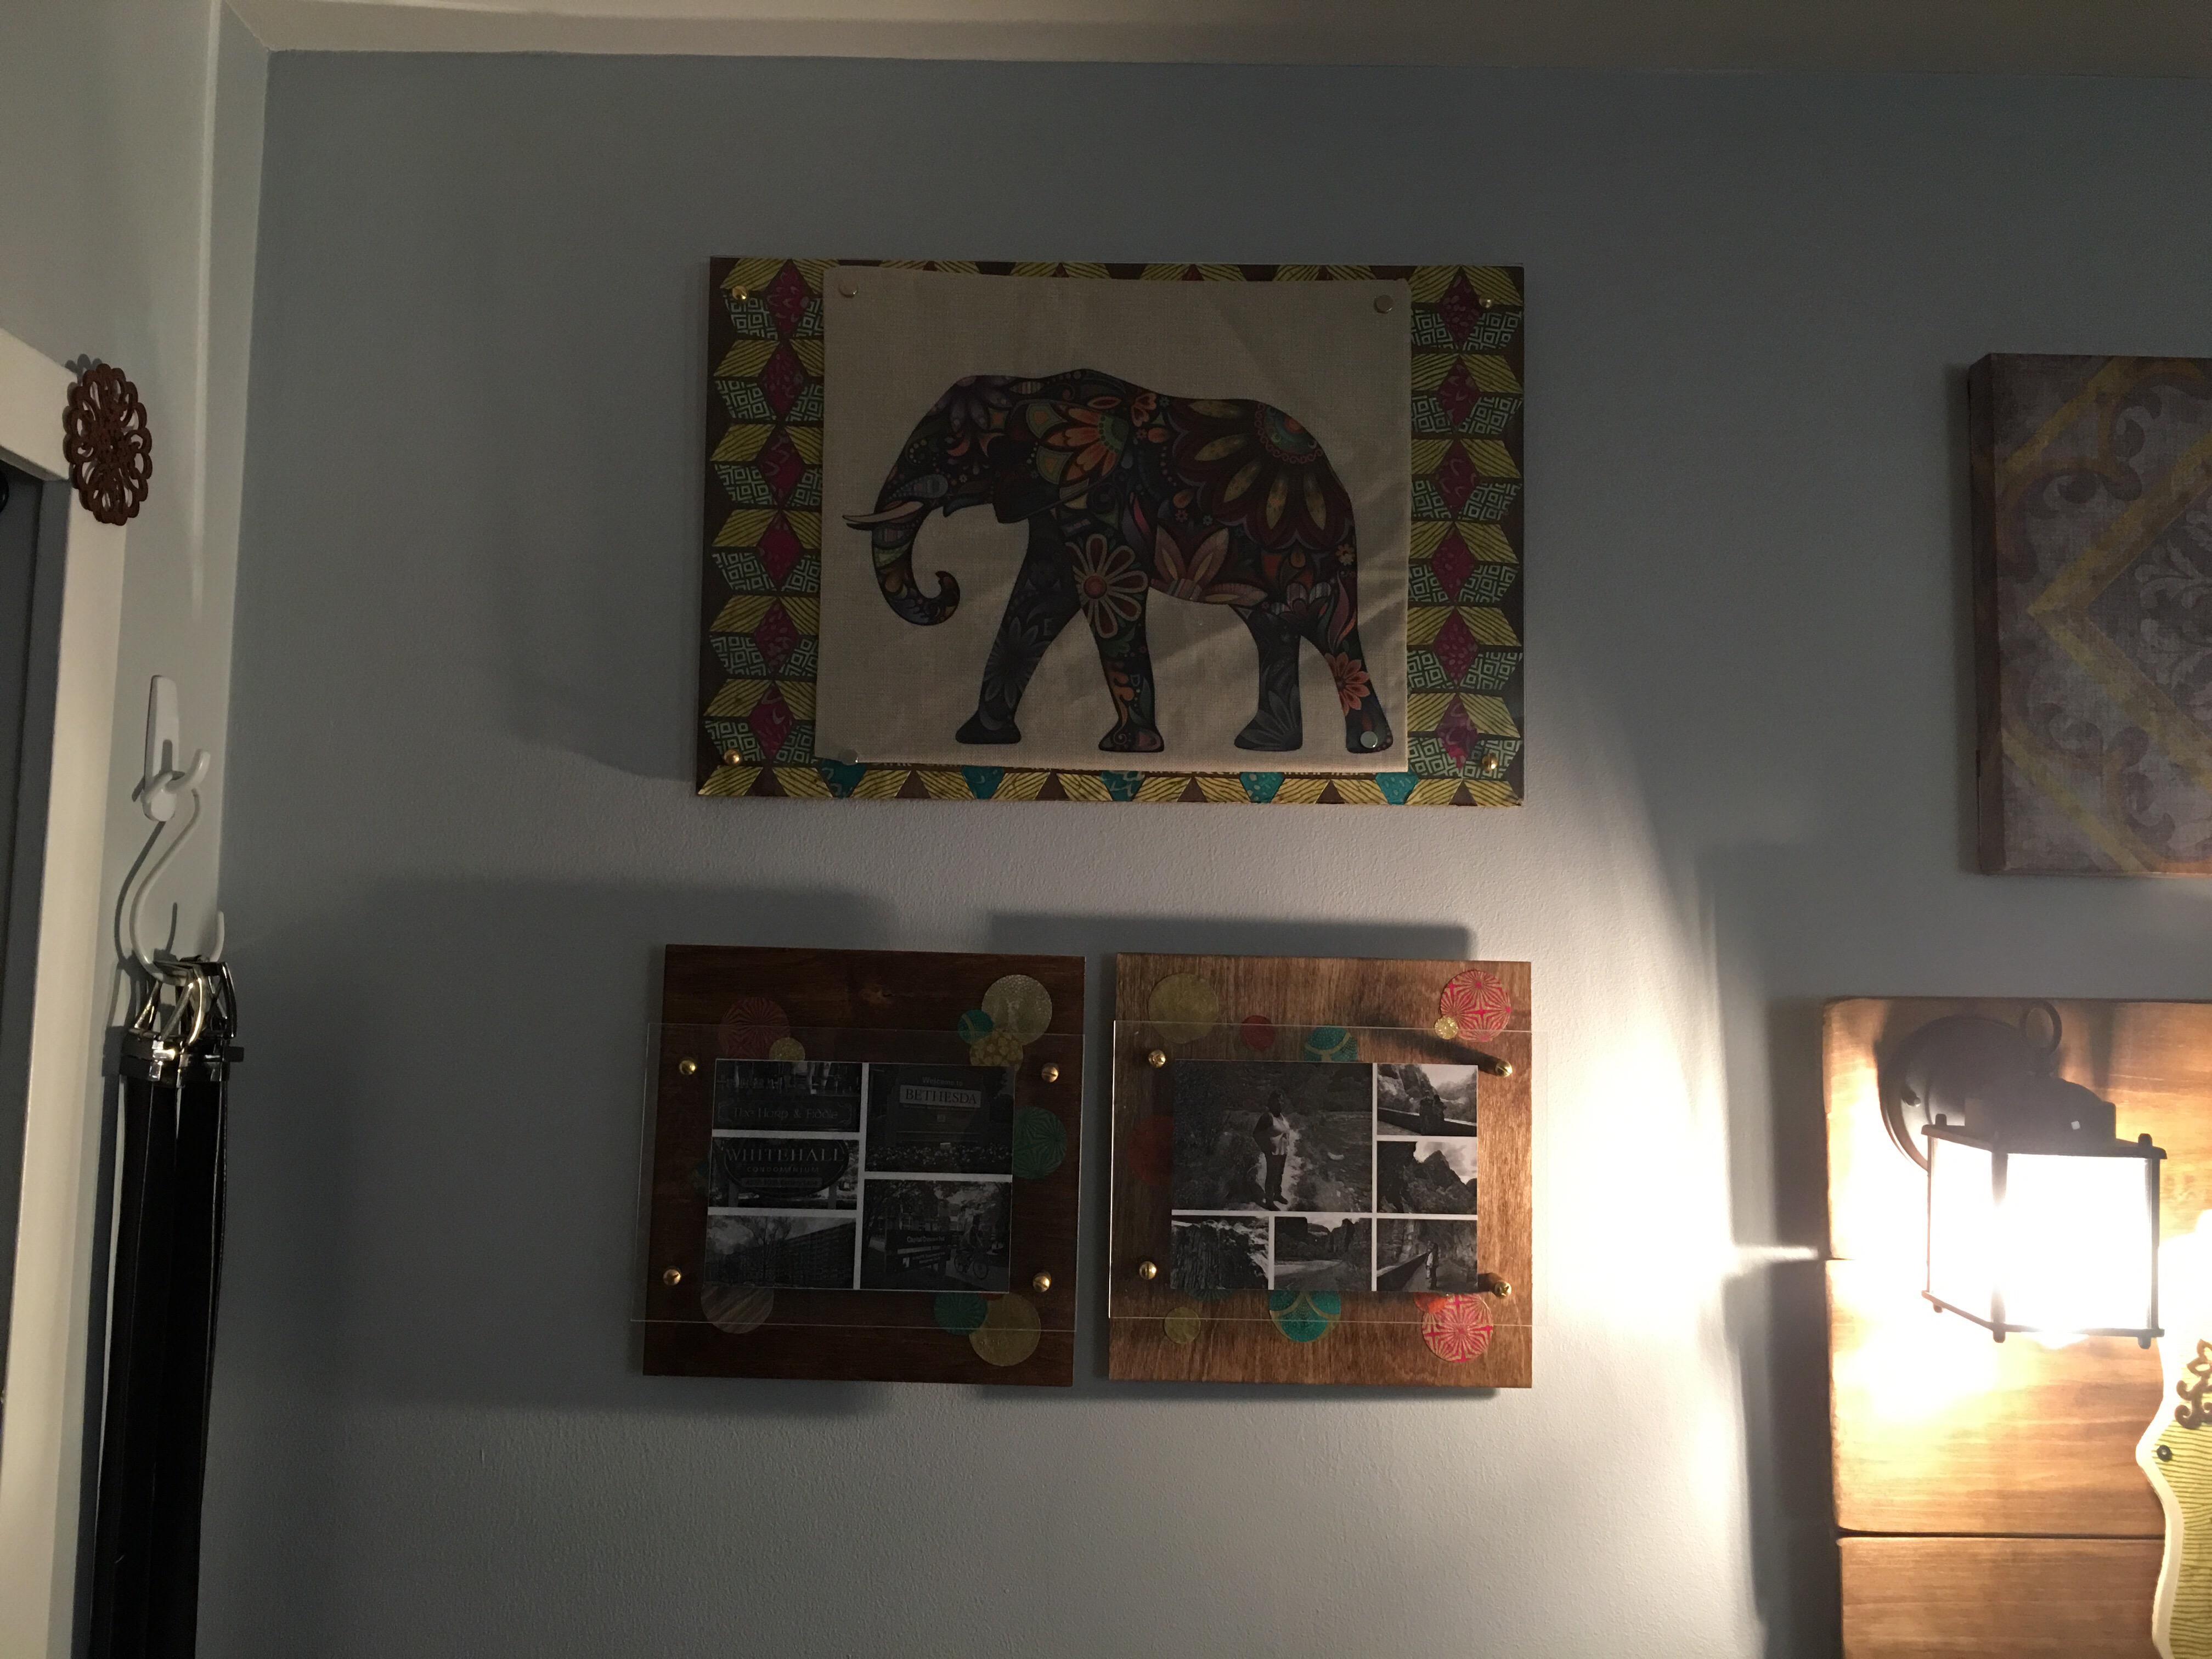
And here it is on the wall (under the tribal floating wood panel display).
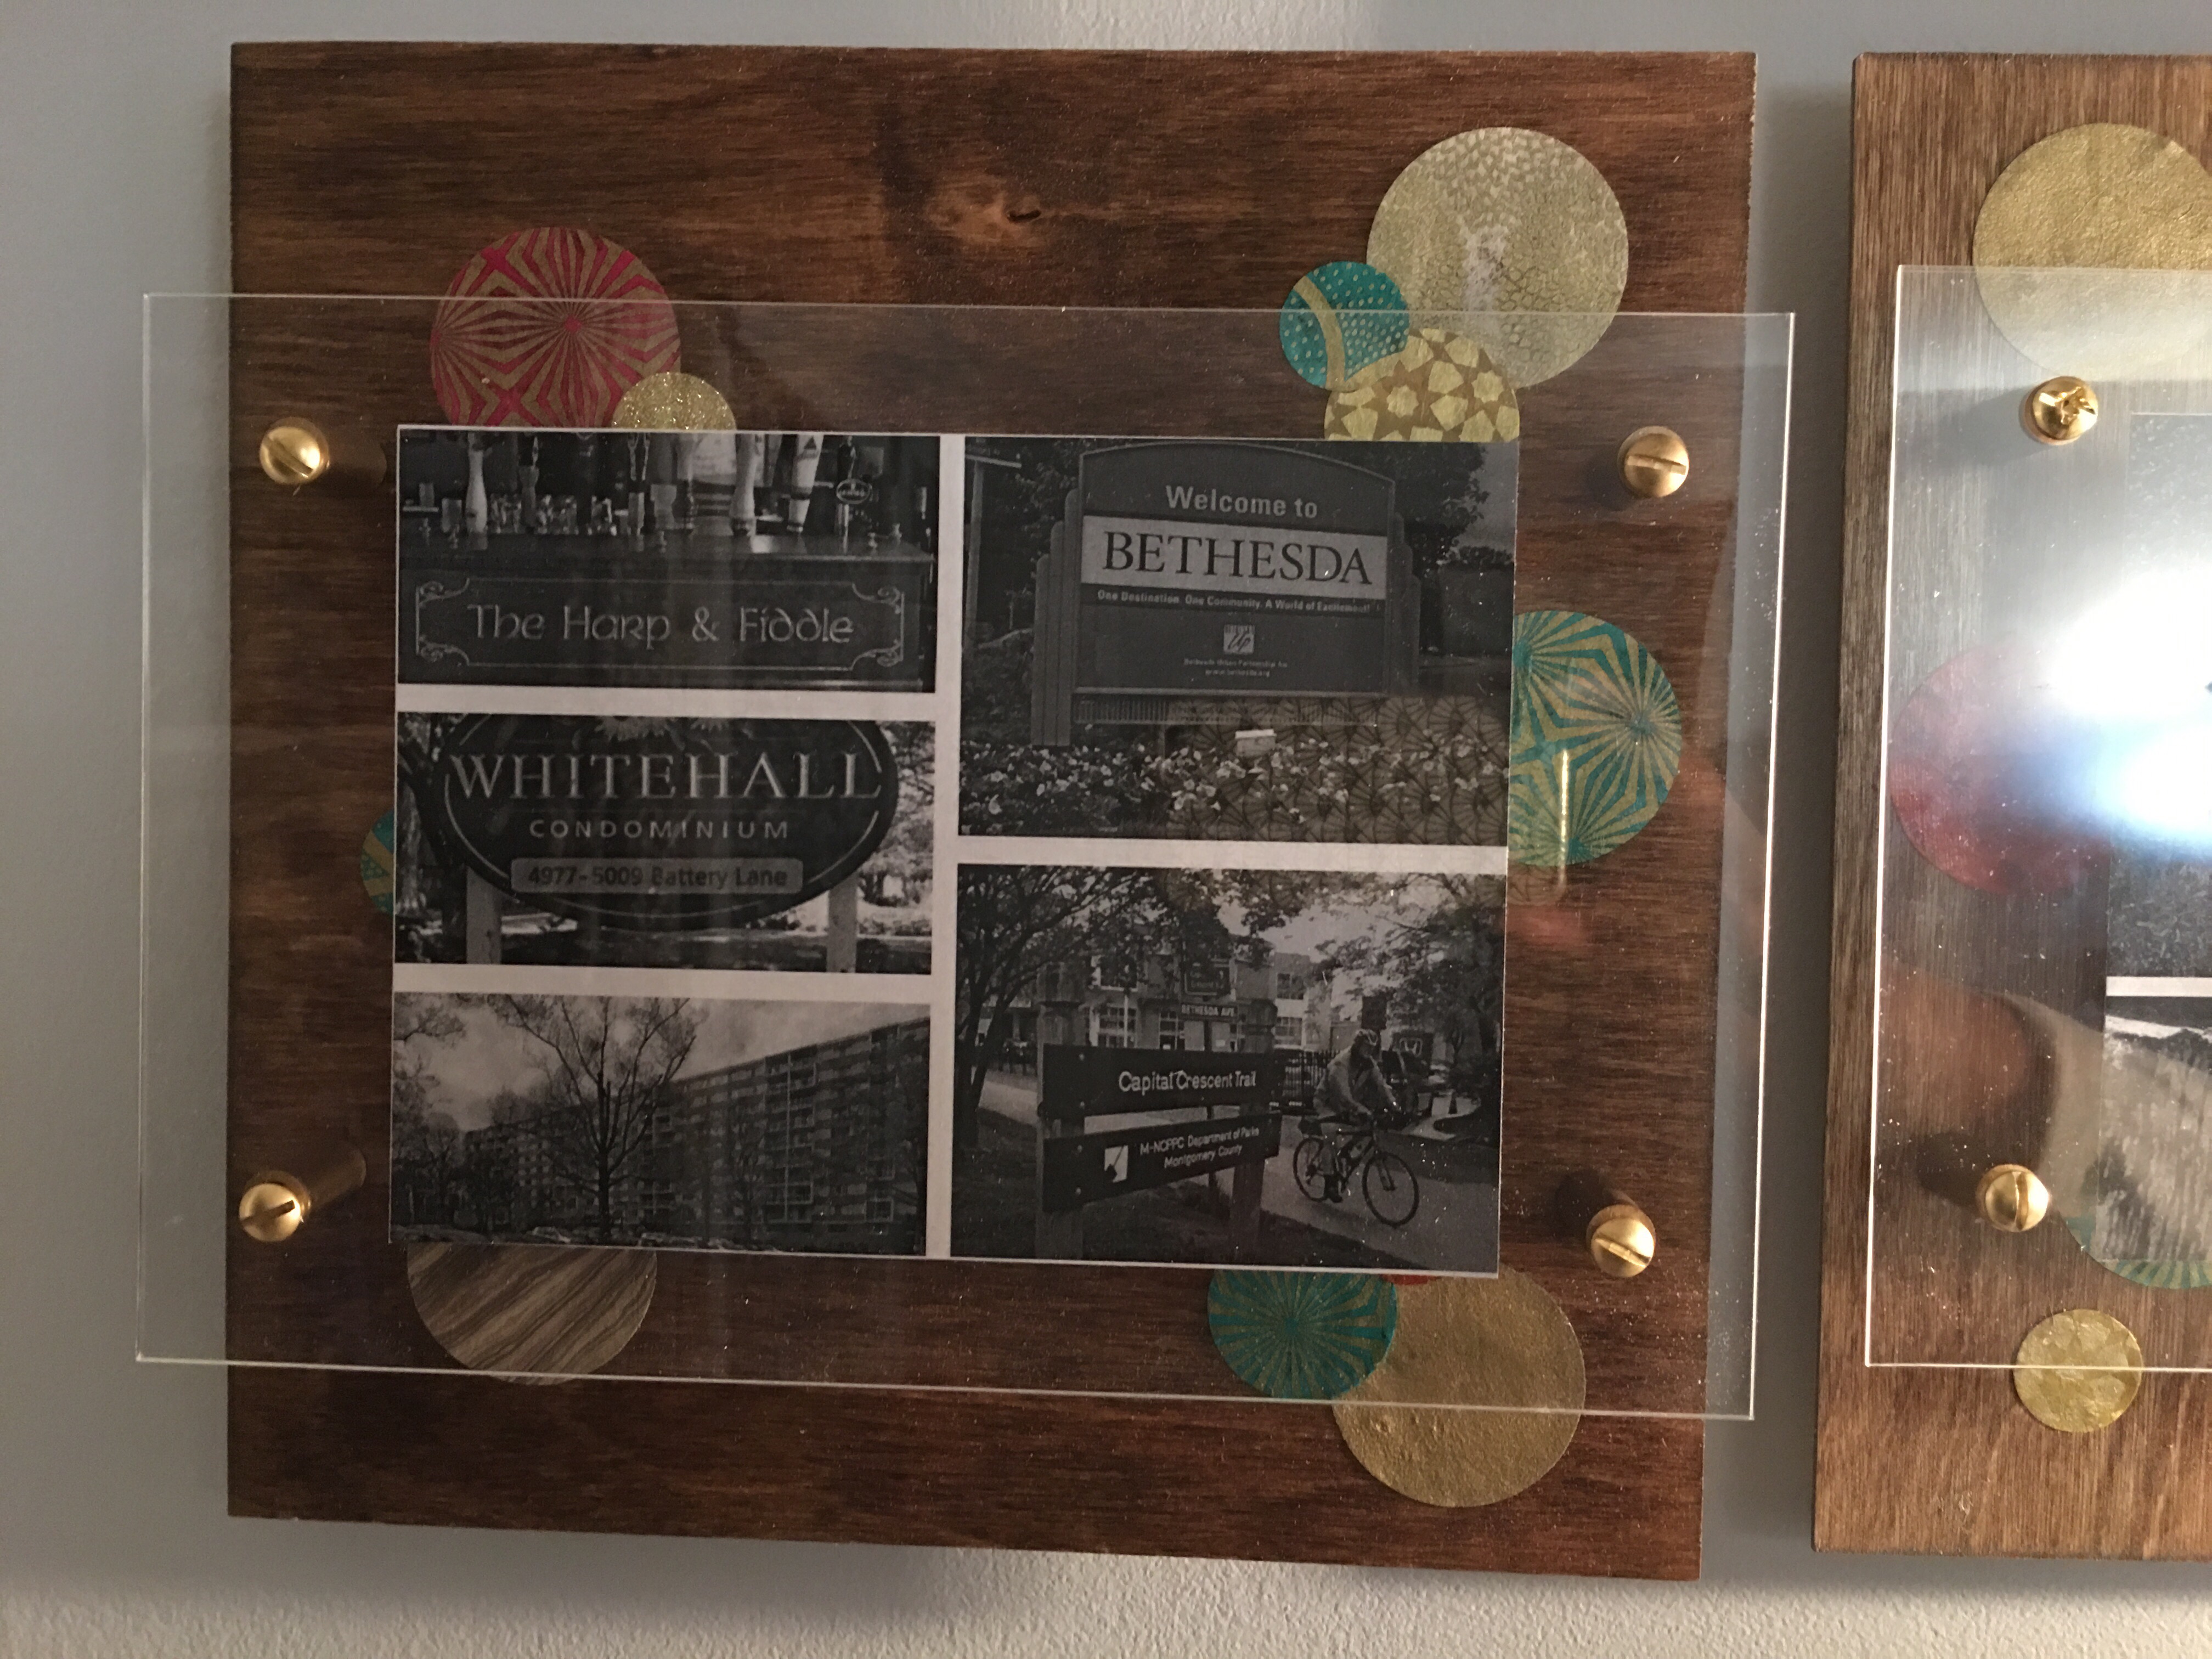
I added another floating frame panel with a collage of images around our Bethesda neighborhood.
I loved how these came out. I plan to make more of these soon (including a giant 30 x 48 version of a floating frame featuring a collage of images printed using engineer blueprint enlargement). V-
