Paper ogee decorated wood floating frames
You may also like:
October 28, 2016: I’m working on building two wood floating frame panels (using acrylic and plywood pieces) for the living. I had two spare 16 x 24″ pieces of plywood from my floating shelving projects sitting around and figured I’d give a floating frame build a try.
I found this floating photo frame tutorial on the Lowes site that shows you how to make these frames step-by-step. But the plywood used in their DIY version is left in its natural, unfinished state.
For my DIY version, I will decorate the wood with wood stain and paper decoupage.
After staining the wood (Minwax Early American), I focused on getting my decorated paper shapes. I’m adding an ogee (onion-shaped) design by adding different paper pattern cut-outs. I learned how to make an ogee cut template from the Sea Lemon DIY ogee pattern tutorial.
Jennifer from Sea Lemon shows you how to make and use the template for tracing and painting shapes. But I’m using the template for my paper cutouts instead.
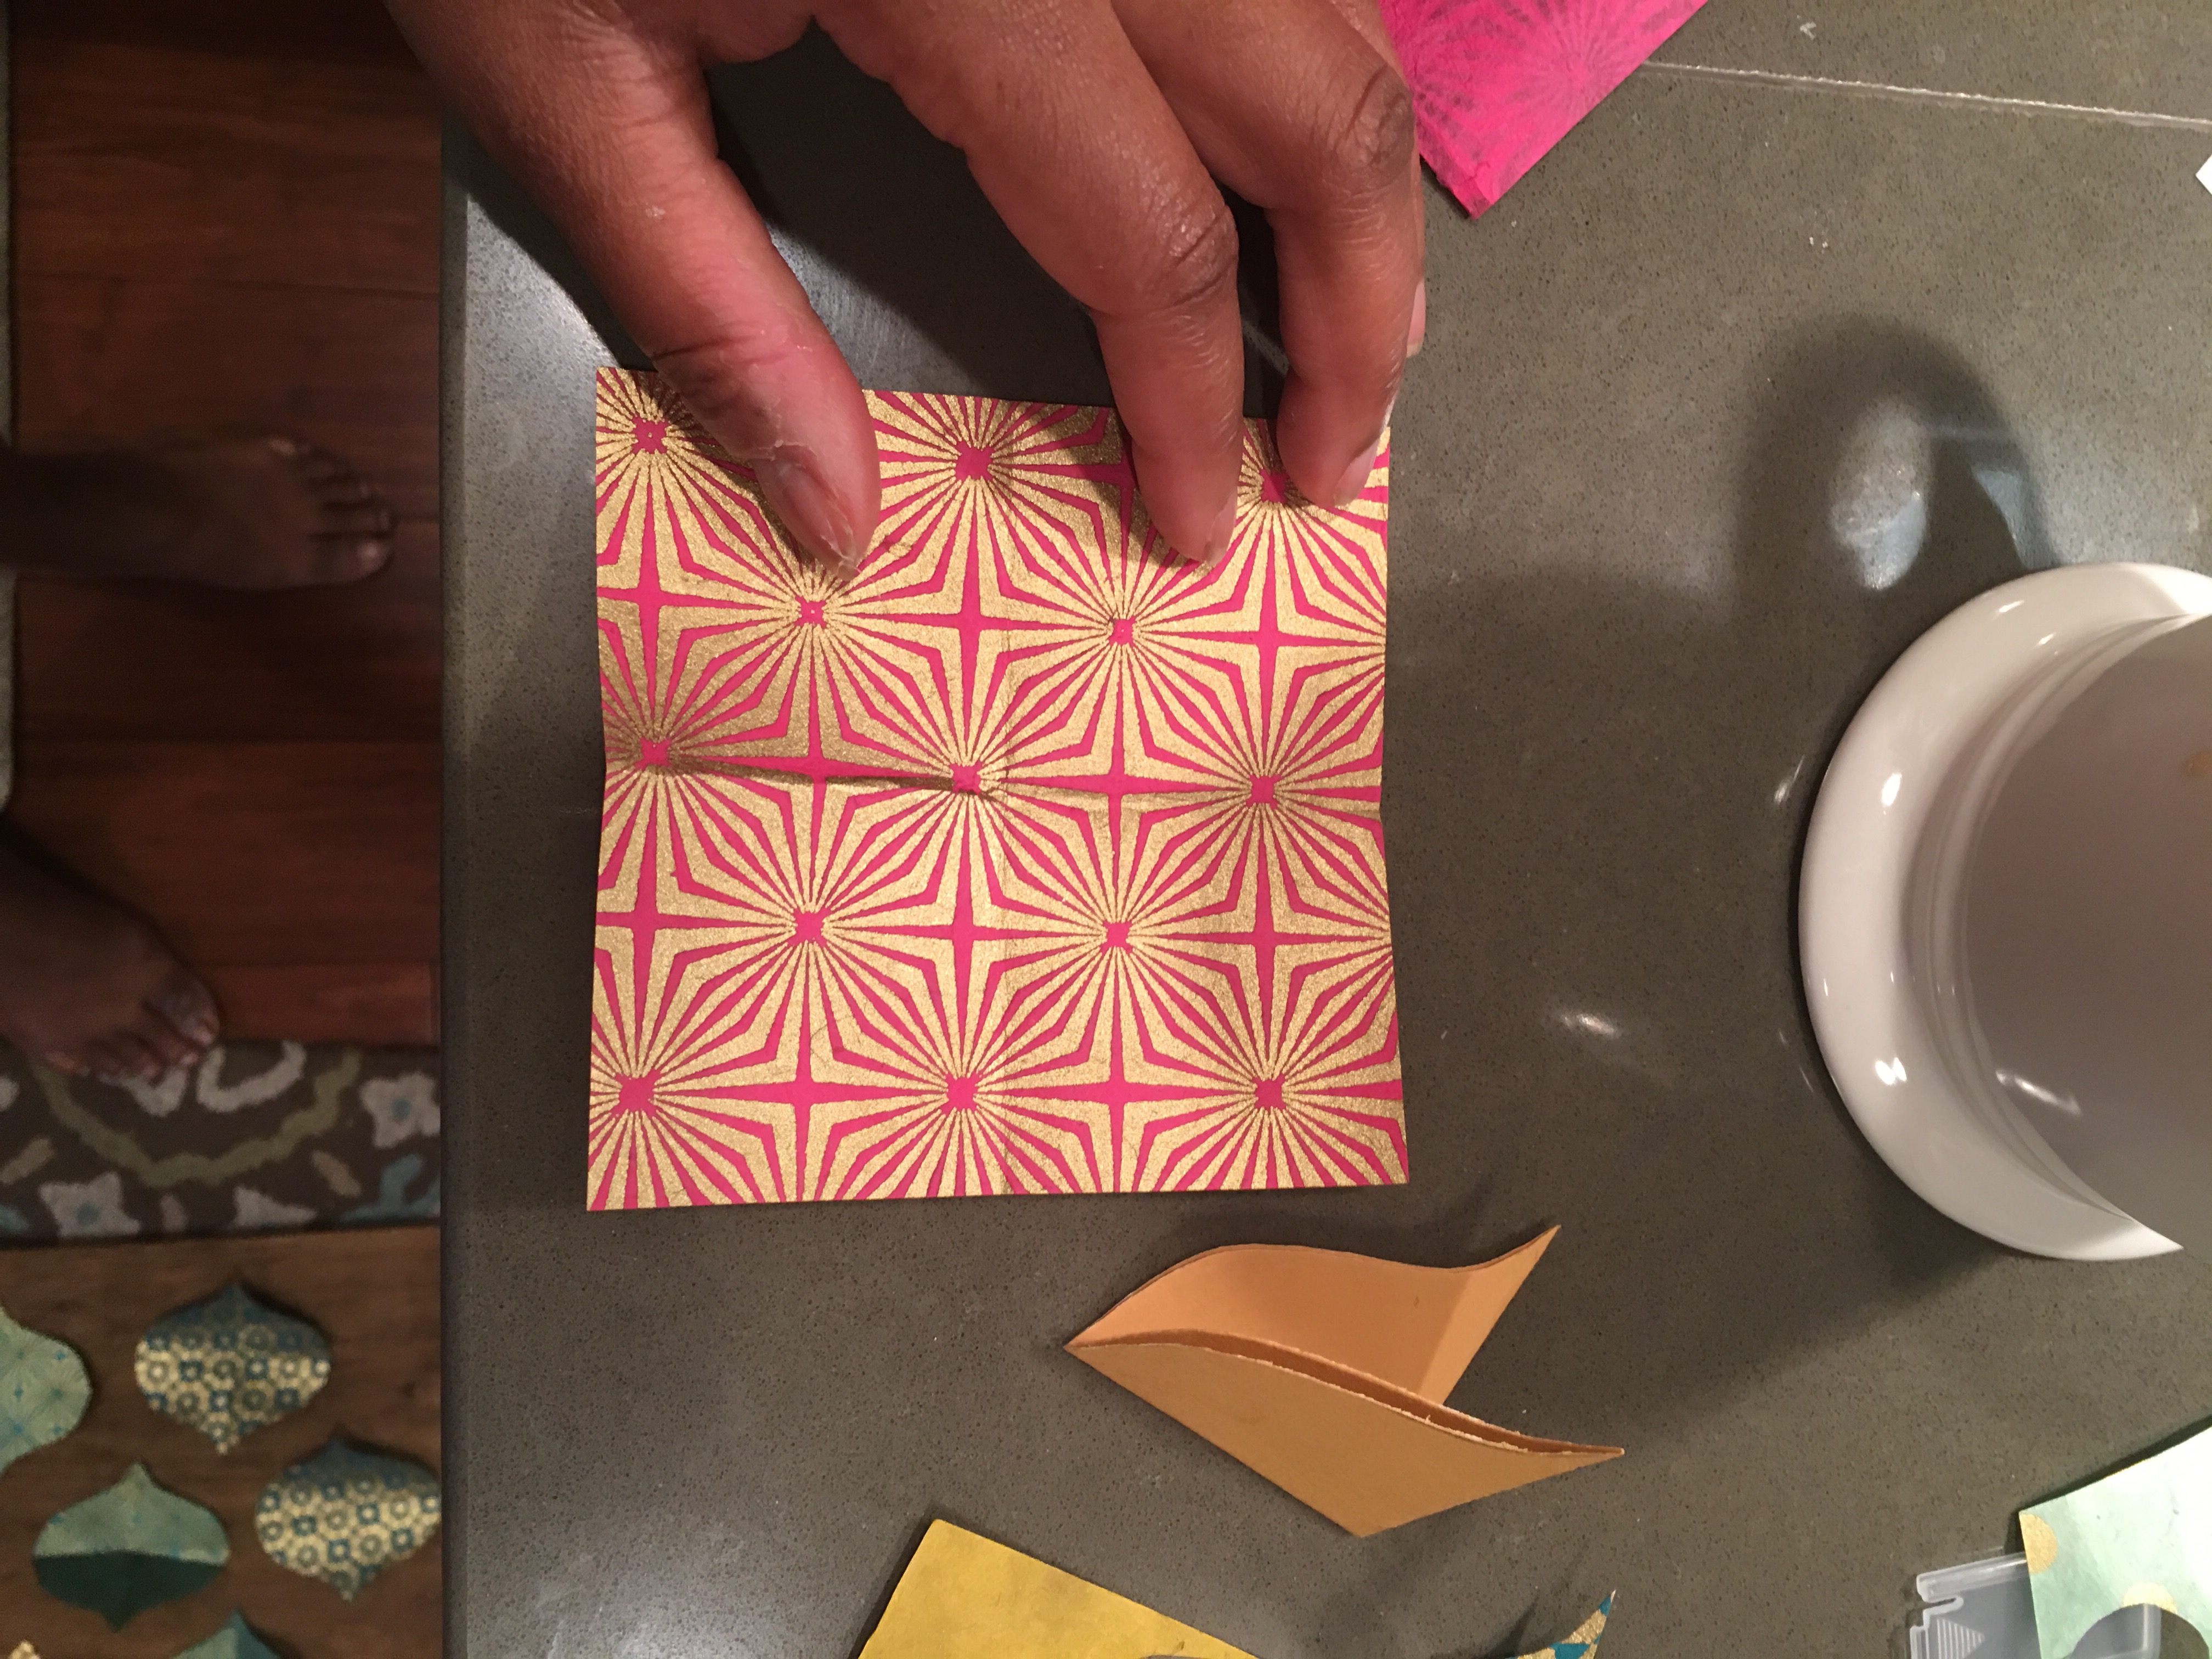
- Step 1: I made a template by folding a square piece of construction paper in half twice, and then drawing a curve on the folded side that opens to the right. Once I cut the curved lined with scissors, I unfold the paper and it reveals the ogee (or onion) shape.
- Step 2: I cut pieces of decorated paper (cut in same size squares as the template). I used 4″ squares for this project.
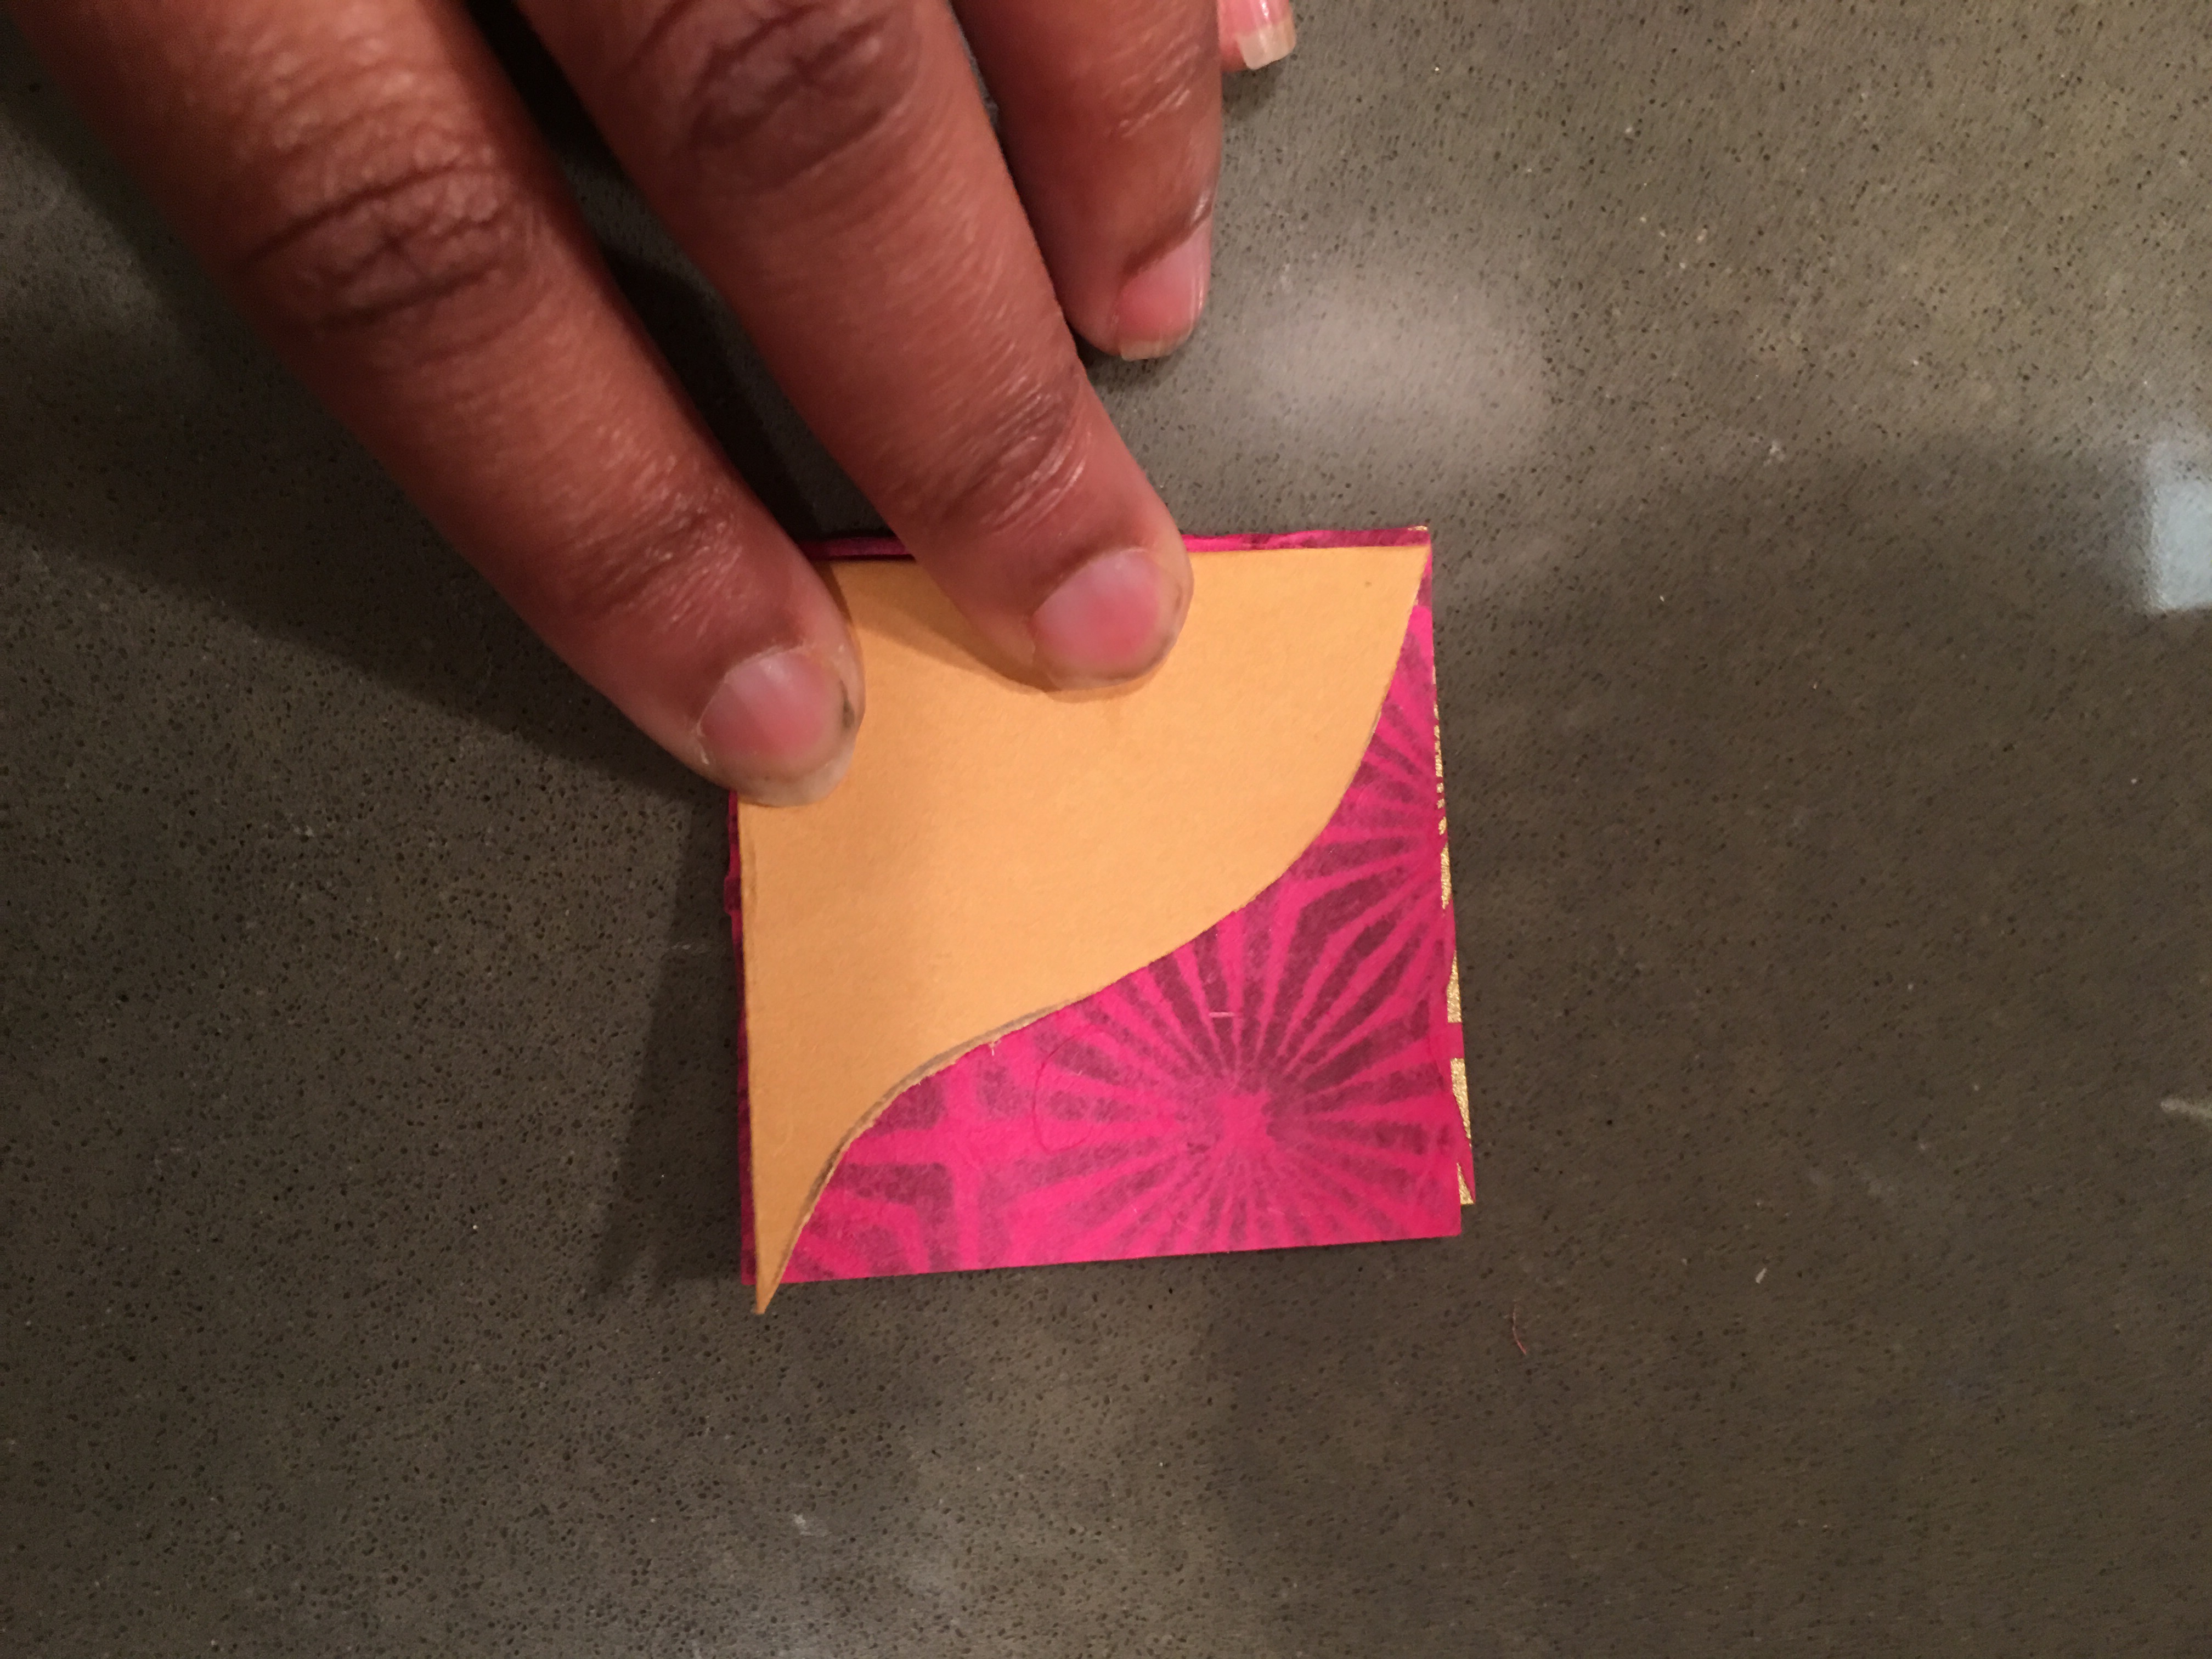
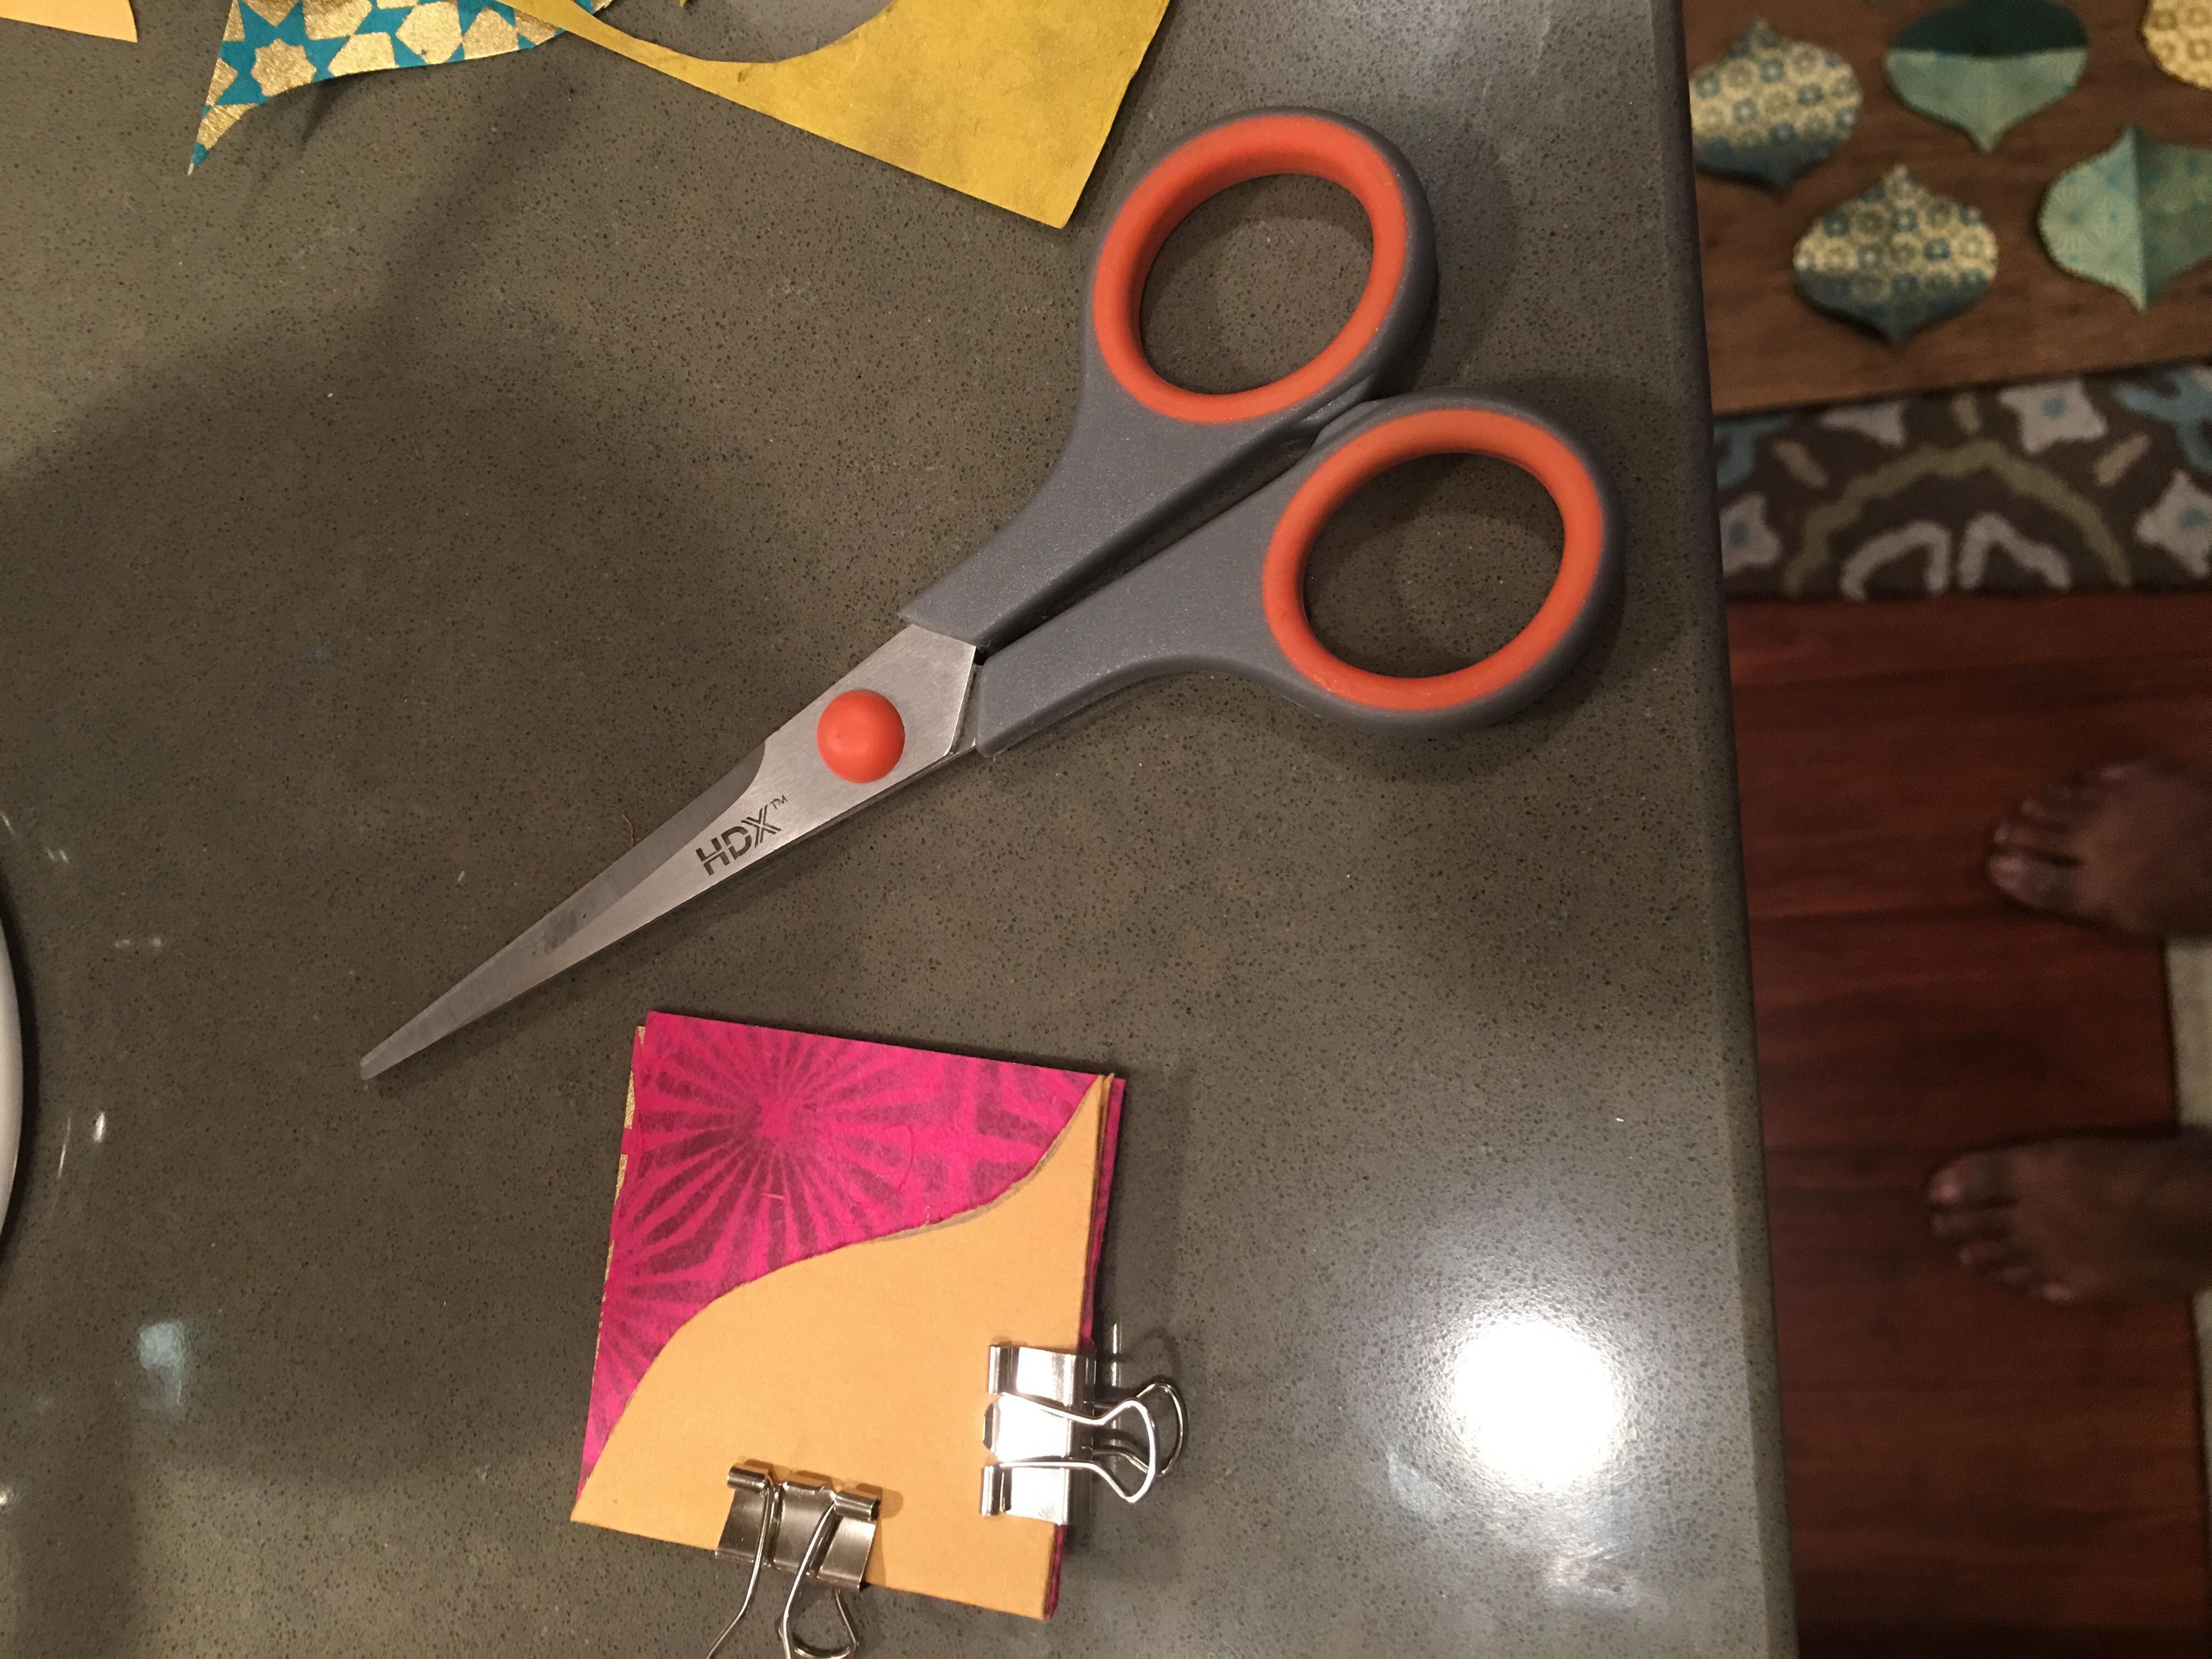
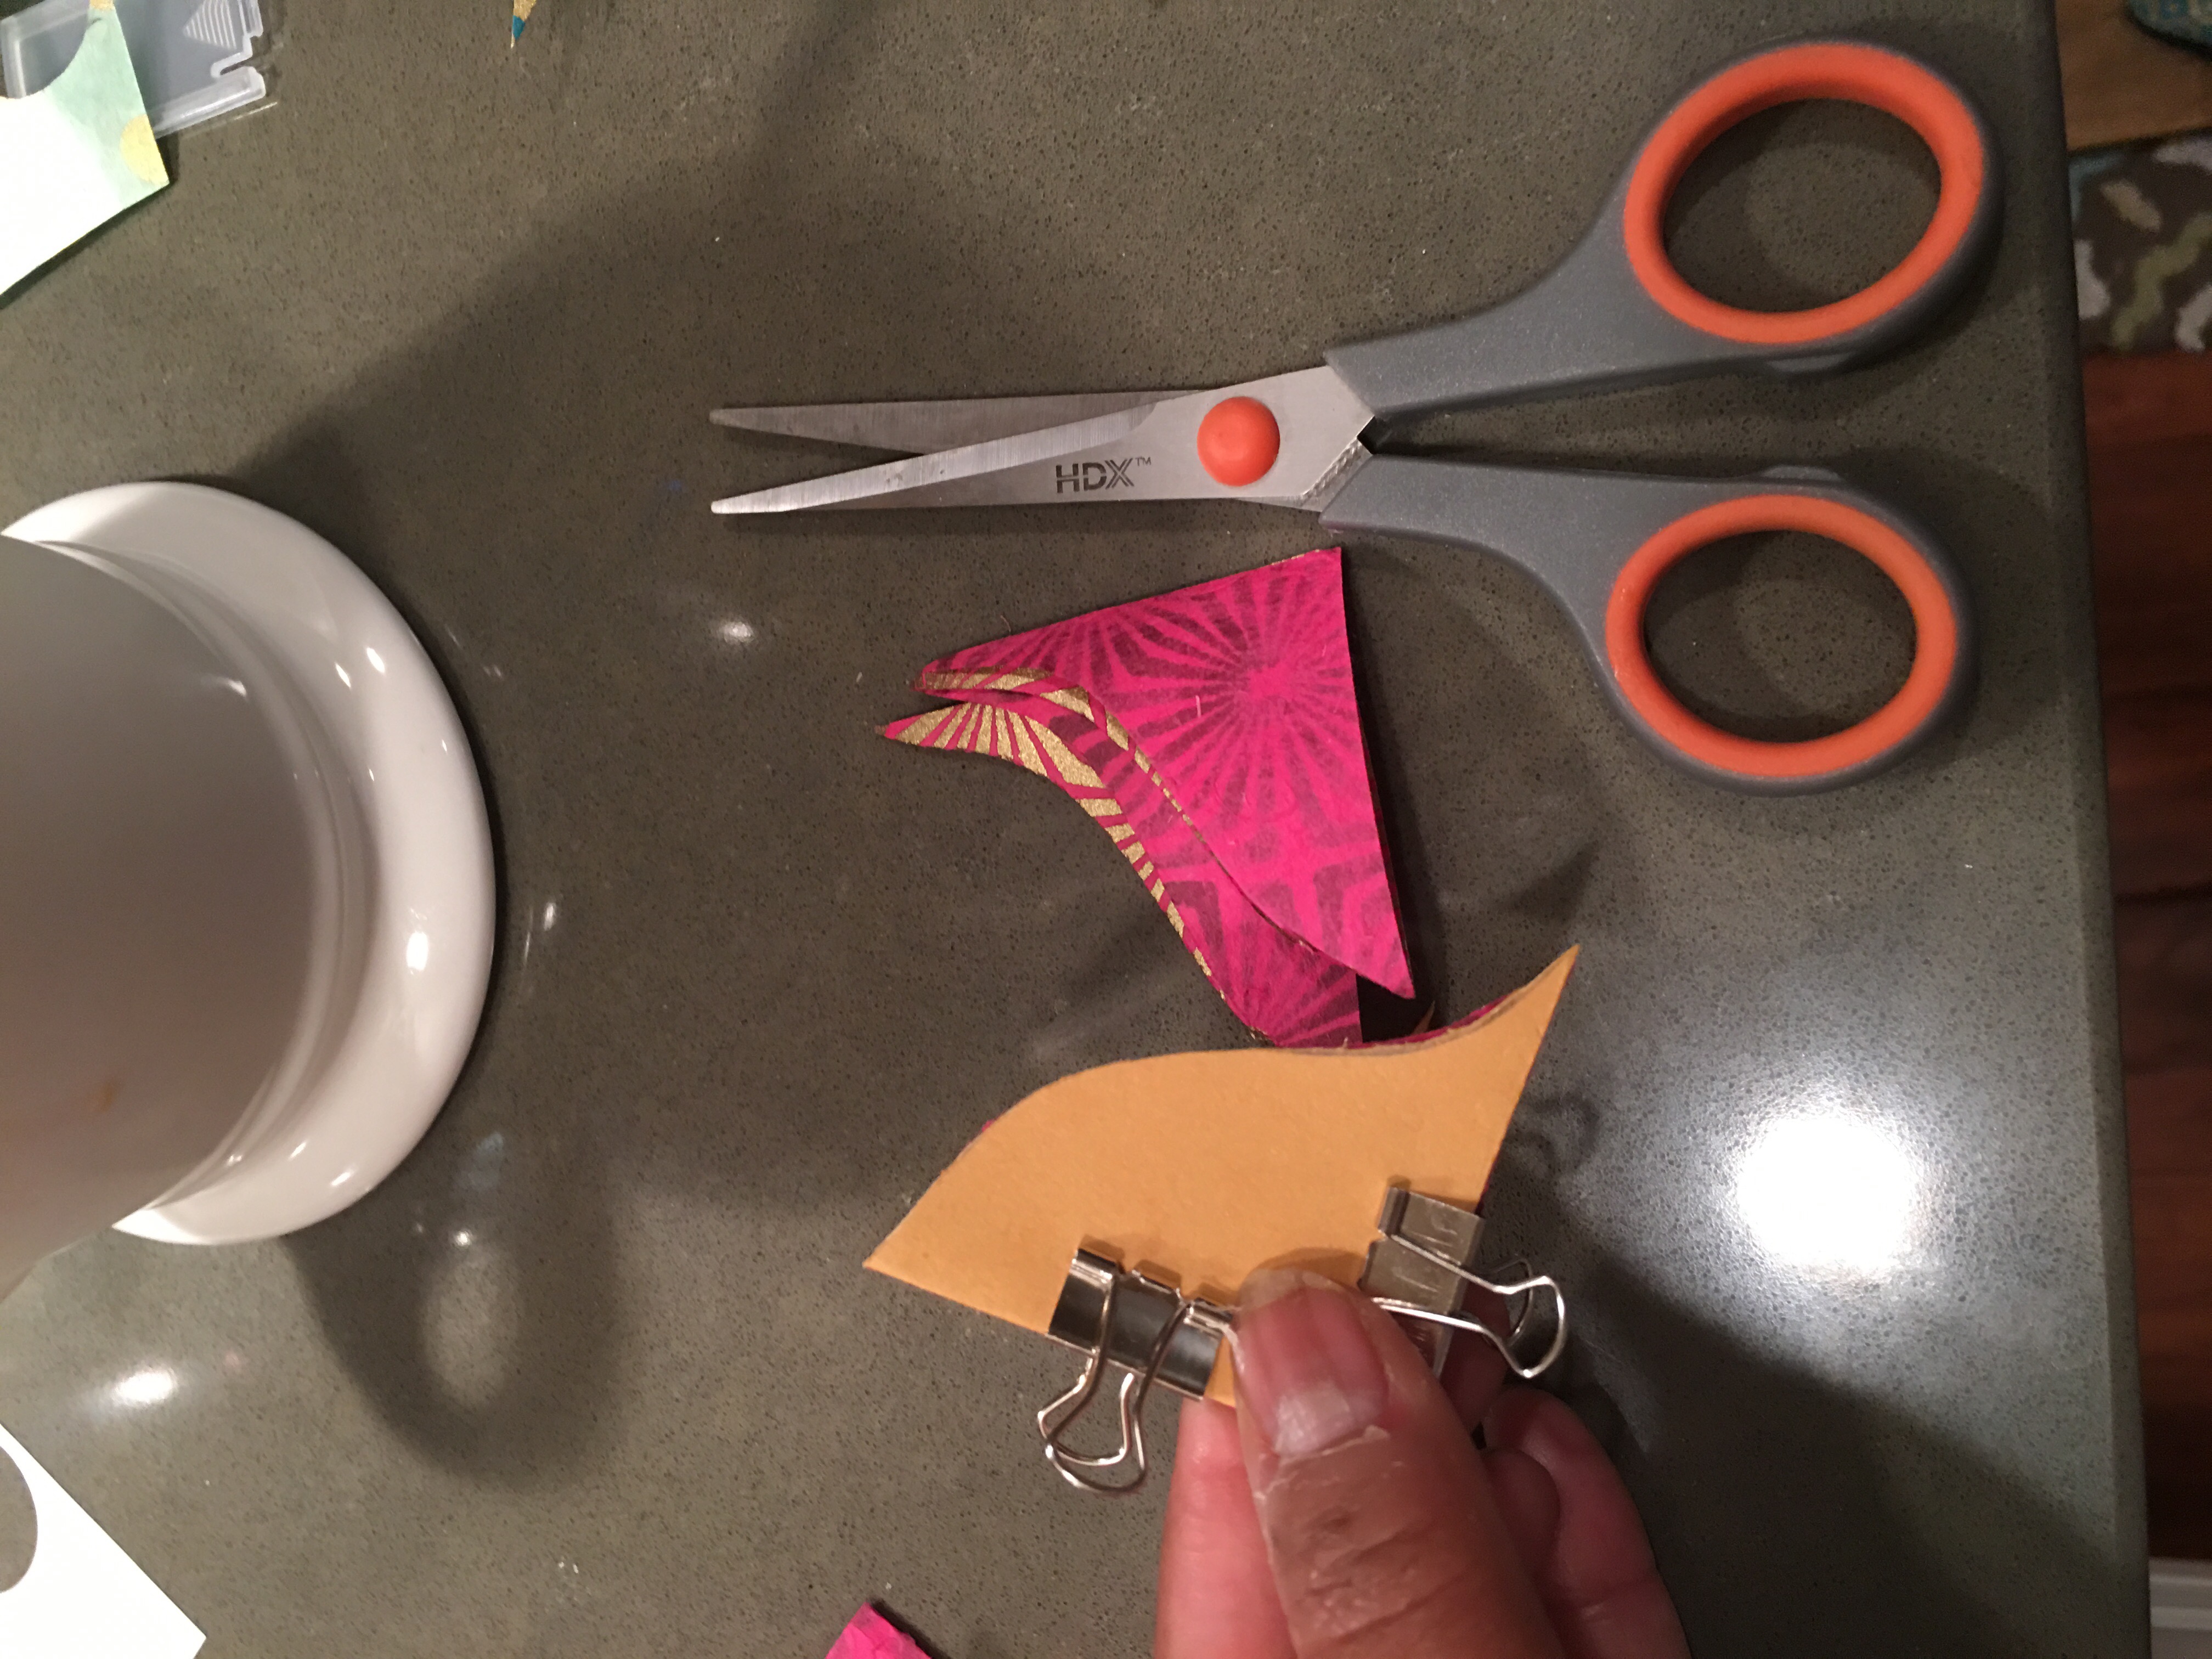
- Step 3, I folded the decorated paper twice and clipped that template I made with construction paper to it using a binder clip.
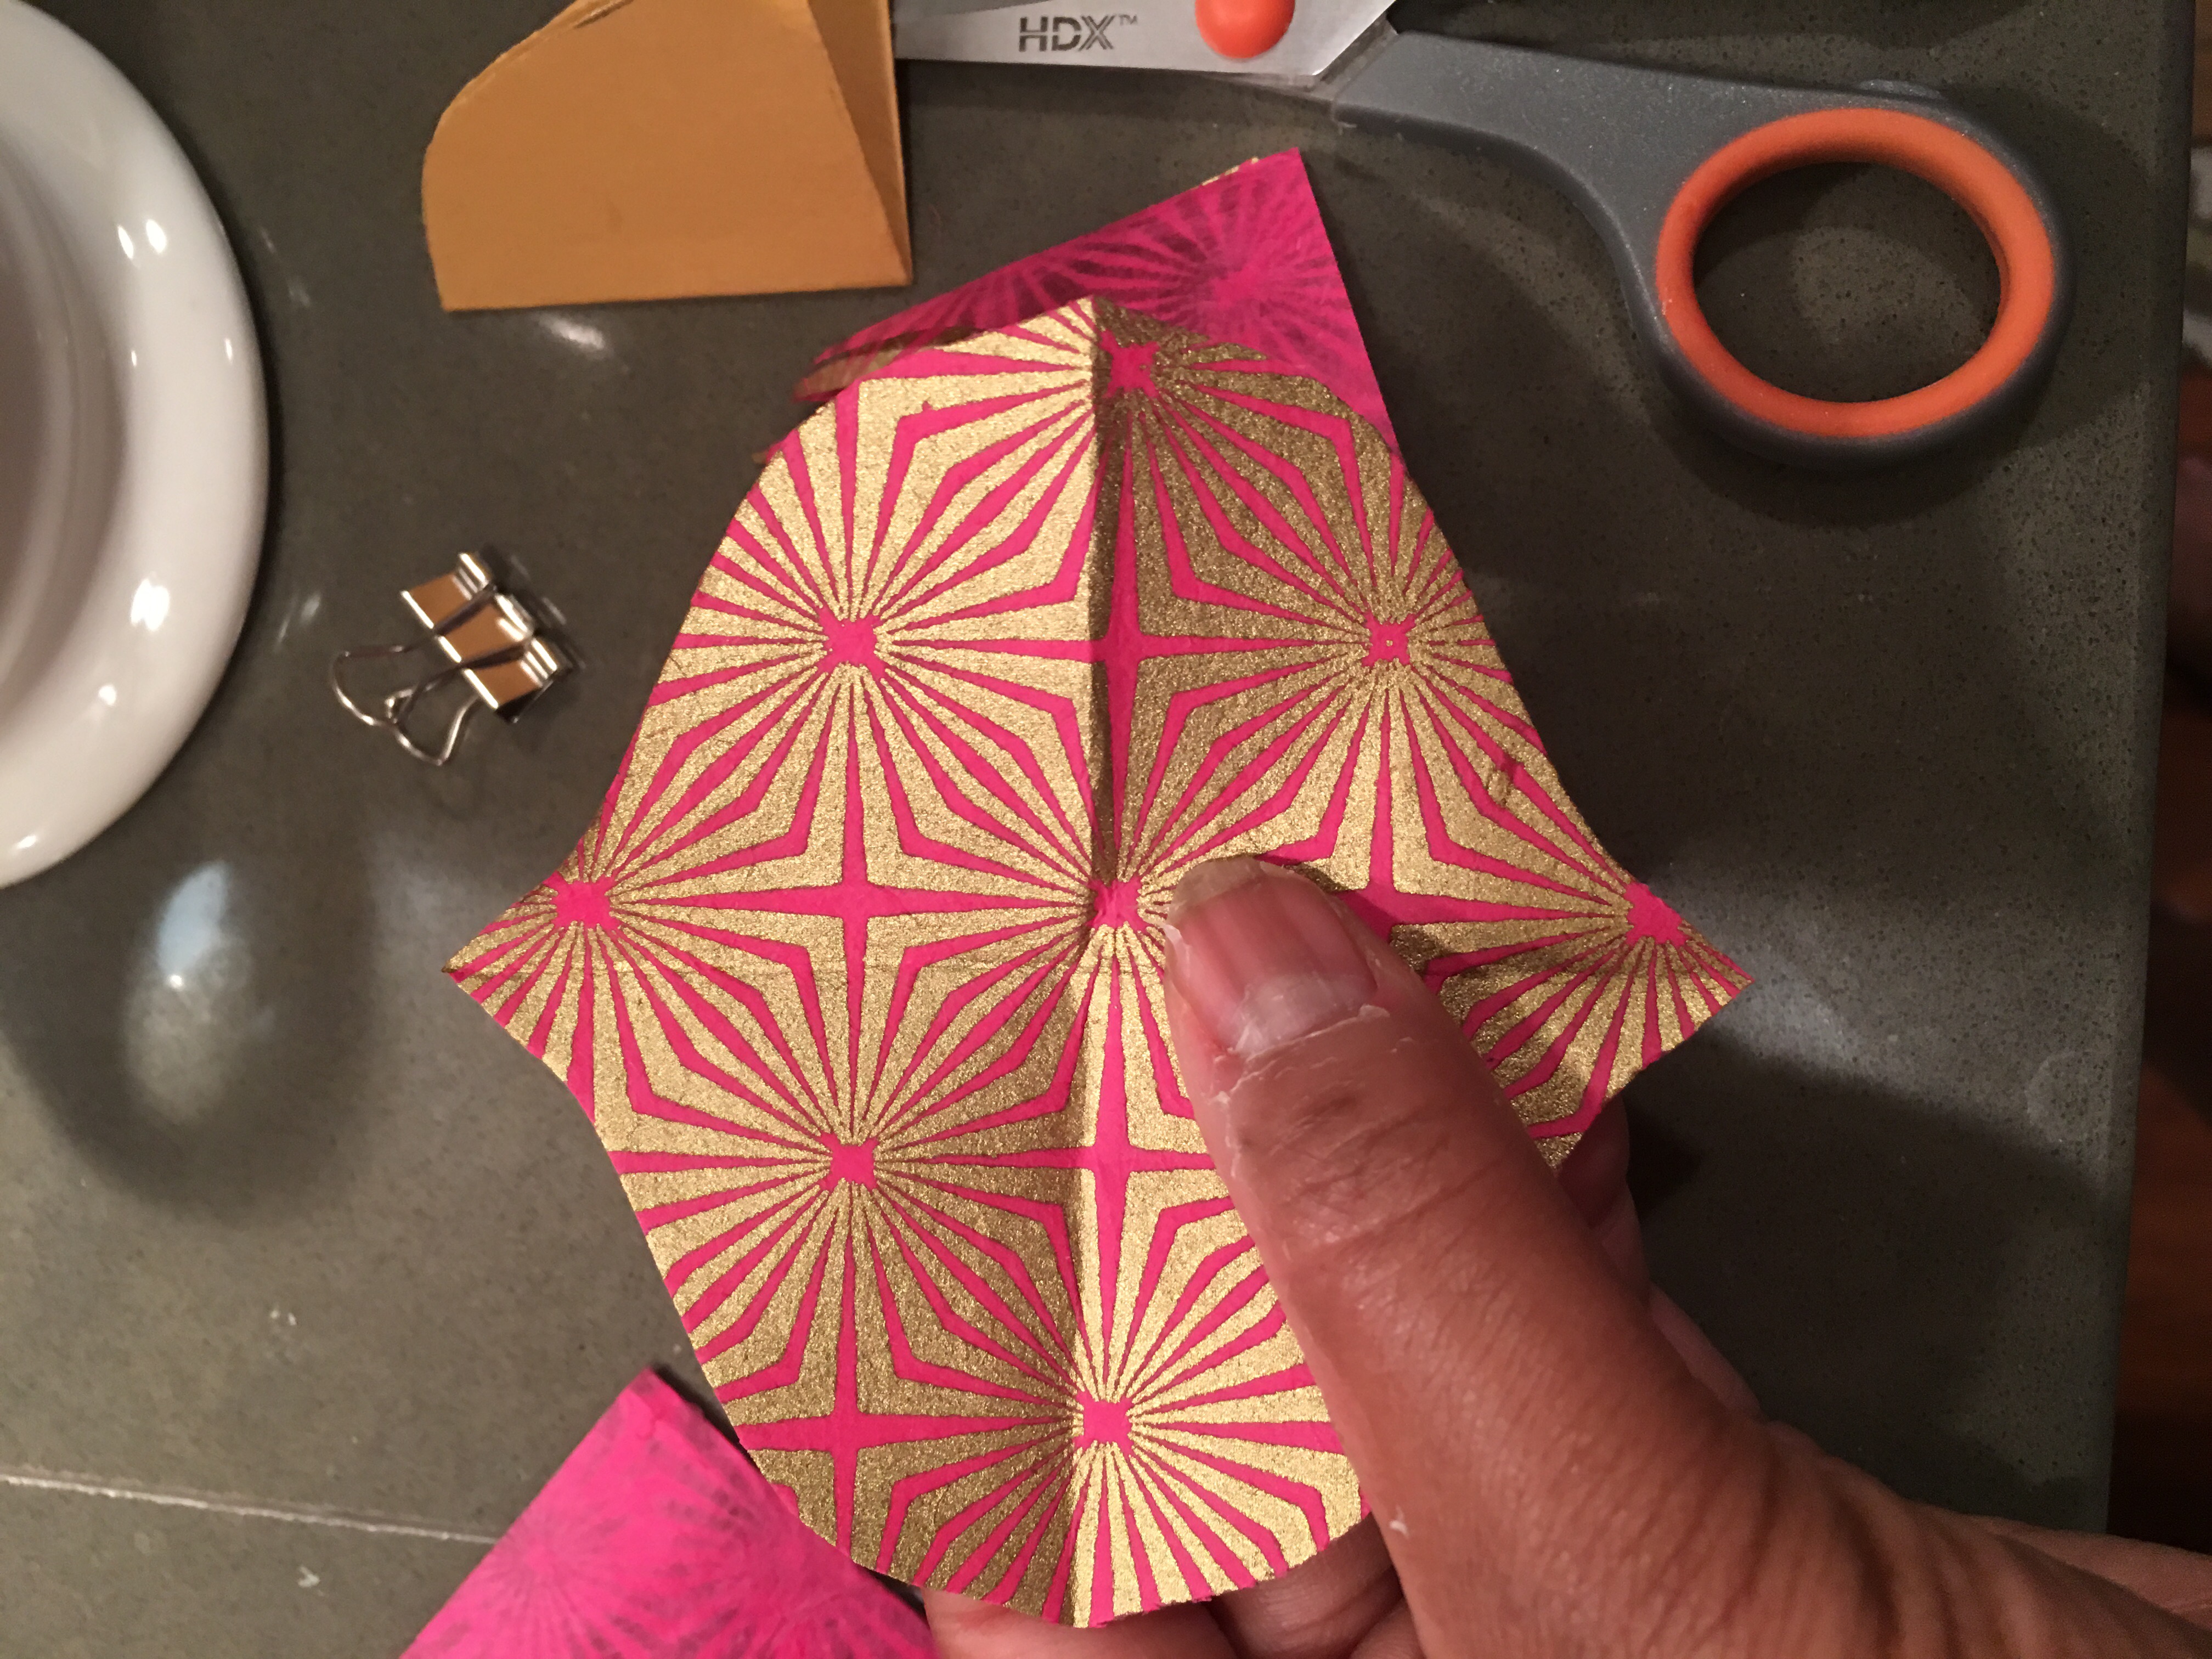
- Step 4: With scissors, I cut along the construction paper curve to create the shape with the decorative paper.
And here we have the ogee shape.
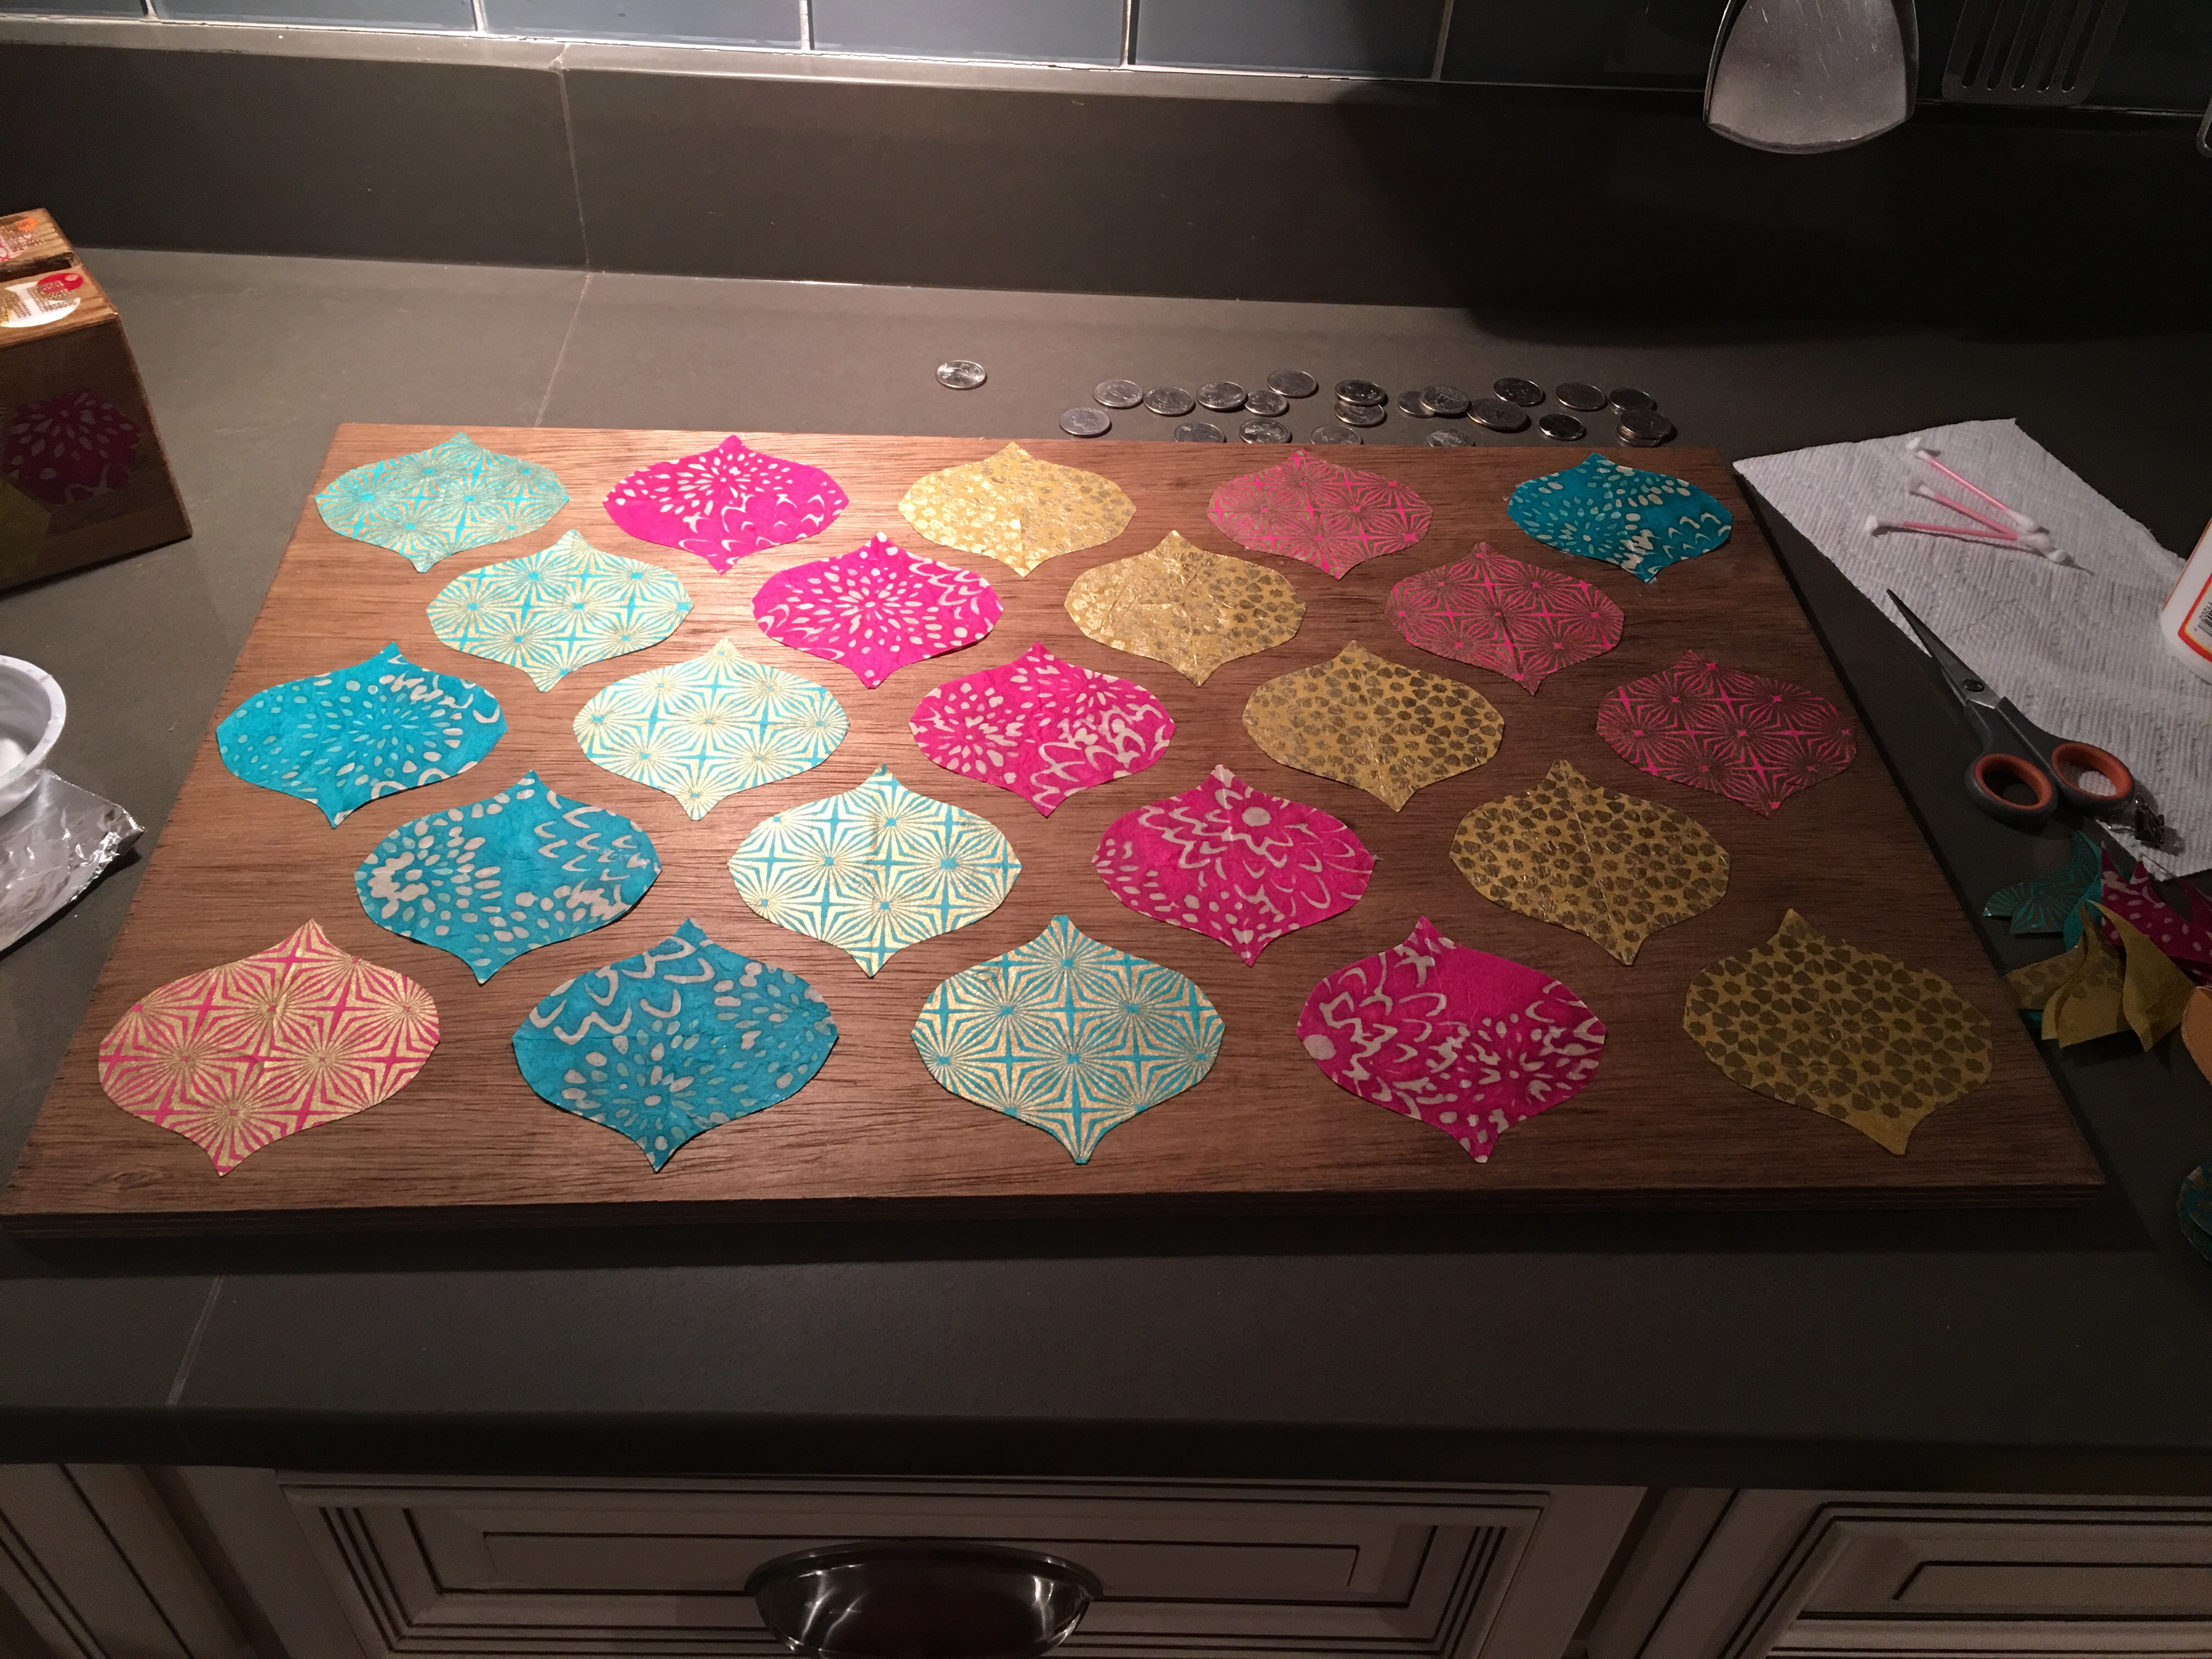
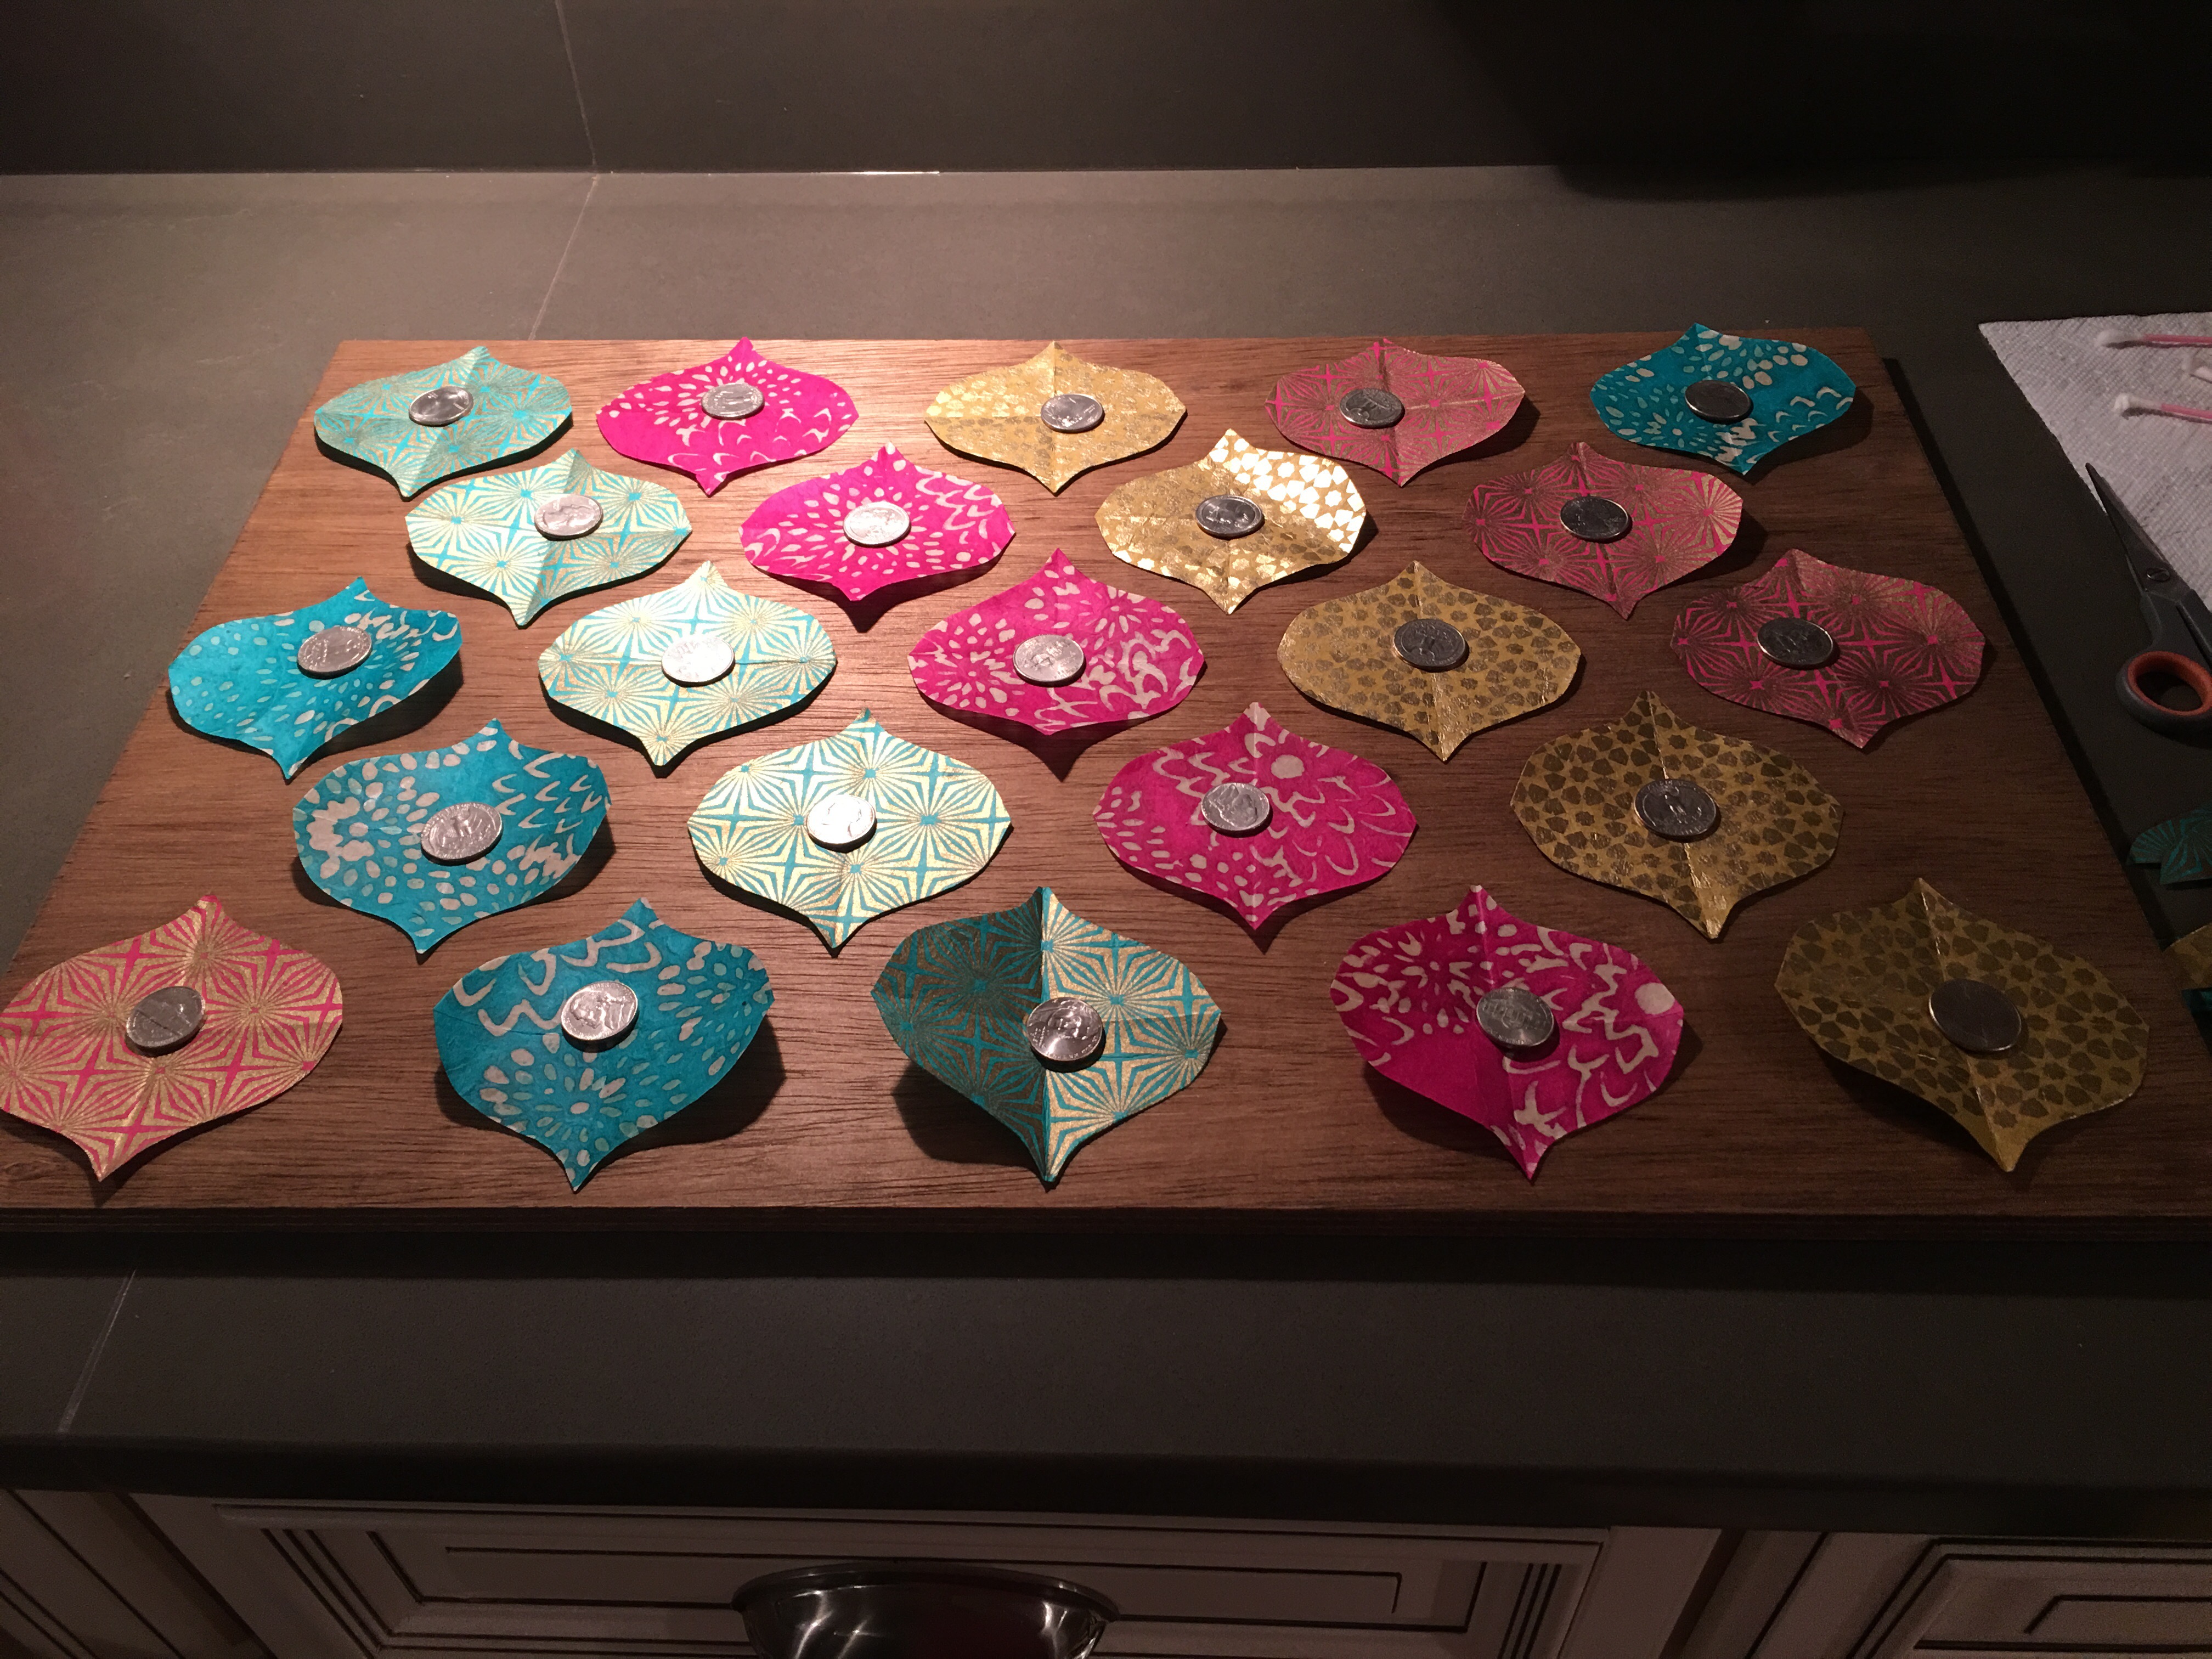
I used the template to cut several uniform ogee paper cut-outs. I applied them to the plywood in a patterned design. (The coins are just keeping each one in place for now).
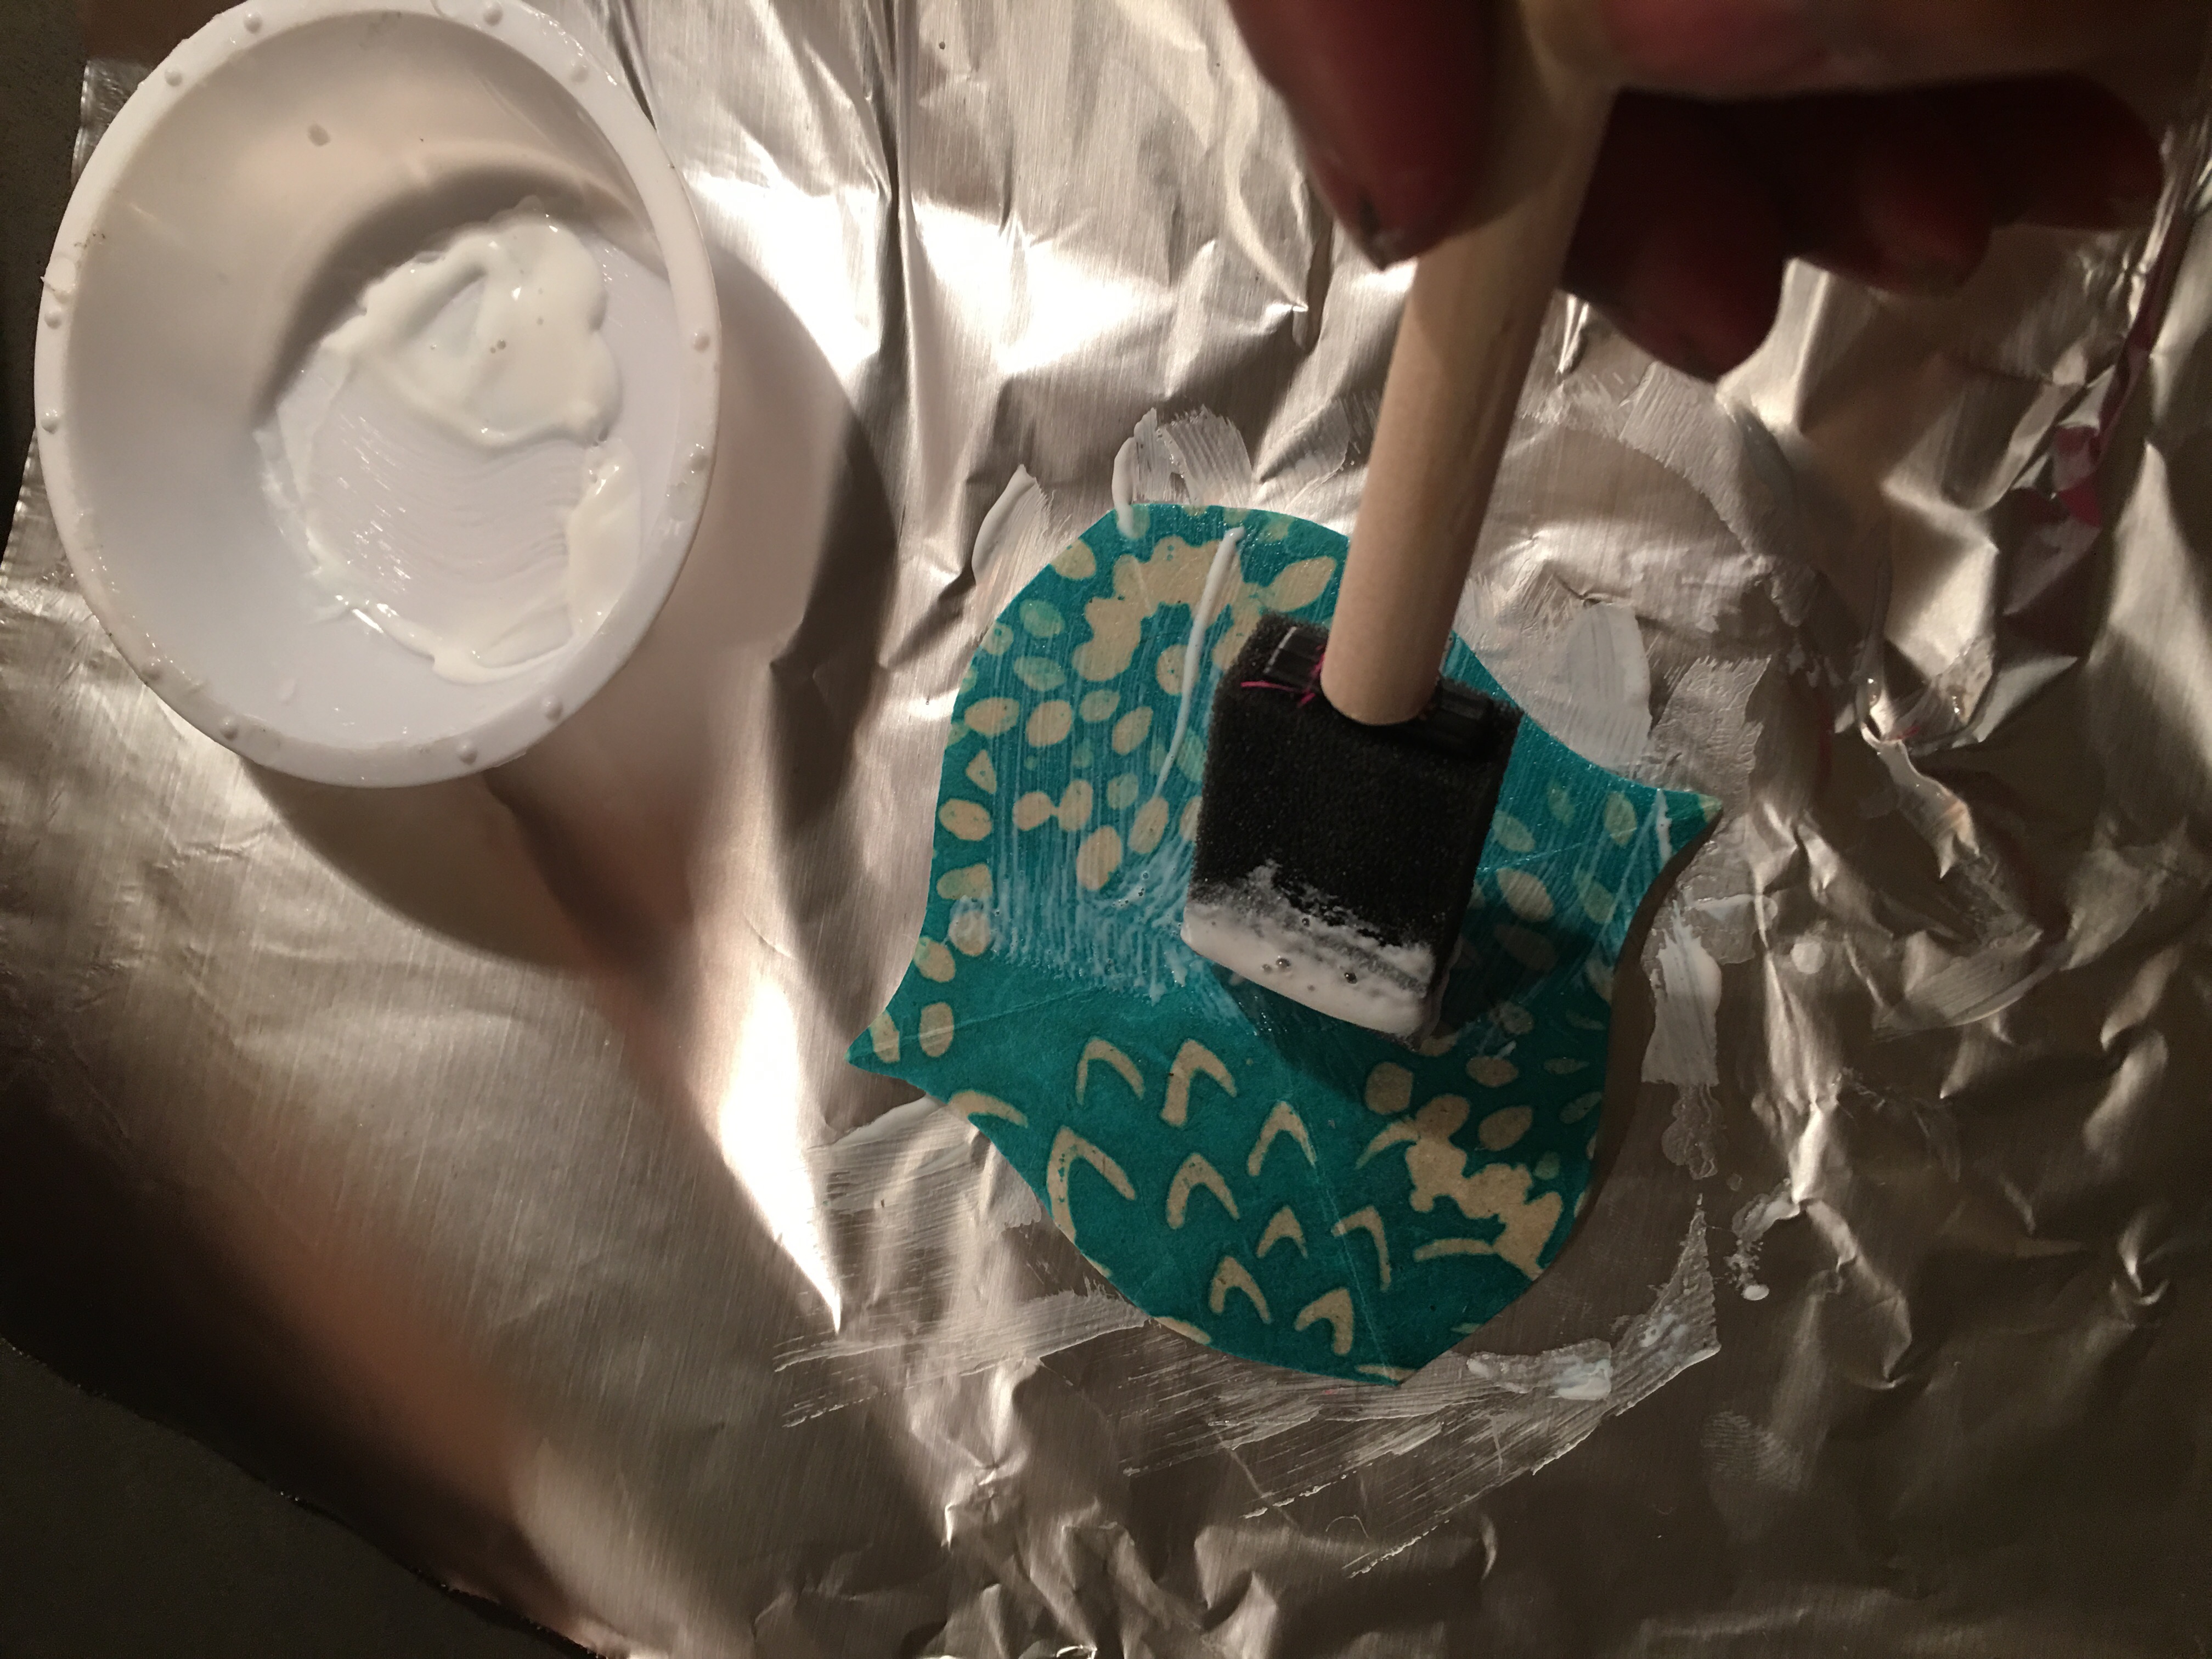
I broke out the Mod Podge and got to work on decoupaging each piece to the plywood.
And here’s how it looks after initial application. I will added a couple more coats of Mod Podge to seal in my work.
Adding the acrylic layer to make it a floating frame:
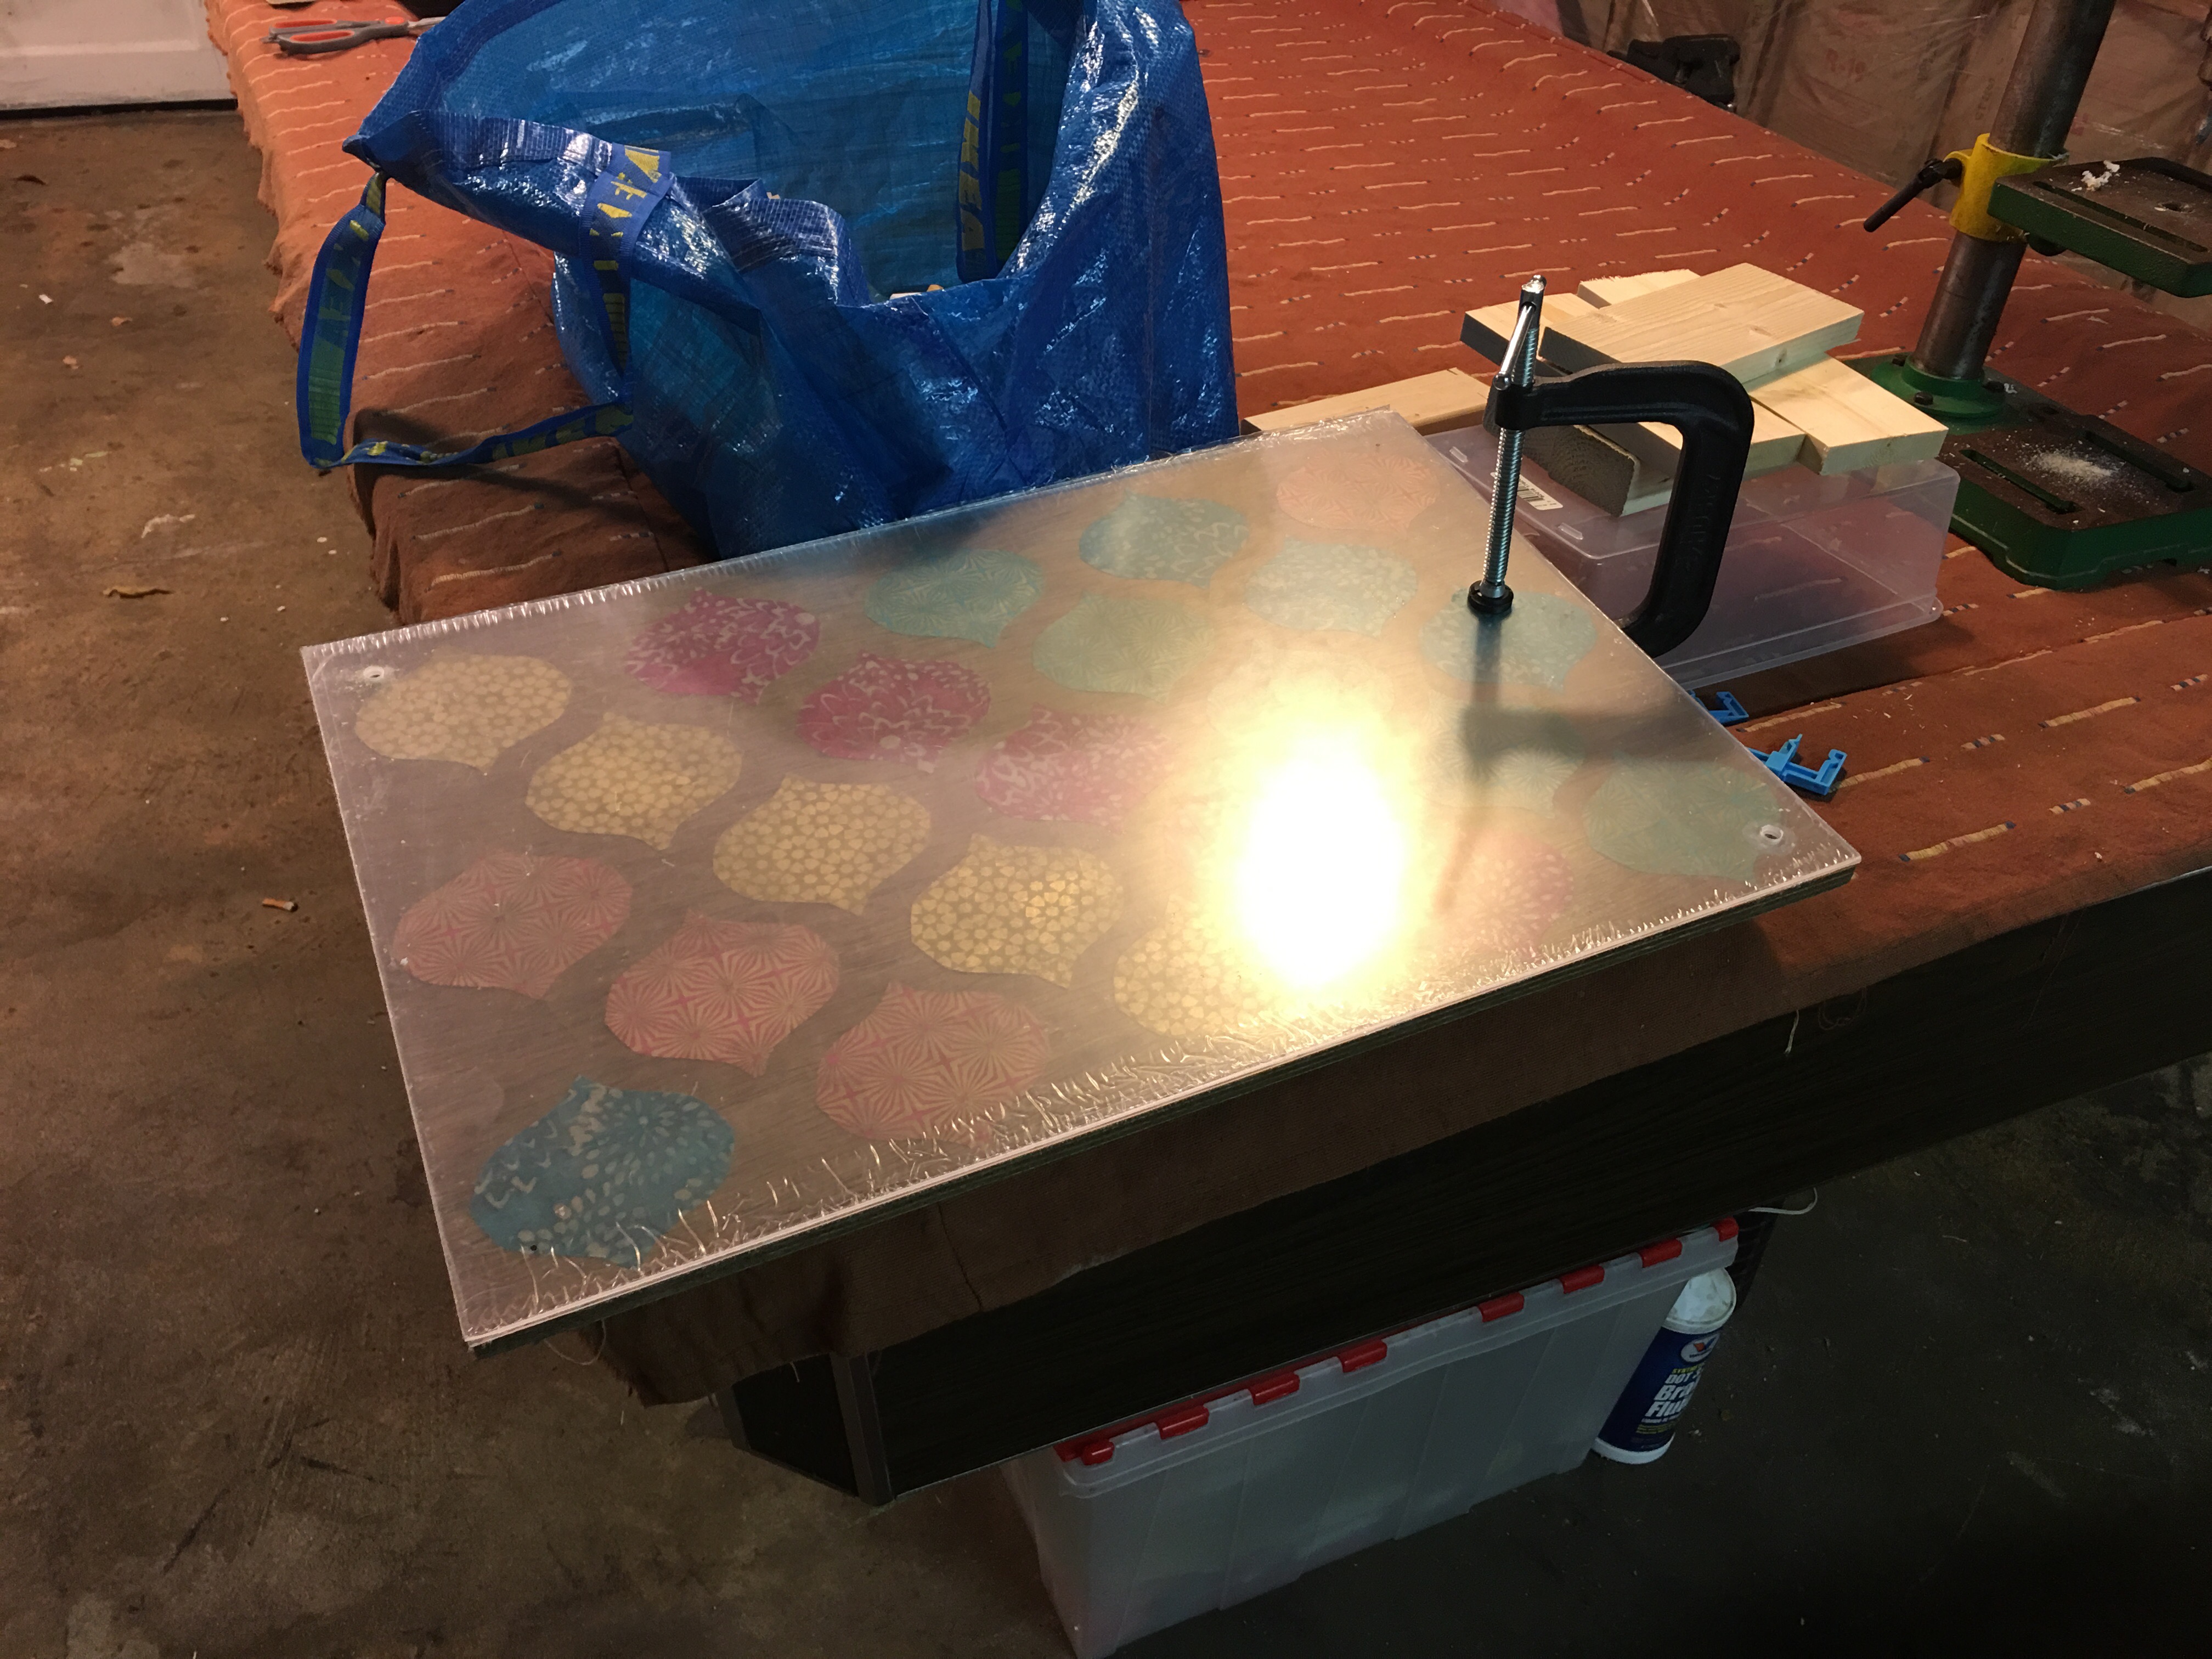
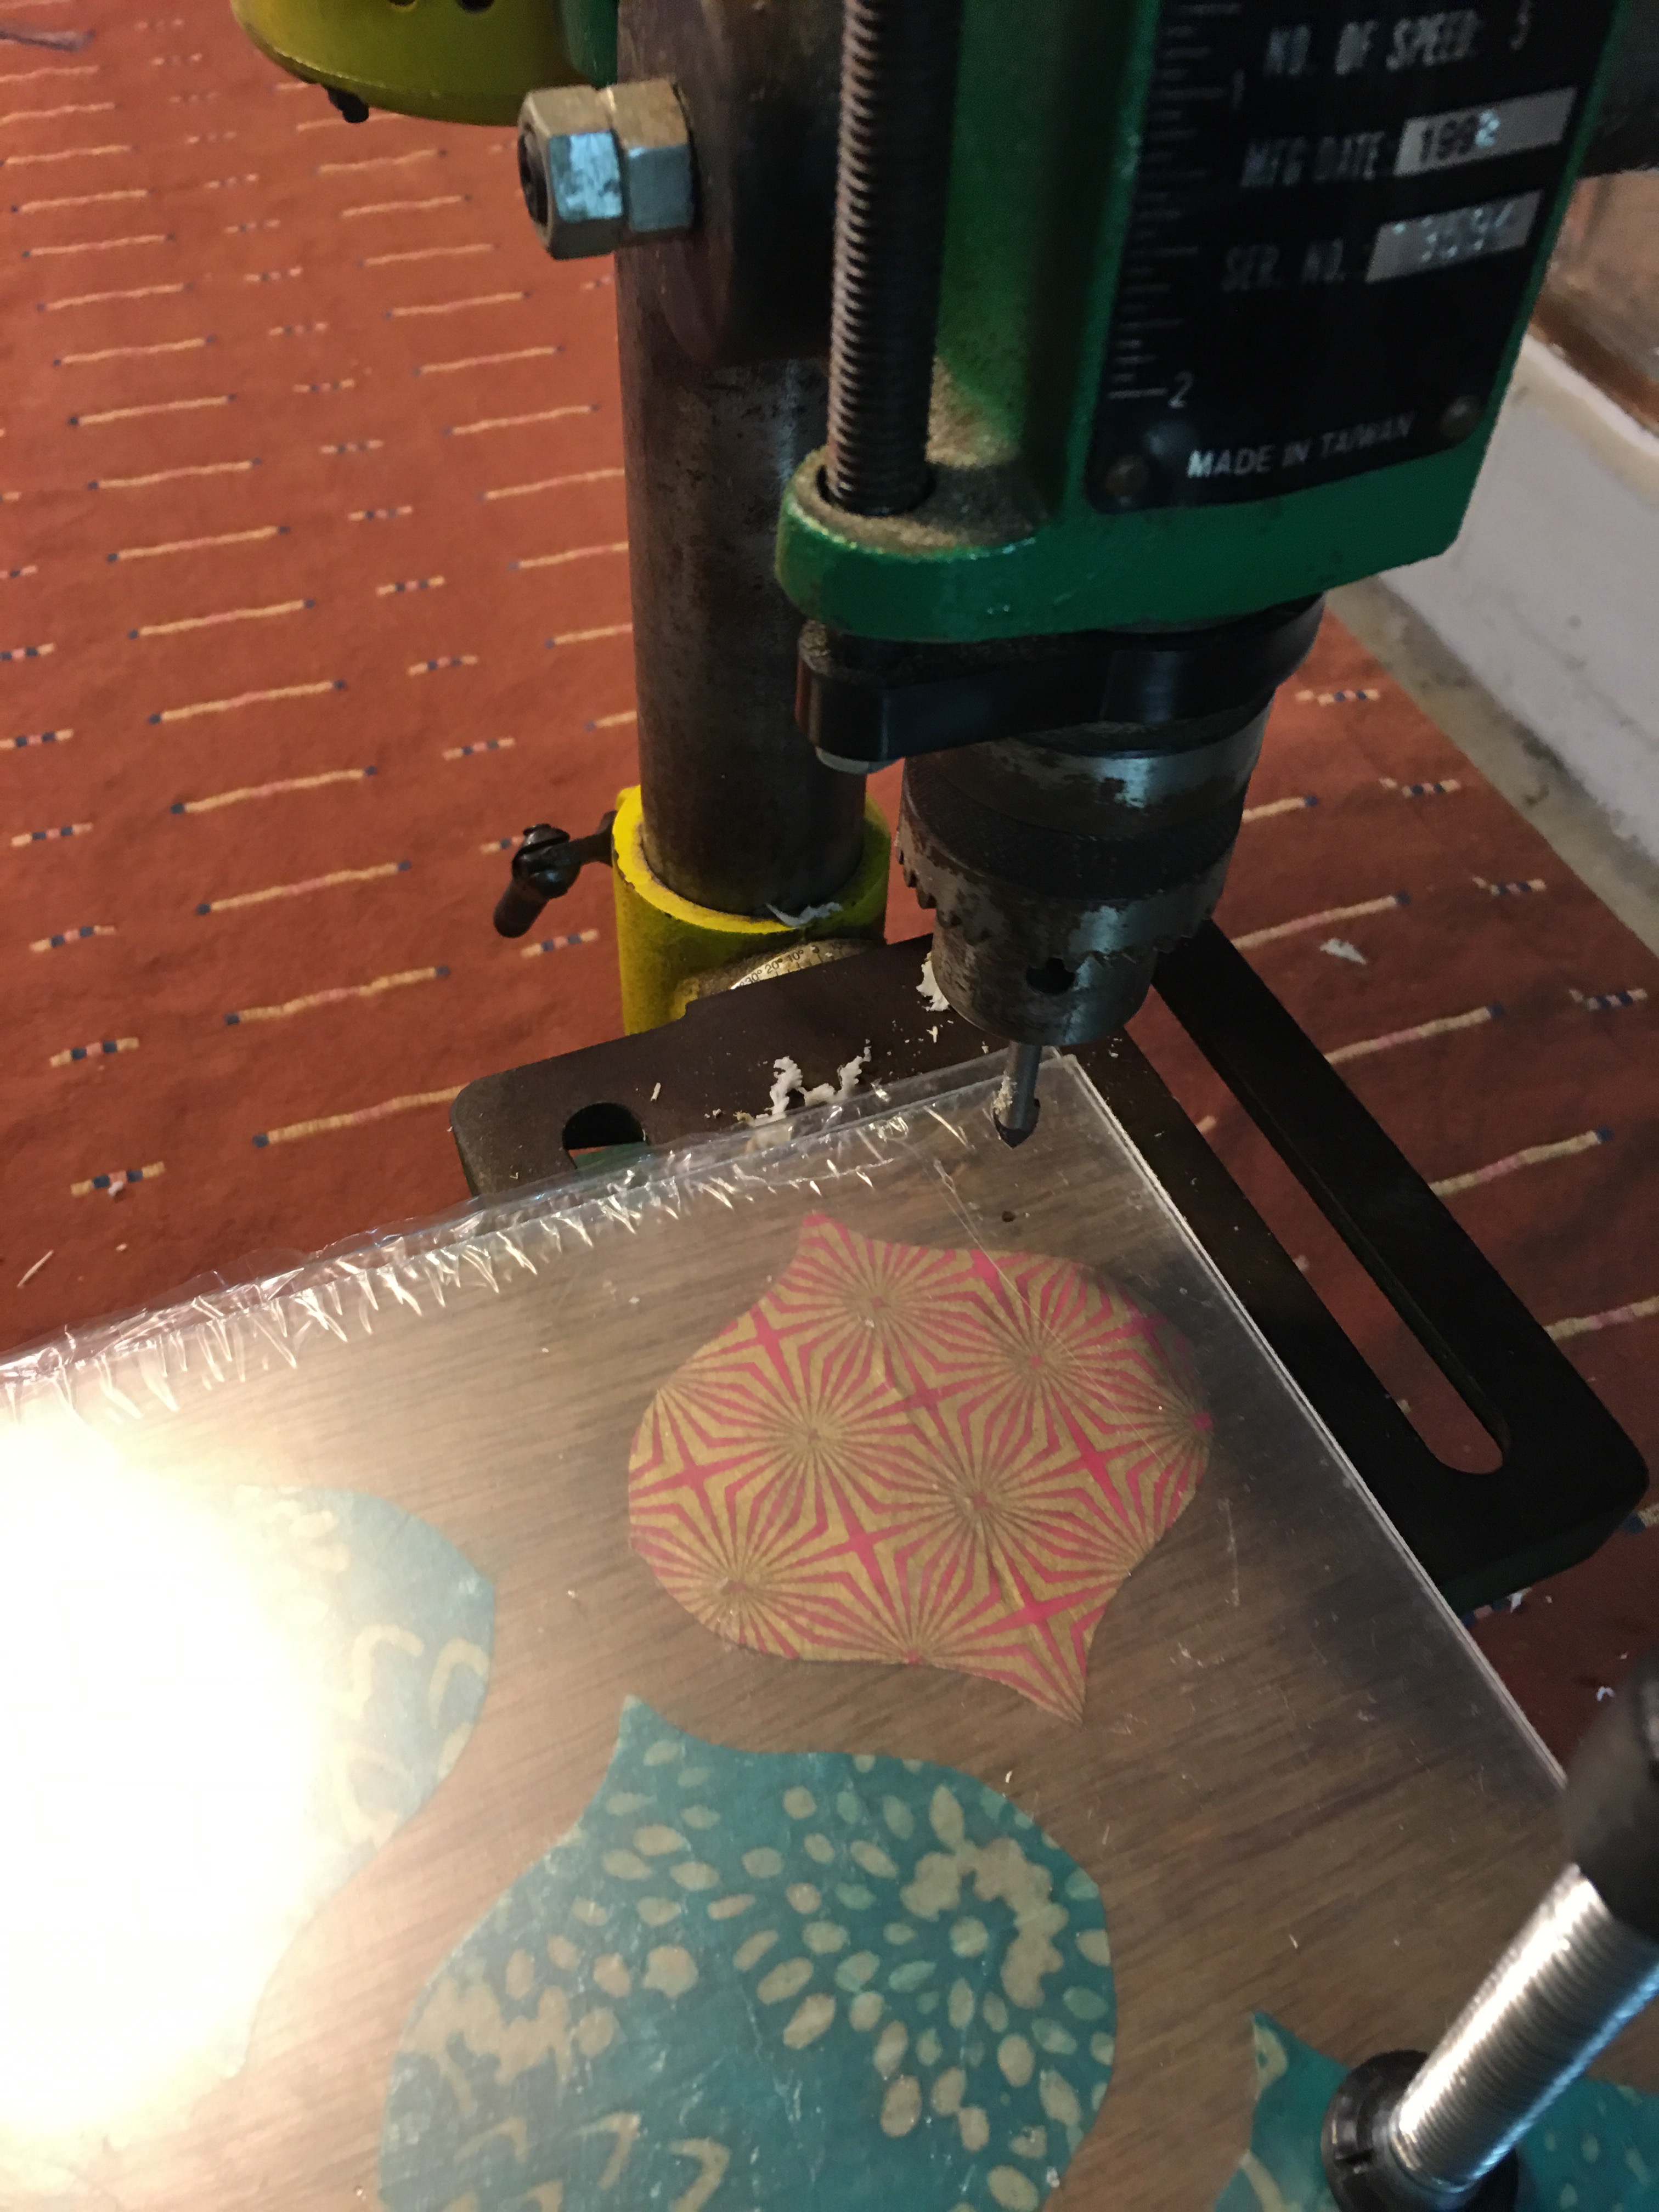
To turn this pretty piece of plywood into a floating frame, I took a field trip to my friend, Tim’s, garage. I’m using his drill press to drill holes through the acrylic and plywood so that I can add spacers and screws to separate each layer.
I’m using a 5/16 glass and tile drill bit with Tim’s drill press to make the holes.
- Step 1: Clamp the acrylic sheet to the plywood using a a c-clamp.
- Step 2: After measuring and marking each corner at a 1″ diagonal, position the plywood and acrylic under the drill bit in the press.
- Step 3: Turn the press on, lower and drill through each layer. That’s it!
Using the steps from the Lowes tutorial, I added 1/4″ (#20) machine screws with 1/2″ nylon spacers. The tutorial uses steel spacers but I went with plastic nylon instead. I plan to spray paint them gold or silver at a later time.
The wood screw is secured on the back of the plywood using #20 size nuts.
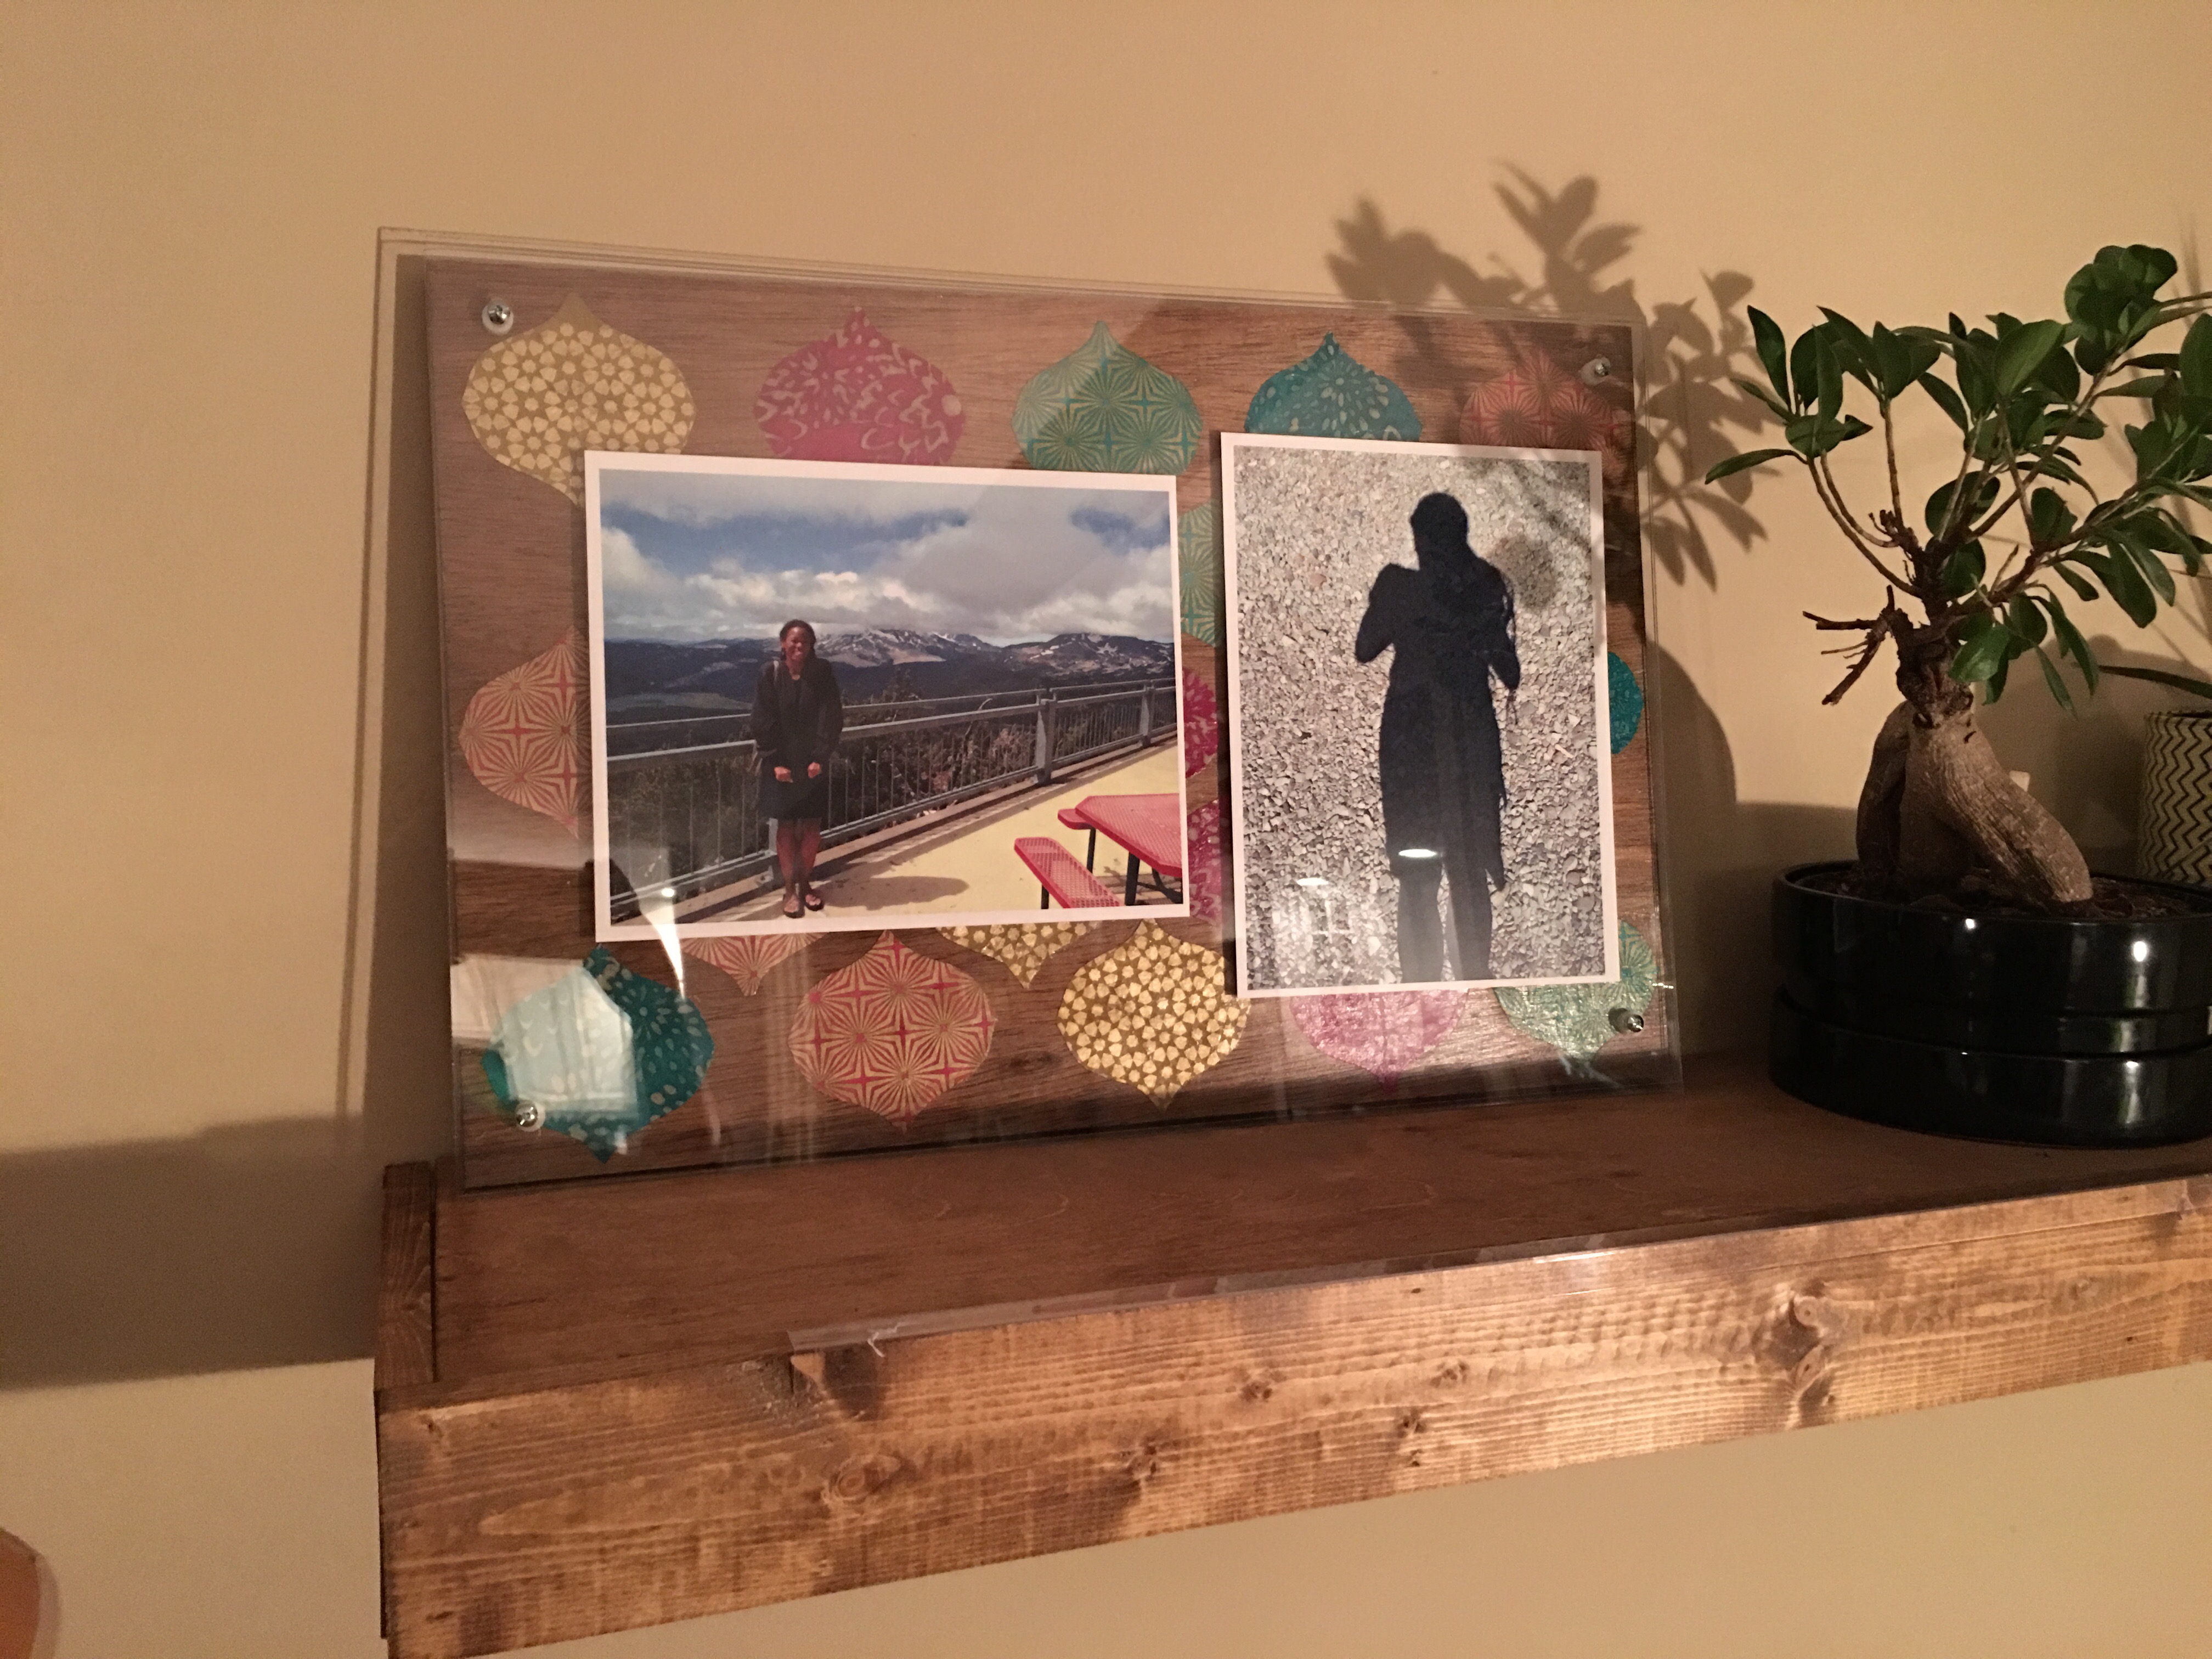
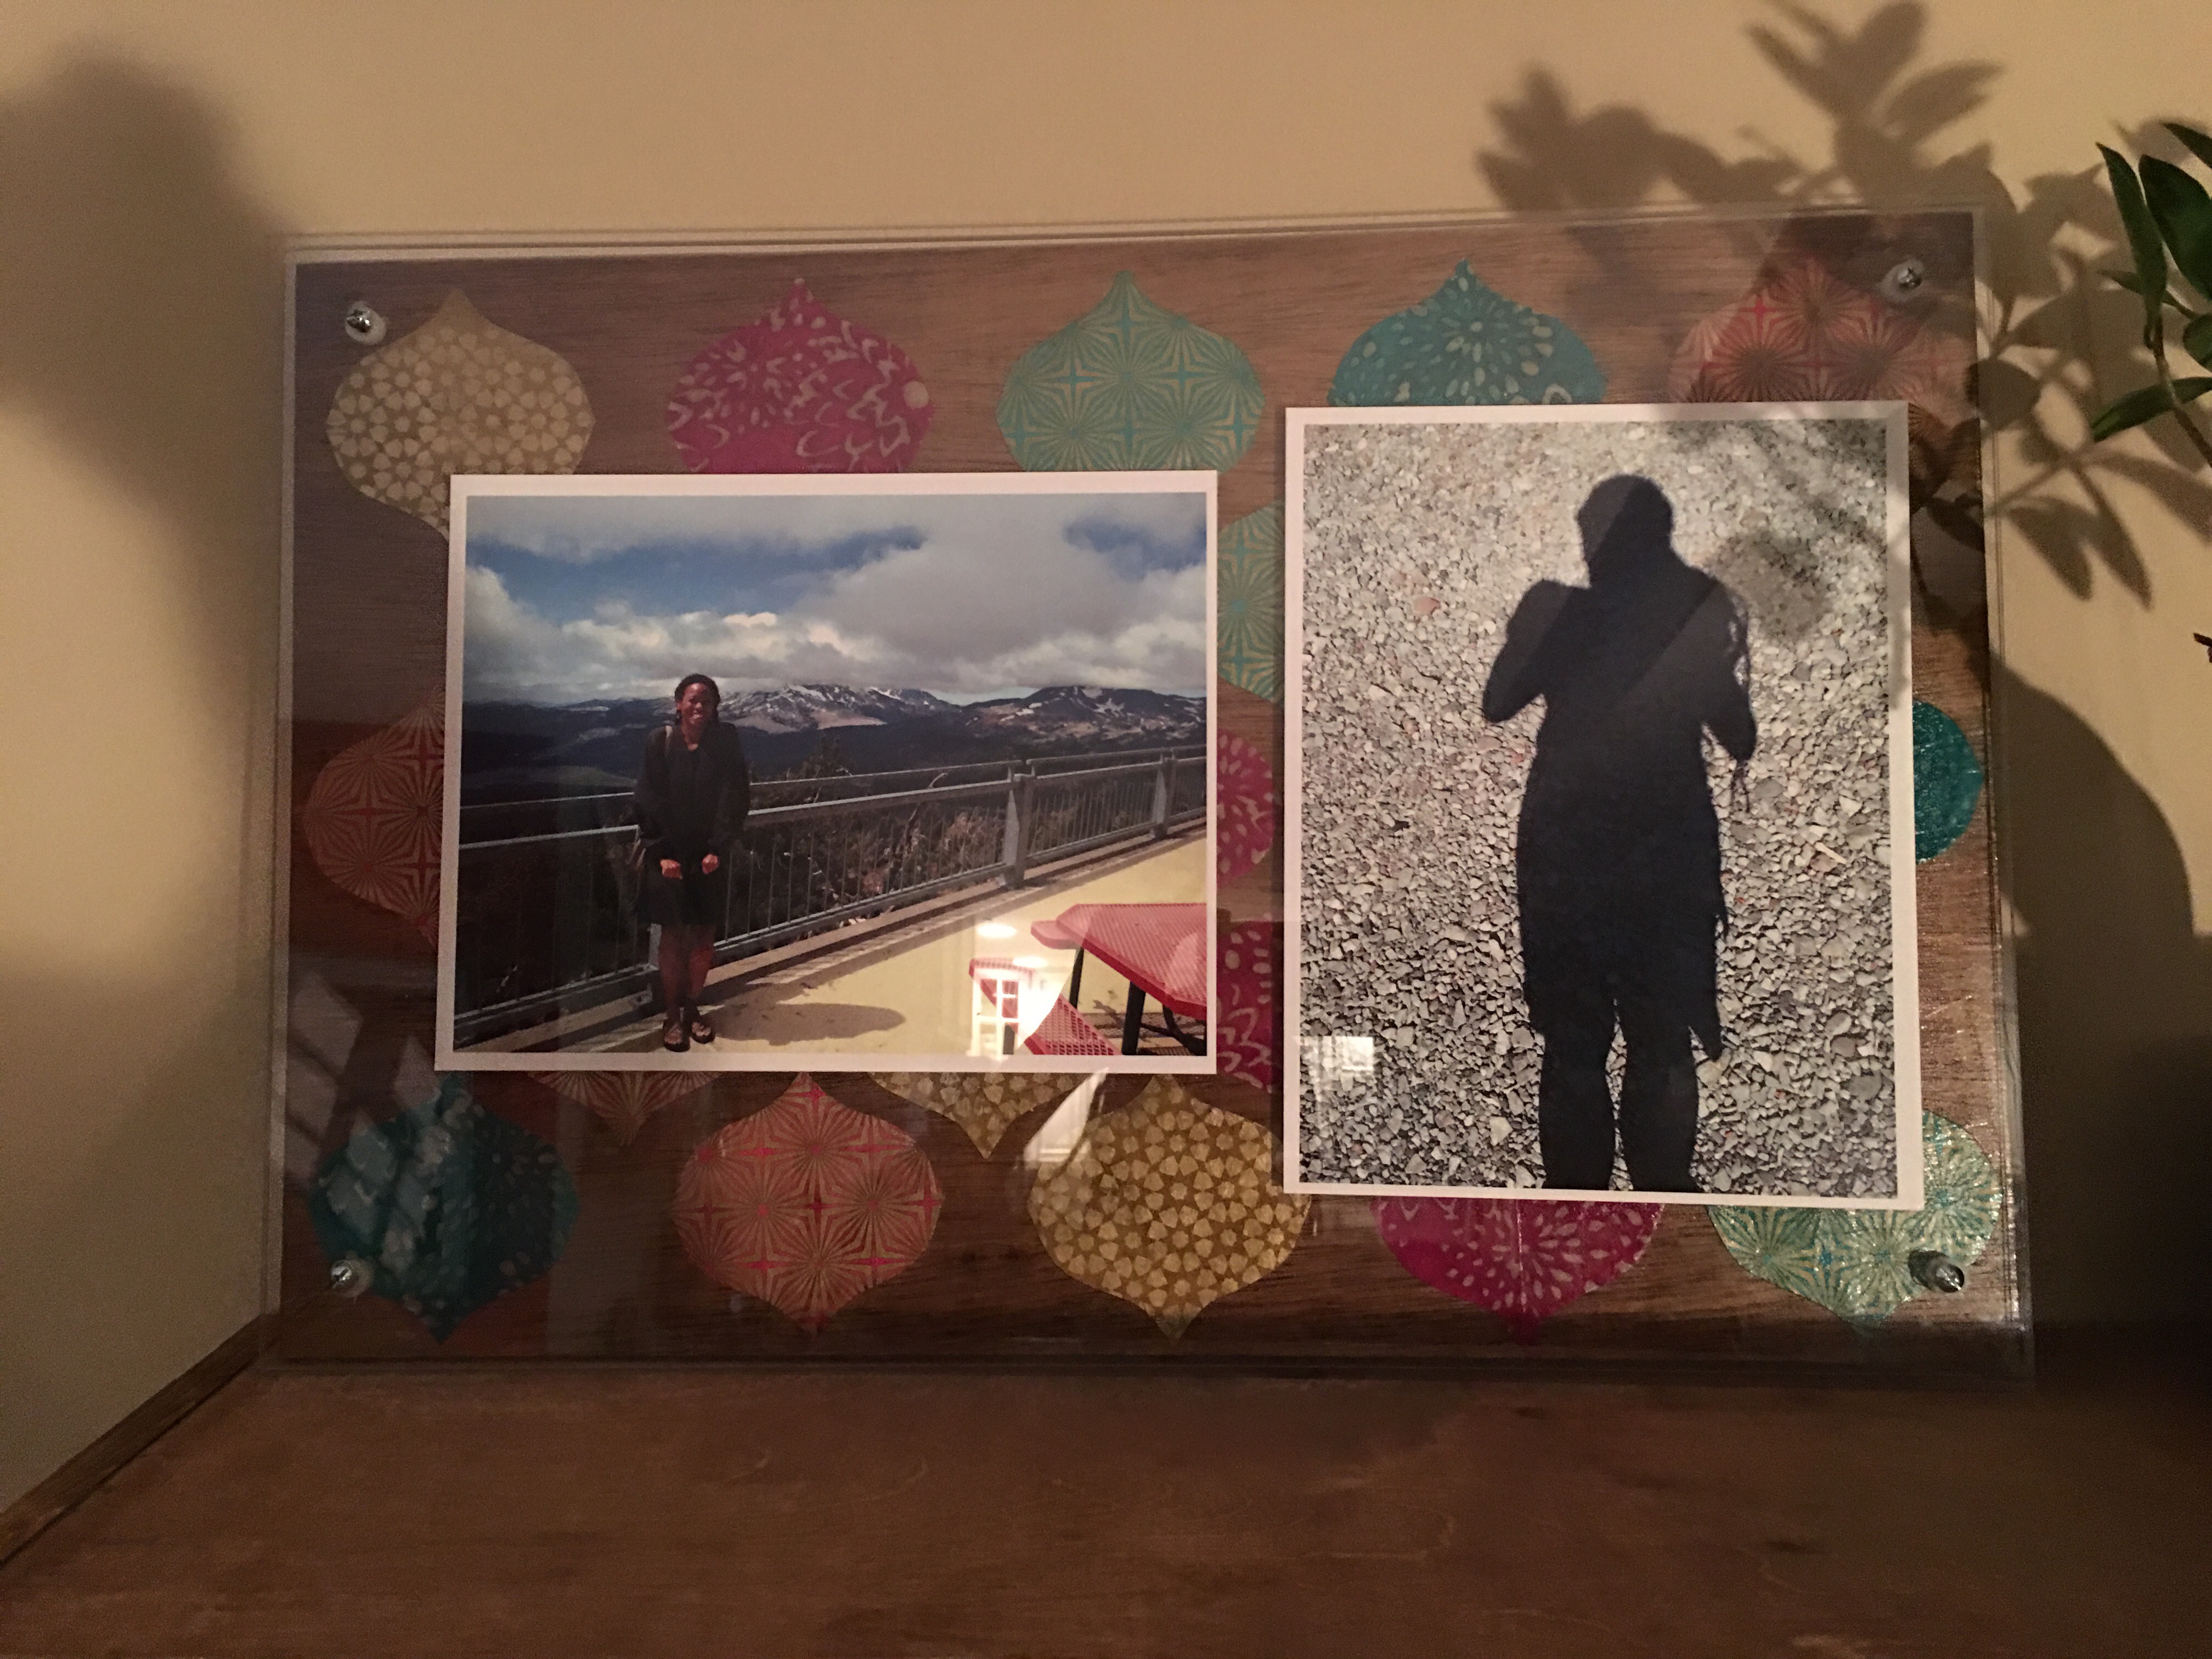
And here is my first wood floating frame on the floating shelf in the living room. 🙂
I love the contrast of the wood, the decorative paper pattern and the acrylic. It’s a real pretty backdrop for our vacation photos. These are two photos from our Oregon 2014 trip.
This project turned out even nicer that I imagined. I immediately got to work with finishing up the second plywood piece. I look forward to mounting these on the wall to showcase our photos and artwork. V-
UPDATE: I added a post that shows how I build the floating frame step-by-step in February 2016. And another post that shows these floating frame panels featured in my living room wall gallery (completed in January). V-
