Building out more floating shelves
October 4, 2015: Monster build weekend. I left work early on Thursday so that I can get a head start on building, not 1, not 2, not 3, not 4 but FIVE floating shelves in the living room and our new “kitchen annex”.
My plan is to get it all knocked out while Bruce is away enjoying Vegas with his buddies. I wanted to spare him the drilling, the hammering, the whining and cussing, etc. He’s due back on Monday, so I need to hop to in order to get it done.
The build from Shanty-to-Chic seems simple. And it seems to be a lot quicker than the Rogue Engineer floating shelf plan (which I love, don’t get me wrong! But the building and sanding of the box took a lot of time and sweat).
Well my approach to these shelves will be more quick and dirty. I figure since no one is going to really touch, sit on or lay on these shelves (and they will be used strictly for display and storage, I don’t need to sand them smooth and buff them to a brilliant shine before mounting. Heck…I don’t really need to sand at all! Works for me! Let’s get her done!
Living Room Floating Shelf
The first shelf I’m building is the one that will go in the far living room corner. I decided to make this as long as the one in the den, but narrower – using 2 x 3 boards for the frame and 1 x 4 boards for the sides and face of the shelf.
The wood cut list calls for:
- 1 62.5″ 2 x 3 pine or whitewood board
- 5 8″ 2 x 3 pine or whitewood blocks (for the frame brackets)
- 2 62.5″ 9.75 x 1/2 plywood strips (for the shelf top and bottom)
- 1 64″ 1 x 4 pine board (for the shelf front)
- 2 9.75 1 x 4 pine board pieces (for the left and right side of the shelf)
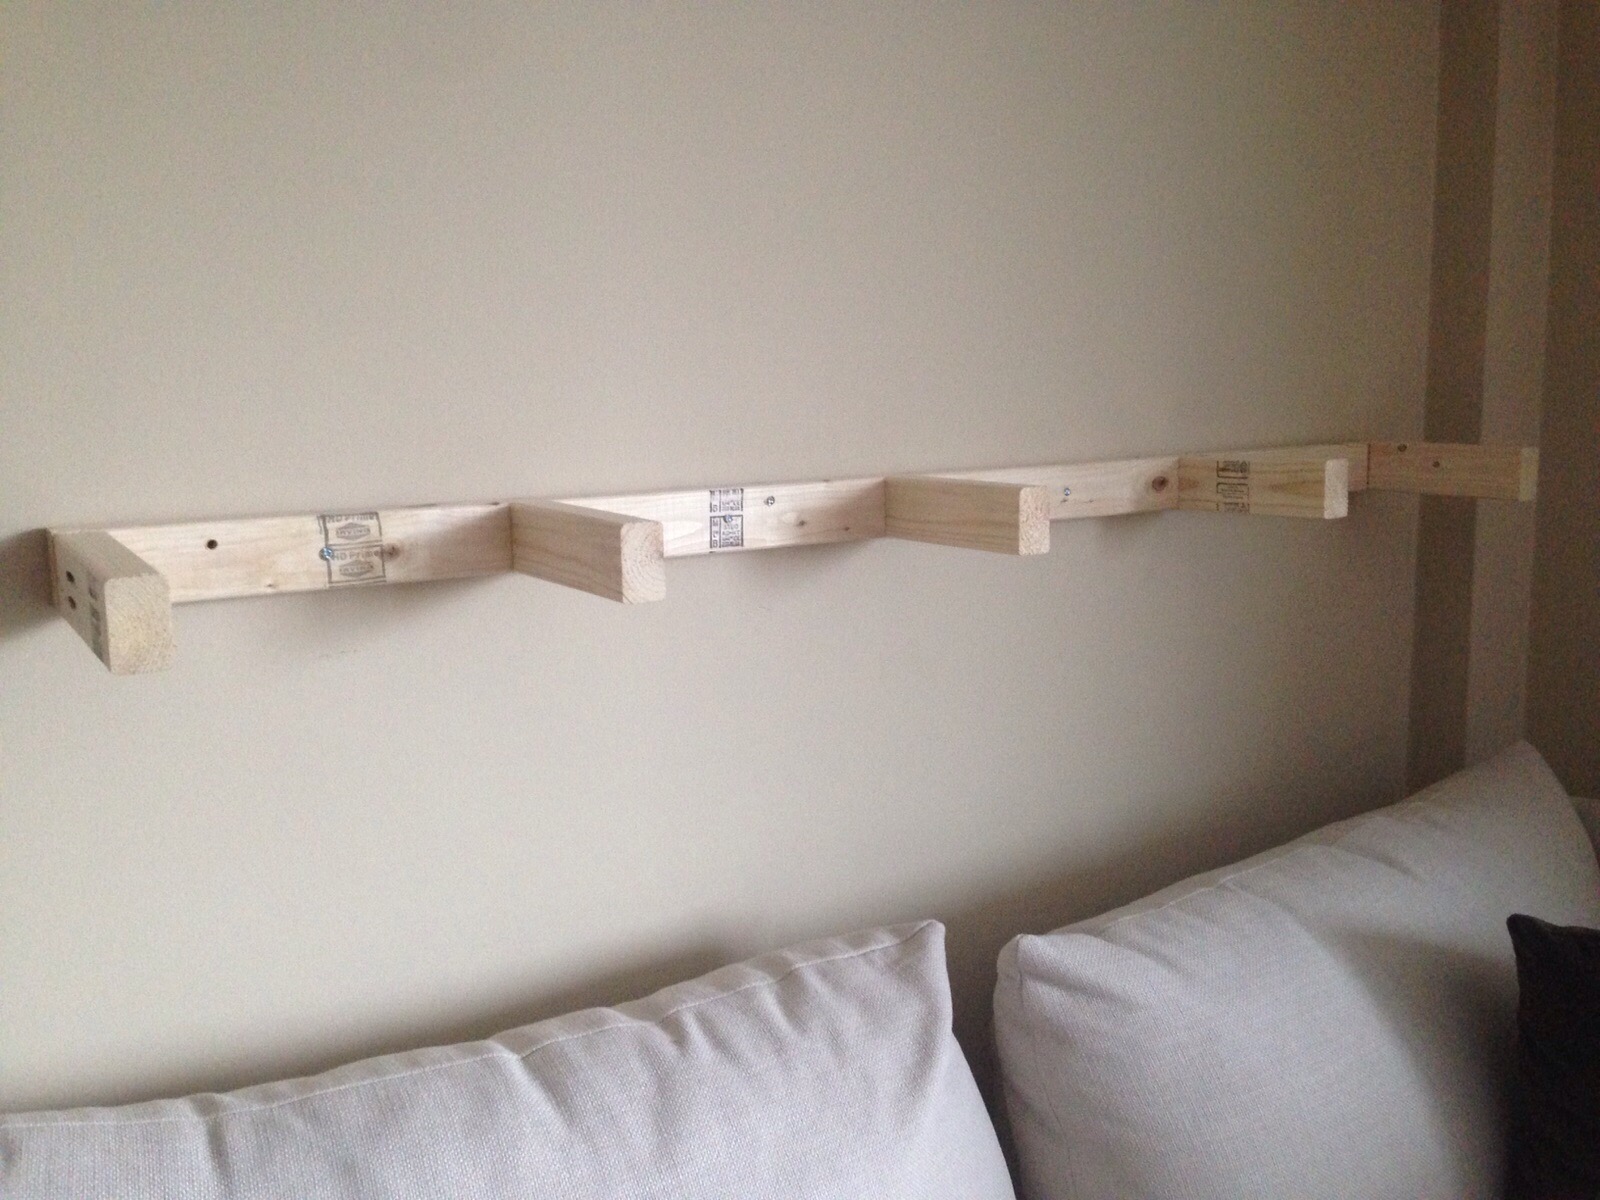
I used my Kreg Jig to drill the pocket holes and assembled the frame with 2.5″ pocket hole screws. I pre-drilled holes in between each 8″ bracket (5/8″ diameter) over at my friend Tim’s using his drill press.
Then, using Toggler 3/16 snap toggle anchors, I attached the frame to the wall (using four 3.5″ 3/16 machine bolts).
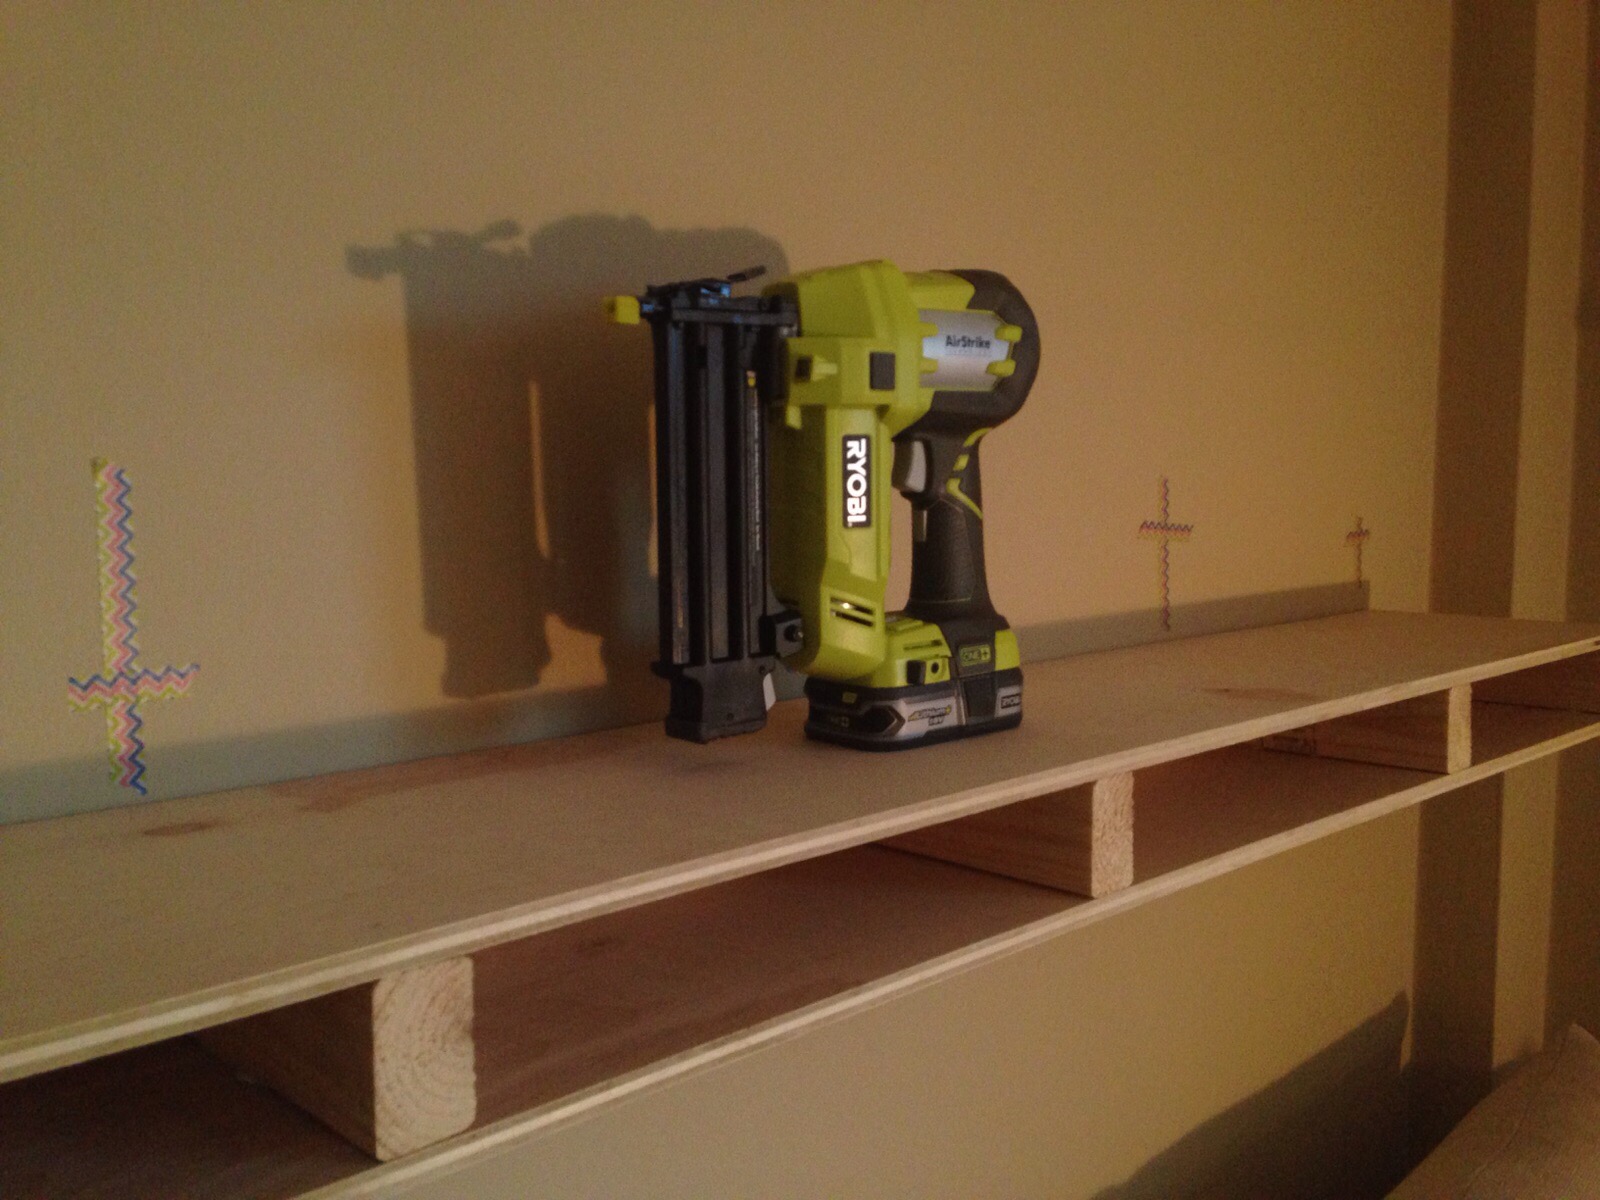
I then used my brand new Ryobi Airstrike brad nailer to attach the plywood strips (size: 62.5 x 9.75″) to the top and bottom of the frame.
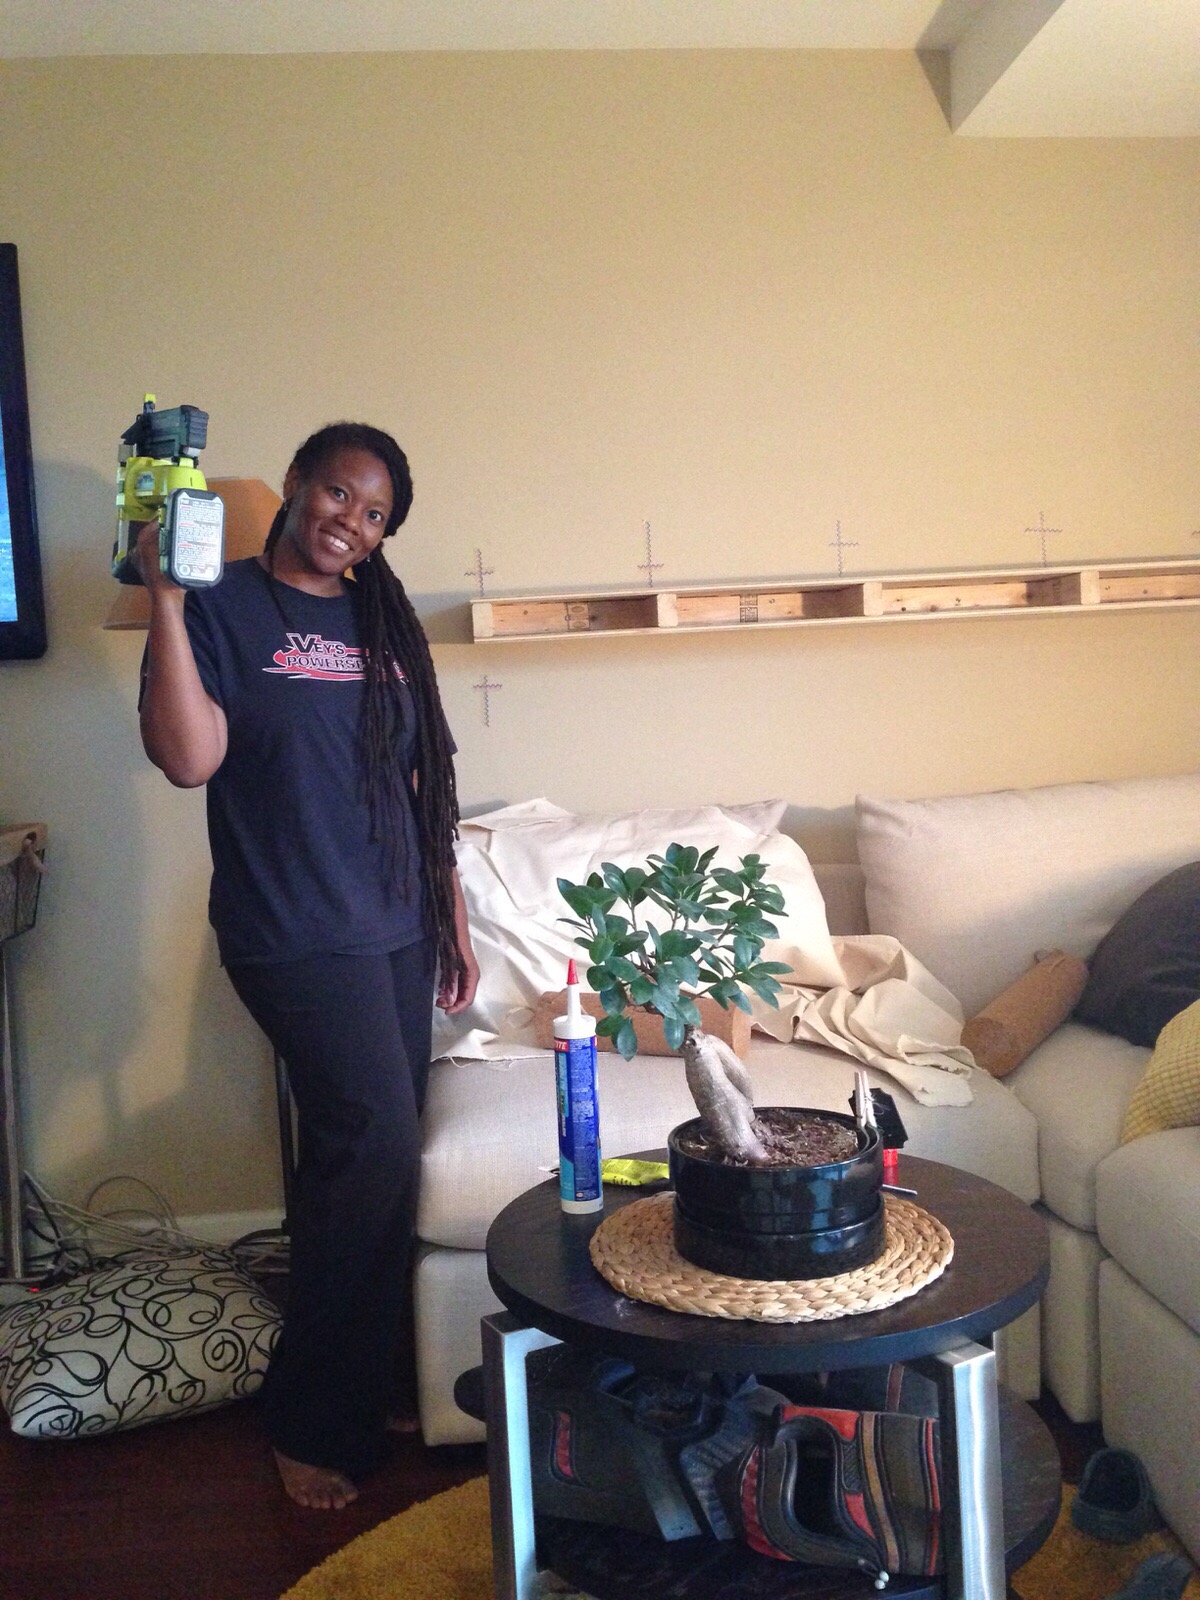
Using this nail gun made the process of building out the shelf using the mounted frame very quick and easy. Can’t wait to use the nail gun for other projects!
As shown below, I used washi tape on the wall to mark where each frame spoke is located so that I can place additional nails directly into the frame.
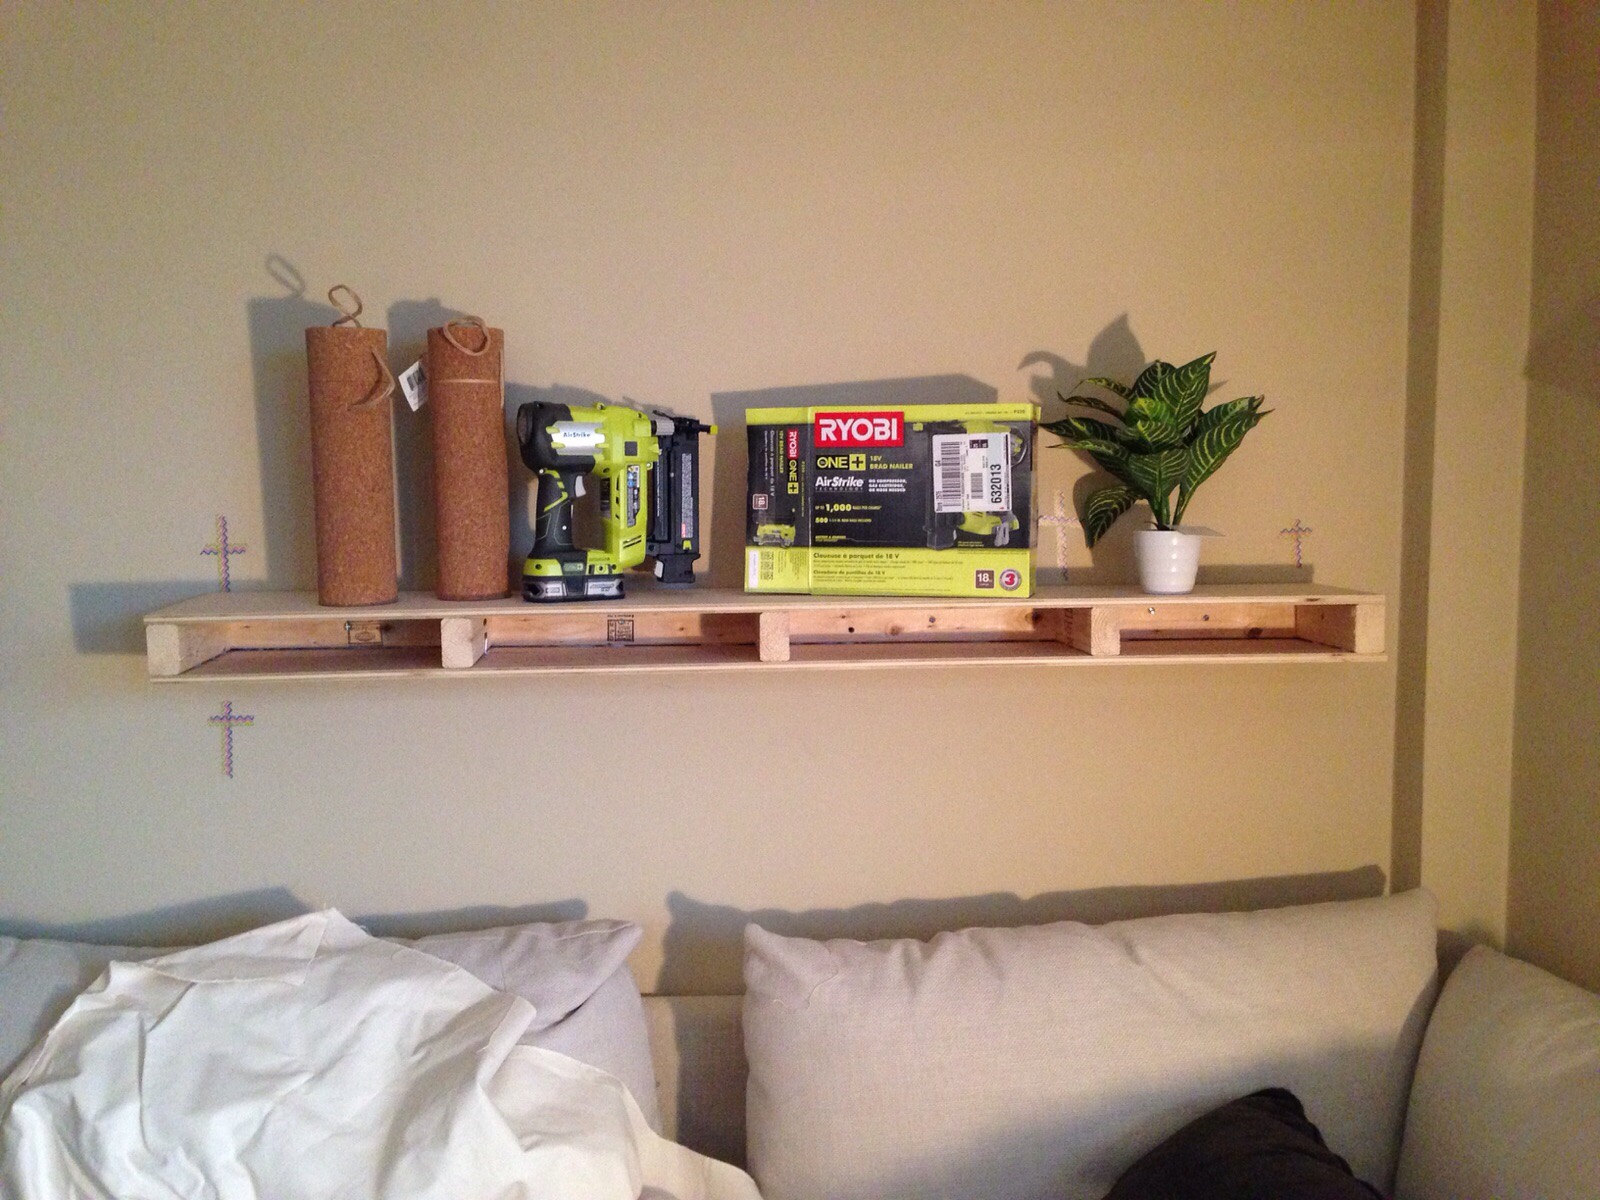
Once the top and bottom of the shelf was added, I placed a few objects on the shelf to test out the strength and confirm the alignment.
Using glue and the nail gun, I added the 64″ 1 x 4 board to the front of the frame. And the two 9.75 1 x 4 pieces – one for each side. So now it’s built out to a full 64 x 10 x 4″ floating shelf. Sweet.
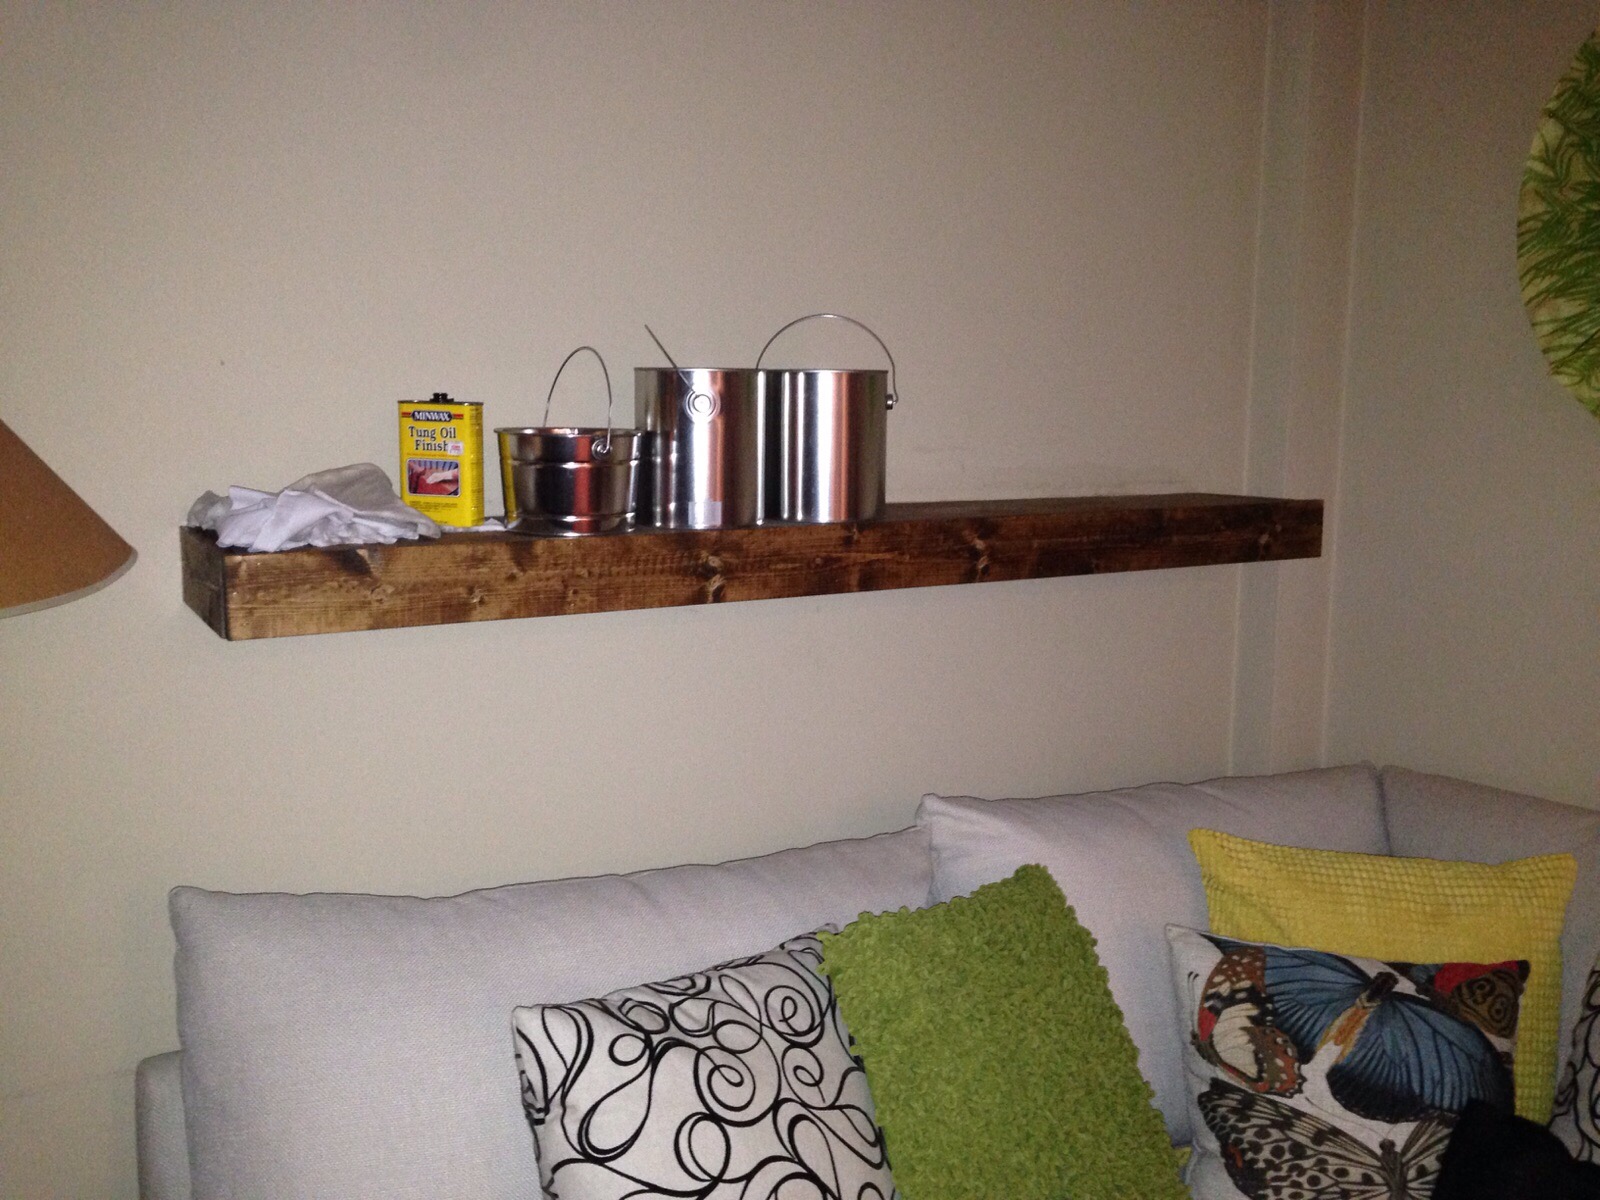
After some light sanding and staining with Danish Oil Dark Walnut, here’s how the living room shelf looks.
Panty Wall Shelves
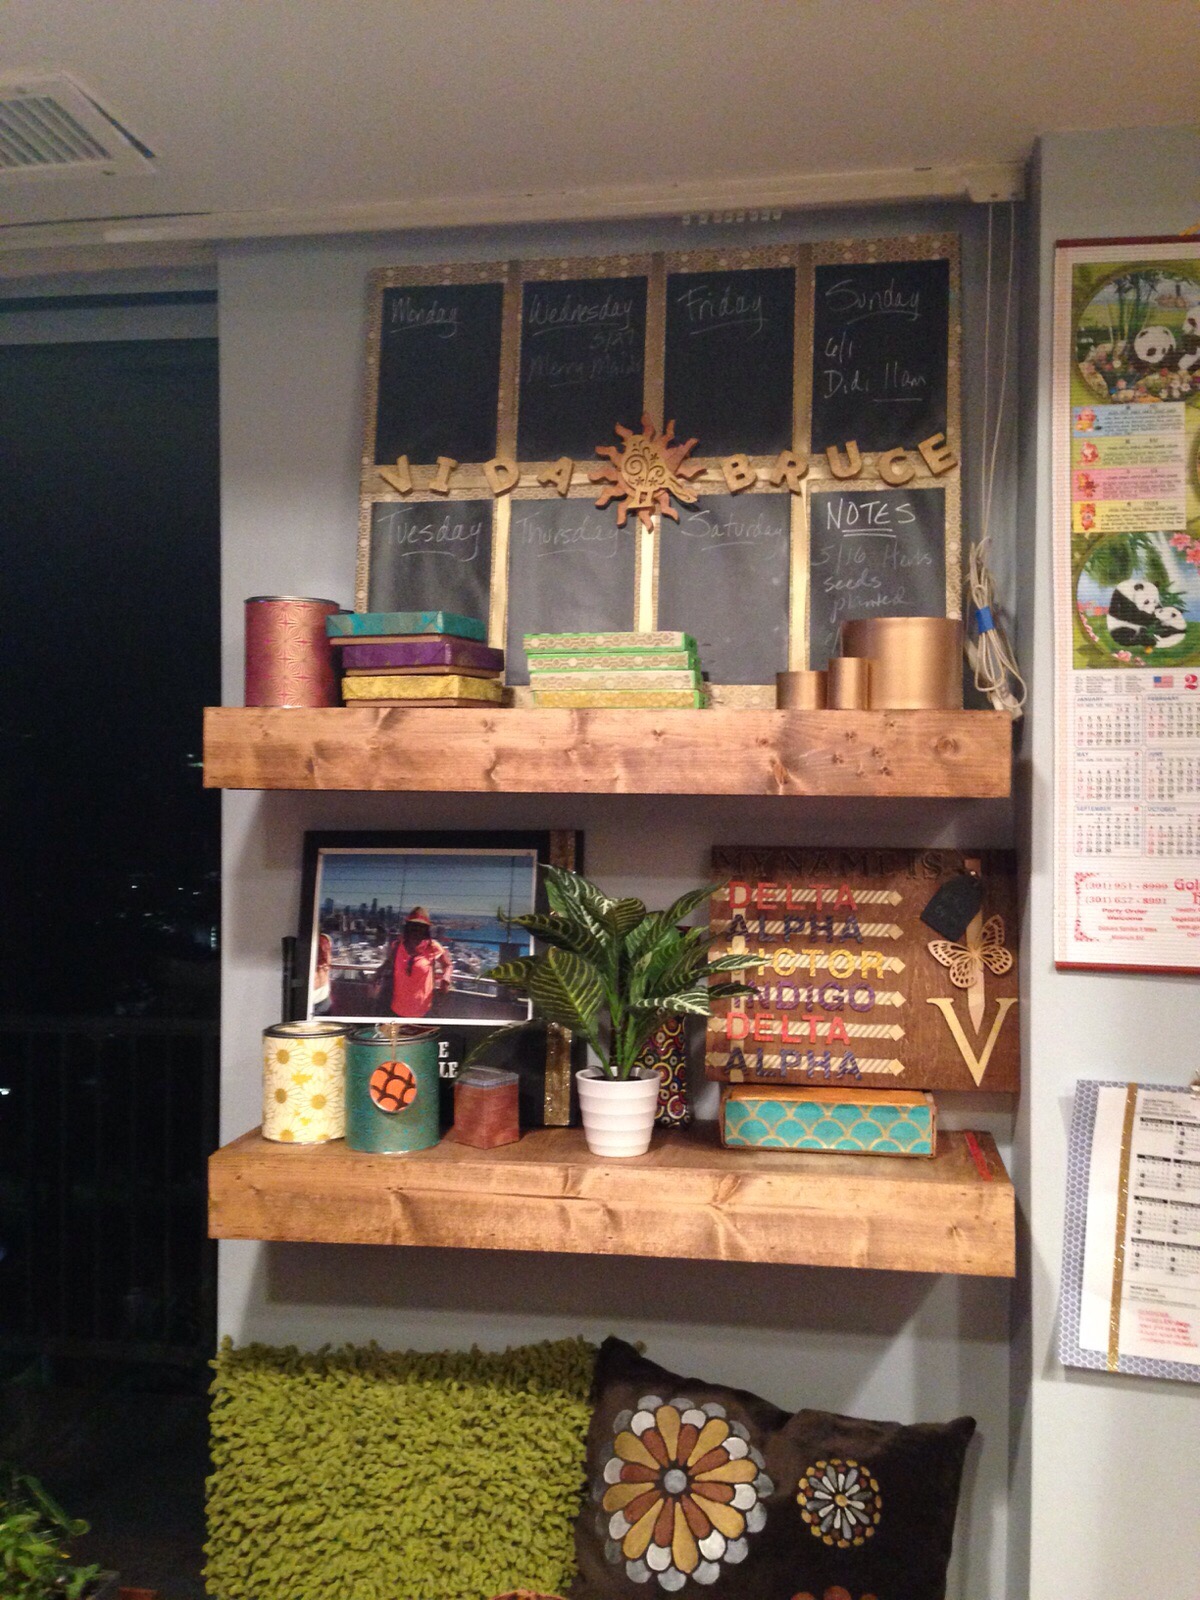
On the wall to the left of the pantry (and to the right of the balcony) I wanted two smaller floating shelves, 34″ in length.
The build plan for these shelves are the same as the one in the living room. The wood cuts are just shorter for this project.
- 2 32.5″ 2 x 3 pine or whitewood board
- 6 8″ 2 x 3 pine or whitewood blocks (three frame brackets for each shelf)
- 2 32.5″ 9.75 x 1/2 plywood strips (for the shelf top and bottom)
- 1 34″ 1 x 4 pine board (for the shelf front)
- 2 9.75 1 x 4 pine board pieces (for the left and right side of the shelf)
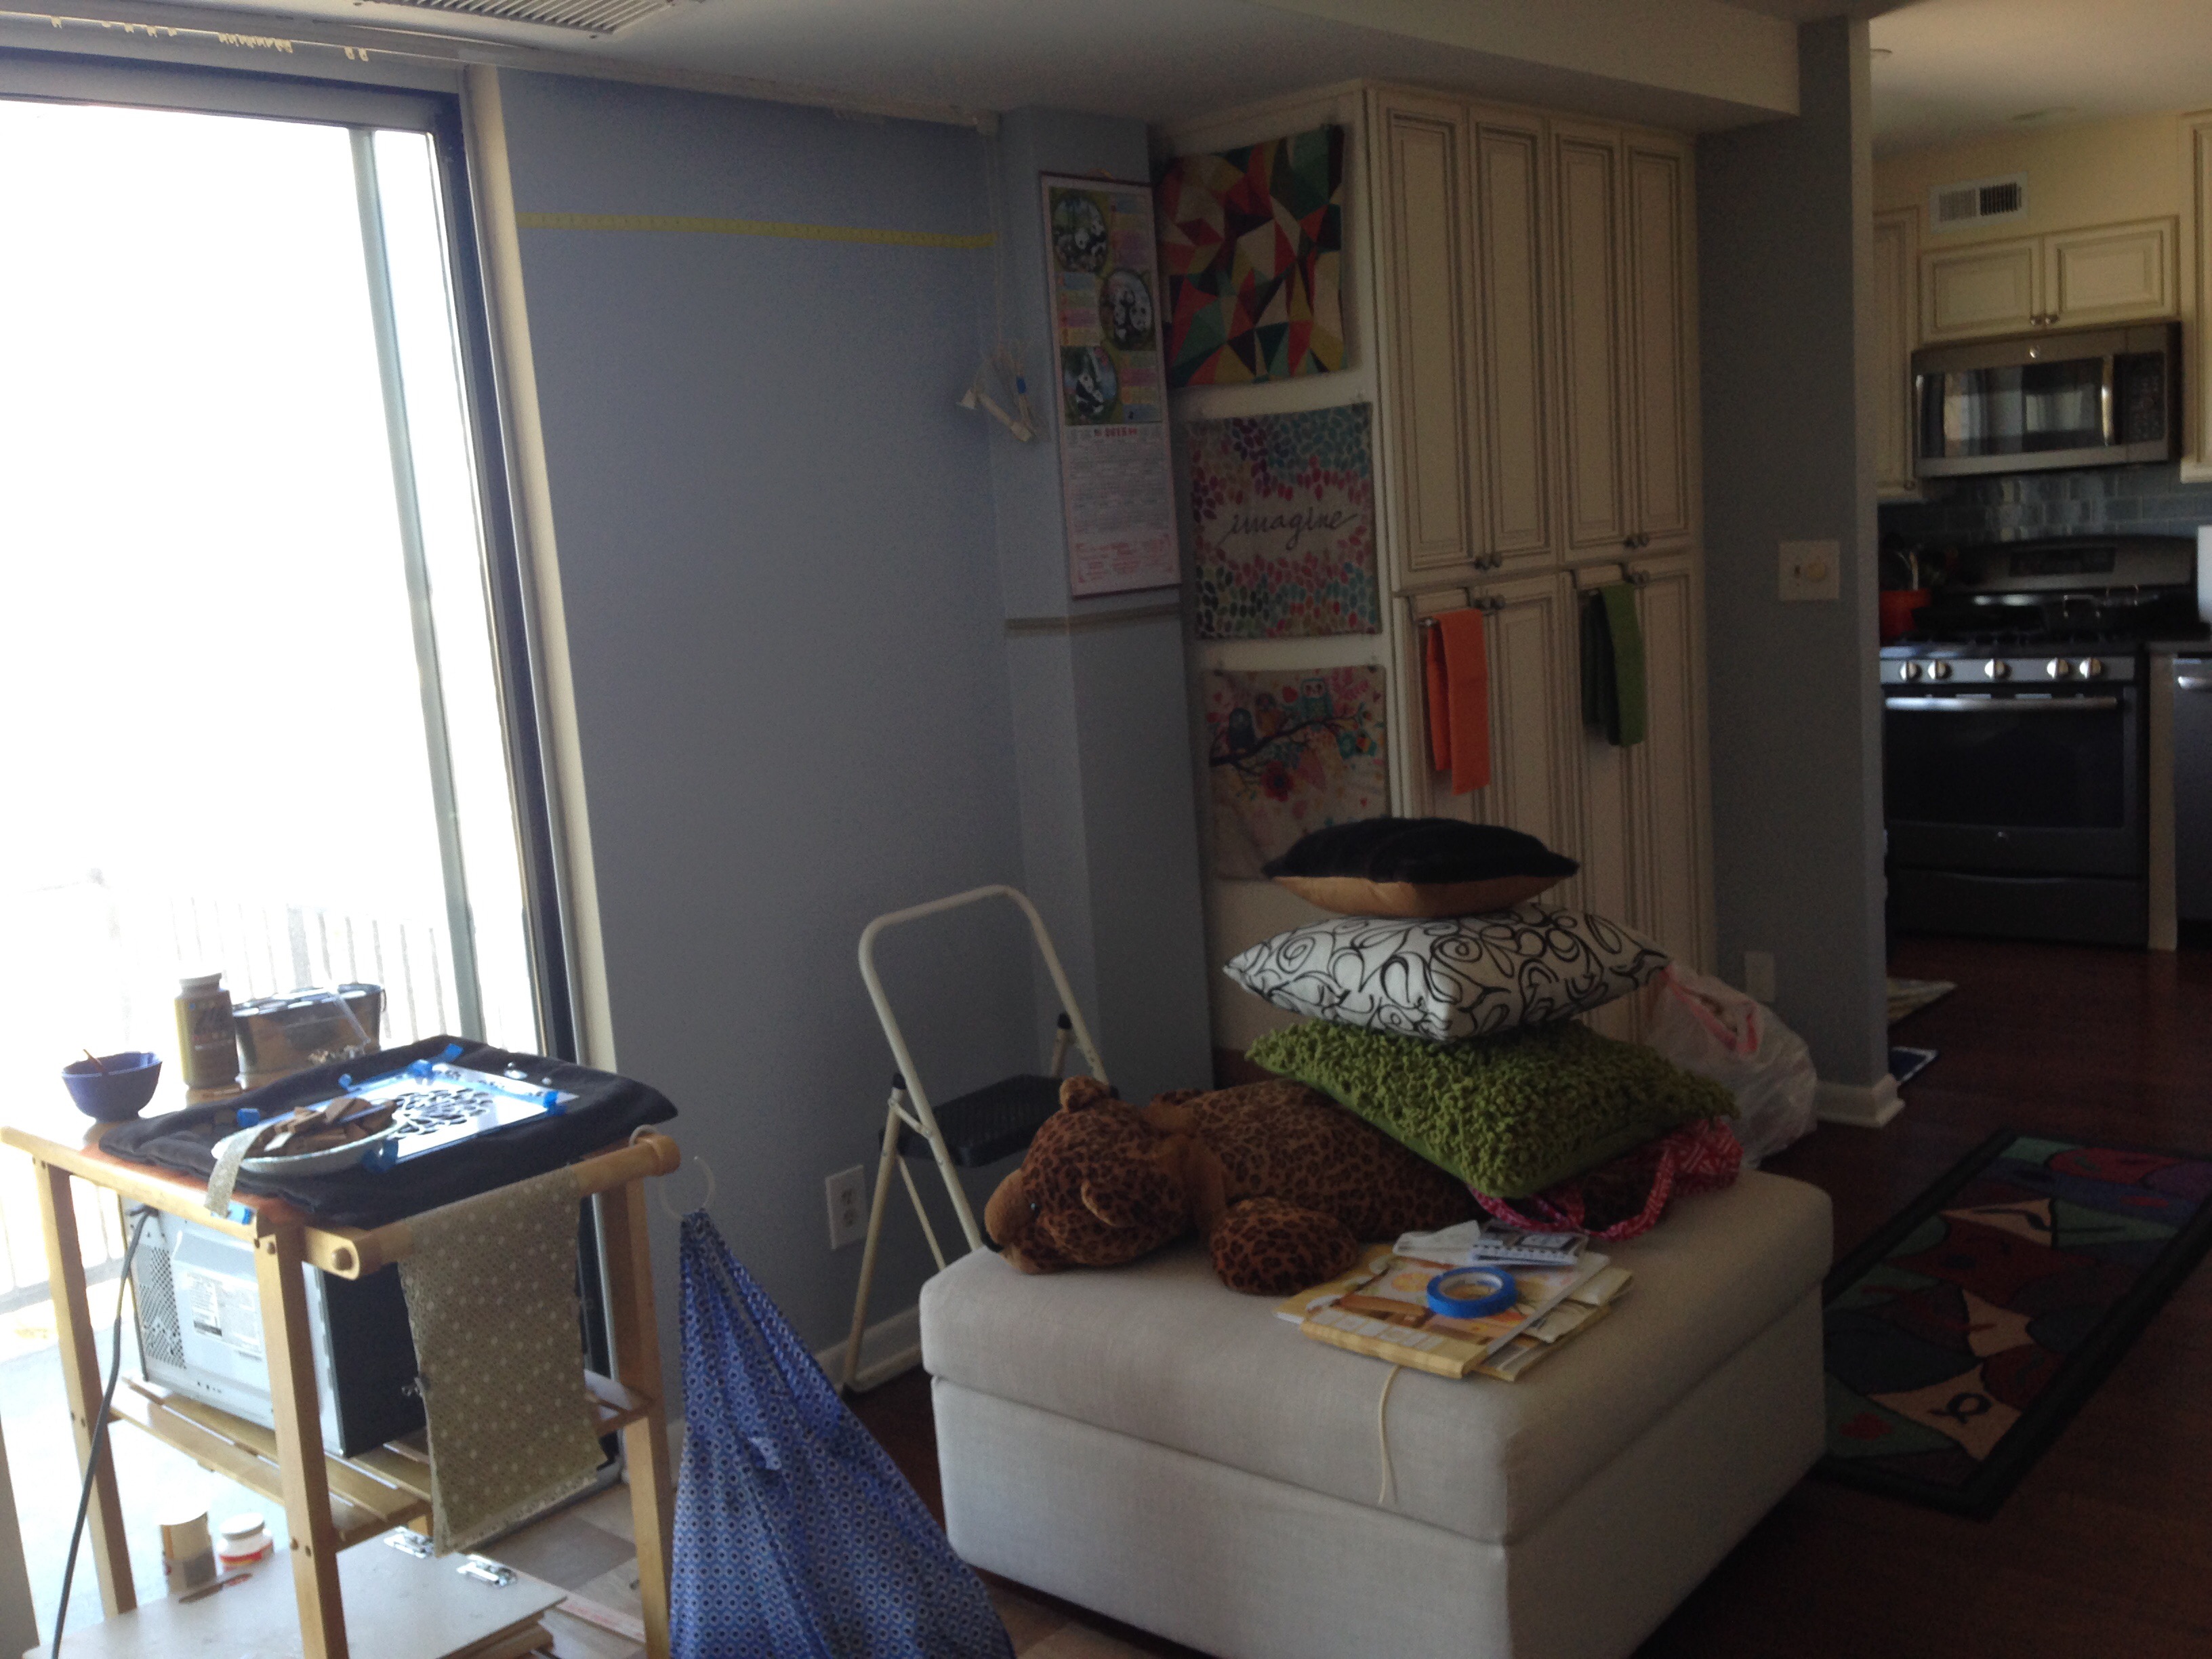
Here’s a picture of the wall taken on April 11, 2015.
I didn’t snap any pictures while the shelves were in progress (my apologies…too busy building it out furiously on a Saturday). And taking multiple trips back and forth to the hardware store to get the right screws. Toggler bolts would not work for this wall because there wasn’t enough space between the plaster and the outer building brick and concrete (don’t even get me started…).
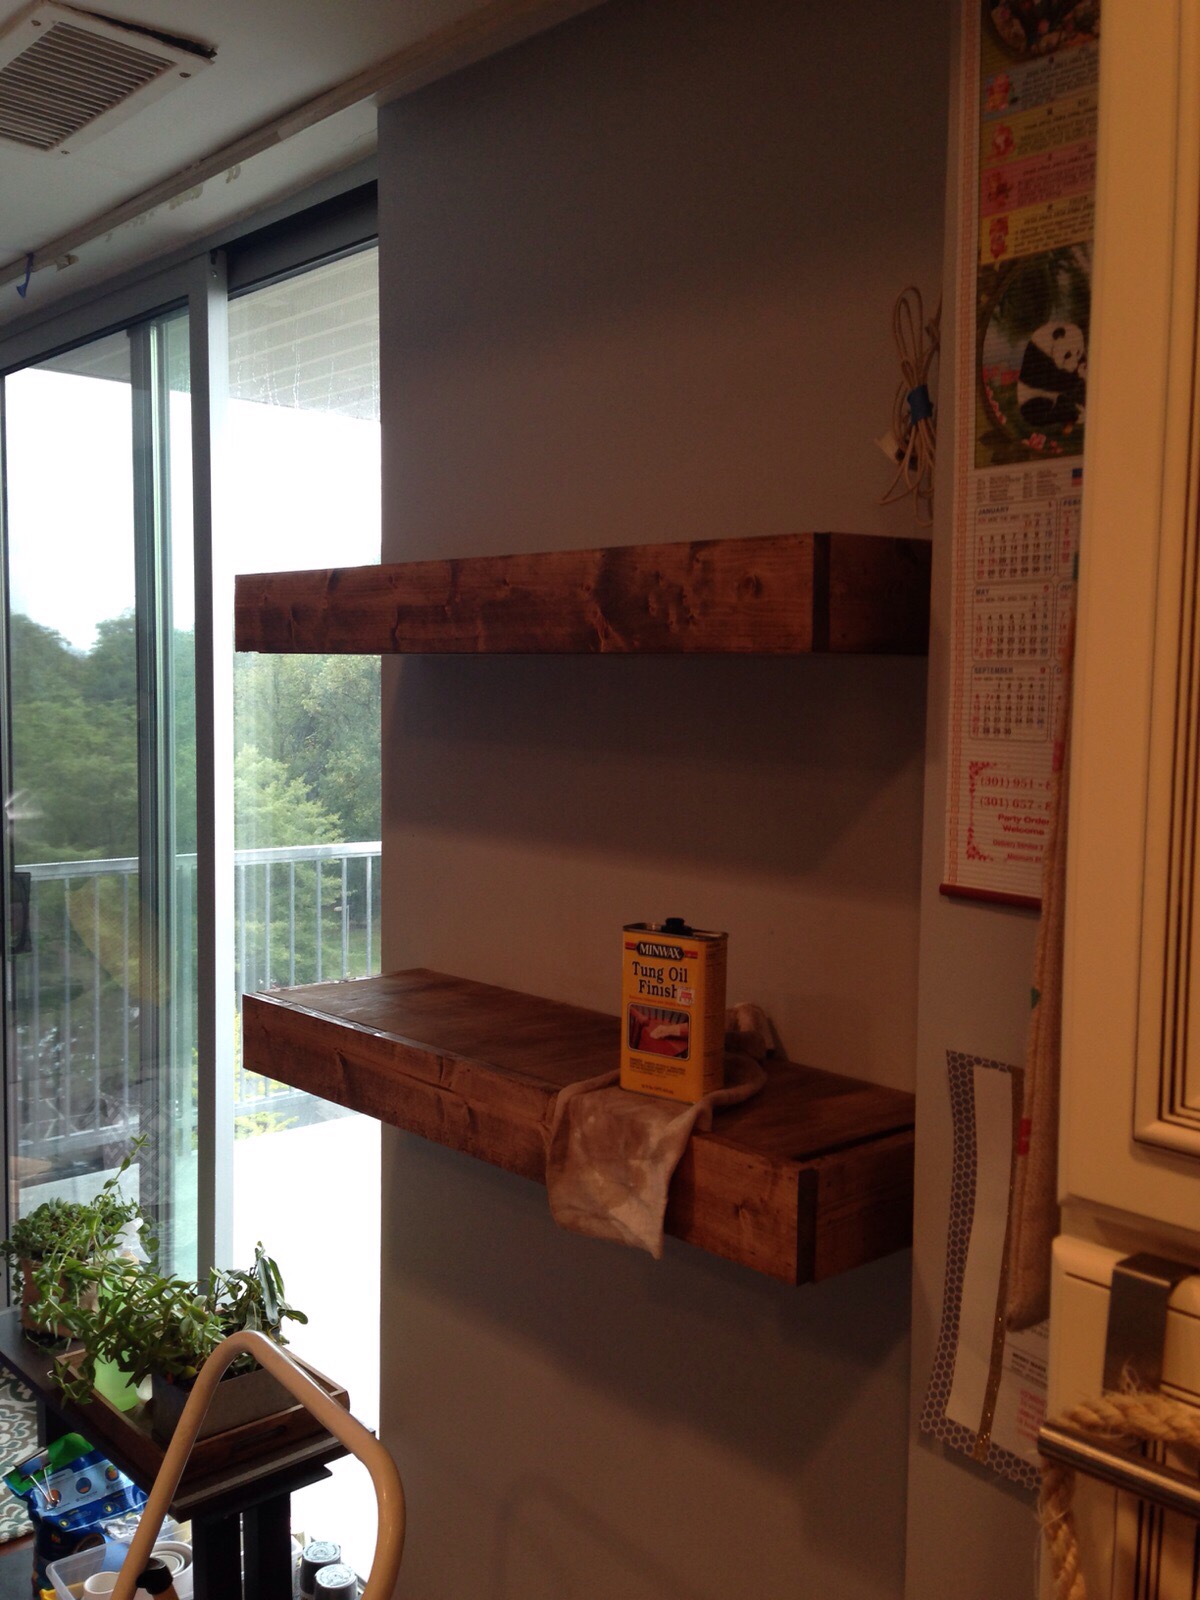
But eventually I found the 4″ concrete screws I needed to mount the frames successfully to this wall. And here’s the finished product.
Refrigerator side wall (AKA the “Wet Wall”)
This was, by far, the toughest build out of all the walls for this project. I started early Sunday afternoon with the drilling for the frame mounts. Turns out the plaster wall in the living room is far easier to drill through than in the other two spaces.
Here was the dilemma I quickly ran into when making the drills in this wall.
After lining up the frame, checking that it’s level, and making my pencil marks for drills, I’d find that in one spot, the drill would easily punch through the plaster.
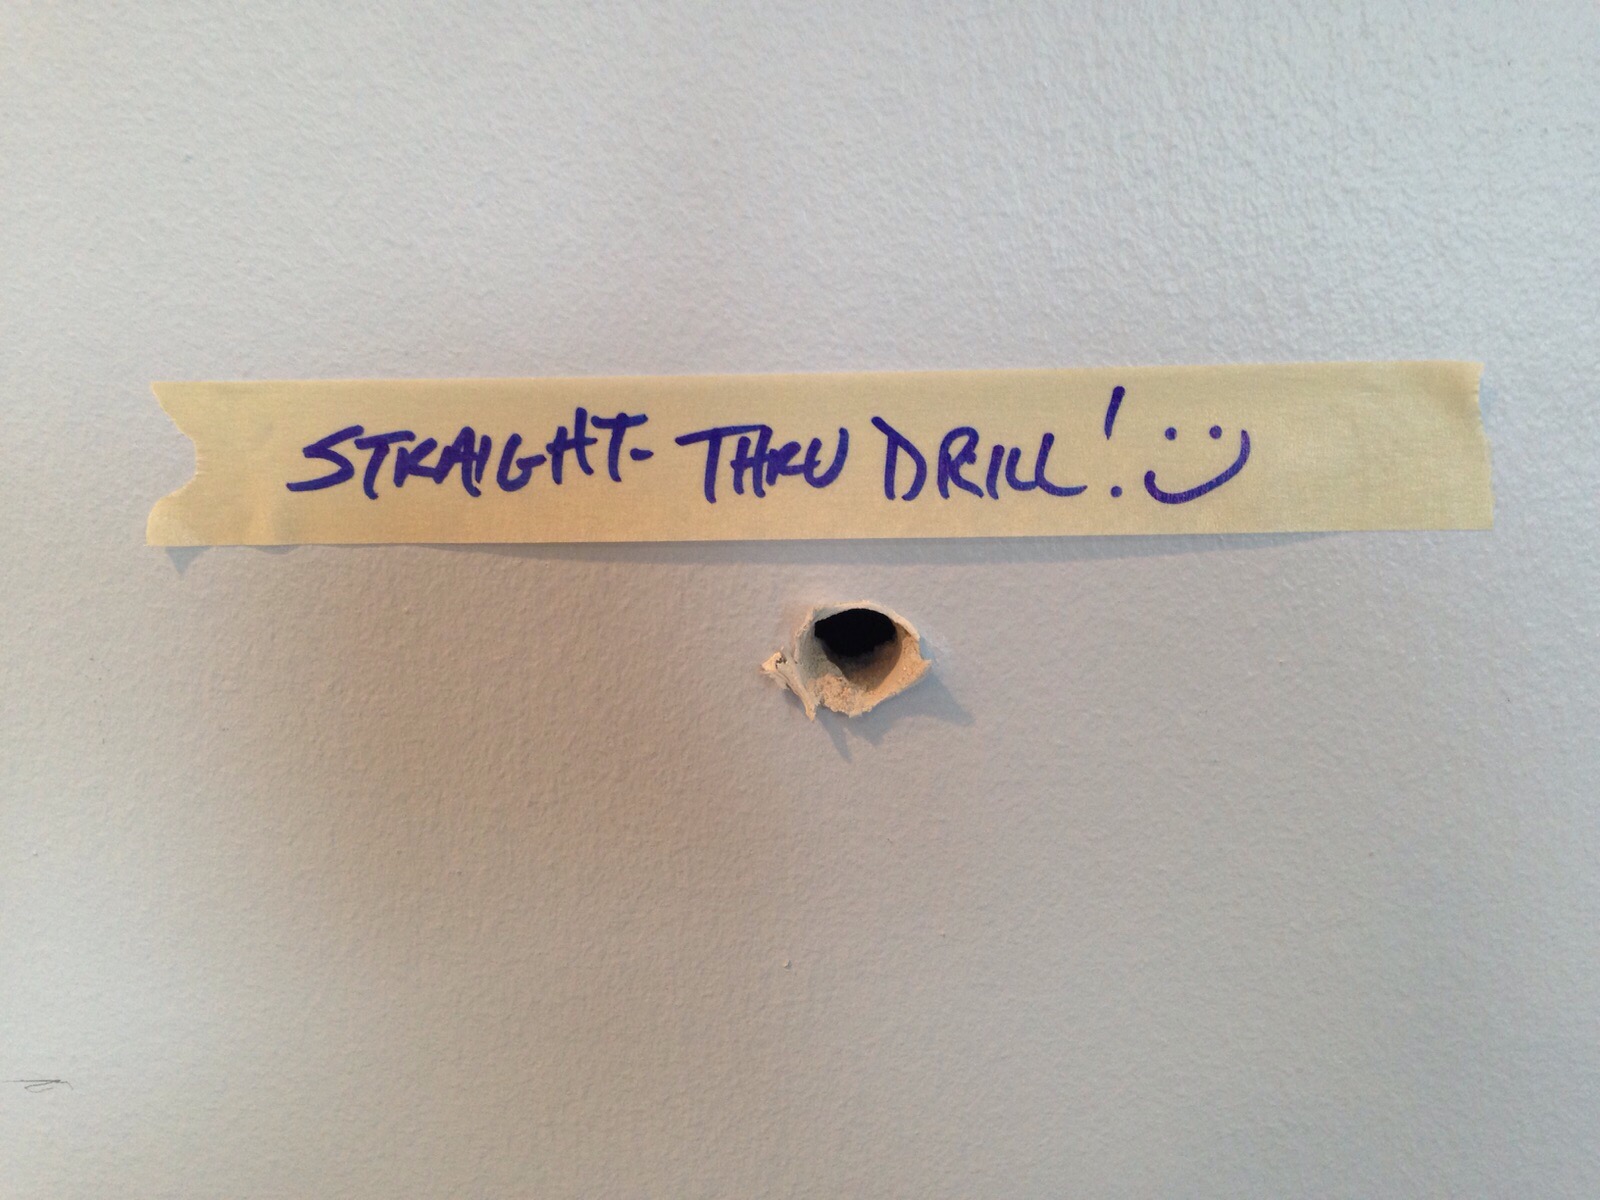
But a few inches over (where I pre-drilled the hole on the frame), the drill would hit a solid obstruction. Of the hard steel variety.
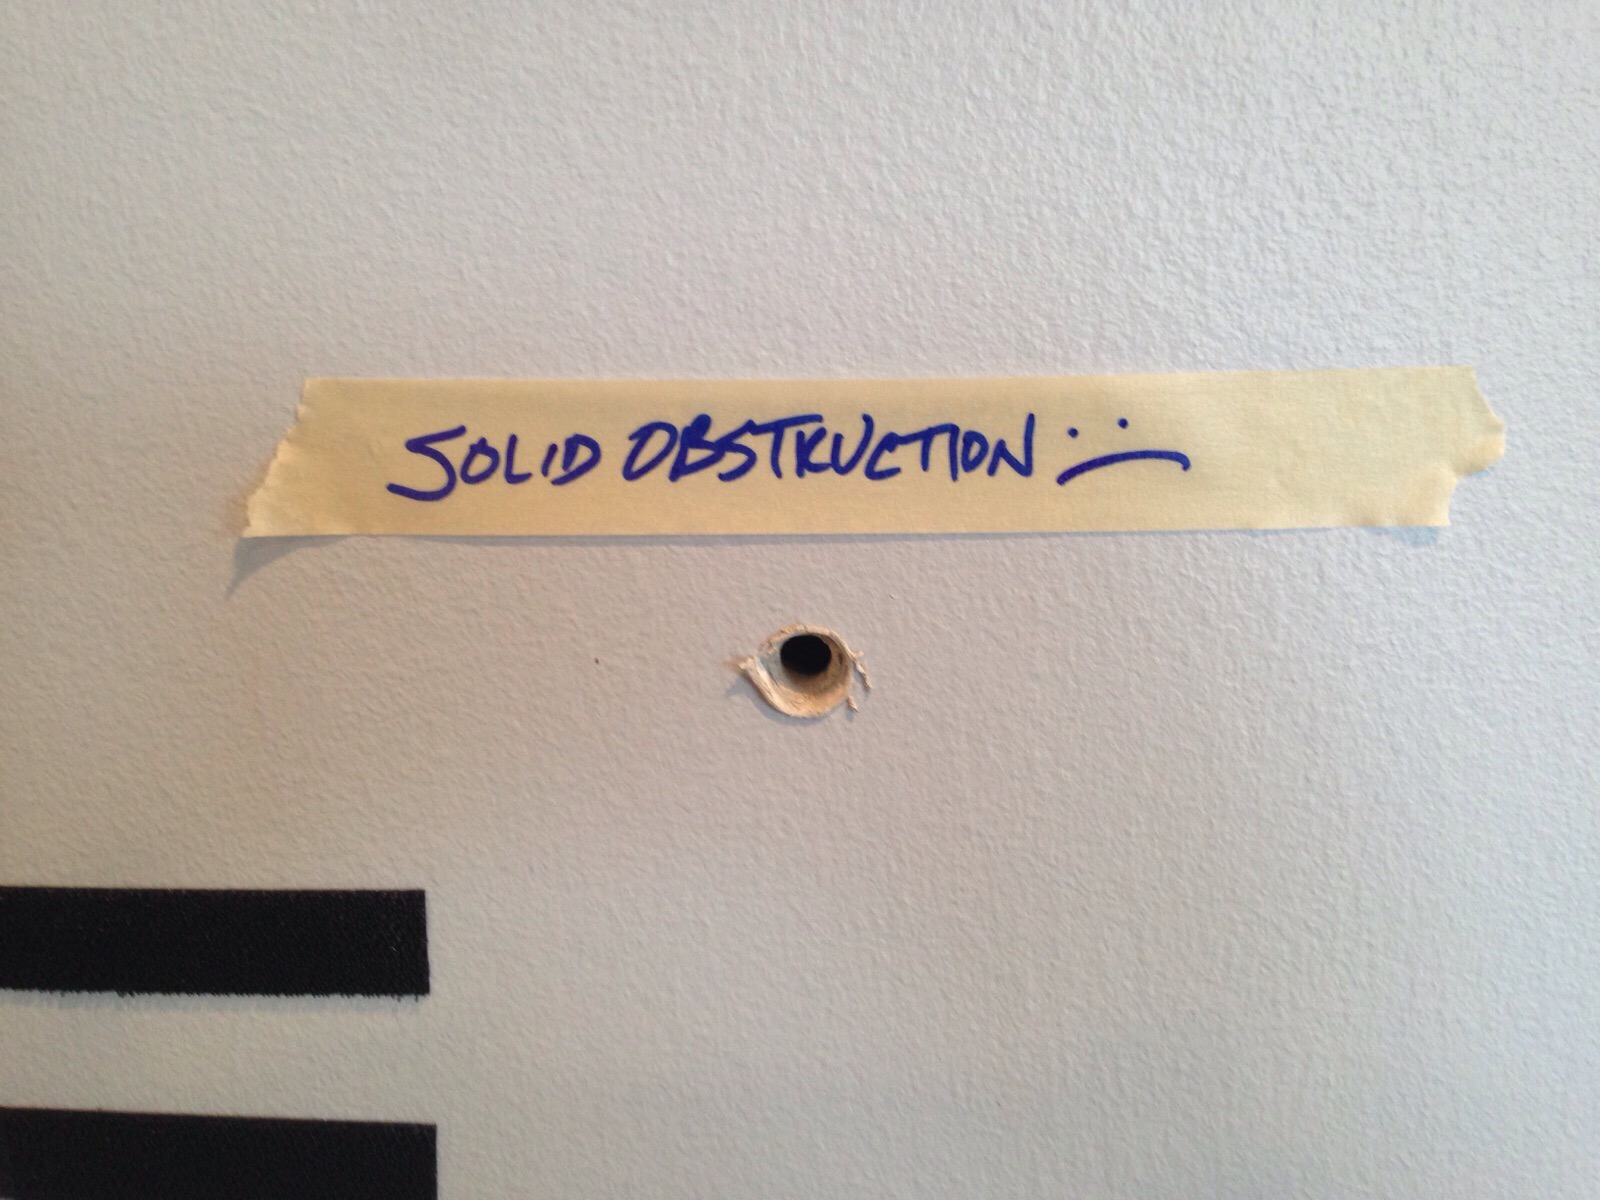
I made a whole not of noise hammering, and drilling, and banging and cussing until I got the drill successfully to the other side of that wall.
Then it was time for the anchor fiasco. Some would stay in place and hold the anchor up. Others wouldn’t hold the machine screw (causing the frame to sag off the wall). And others would break altogether and drop away as they fell inside of the wall.
Groan.
I managed to get the frame successfully mounted for the lower 64″ shelf. But while working on the mount for the upper shelf, I got a phone call from Bruce (yep, from Vegas).
Condo property management ordered a “Cease and Desist” on the drilling and hammering noise. Turns out I was violating the condo rules about contracting work hours. This is only to be done between 9AM and 5PM Mondays thru Friday.
And I was disturbing a sleeping baby in the unit below me.
Argh! Well, ok then.
I finished building out the lower 64 x 10″ shelf and stained it. The frame for the top shelf is anchored securely to the wall, but because of the obstructions of the wet wall, the back of it is not flush to the wall (so it currently hangs down).
I put the top 9.75 x 62.5 strip of plywood on top of the frame and left it there for shelf completion on another day.
Here’s what it looks like Sunday evening (October 4).
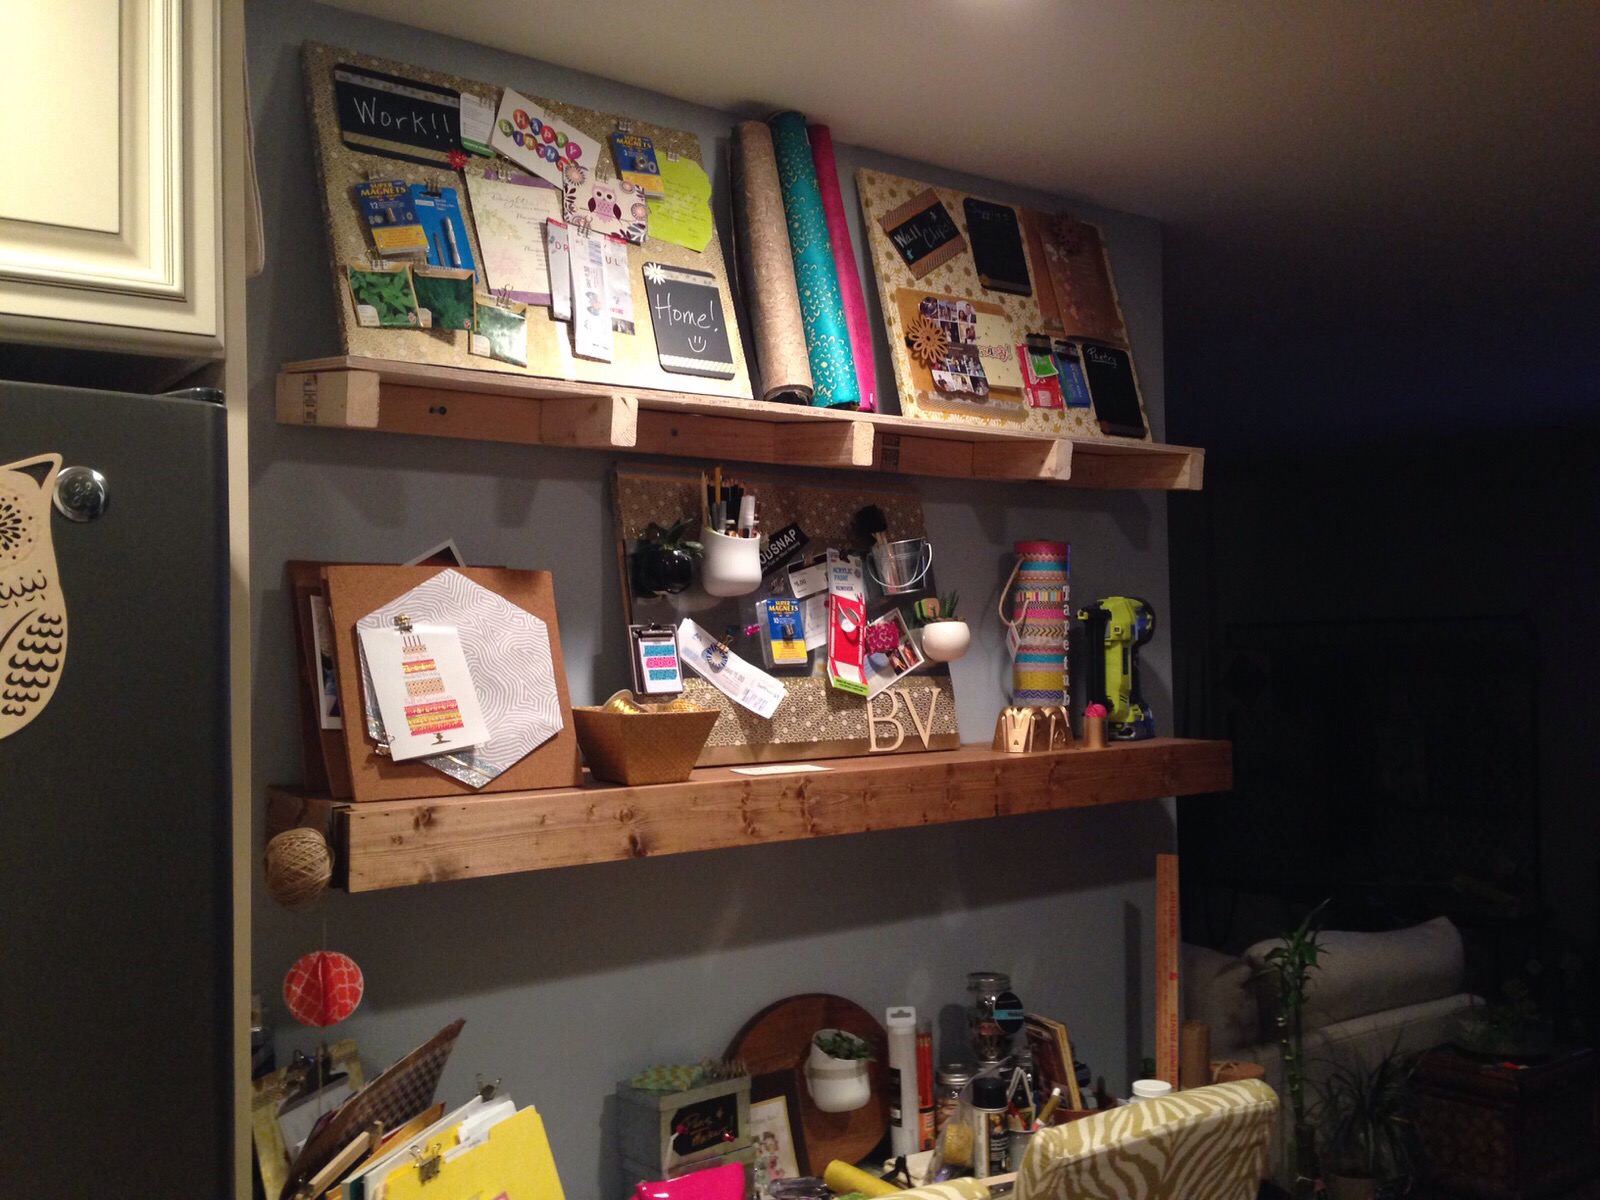
I staged the shelves on the pantry-side wall with my crafting artwork, canvases, boxes and other doodads.
And here’s what the space now looks like with my floating shelves added (with one in progress).
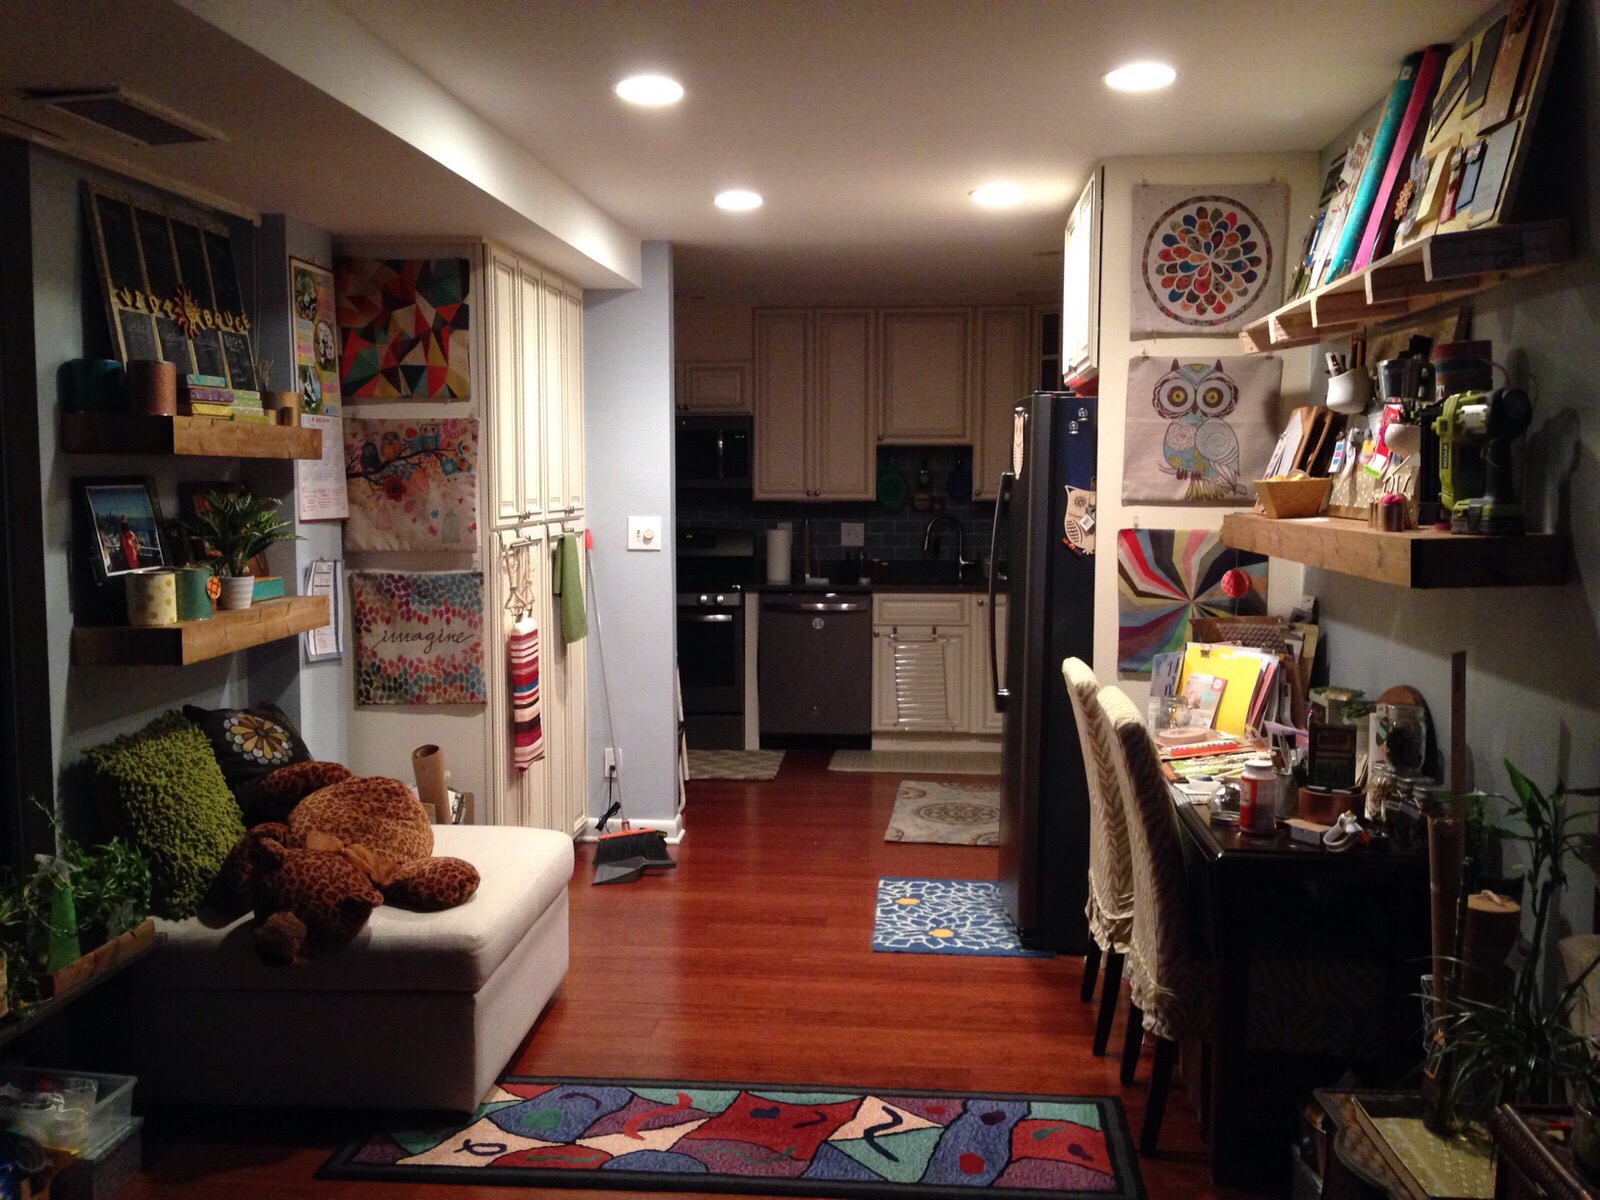
Despite the frustrating process of drilling ancient plaster, concrete and steel walls in the condo, this was a worthwhile undertaking this weekend. I’m glad I got four out of the five shelves done before Bruce’s return.
His response? He like it. I’ll admit, Bruce is not as in love with floating shelves as I am, but he supports my decision to add them (and, of course, have each his signature “weight test”, especially after seeing the in progress top shelf with the frame pointing down – baby they’re solid!).
I do up a follow-up post on finishing up the fifth and final shelf once I find that magical time window to address the frame mount issue (which will of course mean more drilling). V-

